Indledning
The Zunate 3-Outlet Sprinkler Timer is designed to automate your garden watering, providing efficient and customizable irrigation for lawns, gardens, and other applications. This device features robust brass terminals for durability, a user-friendly interface with an LCD screen, and the ability to set up to three independent watering programs per day. It also includes a child safety lock function and is designed to minimize water waste.
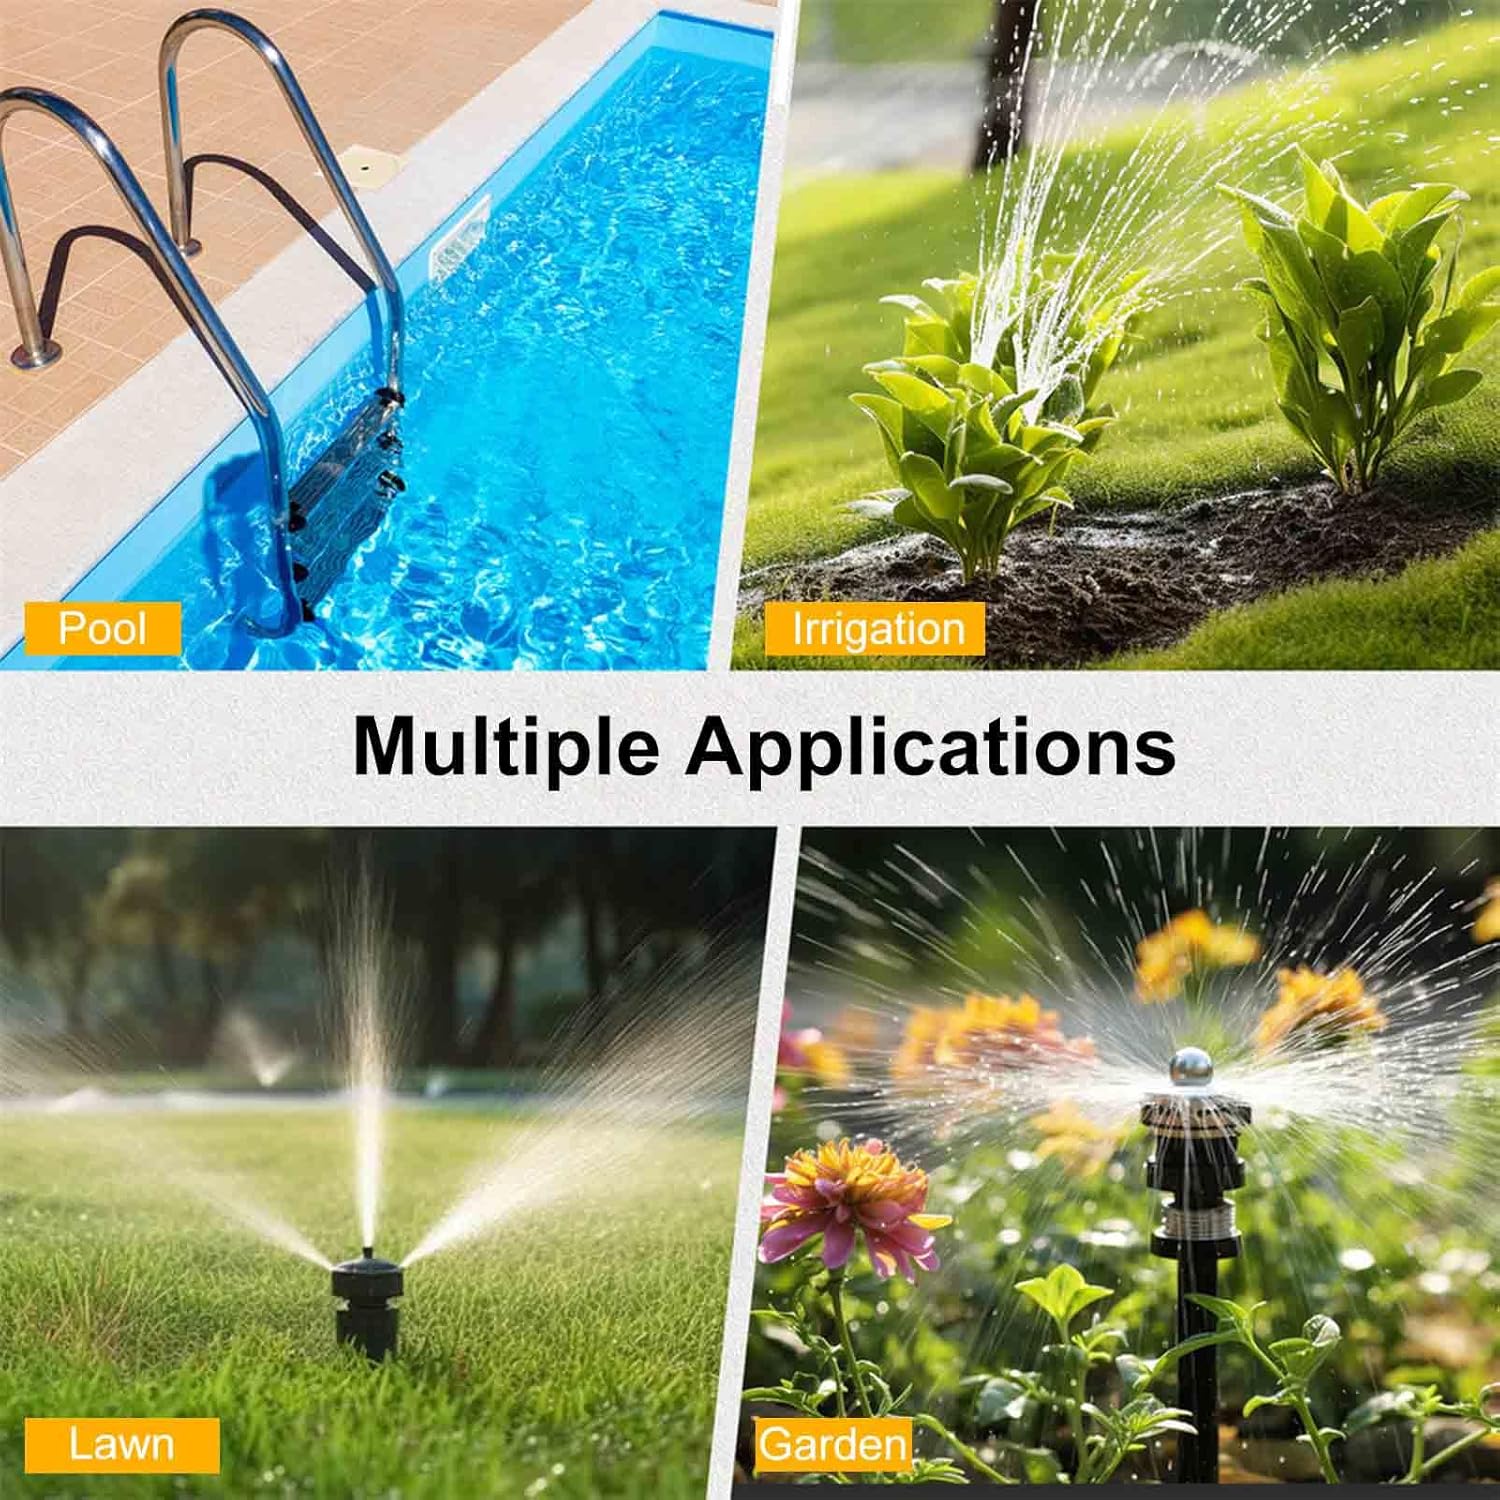
Figure 1: Multiple applications for the Zunate Sprinkler Timer, suitable for various watering needs.
Opsætning
1. Batteriinstallation
The sprinkler timer requires two 2A batteries (not included) for operation. Ensure batteries are inserted with correct polarity.
- Find batterirummet på bagsiden af timeren.
- Åbn batterirummets dæksel.
- Insert two 2A batteries, observing the positive (+) and negative (-) markings.
- Luk batterirummets dæksel forsvarligt.

Figure 2: Battery compartment and low battery reminder feature. The timer operates on two 2A batteries.
2. Connecting the Timer to a Faucet
The timer features a durable brass inlet terminal for connection to your garden hose faucet.
- Sørg for, at vandhanen er slukket.
- Screw the timer's brass inlet terminal onto your standard NH3/4 inch external thread faucet. Hand-tighten only to prevent damage.
- Ensure a tight seal to prevent leaks.
3. Connecting Hoses to Outlets
The timer has three independent outlets for connecting your garden hoses.
- Attach your garden hoses to the three outlets at the bottom of the timer.
- Ensure each hose is securely fastened to prevent leaks.
Betjeningsvejledning
1. Brugergrænseflade overview
The timer features an intuitive interface with a central knob, five control buttons, and an LCD screen for easy programming.

Figure 3: Front panel of the Zunate Sprinkler Timer, highlighting the water inlet, control buttons, display screen, and programming knob.
- Knop: Bruges til at vælge forskellige programmeringstilstande (Indstil ur, Starttid, Hvor længe, Hvor ofte, Auto, Fra).
- Knapper: Five buttons (Zone, +, -, OK, Manual) for navigation and setting adjustments.
- LCD skærm: Displays current time, program settings, and status indicators.
2. Setting the Current Time (Set Clock)
- Turn the knob to the 'Set Clock' position.
- Brug knapperne '+' og '-' til at justere time og minut.
- Tryk på 'OK' for at bekræfte hver indstilling.
3. Programmering af vandingsplaner
The timer allows for up to three independent watering programs (P1, P2, P3) per day.
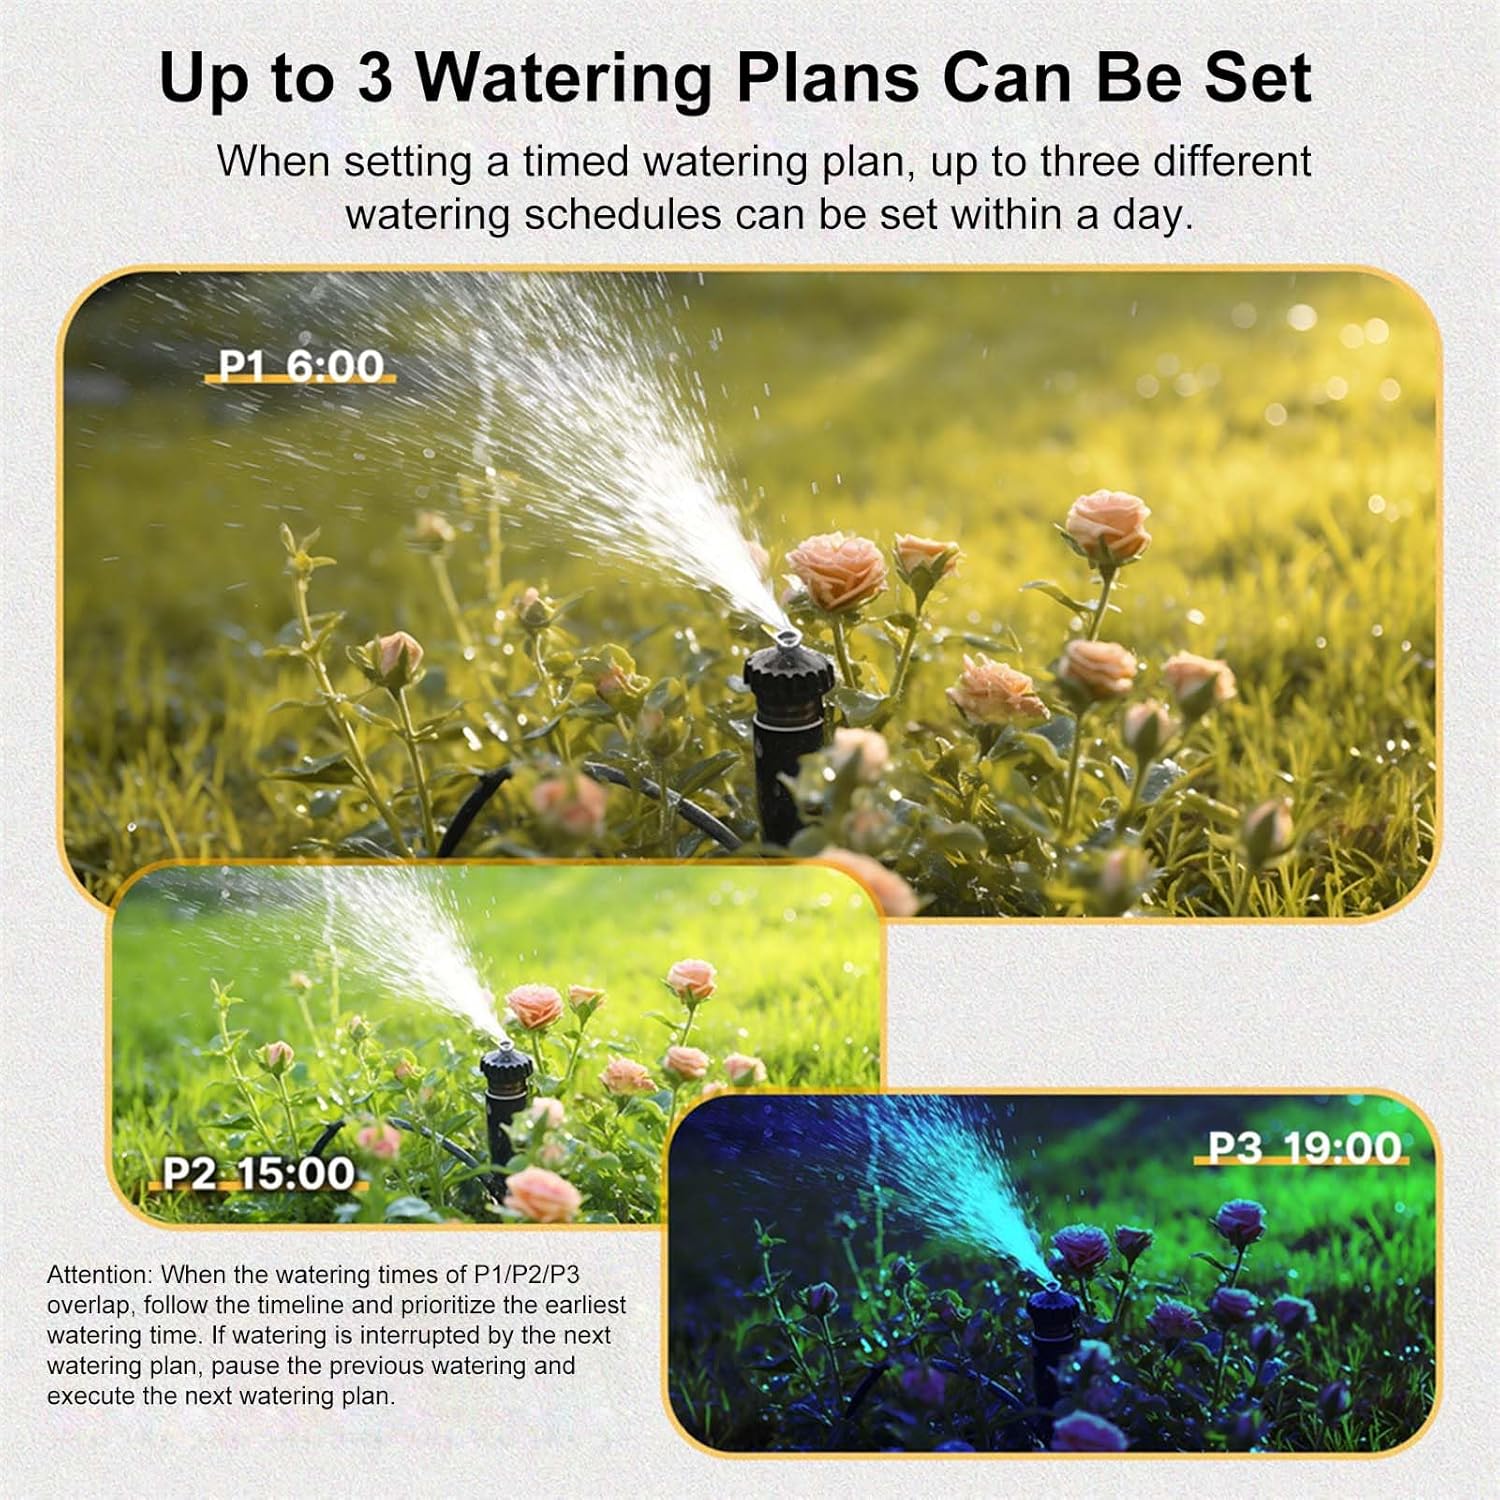
Figur 4: Eksample of three distinct watering plans (P1, P2, P3) that can be set within a single day.
- Vælg program: Press the 'Zone' button to cycle through P1, P2, P3.
- Indstil starttid: Turn the knob to 'Start Time'. Use '+' and '-' to set the desired start time for the selected program. Press 'OK'.
- Indstil vandingsvarighed (hvor længe): Turn the knob to 'How Long'. Use '+' and '-' to set the duration (e.g., minutes, hours). Press 'OK'.
- Indstil vandingsfrekvens (hvor ofte): Turn the knob to 'How Often'. Use '+' and '-' to set the frequency (e.g., every X hours, every X days, specific days of the week). Press 'OK'.
- Aktivér program: Turn the knob to 'Auto' to activate the programmed schedule.
Note: If watering times for P1/P2/P3 overlap, the timer prioritizes the earliest watering time. If watering is interrupted by a subsequent plan, the previous watering will pause, and the next plan will execute.
4. Manuel vanding
To initiate watering outside of the programmed schedule:
- Tryk på knappen 'Manuel'.
- Brug '+' og '-' til at indstille den ønskede manuelle vandingsvarighed.
- Tryk på 'OK' for at starte manuel vanding.
- To stop manual watering, press 'Manual' again or turn the knob to 'Off'.
5. Regnforsinkelsesfunktion
The timer includes a rain delay feature to temporarily pause watering.
- In 'Auto' mode, press and hold the 'Delay' button (often combined with '+').
- Use '+' and '-' to select the desired delay duration (e.g., 1 day, up to 15 days).
- Press 'OK' to confirm the rain delay. The timer will resume its schedule after the delay period.
6. Børnelåsfunktion
The child lock prevents unintended changes to the timer settings.

Figure 5: The child lock feature helps prevent accidental changes to settings.
- Sådan aktiveres: In 'Auto' mode, press and hold the '-' button for 5 seconds. A lock icon will appear on the screen.
- For at deaktivere: Press and hold the '-' button for 3 seconds. The lock icon will disappear.
Opretholdelse
1. Udskiftning af batteri
When the battery icon flashes on the LCD screen, it indicates low battery and replacement is needed.
- Turn the timer knob to 'Off'.
- Fjern de gamle batterier fra rummet.
- Insert two new 2A batteries, ensuring correct polarity.
- Luk batterirummet.
- Reset the current time if necessary.
2. Rensning
Periodically clean the timer to ensure optimal performance.
- Tør ydersiden af med en blød, damp klæde.
- Brug ikke slibende rengøringsmidler eller opløsningsmidler.
- Check the inlet filter for debris and clean if necessary.
3. Vinterklargøring
Before freezing temperatures, disconnect the timer from the faucet and store it indoors.
- Turn off the water supply and disconnect the timer.
- Hæld eventuelt resterende vand fra timeren.
- Remove batteries if storing for an extended period.
- Store in a dry, frost-free location.
Fejlfinding
| Problem | Mulig årsag | Løsning |
|---|---|---|
| Timer not turning on/LCD blank | Døde eller forkert installerede batterier. | Replace batteries with new 2A batteries, ensuring correct polarity. |
| Ingen vandgennemstrømning | Faucet is off; timer is in 'Off' mode; low water pressure; clogged filter. | Ensure faucet is fully open. Turn knob to 'Auto' or initiate 'Manual' watering. Check water pressure. Clean inlet filter. |
| Vandlækage fra tilslutninger | Løse forbindelser; slidte skiver. | Tighten all connections. Replace washers if damaged. |
| Timeren følger ikke tidsplanen | Timer not in 'Auto' mode; incorrect program settings; child lock active. | Ensure knob is set to 'Auto'. Verify program settings (Start Time, How Long, How Often). Deactivate child lock if active. |
Specifikationer

Figure 6: Detailed dimensions of the Zunate 3-Outlet Sprinkler Timer.
- Modelnummer: Zunatek25h31tavi-11
- Materiale: Brass, PC, ABS
- Arbejdstryk: Approx. 0.05-0.8Mpa / 7.25-116psi
- Arbejdstemperatur: Approx. 4.5℃-45℃ / 40.1℉-113℉
- Strømforsyning: 2 * 2A batteries (not included)
- Vandtæt klasse: IPX5
- Forsinket regn: 1 day, up to 15 days
- Slangeforbindelse: NH3/4 inch external thread (US)
- Produktdimensioner: 15.2 * 7.5 * 12.5 cm / 6 * 3 * 5 inch (approx.)
- Varens vægt: 1.33 pund
Garanti og support
For warranty information or technical support, please refer to the product packaging or contact the seller directly through your purchase platform. Keep your purchase receipt for warranty claims.