QRD FERROX M5
QRD FERROX M5 Wireless Controller Instruction Manual
Model: FERROX M5
Compatible with Xbox Series X|S, Xbox One, Nintendo Switch, and PC
1. Introduktion
Thank you for choosing the QRD FERROX M5 Wireless Controller. This manual provides detailed instructions for setting up, operating, and maintaining your controller. The FERROX M5 is designed for a versatile gaming experience across multiple platforms, including Xbox Series X|S, Xbox One, Nintendo Switch, and PC, featuring advanced technologies like Hall-Effect joysticks and customizable controls.
2. Pakkens indhold
Kontroller venligst, at alle varer er til stede i din pakke:
- QRD FERROX M5 Wireless Controller x 1
- 2.4GHz USB Dongle x 1
- USB-C to USB-A Charging/Data Cable (2.5m) x 1
- Brugervejledning (dette dokument)

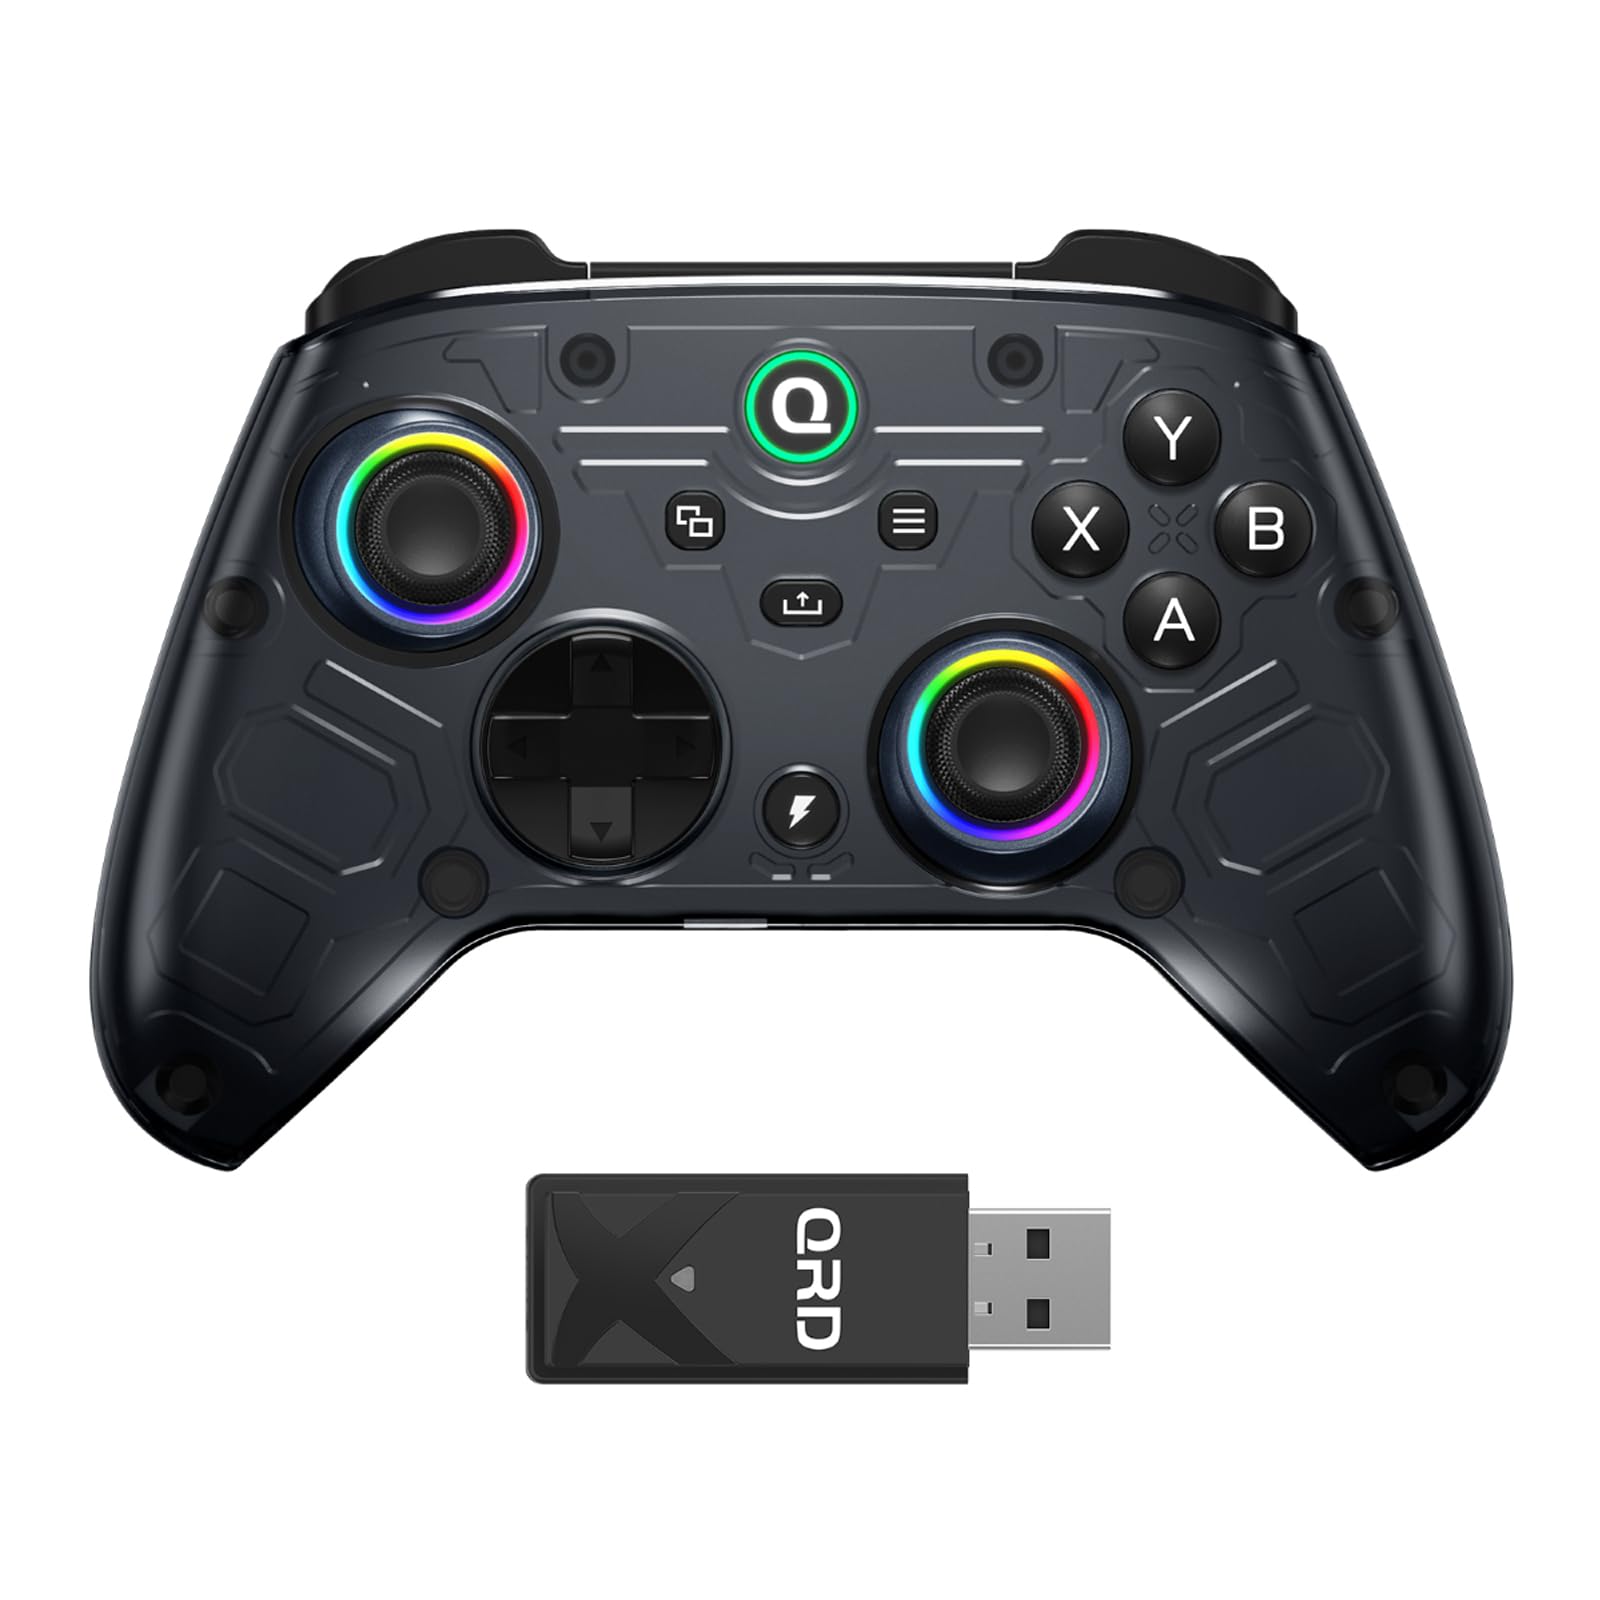
3. Controllerlayout
Familiarize yourself with the buttons and features of your QRD FERROX M5 controller:
- Hall-effekt joysticks: Magnetic analog sticks for precise control and reduced stick drift.
- A/B/X/Y-knapper: Standard handlingsknapper.
- D-Pad: Navigationspad til navigation.
- Q Button (Home): Tænd/sluk, adgang til systemmenuer.
- Menu/View Knapper: Access game and system menus.
- LB/RB (Skulderknapper): Venstre og højre kofangerknapper.
- LT/RT (Trigger Buttons): Left and Right Analog Triggers with adjustable trigger stops.
- M1-M4 (Rear Buttons): Four programmable back buttons for macro recording.
- Turbo knap: Aktiverer hurtigskydningsfunktionen.
- Afbryderen: Located on the back of the controller.
- 3.5 mm headsetstik: For audio and microphone.

4. Opsætning og tilslutning
4.1. Connecting to Xbox Series X|S / Xbox One
- Connect the wireless USB adapter (dongle) to an available USB port on your Xbox console.
- Press the pairing button on the USB dongle. The indicator light on the dongle will flash rapidly.
- Ensure the controller's power switch on the back is turned ON.
- Press and hold the "Q" (Home) button on the controller for 2-3 seconds until its indicator light flashes rapidly to enter pairing mode.
- Wait for 2-3 seconds for the controller and dongle to pair. Once successfully paired, the indicator lights will become solid.

Video: Instructions on how to connect and set up the QRD FERROX M5 Wireless Controller with an Xbox console.
4.2. Forbindelse til Nintendo Switch
- Prepare a USB-C to USB-A adapter.
- Plug the wireless USB dongle into the USB-A end of the adapter, then connect the USB-C end to your Nintendo Switch console.
- Press the pairing button on the USB dongle. The indicator light on the dongle will flash rapidly.
- Ensure the controller's power switch on the back is turned ON.
- Press and hold the "Q" (Home) button on the controller for 2-3 seconds until its indicator light flashes rapidly to enter pairing mode.
- Wait for 2-3 seconds for the controller and dongle to pair. Once successfully paired, the indicator lights will become solid.
- On your Nintendo Switch, navigate to System Settings > Controllers and Sensors > Pro Controller Wired Communication and ensure it is set to "On" for optimal performance.
Video: Guide on connecting the QRD FERROX M5 Wireless Controller to a Nintendo Switch console.
4.3. Tilslutning til pc
- Connect the wireless USB adapter (dongle) to an available USB port on your PC.
- Press the pairing button on the USB dongle. The indicator light on the dongle will flash rapidly.
- Ensure the controller's power switch on the back is turned ON.
- Press and hold the "Q" (Home) button on the controller for 2-3 seconds until its indicator light flashes rapidly to enter pairing mode.
- Wait for 2-3 seconds for the controller and dongle to pair. Once successfully paired, the indicator lights will become solid.
- For optimal performance, especially in competitive games, consider using a USB extension cable for the dongle to avoid interference if the PC's USB ports are in a confined or hot area.
4.4. Connecting to Mobile (Android/iOS)
For mobile devices, a wired connection is typically required. Connect the controller to your mobile device using a USB-C to USB-C cable (or appropriate adapter for iOS devices). The controller should be recognized automatically.
5. Betjeningsvejledning
5.1. Hall-Effect Joysticks and Adjustable Deadzone
The QRD FERROX M5 features Hall-Effect joysticks, which use magnetic sensors instead of physical contacts, significantly reducing wear and preventing stick drift over time. You can customize deadzone levels for Xbox, PC, and mobile. If you experience any drift, increase the deadzone setting or use the built-in calibration mode to restore precise center positioning.


5.2. Trigger Stops
The controller includes built-in trigger stops for the LT/RT buttons. These stops reduce the travel distance of the triggers, allowing for quicker firing, aiming, and braking actions. This feature provides a competitive advantage in fast-paced games like shooters and racing titles.

5.3. Macro and Turbo Control System
The four rear buttons (M1-M4) support on-controller macro recording, allowing you to assign complex sequences of button presses to a single button. The Turbo mode can be activated for A/B/X/Y/LB/RB/LT/RT buttons, enabling rapid-fire and combo actions without requiring PC software.
5.4. Audio, Vibration, and Smart Power
- Lyd: Features 3.5mm headset support for both microphone input and game audio output.
- Vibration: Adjustable vibration levels provide immersive feedback during gameplay.
- Batteri: Equipped with an 800mAh rechargeable battery, offering reliable long gaming sessions. Includes a low-power warning indicator and a one-button power control.


6. Vedligeholdelse
6.1. Firmwareopdateringer
To ensure optimal performance and access to the latest features, regularly check for and install firmware updates for your controller and USB dongle. Firmware updates can resolve potential issues and improve compatibility.
- Visit the official QRD website to download the latest firmware program file for the FERROX M5 controller and dongle.
- Before opening the firmware update tool, disable your firewall and any third-party antivirus software to prevent download failure or program interception.
- For the dongle update: Press and hold the "PAIR" button on the USB dongle. While holding the button, insert the USB dongle into your PC. After the dongle is fully inserted, release the "PAIR" button.
- For the controller update: Switch the back power switch to "ON" and ensure the controller is completely powered off (no LED lights illuminated, in full standby mode). Press and hold the [Y] button firmly and do not release it. While holding [Y], connect the controller to your PC using a USB cable. Keep holding [Y] until the "UPDATE" button appears in the firmware program interface.
- In the updater tool, click "Update". The firmware flashing process will begin automatically. Do not remove the dongle or controller during the update.
- When complete, a "Success" message will be displayed. The update is completed successfully when the controller reactivates its LED lights and power functions automatically.
Video: Detailed steps on how to upgrade the firmware of the QRD FERROX M5 USB Dongle.
Video: Instructions for upgrading the firmware of the QRD FERROX M5 Controller.
6.2. Manual Calibration (Joysticks and Triggers)
If you experience stick drift or inconsistent trigger response, you can manually calibrate the controller:
- Ensure the controller is powered ON but NOT connected to anything (disconnect USB cable, unplug USB wireless dongle). Then turn the controller ON again. The HOME LED will flash yellow.
- STEP 1: Activate Calibration Mode. Hold "T + MENU" buttons simultaneously for 3 seconds. The HOME LED will flash yellow.
- STEP 2: Rotate Both Analog Sticks. Slowly rotate both the Left Stick (LS) and Right Stick (RS) over 4 times in a full circle.
- STEP 3: Press Triggers Fully. Slowly pull both the Right Trigger (RT) and Left Trigger (LT) to their maximum positions 3 times.
- STEP 4: Exit Calibration. Press the MENU button once to exit. The controller saves the calibration instantly.
Video: Instructions on how to manually calibrate the triggers and joysticks on the QRD FERROX M5 controller.
7. Fejlfinding
- Forbindelsesproblemer: Ensure the USB dongle is securely plugged in and the controller is fully charged. Re-attempt the pairing process as described in Section 4. If using a PC, try a different USB port or a USB extension cable.
- Stick Drift/Inaccurate Input: Perform a manual calibration as described in Section 6.2. Ensure the controller firmware is up to date.
- Knapper reagerer ikke: Check for physical obstructions. Ensure the controller is fully charged. If the issue persists, try updating the firmware.
- Ingen strøm: Ensure the power switch on the back of the controller is ON. Charge the controller using the provided USB cable.
- Firmwareopdateringsfejl: Temporarily disable your firewall and antivirus software before attempting the firmware update again. Ensure a stable internet connection.
If you experience any persistent connection, drift, or performance issues, please contact our customer support team for assistance with troubleshooting and product guidance.

8. Specifikationer
| Feature | Detalje |
|---|---|
| Model | FERROX M5 |
| Forbindelse | 2.4GHz Wireless (USB Dongle), Wired (USB-C) |
| Kompatibilitet | Xbox Series X|S, Xbox One, Nintendo Switch, PC, Android, iOS |
| Joysticks | Hall-Effect Analog Sticks |
| Tilbage knapper | 4 Programmable (M1-M4) |
| Udløsere | Adjustable Trigger Stops (LT/RT) |
| Særlige funktioner | Macro Recording, Turbo Function, Adjustable Deadzone, RGB LED Lighting, Dual Motor Vibration |
| Batteri | 800mAh genopladelig lithiumpolymer |
| Opladningstid | 2-3 timer |
| Arbejdstid | 6-8 timer |
| Driftstemperatur | -10°C til 50°C |
| Dimensioner | L6.38 * W4.05 * H2.55 inches |
| Varens vægt | 15.8 ounce |

9. Garanti og support
QRD is committed to providing high-quality products and customer satisfaction. For any questions, technical support, or warranty claims, please contact our customer support team. We are available to assist you with troubleshooting and product guidance.
Please refer to the contact information provided on the product packaging or the official QRD webwebstedet for de mest opdaterede supportoplysninger.
Ask a question about this manual
Ask about setup, troubleshooting, compatibility, parts, safety, or missing instructions. Manuals+ will review the question and use this page’s manual context to help answer it.