
1. Produktet er slutview
The tectake Vertical Clamp Awning is designed to provide shade and privacy for balconies, terraces, or gardens. It features a robust construction with powder-coated steel and aluminum components, a durable polyester fabric with UV 50+ protection, and a water-repellent coating. The awning is operated by a manual crank system and can be adjusted in height using telescopic poles, making it a versatile solution for outdoor spaces.
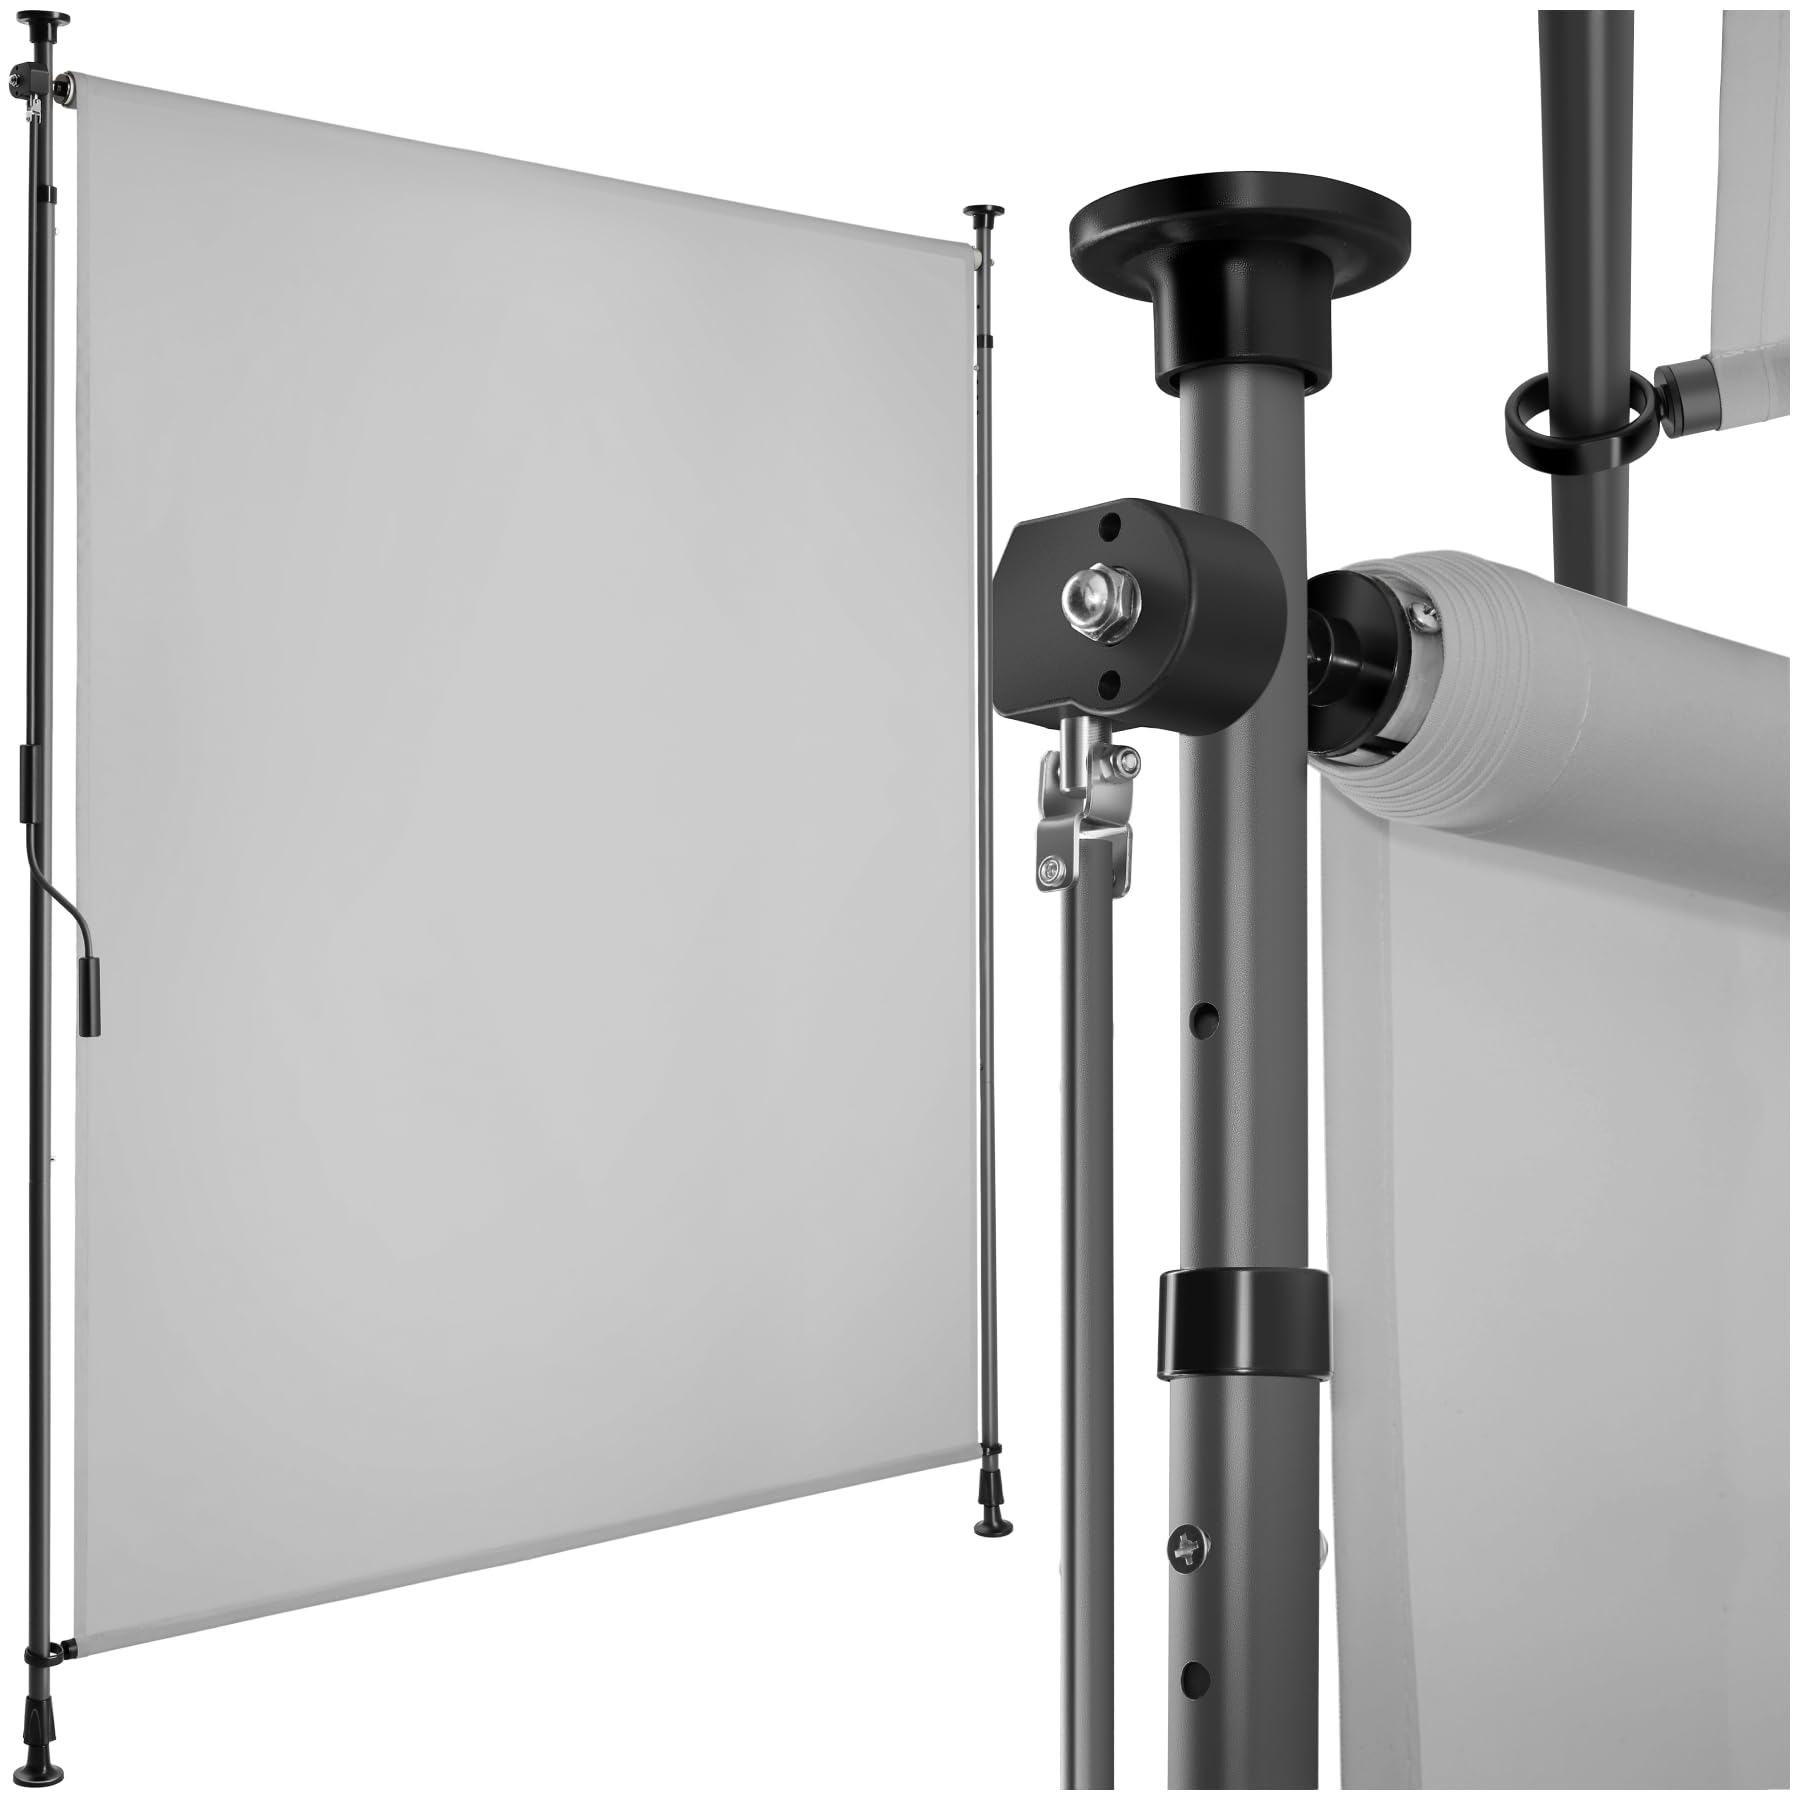
Image 1: The tectake Vertical Clamp Awning installed on a balcony, offering both sun protection and privacy.
2. Sikkerhedsoplysninger
Vigtig: Ensure the awning is securely and stably fastened to prevent accidents. Regularly check all connections and components for wear or damage. Do not use the awning in strong winds or severe weather conditions. Retract the awning fully when not in use or during adverse weather to prevent damage.
3. Pakkens indhold
Kontroller, at alle komponenter er til stede, før monteringen påbegyndes:
- Clamp Awning Fabric and Roller Assembly
- Telescopic Poles (2 units)
- Manuel håndsving
- Monteringshardware (skruer, kl.amps, adjustable feet)
- Samlingsvejledning (denne manual)
- Sikkerhedsmeddelelse

Billede 2: Overview of the awning's features, including privacy, UV protection, and easy assembly.
4. Specifikationer
| Feature | Detalje |
|---|---|
| Overall Dimensions (LxDxH) | Approx. 128 x 7 x 216 - 310 cm |
| Awning Fabric (LxH) | Approx. 112.5 x 10 - 275 cm |
| UV beskyttelse | 50+ |
| Kranklængde | Ca. 113 cm |
| Vægt | Ca. 5.9 kg |
| Materialer | Powder-coated steel, 100% polyester, aluminum, polypropylene |
| Minimum clearance | 216 cm |
| Projektionsafstand | 310 cm |
| Driftstilstand | Manuel |

Image 3: Detailed product dimensions and technical data.
5. Monteringsvejledning
Assembly is designed to be quick and intuitive. It is recommended to have two people for easier installation.
Trin 1: Udpak komponenterne
Carefully remove all parts from the packaging and lay them out. Check against the package contents list to ensure everything is present and undamaged.
Step 2: Assemble Telescopic Poles
Connect the sections of the telescopic poles. Ensure they are securely fastened. These poles will form the vertical support structure of the awning.
Step 3: Attach Awning Fabric
Slide the awning fabric roller assembly onto the top support bar. Attach the bottom bar of the fabric to the lower telescopic pole mechanism as per the included diagrams.

Image 4: Visual guide for versatile mounting and extension.
Step 4: Position and Secure the Awning
- Place the assembled awning in the desired location (e.g., between a balcony floor and ceiling).
- Extend the telescopic poles by turning them until they reach the desired height and are firmly clamped between the surfaces. The adjustable non-slip and anti-scratch feet provide stability and protect surfaces.
- Ensure the awning is perfectly vertical and stable. Use the provided mounting hardware to secure the clamp mechanism if additional stability is required.

Image 5: Close-up of the manual crank, telescopic pole adjustment, and adjustable feet.
6. Betjeningsvejledning
The awning is operated using the manual crank.
- Sådan forlænges markisen: Insert the manual crank into the designated slot and turn it clockwise. The fabric will smoothly unroll to the desired length.
- Sådan trækkes markisen ind: Turn the manual crank counter-clockwise. The fabric will roll back up onto the roller.
Ensure the crank operates smoothly. Do not force the mechanism if resistance is encountered.
7. Vedligeholdelse
Regelmæssig vedligeholdelse vil forlænge levetiden og udseendet af din markise.
- Rengøring af stoffet: The durable, water-repellent polyester fabric is easy to clean. Use a damp cloth and a mild soap solution to wipe away dirt and stains. Rinse thoroughly with clean water.
- Tørring: Always ensure the awning fabric is completely dry before retracting it for extended periods to prevent mold or mildew growth.
- Rammeinspektion: Periodically inspect the steel and aluminum frame, telescopic poles, and crank mechanism for any signs of wear, corrosion, or damage. Tighten any loose screws.
- Smøring: If the crank mechanism feels stiff, apply a silicone-based lubricant to moving parts.

Image 6: The awning's robust frame and water-repellent fabric ensure resistance to wind and weather.
8. Fejlfinding
- Awning is difficult to extend or retract:
Check for any obstructions in the path of the fabric or the crank mechanism. Ensure the crank is properly inserted. If the mechanism feels stiff, apply a suitable lubricant to the moving parts. - Awning feels unstable or wobbly:
Verify that the telescopic poles are fully extended and securely locked in place. Ensure the adjustable feet are firmly pressed against the surfaces and are not slipping. Re-adjust the height and tension if necessary. Consider additional anchoring if the installation area allows. - Awning fabric flaps excessively in light wind:
This awning is rated for light wind conditions (Resistance Class 1). While designed to allow some movement to prevent damage, excessive flapping may indicate insufficient tension or an unsuitable location for the current wind conditions. Retract the awning if winds become strong. - Crank handle feels loose or spins freely:
Inspect the connection point of the crank handle to the awning mechanism. Ensure all fasteners are tight. If plastic components are stripped, contact customer support for replacement parts.
9. Garanti og support
Information regarding product warranty and customer support is not available in the provided data. Please refer to your purchase documentation or the manufacturer's official webwebstedet for detaljer om garantidækning og hvordan du kontakter kundeservice for at få hjælp.