1. Introduktion
Thank you for choosing the Codnida Cell 2T 4G LTE Solar Security Camera. This device provides reliable outdoor surveillance with its 4G LTE connectivity, solar power capabilities, and advanced features like 2K color night vision and intelligent motion detection. This manual will guide you through the setup, operation, and maintenance of your camera to ensure optimal performance.

Billede 1.1: Overview of the Codnida Cell 2T 4G LTE Solar Security Camera.
2. Hvad er der i æsken
Kontroller venligst, at alle komponenter er til stede, før du fortsætter installationen.
- 1 x Codnida Cell 2T Camera
- 1 x Solcellepanel
- 1 x SIM Card (with free trial data)
- 1 x Screw Kit for mounting
- 1 x Brugermanual (dette dokument)
- 1 x USB ladekabel

Image 2.1: All included components in the Codnida Cell 2T package.
3. Produktfunktioner
- 4G LTE-forbindelse: Operates independently without Wi-Fi, ideal for remote locations. Includes a trial SIM card.
- Solar Powered & Long-Life Battery: Equipped with a high-efficiency solar panel and a built-in 10400mAh battery for continuous operation.
- 2K HD Resolution & Color Night Vision: Captures clear 2K video with three night vision modes (color, black & white, smart).
- 355° Pan/Tilt Rotation: Offers wide area coverage with remote control via the app.
- Intelligent PIR Motion Detection: Detects human movement and sends instant notifications. Customizable detection zones and sensitivity.
- Tovejs lyd: Indbygget mikrofon og højttaler til kommunikation i realtid.
- Lyd- og lysalarm: Deters intruders with an audible alarm and flashing LED lights upon detection.
- IP65 Vejrbestandig: Designed for outdoor use, resistant to rain, humidity, and dust.
- Fleksibel opbevaring: Supports cloud storage and local Micro SD card storage up to 256GB.
4. Opsætningsvejledning
4.1. Første opladning
Før første brug skal kameraets interne batteri oplades helt med det medfølgende USB-kabel og en 5V/2A strømadapter (medfølger ikke). Opladningsindikatoren lyser konstant blåt, når batteriet er fuldt opladet.
4.2. Installation af SIM-kort og Micro SD-kort
- Locate the SIM card and Micro SD card slot on the camera, usually protected by a rubber cover.
- Åbn forsigtigt dækslet.
- Insert the provided 4G SIM card into the SIM card slot with the gold contacts facing down and the notched corner aligned correctly. Push until it clicks into place.
- If using a Micro SD card for local storage (up to 256GB, not included), insert it into the Micro SD card slot with the gold contacts facing down.
- Ensure both cards are securely seated. Close the rubber cover firmly to maintain IP65 weather resistance.

Image 4.2: Illustration of SIM card insertion into the camera.
4.3. Tilslutning af solpanel
Connect the solar panel cable to the designated charging port on the camera. Ensure the connection is secure and the rubber seal is properly seated to prevent water ingress. Position the solar panel in an area that receives maximum direct sunlight throughout the day for optimal charging.
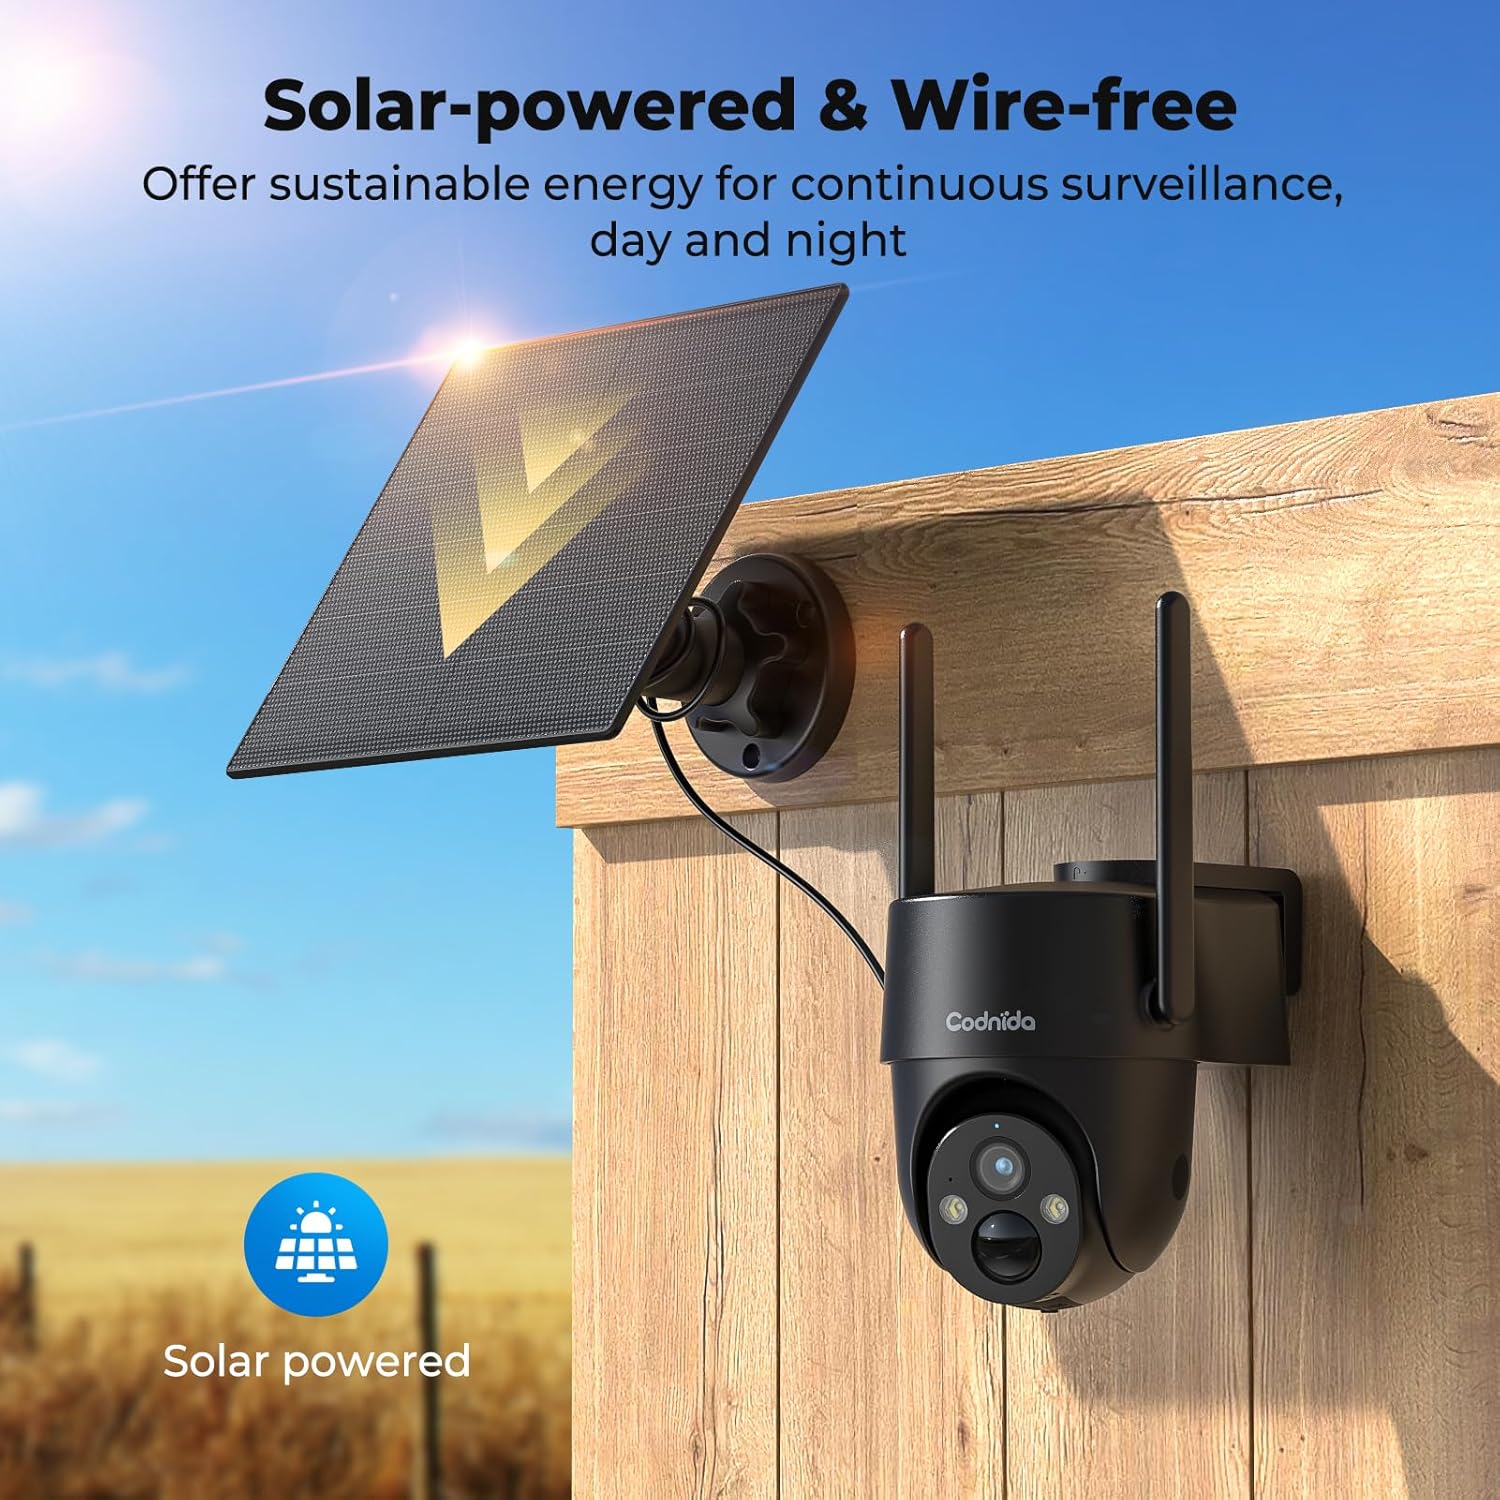
Image 4.3: The camera and solar panel installed, demonstrating wire-free operation.
4.4. Montering af kameraet
- Choose a suitable outdoor location that provides the desired surveillance view and allows the solar panel to receive ample sollys.
- Use the provided screw kit to securely mount the camera bracket to a wall or pole.
- Attach the camera to the mounted bracket. Adjust the angle for optimal coverage.
- Ensure the camera is within a good 4G signal range.
4.5. Appinstallation og parring
- Download CloudEdge app fra din smartphones appbutik (iOS eller Android).
- Opret en ny konto, eller log ind, hvis du allerede har en.
- Turn on the camera by pressing the power button. The indicator light will flash.
- I CloudEdge-appen skal du trykke på ikonet "+" for at tilføje en ny enhed.
- Select the appropriate camera model or scan the QR code on the camera if available.
- Follow the on-screen instructions to complete the pairing process. Ensure your phone's Bluetooth and location services are enabled during pairing.
5. Betjeningsvejledning
5.1. Lev View
Åbn CloudEdge-appen, og vælg dit kamera fra enhedslisten for at få adgang til live-videofeedet. Du kan view foo i realtidtage from your camera anytime, anywhere with 4G connectivity.
5.2. Pan/Tilt kontrol
Fra live view interface in the CloudEdge app, use the directional controls to remotely pan (horizontal) and tilt (vertical) the camera lens. The camera supports 355° PTZ rotation for comprehensive coverage.

Image 5.2: The camera's 360° pan/tilt capability for wide area surveillance.
5.3. Indstillinger for bevægelsesdetektion
The camera features PIR human motion detection. In the app settings, you can:
- Enable/Disable motion detection.
- Adjust sensitivity levels (low, medium, high).
- Set detection zones to focus on specific areas and reduce false alarms.
- Schedule detection times.
When motion is detected, the camera will record a clip and send a notification to your smartphone.

Image 5.3: The camera's PIR human motion detection accurately identifies people.
5.4. Nattesynstilstande
The camera offers three night vision modes, configurable in the app:
- Farve Night Vision: Utilizes built-in spotlights to provide full-color images in low light.
- Sort/hvid nattesyn: Uses infrared (IR) LEDs for clear black and white images in complete darkness.
- Smart nattesyn: Automatically switches between black & white and color night vision when motion is detected.

Image 5.4: Demonstrating the camera's 2K color night vision capability.
5.5. Tovejslyd
Tryk på mikrofonikonet i live-udsendelsen view to speak through the camera's speaker. This allows for communication with visitors or to deter unwanted individuals.
5.6. Sound and Light Alarm
When motion is detected at night, the camera can automatically activate a loud siren and flash its LED spotlights to warn off intruders. This feature can be configured in the app's alarm settings.

Image 5.6: The camera's sound and light alarm system deterring an intruder.
5.7. Lagerstyring
Recorded videos can be stored in two ways:
- Cloud Storage: Subscribe to a CloudEdge cloud plan for secure online storage.
- Micro SD-kort: If an SD card is installed, recordings will be saved locally. You can view and manage these recordings through the app.
6. Vedligeholdelse
- Rensning: Rengør kameralinsen og solpanelet regelmæssigt med en blød kludamp cloth to ensure clear images and efficient solar charging. Do not use harsh chemicals.
- Batteripleje: While solar-powered, ensure the camera receives adequate sunlight. If the battery level drops significantly, consider temporarily charging it via USB. Avoid prolonged exposure to extreme temperatures.
- Firmwareopdateringer: Check the CloudEdge app regularly for firmware updates. Keeping the firmware updated ensures optimal performance and access to new features.
- SIM Card Data: Monitor your SIM card data usage to ensure continuous connectivity, especially after the trial period.
7. Fejlfinding
| Problem | Løsning |
|---|---|
| Kameraet opretter ikke forbindelse til 4G-netværket. |
|
| Batteriet oplades ikke via solpanel. |
|
| Bevægelsesdetektionen virker ikke, eller der er for mange falske alarmer. |
|
| Cannot access live view. |
|
8. Specifikationer
| Feature | Detalje |
|---|---|
| Model | Cell 2T |
| Forbindelse | 4G LTE (Cellular) |
| Strømkilde | Soldrevet, 10400mAh genopladeligt batteri |
| Video opløsning | 2K (1440p) |
| Effektiv stillopløsning | 3 MP |
| Nattesyn | Color Night Vision, Black & White IR Night Vision, Smart Mode (up to 10 meters) |
| Pan / tilt vinkel | 355° Pan, 90° Tilt |
| Bevægelsesdetektion | PIR Human Motion Detection |
| Lyd | Tovejslyd (indbygget mikrofon og højttaler) |
| Alarm | Lyd og lys alarm |
| Vejrbestandighed | IP65 |
| Opbevaring | Cloud-lagring, Micro SD-kort (op til 256 GB) |
| Kontrolmetode | CloudEdge app |
| Dimensioner (L x B x H) | 6 x 6 x 6 cm |
| Vægt | 1.31 kg |
| Materiale | Plast |
| Voltage | 5 volt |
| Wattage | 4.5 watt |
9. Garanti og support
Codnida products typically come with a standard manufacturer's warranty. Please refer to the warranty card included in your package or visit the official Codnida webhjemmeside for detaljerede garantivilkår.
For technical support, troubleshooting assistance, or any product-related inquiries, please contact Codnida customer service through the contact information provided on the official website or within the CloudEdge app. When contacting support, please have your product model (Cell 2T) and purchase details ready.