
1. Introduktion
The Ransanx NerdMiner V2 NMMiner is a compact, energy-efficient device designed for Bitcoin lottery mining and educational exploration of cryptocurrency concepts. Featuring a 2.8-inch touchscreen display and an ESP32-WROOM-32 module, it offers both standalone operation via Wi-Fi and a visual interface for monitoring mining status and other information. This manual provides essential instructions for setting up, operating, and maintaining your NerdMiner V2.
2. Hvad er der i æsken
Upon unboxing your Ransanx NerdMiner V2, please ensure all the following components are present:
- Bitcoin NerdMiner ESP32 Development Board (with 2.8-inch touchscreen)
- USB-C strømkabel
- Stylus for touchscreen interaction
- Assembly hardware (screws, nuts, acrylic casing components)
- Jumper wires (for advanced configurations, if applicable)
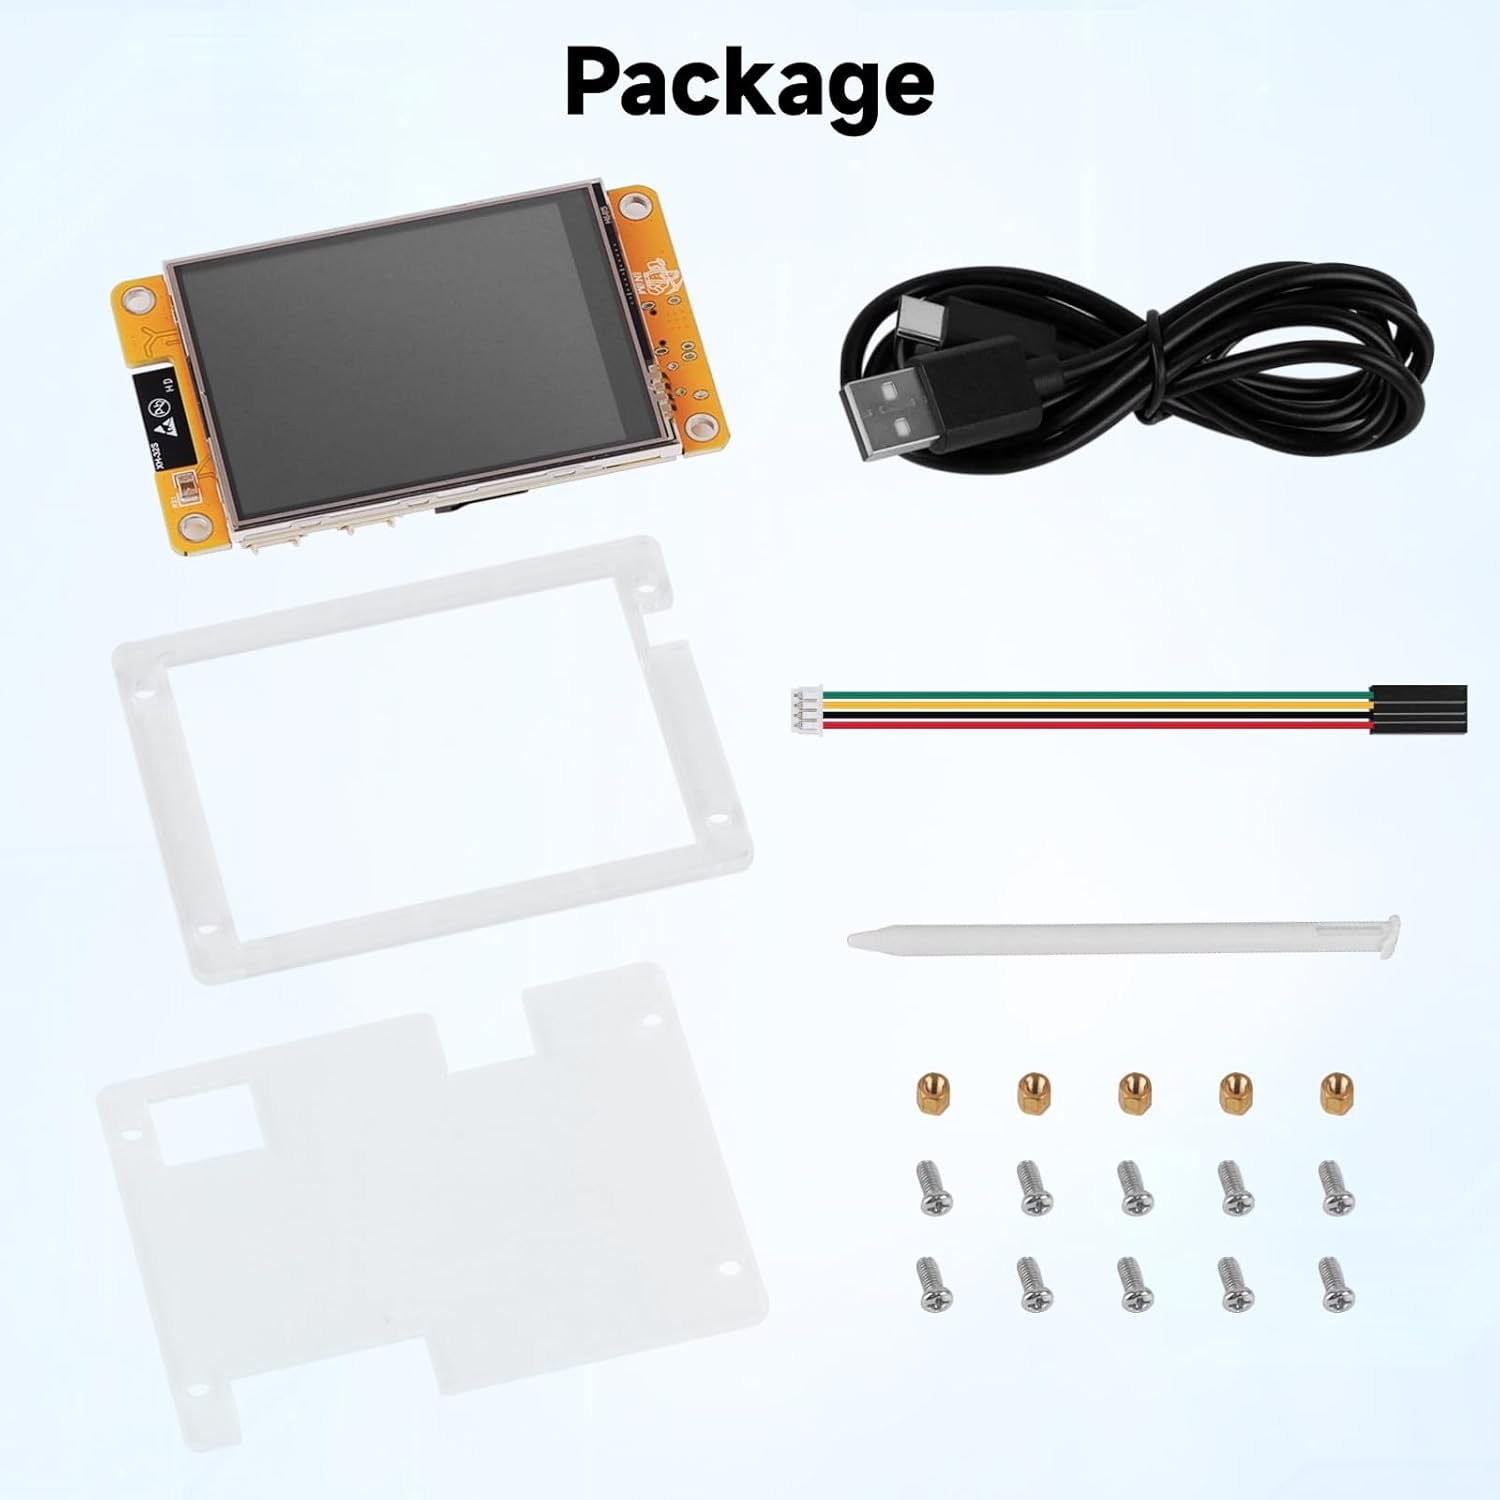
Figure 2.1: Package contents of the NerdMiner V2.
3. Produktet er slutview
The NerdMiner V2 NMMiner is built around the high-performance ESP32-WROOM-32 module, offering robust connectivity and processing capabilities. Its 2.8-inch intelligent display provides a clear visual interface for all operations.
Nøglefunktioner:
- Standalone drift: Connects directly to Wi-Fi for BTC lottery mining without an external computer.
- High Hash Rate: Optimized firmware achieves up to 1060 KH/s, potentially increasing mining success rates.
- Energieffektiv: Low power consumption and minimal heat generation due to ESP32's design.
- Visual Interface: 2.8-inch touchscreen displays mining status, computing power, and power consumption.
- Alsidige tilstande: Supports solo mining, mining pool modes, and a desktop clock mode with background mining.
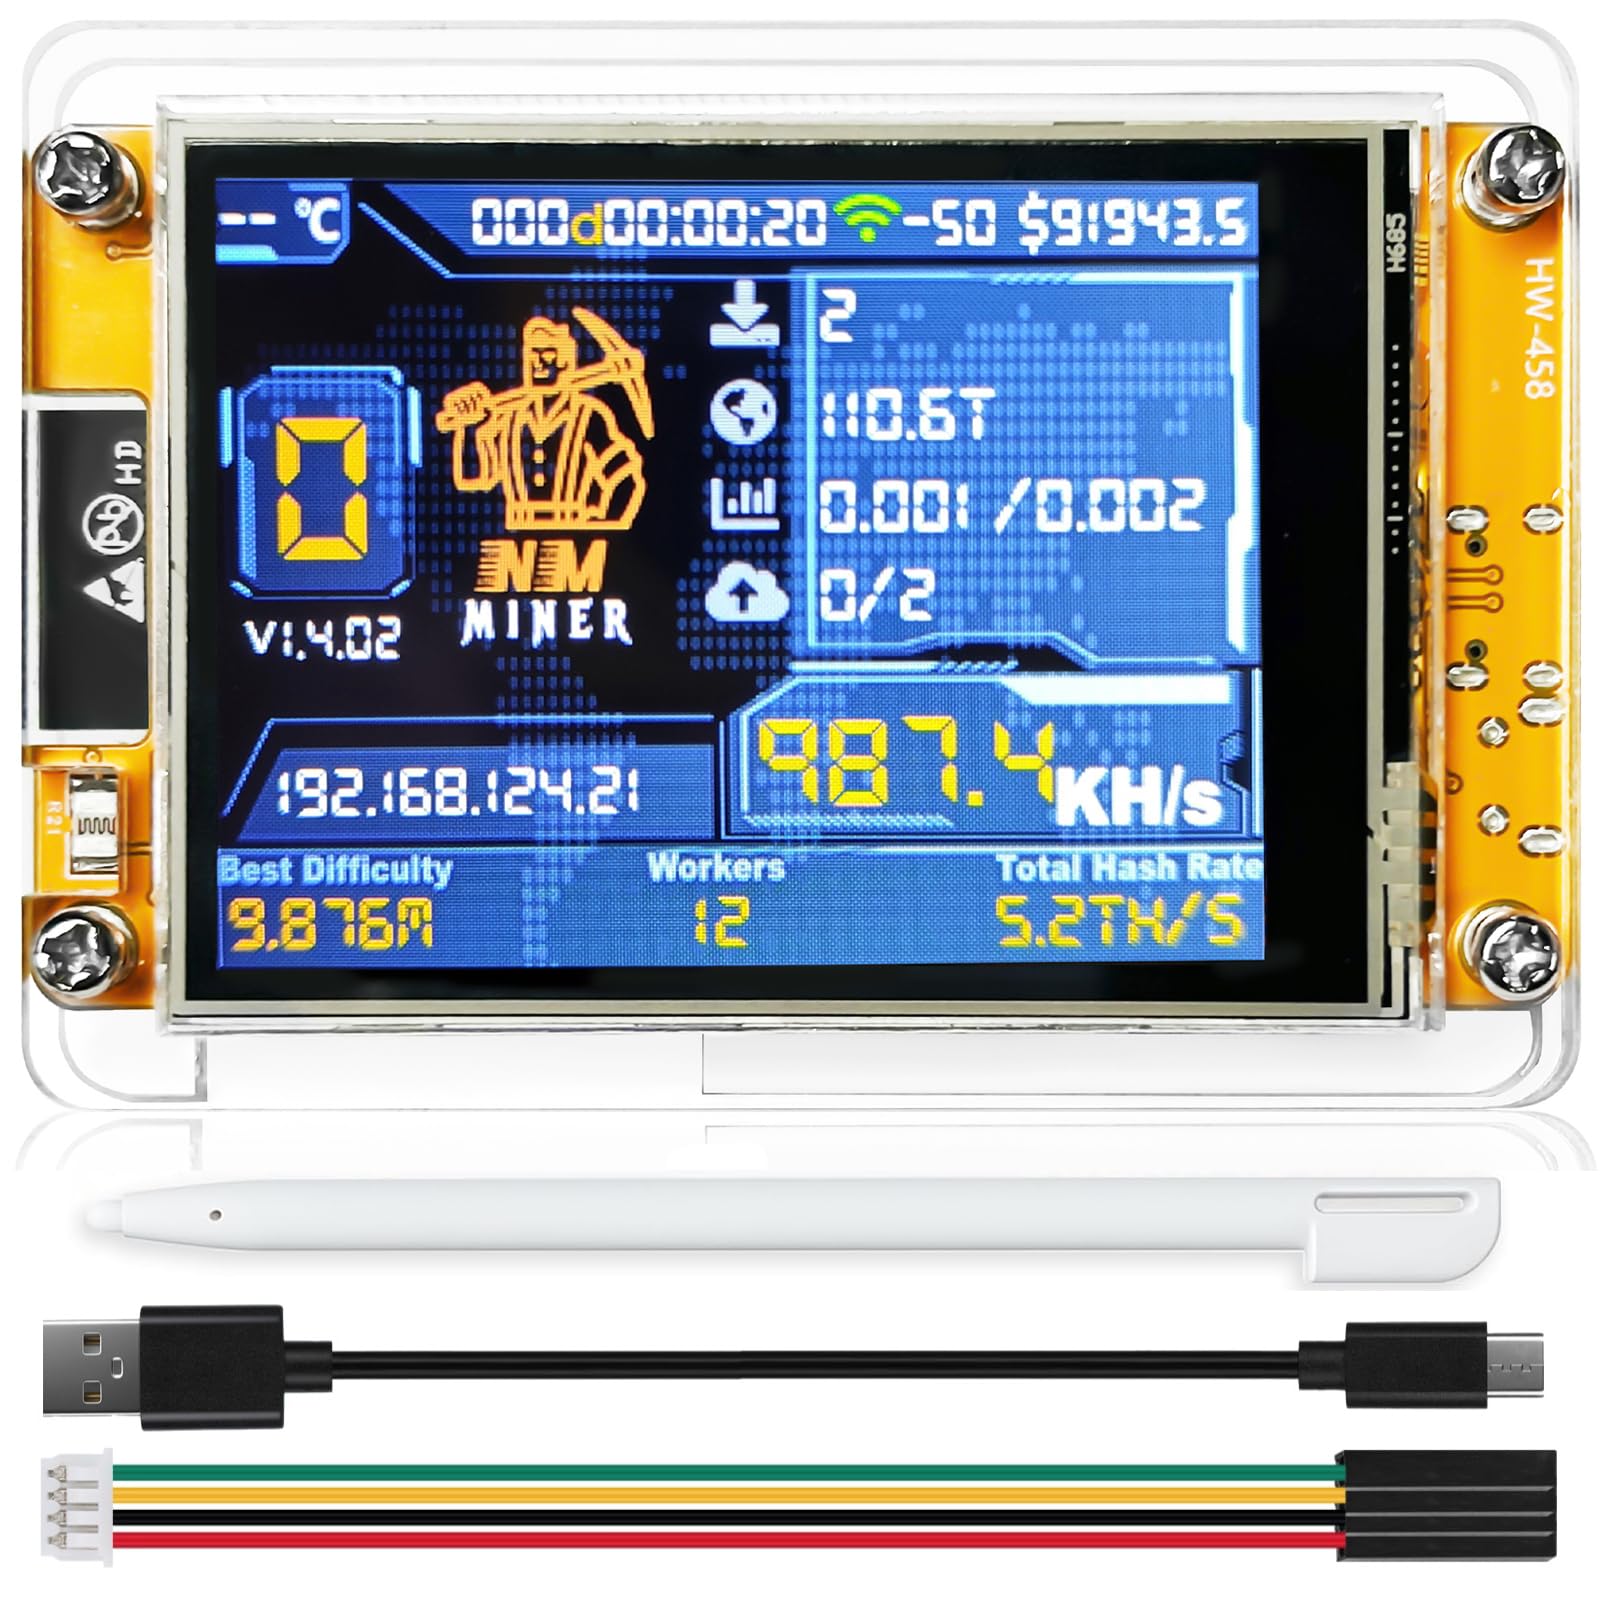
Figure 3.1: NerdMiner V2 Smart Display Interface.

Figure 3.2: High-Performance & Energy-Efficient ESP32-WROOM-32 Master Chip.

Figure 3.3: NerdMiner V2 NMMiner Board Specifications.
4. Opsætningsvejledning
Follow these steps to assemble and configure your NerdMiner V2 NMMiner.
4.1. Montering
The NerdMiner V2 typically comes unassembled. Carefully follow the included physical assembly instructions to secure the display board within its acrylic casing using the provided screws and nuts. Ensure all connections are firm but do not overtighten.
4.2. Initial Configuration (First-Time Use)
Upon power-on, the device will attempt to connect to a previously configured Wi-Fi network. If no network is found or connection fails after 15 seconds, it automatically enters configuration mode.
- Tænd: Connect the device to a 5V power source using the provided USB-C cable.
- Opsætning af adgangspunkt: On your mobile device or PC, search for the free access point named nmap-2.4g (no password required) and connect to it.
- Konfigurationsgrænseflade:
- Mobile enheder: Du vil automatisk blive omdirigeret til konfigurationssiden.
- PC/stationær: Naviger til http://192.168.4.1 i din web browser.
- Indtast Wi-Fi-legitimationsoplysninger: On the configuration page, enter your Wi-Fi SSID and password.
- Configure Mining Pool (Optional): Input your primary mining pool details and BTC wallet address. A fallback pool can also be configured.
- Gem indstillinger: Click 'Save' or 'Refresh' to apply your settings. The device will then attempt to connect to your Wi-Fi network and begin mining.

Figure 4.1: Initial Setup - First-Time Configuration.

Figure 4.2: Configuration Interface for Wi-Fi and Mining Settings.
4.3. Firmware Update and Activation
Regularly updating the firmware ensures optimal performance and access to new features. Firmware activation may be required for first-time installations or after certain updates.
- Using NMMiner Flash Tool: Åbn NMMiner Flash Tool in a Chrome or Edge browser.
- Select Board Model: Choose your specific board model and initiate the firmware update. The tool will automatically download the latest firmware from GitHub and configure flash parameters.
- Firmware Activation (if prompted): After flashing, obtain your license by following the on-screen instructions. Copy the license string into the license code field and click the activation button. A confirmation message will appear upon successful activation.
- Grundlæggende indstillinger: For first-time installations, configure basic settings like Wi-Fi and BTC wallet address using the button controls or the web interface.

Figure 4.3: Using the NMMiner Flash Tool for Firmware Updates.

Figure 4.4: Firmware Activation Step 1 - Obtaining License.

Figure 4.5: Firmware Activation Step 2 - Entering License Code.

Figure 4.6: Firmware Activation Step 3 & 4 - Configuring Basic Settings.
5. Betjeningsvejledning
The NerdMiner V2 NMMiner offers various display modes and mining options.
5.1. Visningstilstande
The 2.8-inch touchscreen allows you to switch between different informational displays:
- Mining Status: Shows real-time hash rate, network difficulty, block found status, and other mining-related data.
- Desktop Clock: Displays time and date, with Bitcoin lottery mining running in the background.
- Crypto Price Display: Shows current prices for various cryptocurrencies.
Video 5.1: Demonstration of the Bitcoin Miner Display modes, including mining statistics and cryptocurrency prices.
Video 5.2: A test run of the NerdMiner V2 NMMiner, showcasing its operational display.
5.2. Mining Modes
The device supports both solo mining and traditional mining pool modes, providing flexibility based on user preference.
- Solo Mining: Attempts to find a block independently.
- Mining Pool: Contributes hash power to a pool and shares rewards.
Video 5.3: Overståetview of the DIYmalls NerdMiner V2 NMMiner ESP32 Touchscreen, demonstrating basic functionality and setup.
Video 5.4: A demonstration of the Freenove Touchscreen Display for ESP32, highlighting its visual capabilities.
6. Vedligeholdelse
For at sikre din NerdMiner V2s levetid og optimale ydeevne, bør du overveje følgende vedligeholdelsestips:
- Rensning: Tør forsigtigt skærmen af ogasinmed en blød, tør klud. Undgå slibende materialer eller barske kemikalier.
- Firmwareopdateringer: Periodically check for and install the latest firmware updates using the NMMiner Flash Tool to benefit from performance improvements and bug fixes.
- Miljøforhold: Operate the device in a cool, dry environment. Avoid extreme temperatures and humidity.
7. Fejlfinding
If you encounter issues with your NerdMiner V2, try the following steps:
- Enheden tænder ikke: Ensure the USB-C cable is securely connected to both the device and a working 5V power source. Try a different cable or power adapter.
- Problemer med Wi-Fi-forbindelse: Re-enter configuration mode (as described in Section 4.2) and verify your Wi-Fi SSID and password. Ensure the device is within range of your Wi-Fi router.
- Mining Not Starting/Low Hash Rate: Check your mining pool settings and BTC wallet address for accuracy. Ensure your internet connection is stable. Verify that the firmware is up to date and activated.
- Skærmen reagerer ikke: Use the provided stylus for precise input. If the screen remains unresponsive, try restarting the device.
8. Specifikationer
| Feature | Detalje |
|---|---|
| Mærke | Ransanx |
| Modelnavn | NerdMiner V2 |
| Processor | Espressif ESP32-WROOM-32 (Dual-core) |
| Operativsystem | FreeRTOS |
| Vise | 2.8-tommer berøringsskærm |
| Forbindelse | Wi-Fi, Bluetooth |
| Hash Rate (Max) | 1060 KH/s |
| VÆDDER | LPDDR4 |
| Varens vægt | 3.2 ounce |
| Pakkedimensioner | 9.06 x 6.3 x 1.97 tommer |
9. Garanti og support
For garantioplysninger og teknisk support henvises til producentens officielle webwebstedet eller kontakt deres kundeservice. Gem din købskvittering til eventuelle garantikrav.