
Hyzom Trådløs Repeater Internet Amplifier 300mbps
Hyzom Trådløs Repeater Internet Amplivligere brugervejledning
Model: Wireless Repeater Internet Amplifier 300mbps
1. Introduktion
This manual provides essential information for the proper installation, operation, and maintenance of your Hyzom Wireless Repeater Internet AmpLæs venligst denne manual grundigt, inden du bruger enheden, for at sikre optimal ydeevne og sikkerhed.

Figure 1: Hyzom Wireless Repeater Internet Amplifier with four adjustable antennas and Ethernet ports.
2. Pakkens indhold
- Hyzom Trådløs Repeater Internet Amplivligere
- Brugervejledning (dette dokument)
- Ethernet Cable (optional, for wired mode)
3. Opsætning
The Hyzom Wireless Repeater can be set up in two main modes: Repeater Mode (Wireless) or AP Mode (Wired).
3.1. Repeater Mode (Wireless Extension)
- Tænd: Plug the Wireless Repeater into an electrical outlet. Wait for the power indicator light to turn solid.
- Opret forbindelse til repeaterens Wi-Fi: On your computer or mobile device, connect to the Wi-Fi network named "Wireless_Repeater" (or similar, check device label). No password is required for the initial connection.
- Adgangsopsætningsside: Åbn a web browser and enter the default IP address (e.g., 192.168.1.1 or check manual/device label) in the address bar. This will open the repeater's setup page.
- Vælg repeatertilstand: On the setup page, select "Repeater Mode". The device will scan for available Wi-Fi networks.
- Vælg dit netværk: Select your existing home Wi-Fi network (SSID) from the list.
- Indtast adgangskode: Enter the password for your existing home Wi-Fi network.
- Konfigurer udvidet netværk (valgfrit): You can choose to keep the same SSID for the extended network or create a new one (e.g., "YourNetwork_EXT"). It is recommended to use a different SSID for the extended network to easily identify it.
- Anvend indstillinger: Click "Apply" or "Save". The repeater will restart and connect to your main router.
- Bekræft forbindelsen: Once the repeater restarts, connect your devices to the new extended Wi-Fi network. Check the signal strength and internet access.
Video 1: Produkt overståetview - Demonstrates the physical aspects and basic setup of the Wireless Repeater. This video is provided by the seller.

Figure 2: WPS One-Touch Connection. Press the WPS button on your router, then press the WPS button on the extender to establish a connection automatically.
3.2. AP Mode (Wired Access Point)
- Tænd: Plug the Wireless Repeater into an electrical outlet.
- Tilslut Ethernet-kabel: Connect an Ethernet cable from your main router (or an active network port) to the LAN/WAN port on the Wireless Repeater.
- Adgangsopsætningsside: Follow steps 3.1.2 and 3.1.3 to access the setup page.
- Vælg AP-tilstand: On the setup page, select "AP Mode".
- Konfigurer AP-indstillinger: Set a new SSID and password for your access point.
- Anvend indstillinger: Click "Apply" or "Save". The repeater will restart and function as a wired access point.
- Bekræft forbindelsen: Connect your wireless devices to the new access point's Wi-Fi network.
4. Betjeningsvejledning
4.1. Optimal placering
For best performance, place the Wireless Repeater halfway between your main router and the area where you need improved Wi-Fi coverage. Avoid placing it near large metal objects, concrete walls, or devices that emit strong electromagnetic interference (e.g., microwaves, cordless phones).

Figure 3: Optimal placement of the extender to cover the entire home without dead zones.
4.2. LED-indikatorer
- Power LED: Konstant blåt lys angiver, at enheden er tændt.
- Wi-Fi LED: Solid blue indicates a successful Wi-Fi connection. Blinking indicates activity.
- Signalstyrke LED'er: Multiple solid blue LEDs indicate strong signal from the router. Fewer LEDs indicate weaker signal. Adjust placement if signal is weak.
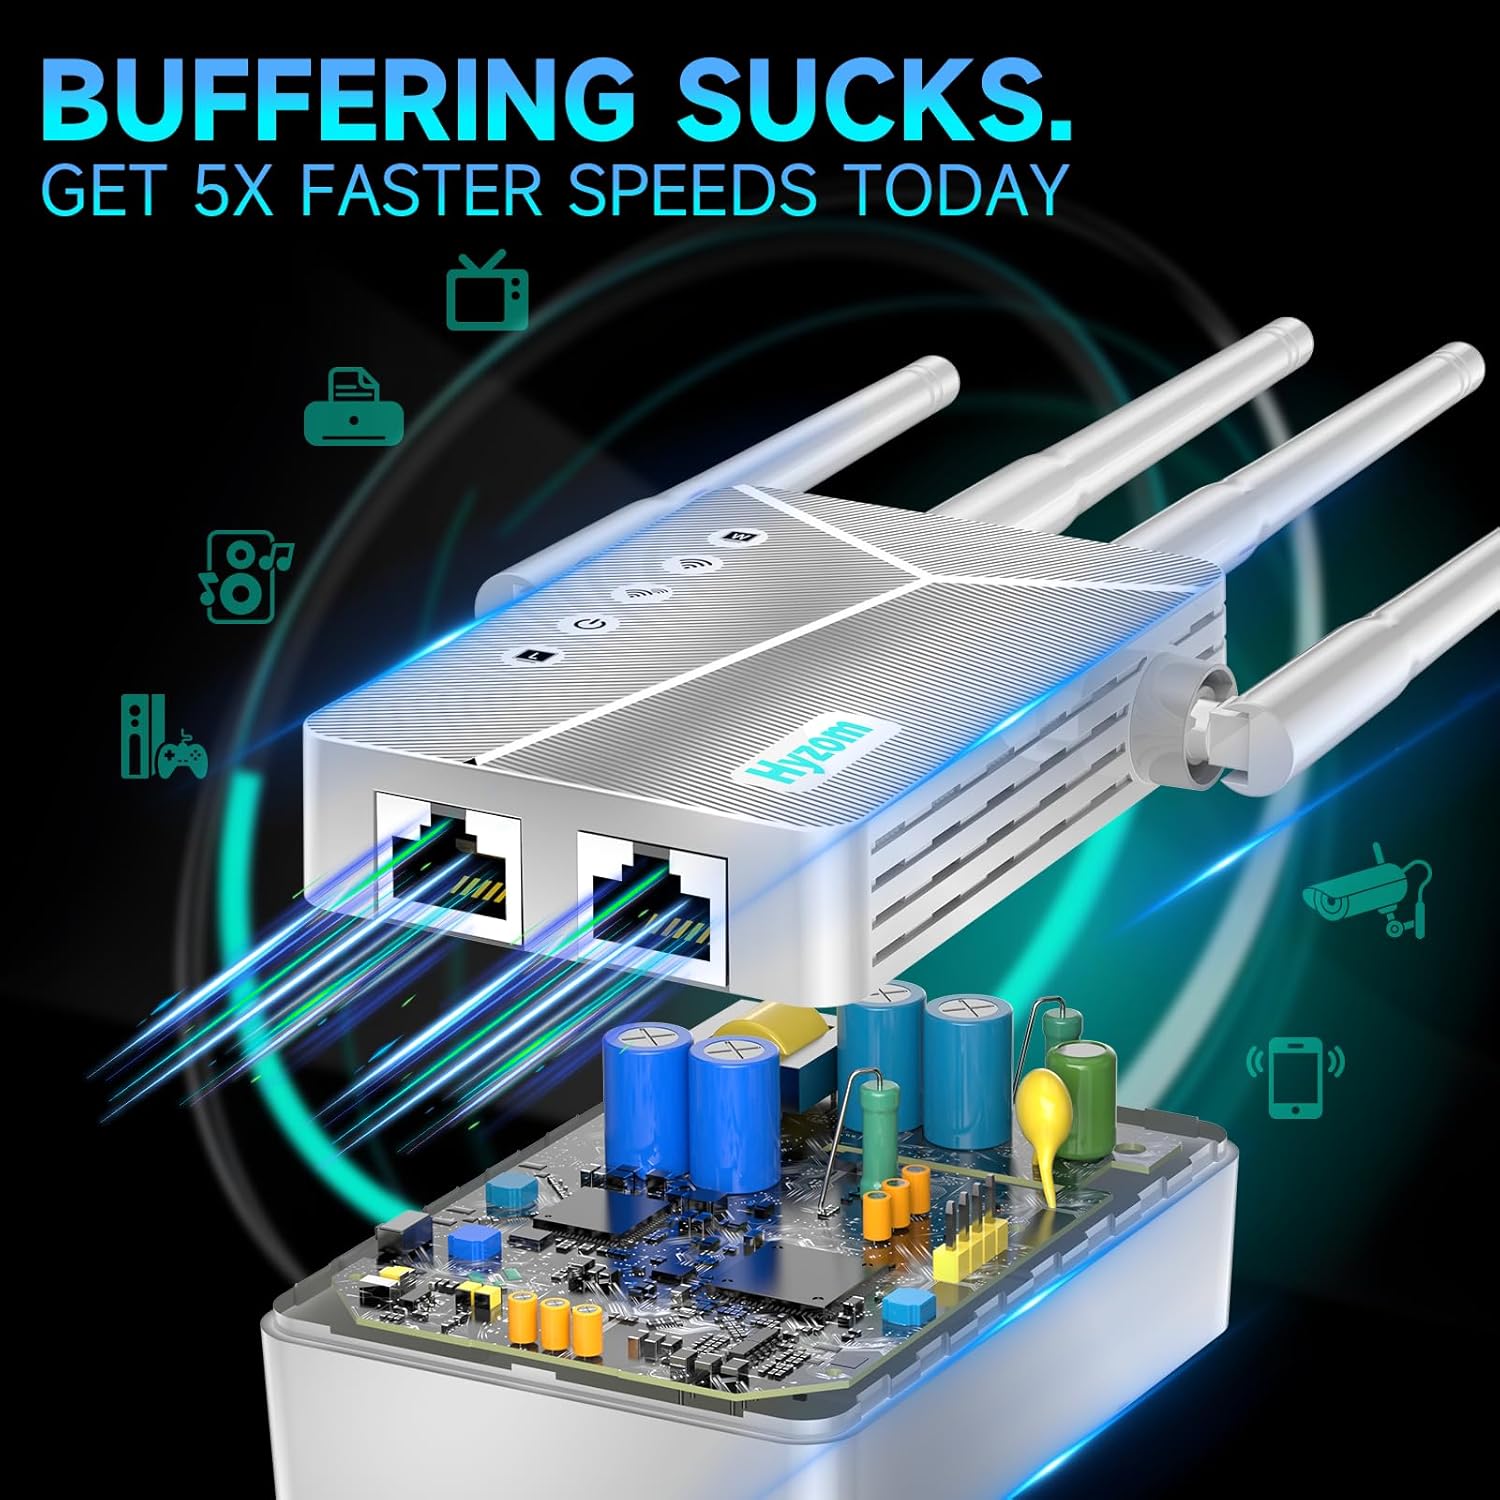
Figure 4: LED indicators on the device for power, Wi-Fi, and signal strength.
4.3. Adjusting Antennas
The four external antennas can be adjusted to optimize signal direction and coverage. Experiment with different angles to find the best configuration for your environment.

Figure 5: Adjustable antennas for customized signal direction and enhanced coverage.
5. Vedligeholdelse
- Rensning: Brug en blød, tør klud til at rengøre enheden. Brug ikke flydende rengøringsmidler eller aerosoler.
- Ventilation: Sørg for, at enheden er placeret et godt ventileret område for at forhindre overophedning. Bloker ikke ventilationshullerne.
- Firmwareopdateringer: Kontroller jævnligt producentens webwebsted for firmwareopdateringer for at sikre optimal ydeevne og sikkerhed.
- Genstart: If you experience connectivity issues, try restarting the device by unplugging it for 10 seconds and then plugging it back in.
6. Fejlfinding
- Ingen internetadgang:
- Ensure your main router has internet access.
- Check the signal strength LEDs on the repeater. If weak, reposition the repeater closer to the main router.
- Bekræft, at du indtastede den korrekte adgangskode til dit primære Wi-Fi-netværk under opsætningen.
- Try restarting both your main router and the repeater.
- Weak Signal from Repeater:
- Relocate the repeater to a position that is roughly halfway between your router and the desired coverage area.
- Adjust the antennas for better signal reception and transmission.
- Minimize obstructions like thick walls or large electronic devices between the router and repeater.
- Kan ikke få adgang til opsætningssiden:
- Ensure your device is connected to the repeater's default Wi-Fi network (e.g., "Wireless_Repeater").
- Verify the IP address entered in the browser. Try clearing your browser's cache.
- Temporarily disable any VPN or firewall software on your computer/mobile device.
- Forbindelsen falder ofte fra hinanden:
- Tjek for interferens fra andre elektroniske enheder.
- Ensure the repeater is not overloaded with too many connected devices.
- Consider updating the repeater's firmware.

Figure 6: Common issue of poor connection in Wi-Fi dead zones, which the repeater aims to resolve.
7. Specifikationer
| Feature | Detalje |
|---|---|
| Modelnavn | Trådløs repeater internet Amplifier 300mbps |
| Mærke | Hyzom |
| Trådløs Standard | IEEE 802.11 B/G/N |
| Dataoverførselshastighed | Op til 300 Mbps |
| Frekvensbånd | 2.4 GHz |
| Antenner | 4 External Adjustable Antennas |
| Havne | 1 x LAN/WAN Ethernet Port |
| Sikkerhed | WPA/WPA2 Encryption |
| Dimensioner | 6.3 x 3.7 x 1.3 tommer |
| Varens vægt | 7 ounce |
8. Garanti og support
For warranty information and technical support, please refer to the contact details provided on the product packaging or visit the official Hyzom webwebsted.
Fabrikant: Hyzom
ASIN: B0F43QCKL8
Dato først tilgængelig: 8. april 2025
Ask a question about this manual
Ask about setup, troubleshooting, compatibility, parts, safety, or missing instructions. Manuals+ will review the question and use this page’s manual context to help answer it.