1. Introduktion
This manual provides detailed instructions for the safe installation, operation, and maintenance of your Edvivi Outdoor Wall Light, model EW659S-BK. This fixture is designed for outdoor use, featuring a matte black finish, clear glass, and an integrated dusk-to-dawn motion sensor for enhanced functionality and energy efficiency.
Læs venligst denne manual grundigt inden installation, og gem den til senere brug.
2. Sikkerhedsoplysninger
ADVARSEL: Risk of electric shock. Disconnect power at the circuit breaker or fuse box before installation or servicing. All wiring connections must be in accordance with local and national electrical codes.
- Sørg for, at strømforsyningen er slukket, før installationen påbegyndes.
- Kontakt en kvalificeret elektriker, hvis du er usikker på installationsprocessen.
- Forsøg ikke at ændre armaturet.
- Håndter glaskomponenter forsigtigt for at forhindre brud.
- This fixture is rated for outdoor use and is waterproof. However, ensure all connections are sealed properly during installation to maintain water resistance.
- Use only E26 base bulbs, maximum 60W. LED bulbs are recommended for energy efficiency.
3. Pakkens indhold
Kontroller, at alle komponenter er til stede, før emballagen bortskaffes.
- Edvivi Outdoor Wall Light Fixture (1 unit)
- Monteringsudstyr (skruer, trådmøtrikker, monteringsplade)
- Instruktionsmanual

Image 3.1: Dimensional diagram of the Edvivi Outdoor Wall Light, showing measurements of 6.5"L x 5.5"W x 13.75"H.
4. Specifikationer
| Mærke | Edvivi |
| Modelnavn | EW659S-BK |
| Farve | Mat sort |
| Materiale | Glas, Metal |
| Produktdimensioner | 6.5 cm L x 5.5 cm B x 13.75 cm H |
| Strømkilde | Elektrisk med ledning |
| Voltage | 120 volt |
| Wattage | Max 60 watt |
| Pære base | E26 medium |
| Særlige funktioner | Anti-Rust, Dimmable (with compatible bulb/switch), Motion Sensor, Waterproof |
| Indendørs/Udendørs brug | Udendørs |
| Installationstype | Flush Mount |
| Certificering | ETL opført |
5. Opsætning og installation
The Edvivi Outdoor Wall Light is designed for easy installation. However, professional installation is recommended for hardwiring. Ensure power is OFF at the circuit breaker before proceeding.
5.1 Nødvendigt værktøj (medfølger ikke)
- Skruetrækker (Phillips og Flathead)
- Trådstrippere
- Elektrisk tape
- Stige (hvis nødvendigt)
- Sikkerhedsbriller
5.2 Installationstrin
- Sluk for strømmen: Locate the circuit breaker controlling the outdoor lighting circuit and switch it to the OFF position. Verify power is off using a voltage tester.
- Forbered monteringsoverfladen: Sørg for, at el-boksen er sikkert monteret, og at ledningerne er tilgængelige.
- Fastgør monteringsplade: Secure the provided mounting plate to the electrical box using the screws from the hardware kit.
- Ledningsforbindelser:
- Tilslut sort ledningen fra armaturet til sort (varm) ledning fra el-boksen ved hjælp af en trådmøtrik.
- Tilslut hvid ledningen fra armaturet til hvid (neutral) ledningen fra el-boksen ved hjælp af en trådmøtrik.
- Tilslut jord ledning (blank kobber eller grøn) fra armaturet til jord wire from the electrical box and to the mounting plate using a ground screw.
Ensure all wire nuts are tightened securely and connections are wrapped with electrical tape for added safety.
- Monter armaturet: Carefully align the fixture with the mounting plate and secure it using the provided screws. Ensure no wires are pinched.
- Installer pære: Insert an E26 base bulb (max 60W) into the socket. (Bulb not included).
- Gendan strøm: Tænd for strømmen igen ved afbryderen.

Image 5.1: Installation height reference, showing lights mounted on either side of a door. The door is 78.8 inches (199 cm) high and 35.4 inches (89 cm) wide. The lights are 13.75 inches (35 cm) high.
6. Betjeningsvejledning
This fixture features an advanced dusk-to-dawn motion sensor. The sensor detects ambient light levels and motion to activate the light.
6.1 Motion Sensor and Dusk-to-Dawn Functionality
The integrated sensor automatically turns the light on at dusk and off at dawn. Additionally, it detects motion within its range to activate the light when needed, providing security and convenience.

Billede 6.1: Detaljeret view of the motion sensor located at the top of the fixture.

Image 6.2: Alternate detailed view of the motion sensor, highlighting its position on the fixture.
6.2 Adjusting Sensor Settings
The motion sensor may have adjustable settings for sensitivity and duration. Refer to the small dials or switches located on the sensor unit itself (often under a protective cover) for specific adjustments. Common settings include:
- SENS (følsomhed): Justerer bevægelsessensorens detektionsområde.
- TID: Angiver, hvor længe lyset forbliver tændt, efter at der er registreret bevægelse.
- LUX (Light Level): Determines the ambient light level at which the sensor activates the light (dusk-to-dawn threshold).
Note: It is recommended to adjust the sensor settings before permanently mounting the fixture, or at least before securing it completely, as access to these dials might be limited once installed.
7. Vedligeholdelse
Regular maintenance will ensure the longevity and optimal performance of your Edvivi Outdoor Wall Light.
- Rensning: Afbryd strømmen før rengøring. Tør armaturet af med en blød, tør klud.amp klud. Brug ikke slibende rengøringsmidler eller opløsningsmidler, da de kan beskadige overfladen eller glasset.
- Udskiftning af pære: Ensure power is off before replacing the bulb. Allow the bulb to cool completely. Unscrew the old bulb and screw in a new E26 base bulb (max 60W).
- Inspektion: Periodically check for any loose connections, damaged wiring, or signs of wear. Address any issues promptly.
8. Fejlfinding
| Problem | Mulig årsag | Løsning |
|---|---|---|
| Lyset tændes ikke. |
|
|
| Lyset er tændt konstant. |
|
|
| Lyset blinker eller flimrer. |
|
|
| Bevægelsessensor registrerer ikke. |
|
|
9. Garanti og support
Edvivi products are manufactured to high-quality standards and are backed by a limited warranty. For specific warranty details, please refer to the warranty card included with your purchase or visit the official Edvivi webwebsted.
If you encounter any issues or have questions regarding your Edvivi Outdoor Wall Light, please contact our customer support team:
- Webwebsted: Visit the Edvivi Store on Amazon (for product information and contact options)
- E-mail: Se produktemballagen eller den officielle webwebsted for nuværende kontakt-e-mail.
- Telefon: Se produktemballagen eller den officielle webwebsted for aktuelt kontaktnummer.
Please have your model number (EW659S-BK) and purchase date available when contacting support.
10. Produktanvendelse Eks.amples
The Edvivi Outdoor Wall Light is suitable for various outdoor locations, enhancing both illumination and security.

Image 10.1: Two Edvivi outdoor wall lights illuminating a house exterior, positioned symmetrically next to windows.

Image 10.2: An Edvivi outdoor wall light providing illumination next to an entryway door in a lush garden environment at night.
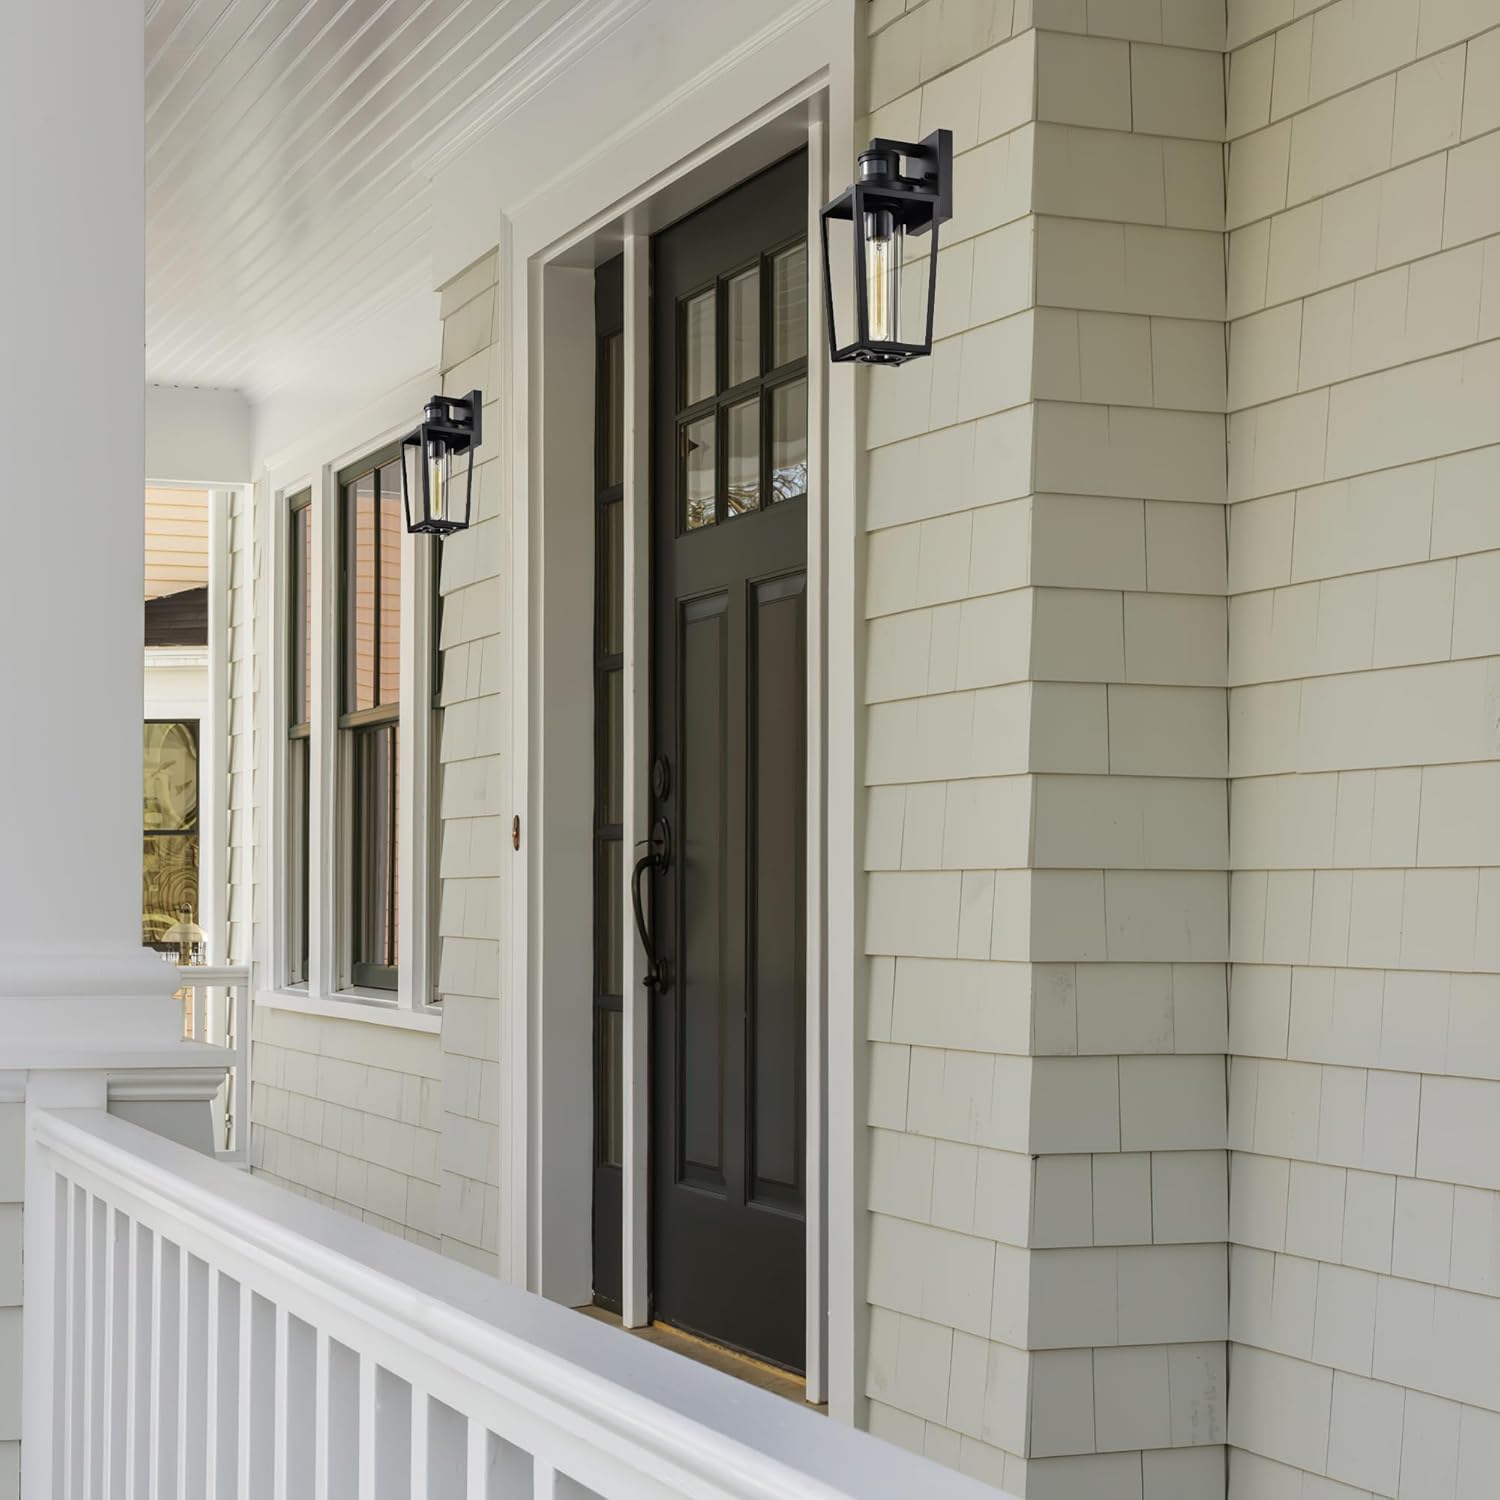
Image 10.3: Edvivi outdoor wall lights mounted on a house exterior, flanking a front door with a white railing.

Image 10.4: Edvivi outdoor wall lights installed on a white brick wall, providing light to an arched entryway.