
Indledning
Thank you for choosing the PGST Wireless Home Alarm System. This system is designed to provide reliable security for your home, apartment, or garage with easy DIY installation and smart control via the Tuya or Smart Life application. This manual will guide you through the setup, operation, and maintenance of your alarm system.
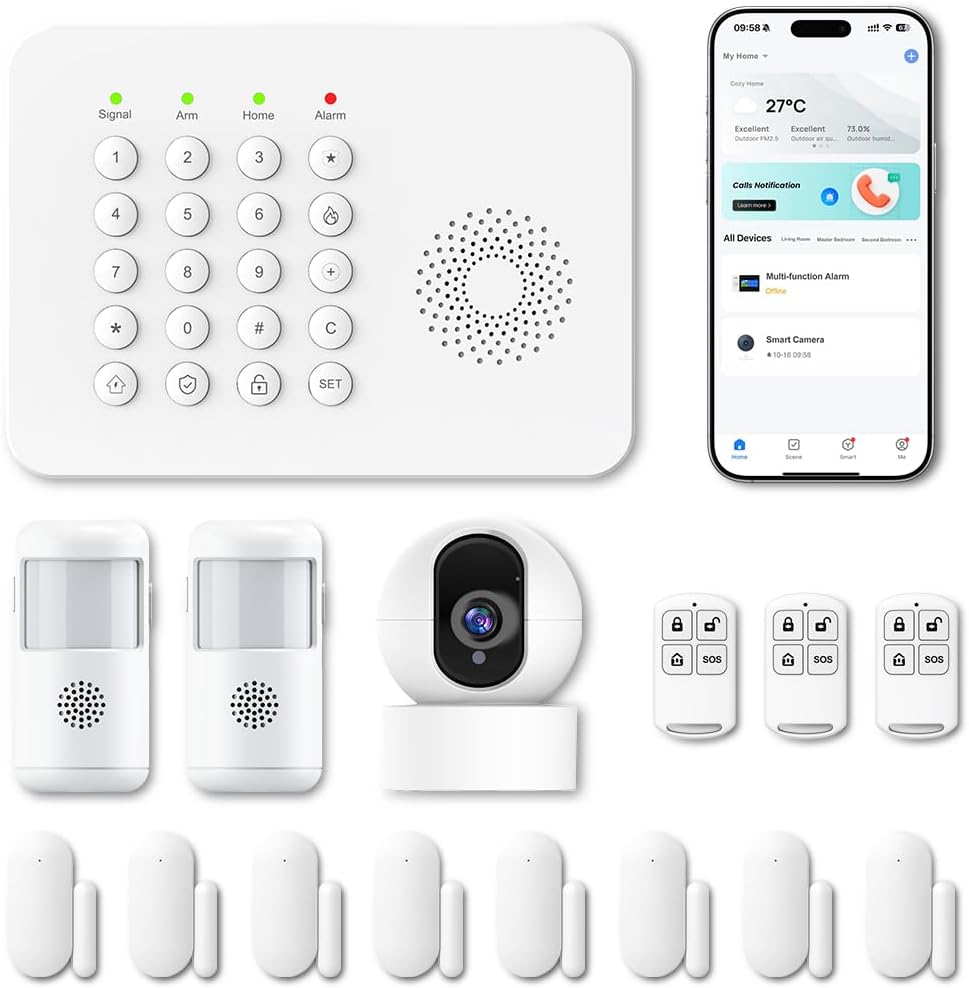
Billede: Overview af komponenterne i PGST trådløst hjemmealarmsystem.
Sikkerhedsoplysninger
- Ensure the power supply is stable and matches the device's requirements.
- Udsæt ikke enheden for ekstreme temperaturer, fugt eller direkte sollys.
- Hold enheden væk fra stærke magnetiske felter.
- Forsøg ikke selv at skille enheden ad eller reparere den. Kontakt kundesupport, hvis der er behov for service.
- Bortskaf batterier og elektroniske komponenter ansvarligt i henhold til lokale regler.
Pakkens indhold
Bekræft at alle varer er til stede i din pakke:
- 1 x Alarm Control Panel (Main Unit)
- Door/Window Contact Sensors
- PIR bevægelsesdetektorer
- Fjernbetjeninger
- Power Adapter for Control Panel
- Monteringsudstyr (skruer, klæbepuder)
- Brugermanual

Billede: Eksample of included components: control panel, motion sensors, door/window sensors, and remote controls.
Opsætning
1. Installation af hovedkontrolpanel
- Choose a central location for the control panel, away from direct sunlight and heat sources.
- Plug the power adapter into the control panel and then into a standard wall outlet.
- The panel will power on and initiate its startup sequence.
2. App-download og Wi-Fi-forbindelse
- Download appen "Tuya Smart" eller "Smart Life" fra din smartphones appbutik (iOS eller Android).
- Opret en konto, eller log ind, hvis du allerede har en.
- Follow the in-app instructions to add a new device. Select "Security & Sensor" and then "Alarm (Wi-Fi)" or a similar option.
- Ensure your smartphone is connected to a 2.4 GHz Wi-Fi network. The alarm system only supports 2.4 GHz Wi-Fi.
- Follow the app's prompts to connect the control panel to your home Wi-Fi network.

Image: Smartphone showing real-time alerts from the Smart Life app.
3. Sensorinstallation
The system supports 433MHz wireless signal transmission for sensors.
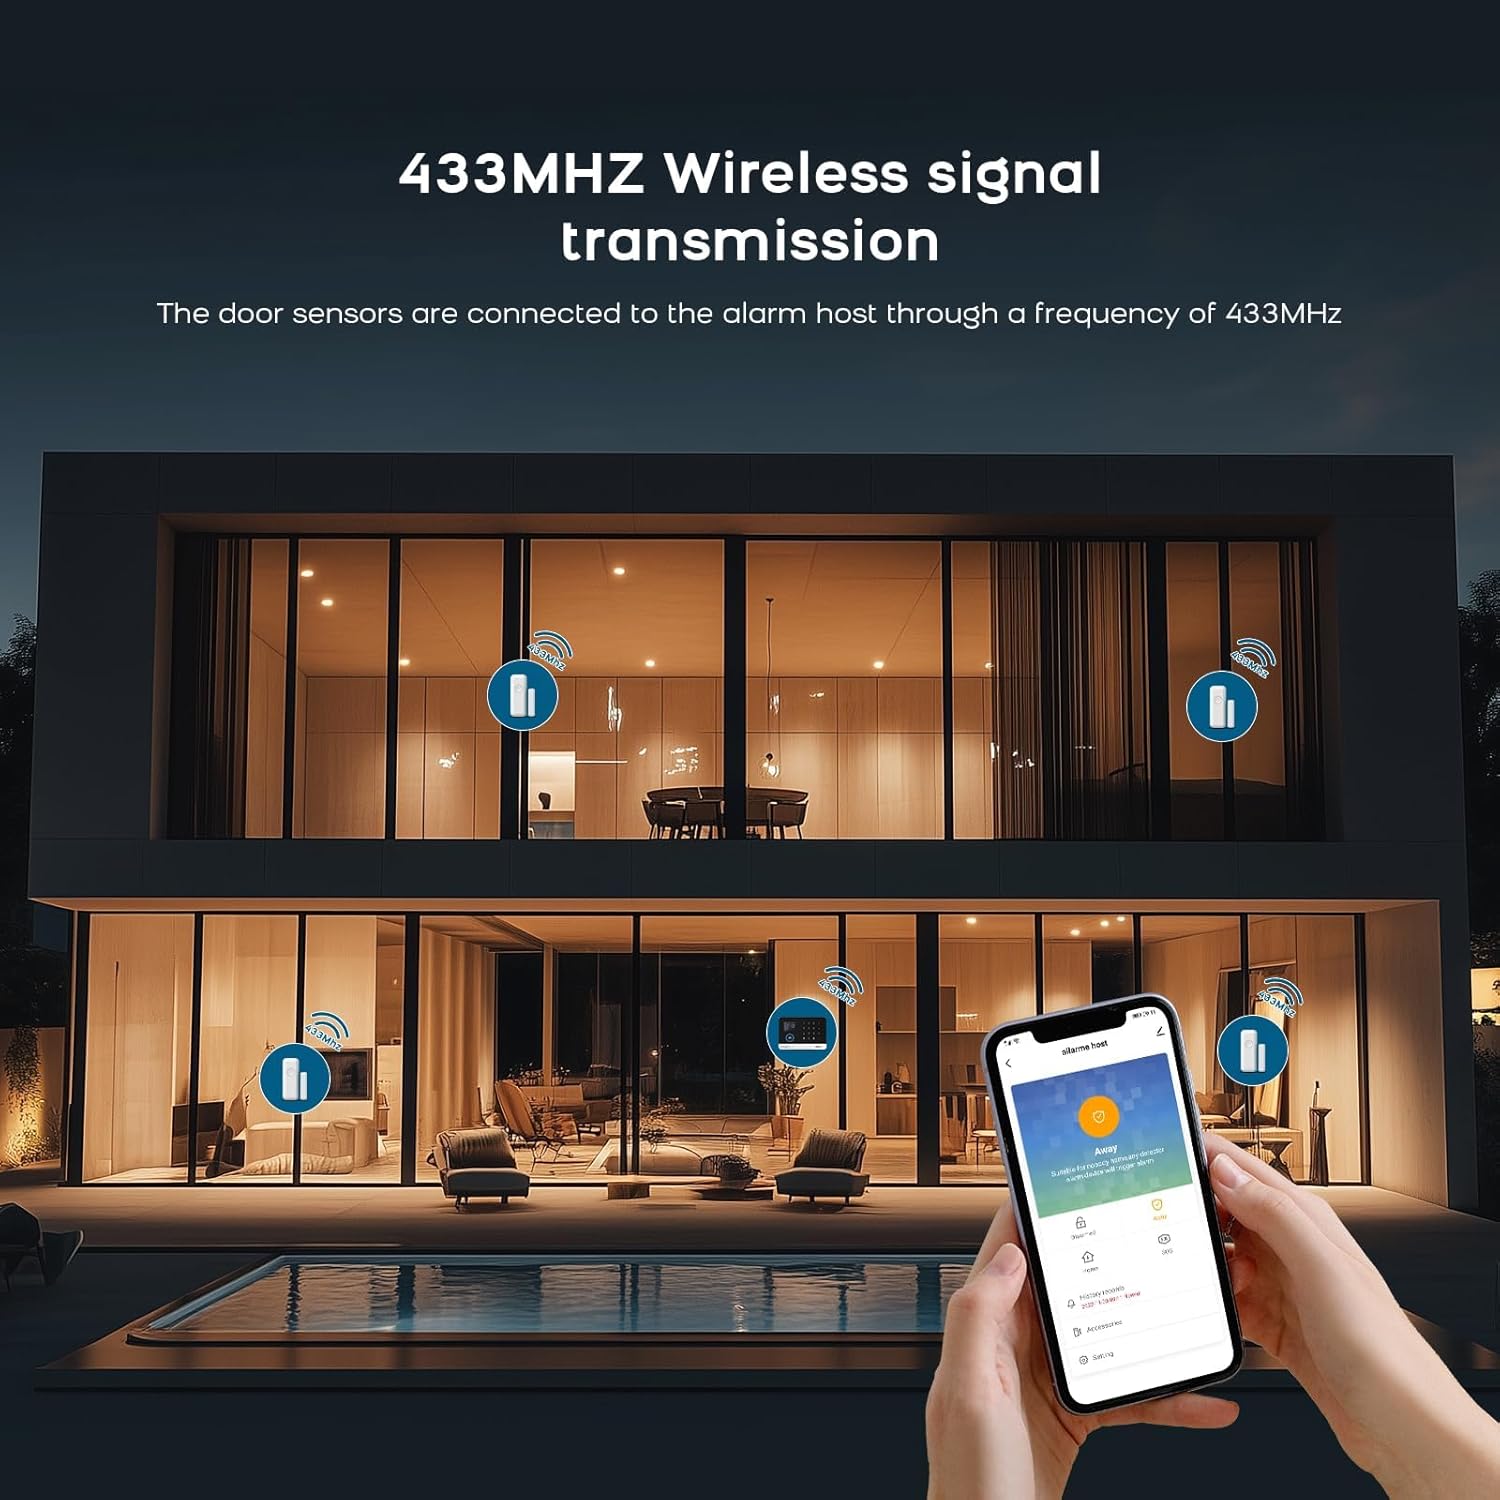
Image: Illustration of 433MHz wireless signal transmission from sensors to the alarm host.
Dør-/vindueskontaktsensorer:
- Identify the two parts of the sensor: the main unit and the magnetic strip.
- Mount the main unit on the door or window frame and the magnetic strip on the moving part (door/window) using the provided adhesive pads or screws.
- Ensure the two parts are aligned and within 1-2 cm of each other when the door/window is closed.
- When the door/window opens and the gap exceeds 1-2 cm, the sensor will trigger an alarm.
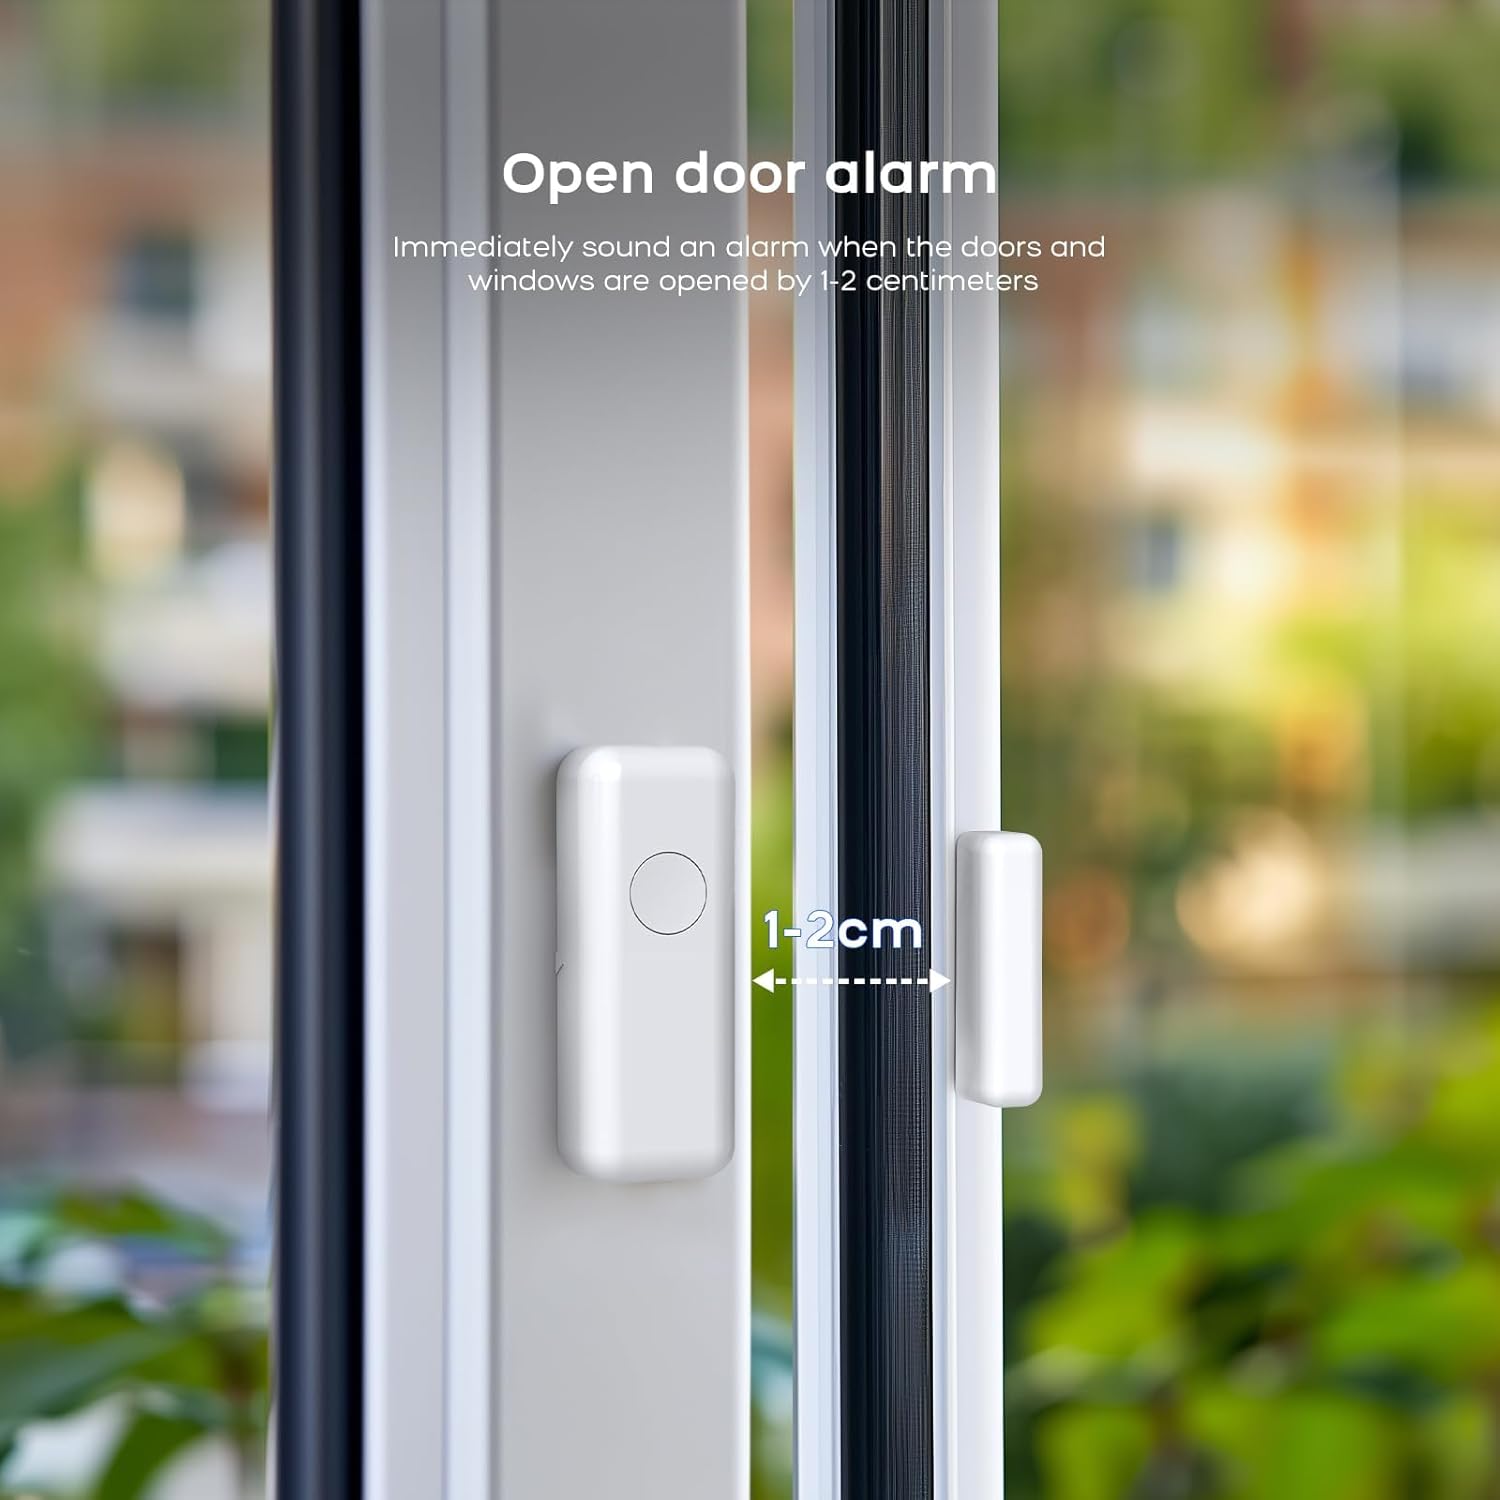
Image: Door sensor installation, illustrating the 1-2 cm trigger gap.

Image: Working principle of the door sensor alarm, showing closed (no alarm) and separated (alarm) states.
PIR-bevægelsesdetektorer:
- Install motion detectors in areas where intruders are likely to pass, such as hallways or living rooms.
- Mount them at a height of approximately 2-2.5 meters for optimal coverage.
- Avoid placing them near heat sources, direct sunlight, or areas with strong air currents to prevent false alarms.

Image: Two PIR motion detectors.
4. Pairing Sensors and Remotes
Sensors and remote controls typically come pre-paired. If you need to add new sensors or re-pair existing ones, follow the instructions below or refer to the video tutorial.
To clear existing codes and re-pair a sensor:
Video: Instructions on how to clear existing codes and re-pair a sensor with the alarm system.
- On the receiver unit, press and hold the 'down arrow' button for 5 seconds to clear the code. The receiver will emit a sound.
- Press and hold the 'volume' button on the receiver for 5 seconds. The receiver will emit a 'ding' sound, and its indicator light will flash rapidly.
- Take the detector (e.g., door sensor or motion sensor) and activate it (e.g., separate the door sensor parts or wave your hand in front of the motion sensor) to send a signal to the receiver. The receiver will confirm pairing with a sound.
Betjening af systemet
1. Tilkobling og frakobling
- Tilkobling (Udetilstand): Press the 'Arm' button on the control panel, remote control, or via the app. All sensors will be active.
- Hjemmearmering (opholdstilstand): Press the 'Home' button on the control panel, remote control, or via the app. Typically, perimeter sensors (door/window) are active, while internal motion sensors may be inactive to allow movement within the home.
- Afvæbne: Enter your PIN on the control panel, press the 'Disarm' button on the remote control, or use the app.

Image: Remote control for arming and disarming the system.
2. Advarsler og meddelelser
When a sensor is triggered while the system is armed, the siren will sound (100 dB), and you will receive instant notifications on your smartphone via the Tuya Smart or Smart Life app.
3. Integration af stemmestyring
The system is compatible with Amazon Alexa and Google Assistant. You can arm, disarm, or check the status of your alarm system using voice commands.
- Enable the Tuya Smart or Smart Life skill in your Alexa or Google Home app.
- Link your account and discover devices.
- Use commands like: "Alexa, arm my home" or "Hey Google, disarm the alarm."

Billede: Stemmestyring med Alexa og Google Assistant.
4. Customizing Ringtones
You can change the ringtone of your alarm system. Refer to the video below for detailed instructions.
Video: Instructions on how to change the ringtone of the alarm system.
- On the receiver unit, press the 'up arrow' or 'down arrow' buttons to cycle through and select your preferred ringtone.
- Press and hold the 'volume' button on the receiver for 5 seconds. The receiver will emit a 'ding' sound, and its indicator light will flash rapidly.
- Take the detector and activate it to send a signal to the receiver. The receiver will confirm the new ringtone with a sound.
Opretholdelse
1. Udskiftning af batteri
Sensors are battery-powered. When a sensor's battery is low, the system will typically notify you via the app. Replace batteries promptly to ensure continuous protection.
- Refer to the specific sensor model for battery type (e.g., CR2032, AAA).
- Åbn forsigtigt sensoren casing, replace the old battery with a new one, ensuring correct polarity.
- Luk casing sikkert.
2. Rensning
Wipe the control panel and sensors with a soft, dry cloth. Do not use liquid cleaners or abrasive materials, as these can damage the device.
Fejlfinding
- Systemet opretter ikke forbindelse til Wi-Fi: Ensure your Wi-Fi network is 2.4 GHz. Check Wi-Fi password and signal strength. Restart the control panel and try again.
- Sensor udløser ikke alarm: Check sensor battery. Ensure the sensor parts are within the recommended distance (1-2 cm for door/window sensors). Re-pair the sensor if necessary (refer to the 'Clearing codes and re-pairing' video in the Setup section).
- Falske alarmer: For motion detectors, ensure they are not placed near heat sources, vents, or in direct sunlight. Adjust sensitivity settings if available.
- App-notifikationer ikke modtaget: Check your phone's notification settings for the Tuya Smart/Smart Life app. Ensure the app is running in the background and has internet access.
Specifikationer
| Feature | Detalje |
|---|---|
| Mærke | PGST |
| Modelnummer | A519W (B67R) |
| Forbindelsesteknologi | Wireless (2.4 GHz Wi-Fi, 433 MHz for sensors) |
| Strømkilde | Battery Powered (sensors), Mains Powered (control panel) |
| Kompatible enheder | Smartphone (Tuya Smart/Smart Life App), Alexa, Google Assistant |
| Alarmtype | Lyd og bevægelse |
| Sirene niveau | 100 decibel |
| Sensor Technology | Magnetic Sensor (door/window), PIR (motion) |
| Varedimensioner (L x B x H) | 7.6 x 7.6 x 5.1 centimeters (Control Panel) |
| Batterisammensætning | Lithium-ion (for some components) |
Garanti og support
PGST products are certified EN 50131 and come with a 3-year warranty. For technical assistance or warranty claims, please contact PGST customer support.
- Batteri-sikkerhedskopi: The system includes a 24-hour battery backup. An optional PGST-PWR100 battery can extend this to 72 hours.
- Sensor rækkevidde: Up to 150m in open areas, 50m in urban environments.
- Dual-Band Frequency: Sensors operate on 868 MHz / 2.4 GHz to minimize interference.
- Udvidelsesmuligheder: The system is expandable with additional sensors.
- Strømforbrug: Approximately 3 W/h in standby mode.
For further assistance, consult the digital manual available in 8 languages via the app or visit the official PGST webwebsted.