1. Introduktion
The ESP32-S3-LCD-2.8C is a versatile development board featuring an ESP32-S3 32-bit LX7 dual-core processor, a 2.8-inch round display with 480x480 resolution, and integrated WiFi and Bluetooth capabilities. This board is designed for rapid development of Human-Machine Interface (HMI) applications and other ESP32-S3 projects, supporting GUI programs like LVGL and offering various peripheral interfaces.

En overview of the ESP32-S3 development board, showcasing its 2.8-inch round display, LX7 dual-core processor, 2.4 GHz Wi-Fi, BLE 5, onboard antenna, 2.8-inch size, capacitive touch, 480x480 pixels resolution, buzzer, TF card slot, PCF85063 RTC, QMI8658 6-axis IMU, and multiple interfaces.
2. Nøglefunktioner
- Processor: ESP32-S3 32-bit LX7 Dual-core Processor, up to 240MHz main frequency.
- Forbindelse: Supports 2.4GHz Wi-Fi (802.11 b/g/n) and Bluetooth 5 (LE) with onboard antenna.
- Hukommelse: Indbygget 512KB SRAM og 384KB ROM, med indbygget 16MB Flash og 8MB PSRAM.
- Vise: Onboard 2.8-inch capacitive touch display with 480x480 resolution.
- Touch Control: Supports touch control via I2C interface with interrupt support (for touch version only).
- Grænseflader: Adapts UART, I2C, and various IO interfaces, integrates full-speed USB port.
- Indbyggede sensorer: QMI8658 6-axis sensor (accelerometer and gyroscope), PCF85063 RTC sensor.
- Opbevaring: Integrated TF card slot.
- Strømstyring: Battery recharge management module for 3.7V Li-ion batteries.
- GUI Support: Capable of smoothly running GUI programs such as LVGL for HMI development.

This image illustrates the two available versions of the ESP32-S3-LCD-2.8C development board: one without touch control and the ESP32-S3-Touch-LCD-2.8C with capacitive touch control.
3. Pakkens indhold
Bekræft, at alle nedenstående varer er inkluderet i din pakke:
- ESP32-S3-LCD-2.8C Development Board x1
- SH1.0 12PIN-kabel (~100 mm) x1
- SH1.0 4PIN cable (~100mm) x1 (2 pieces)
4. Hardware overview
This section provides a detailed look at the components and interfaces available on the ESP32-S3-LCD-2.8C development board.

A comprehensive diagram labeling the key components on the ESP32-S3-Touch-LCD-2.8C board.
Komponentidentifikation:
- ESP32-S3R8: Dual-core processor, op til 240 MHz driftsfrekvens.
- QMI8658 attitude sensor: 6-axis IMU (3-axis gyroscope and 3-axis accelerometer).
- TCA9554PWR: GPIO expander chip.
- CH340C: USB to UART with onboard automatic download circuit, enabling program burning without additional operations.
- 16 MB Flash: Onboard storage for firmware and data.
- PCF85063 RTC chip: Real-Time Clock for timekeeping.
- Battery recharge manager: For managing 3.7V Li-ion battery charging.
- MP8761: Low dropout regulator, 800mA output (Max).
- USB Type-C port: For power supply, program burning, and debugging.
- MX1.25 battery header: For 3.7V Lithium battery, supports charging and discharging.
- 12PIN multi-functional pin header: For various peripheral connections.
- IPEX1-stik: To use external antenna via resoldering the resistor.
- TF kortslot: Til ekstern lagring.
- 3.7V battery holder: For connecting rechargeable RTC battery.
- I2C header: For I2C communication, only supports the I2C peripherals and cannot be mapped to other functions.
- UART header: Only available when the USB to UART Type-C port is not connected.
- USB to UART Type-C port: For power supply, program burning and debugging.
- Summer: Til lydfeedback.
- Opladningsindikator: Lithium battery charge indicator, lights up when charging, off when fully charged (light status is uncertain when the battery is not connected).
- Strømindikator: Indikerer strømstatus.
- Power supply control button: For managing power.
- Genstarts knap: To reset the board.
- BOOT-knap: For entering bootloader mode.
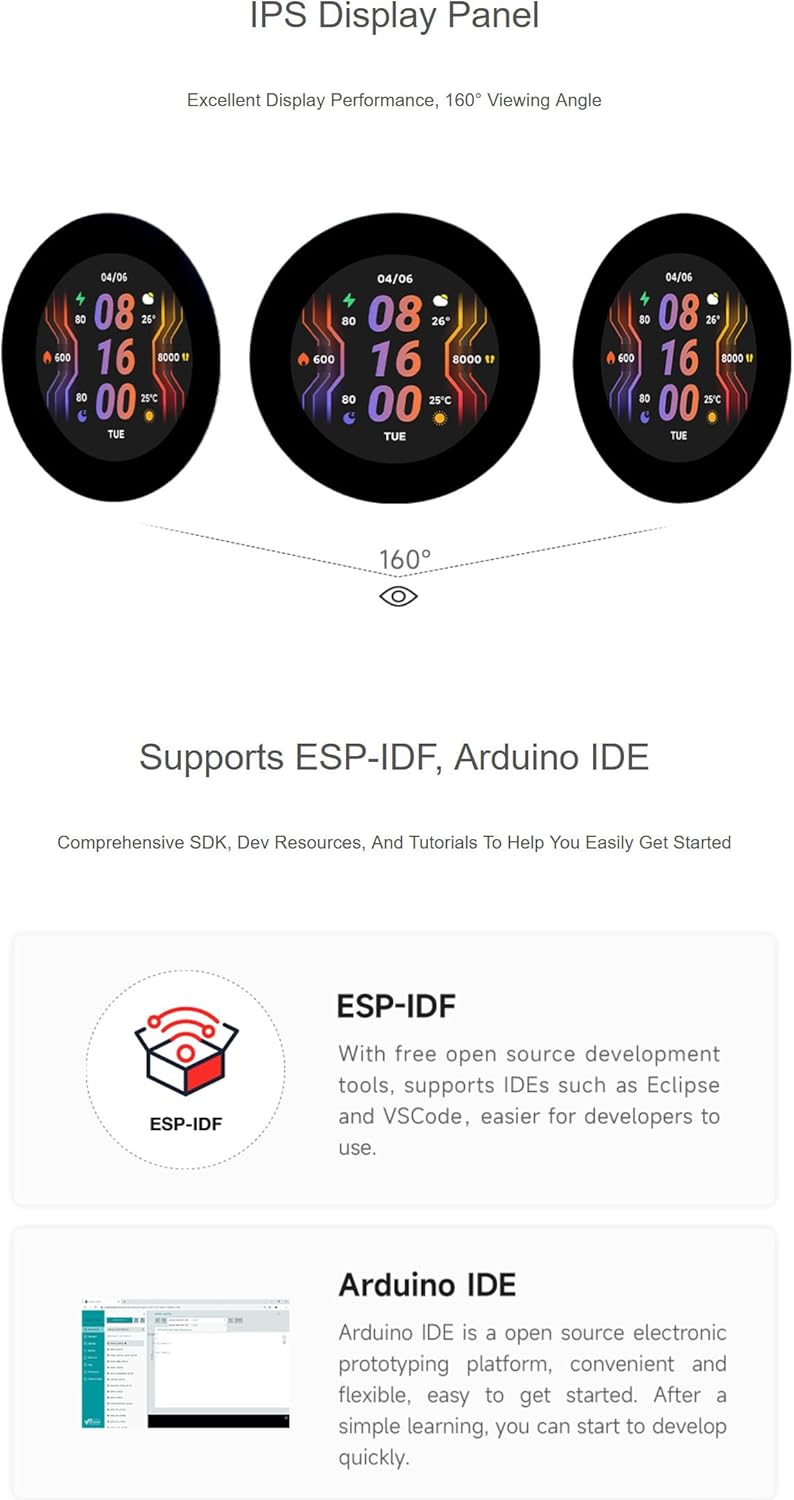
5. Display Specifications
The ESP32-S3-LCD-2.8C features a high-quality round display. Below are its key parameters:
| Parameter | Specifikation | Parameter | Specifikation |
|---|---|---|---|
| Skærmpanel | IPS | Skærmstørrelse | 2.8 tommer |
| Opløsning | 480 × 480 | Kontrastforhold | 1200:1 |
| Kommunikationsgrænseflade | RGB | Driver IC | ST7701 |
| Touch Interface (Touch Version Only) | I2C | Touch IC (Touch Version Only) | GT911 |

This image showcases the wide 160-degree viewing angle and vibrant display quality of the IPS panel integrated into the ESP32-S3 development board.
6. Development Environments
The ESP32-S3-LCD-2.8C development board supports various development environments, making it accessible for both beginners and experienced developers.

This image highlights the compatibility of the ESP32-S3 board with popular development frameworks.
ESP-IDF
The Espressif IoT Development Framework (ESP-IDF) is the official development framework for the ESP32-S3. It provides a comprehensive set of tools, libraries, and examples for developing robust and efficient applications. It supports IDEs such as Eclipse and VSCode.
Arduino IDE
For users familiar with the Arduino ecosystem, the ESP32-S3 can be programmed using the Arduino IDE. This platform offers a simpler, more accessible approach to development, ideal for rapid prototyping and projects that benefit from the extensive Arduino library collection.
7. Connectivity and Pinout
The ESP32-S3-LCD-2.8C board offers various GPIOs and communication interfaces for connecting external peripherals. Refer to the pinout diagram for detailed connections.

A detailed pinout diagram illustrating how to connect various peripherals via GPIO, UART, and I2C interfaces, with color-coded labels for Power (red), Ground (black), and GPIO (green).
8. Ansøgning Eksamples
The ESP32-S3-LCD-2.8C is suitable for a wide range of applications, particularly those requiring a compact display and wireless connectivity.
This image demonstrates potential applications, such as creating Human-machine Interfaces (HMI) and developing graphical user interfaces using the LVGL library.
Human-Machine Interface (HMI)
Leverage the round display and capacitive touch capabilities to create intuitive and interactive HMIs for smart home devices, industrial control panels, or custom gadgets. The ESP32-S3's processing power and connectivity enable complex interactions and data visualization.
LVGL GUI Development
The board is optimized for LittlevGL (LVGL), a free and open-source graphics library. This allows developers to create visually appealing and responsive graphical user interfaces with ease, even on resource-constrained microcontrollers.
9. Betjeningsvejledning
To begin using your ESP32-S3-LCD-2.8C development board, follow these general steps:
- Software opsætning: Install the necessary development environment (ESP-IDF or Arduino IDE) on your computer. Ensure all required drivers for the USB-to-UART chip (CH340C) are installed.
- Tilslut brættet: Connect the ESP32-S3-LCD-2.8C to your computer using a USB Type-C cable. The board will be powered via USB.
- Vælg port: In your IDE, select the correct serial port corresponding to the connected board.
- Indlæs Eksample kode: Start with a simple example program (e.g., a basic display test or Wi-Fi scan) to verify the board's functionality.
- Compile and Upload: Compile your code and upload it to the ESP32-S3 board. The onboard automatic download circuit simplifies this process.
- Test funktionalitet: Observe the display and any connected peripherals to confirm the program is running as expected.
- Batteridrift: If using a 3.7V Li-ion battery, connect it to the MX1.25 battery header. The onboard recharge manager will handle charging.
10. Vedligeholdelse
Proper care and maintenance will ensure the longevity and reliable operation of your development board:
- Håndteres med forsigtighed: Undgå at tabe brættet eller udsætte det for overdreven fysisk belastning.
- Statisk elektricitet: Always handle the board in an anti-static environment or take precautions to prevent electrostatic discharge (ESD).
- Strømforsyning: Use a stable and appropriate power supply (5V via USB Type-C or 3.7V Li-ion battery). Do not exceed the recommended voltage.
- Rensning: If necessary, gently clean the board with a soft, dry brush or compressed air. Avoid using liquids or harsh chemicals.
- Opbevaring: Opbevar pladen et tørt, køligt sted, væk fra direkte sollys og ekstreme temperaturer.
- Firmwareopdateringer: Regularly check for and apply firmware updates for the ESP32-S3 chip and any libraries you are using to benefit from improvements and bug fixes.
11. Fejlfinding
If you encounter issues with your ESP32-S3-LCD-2.8C board, consider the following troubleshooting steps:
- Boardet tænder ikke:
- Ensure the USB Type-C cable is securely connected to both the board and your computer/power adapter.
- Check if the power indicator LED on the board is lit.
- Prøv et andet USB-kabel eller en anden strømkilde.
- Koden kunne ikke uploades:
- Verify that the correct serial port is selected in your IDE.
- Ensure the CH340C USB-to-UART driver is correctly installed.
- Press and hold the BOOT button, then press and release the RESET button, then release the BOOT button to enter download mode if automatic download fails.
- Tjek for eventuelle fejlmeddelelser i IDE'ens outputkonsol.
- Skærm virker ikke:
- Ensure your code initializes the display correctly.
- Check for proper power supply to the display.
- Verify that the display ribbon cable is securely connected.
- Problemer med Wi-Fi/Bluetooth-forbindelse:
- Confirm your code correctly configures and initializes the Wi-Fi or Bluetooth module.
- Check for proper antenna connection if an external antenna is used.
- Ensure you are within range of the Wi-Fi access point or Bluetooth device.
12. Tekniske specifikationer
- Varenummer: ESP32-S3-LCD-2.8C
- Processor: ESP32-S3 (32-bit LX7 Dual-core, up to 240MHz)
- Trådløs: 2.4 GHz Wi-Fi (802.11 b/g/n), Bluetooth 5 (LE)
- Indbygget hukommelse: 512 KB SRAM, 384 KB ROM, 16 MB Flash, 8 MB PSRAM
- Vise: 2.8-inch IPS LCD, 480x480 resolution, RGB interface, ST7701 Driver IC
- Røre: Capacitive touch (I2C interface, GT911 Touch IC) - for touch version only
- Grænseflader: UART, I2C, GPIO, Full-speed USB Type-C
- Sensorer: QMI8658 6-axis IMU, PCF85063 RTC
- Opbevaring: TF kortslot
- Magt: USB Type-C (5V), 3.7V Li-ion battery support with recharge management
- Dimensioner: Approximately 73.00mm (diameter) x 77.35mm (height including connector) for non-touch version; 95.86mm (diameter) x 95.86mm (height including connector) for touch version.
- Vægt: 0.06 kg (ca.)
- UPC: 795602424032
13. Garanti og support
For warranty information and technical support, please refer to the seller's policies on the platform where the product was purchased. Typically, products come with a standard return period. For detailed technical inquiries or assistance with specific projects, please contact XYGStudy directly through the Amazon messaging system or their official support channels.