Indledning
Thank you for choosing the SUNLUX Reflective Digital Alarm Clock. This manual provides essential information for the proper setup, operation, and maintenance of your new alarm clock. Please read these instructions carefully before use and retain them for future reference.
Sikkerhedsoplysninger
- Udsæt ikke enheden for ekstreme temperaturer, direkte sollys eller høj luftfugtighed.
- Undgå at tabe eller udsætte enheden for kraftige stød.
- Forsøg ikke selv at skille enheden ad eller reparere den. Overlad al service til kvalificeret personale.
- Hold enheden væk fra vand og andre væsker.
- Bortskaf batterier korrekt i henhold til lokale regler.
- Use only the specified power adapter (not included) to avoid damage.
Pakkens indhold
Tjek venligst pakken for følgende varer:
- SUNLUX Reflective Digital Alarm Clock (1 unit)
- CR2032 3V Battery (1 unit, pre-installed or separate)
- Brugervejledning (dette dokument)
Note: A USB power adapter and cable are typically required for primary operation and are not included.
Produkt overview
The SUNLUX Reflective Digital Alarm Clock combines modern design with practical features to enhance your daily routine.
- Reflective Digital Display: Features a clear, visible digital display with adjustable brightness, designed to be elegant and modern.
- Laser Time Projector: Projects the time onto a wall or ceiling, offering convenience and easy viewing from any position. The projection angle is adjustable.
- CR2032 3V Battery Backup: Includes a long-lasting CR2032 battery to maintain time settings during power outages, preventing resets.
- Kompakt og let design: Measuring 18.5 x 9 cm, its sleek design fits well on any surface without occupying excessive space.

Figur 1: Forside view of the SUNLUX Reflective Digital Alarm Clock, showcasing its digital display and the projector module.
Opsætning
- Pak enheden ud: Carefully remove the alarm clock and all accessories from the packaging.
- Install/Check Backup Battery: The CR2032 3V battery is typically pre-installed or included separately. If separate, locate the battery compartment (usually on the bottom or back) and insert the battery with the correct polarity (+/-). This battery ensures time settings are retained during power interruptions.
- Tilslut strøm: Connect a compatible USB power adapter (not included) to the alarm clock's power input port and then plug it into a wall outlet. The display should light up.
- Indstilling af starttidspunkt: Upon first power-on, the display may show a default time or flash. Proceed to the "Operating Instructions" section to set the correct time.
Betjeningsvejledning
Button Functions (Typical)
While specific button labels may vary, most digital alarm clocks follow a similar pattern:
- MODE / SET: Used to switch between time, alarm, and other settings modes. Press and hold to enter setting mode.
- UP / +: Used to increase values or navigate options.
- DOWN / -: Used to decrease values or navigate options.
- SNOOZE / LIGHT / PROJECTION: Activates snooze, adjusts display brightness, or controls the projector.
1. Indstilling af tid
- Tryk og hold på MODE or SÆT knappen, indtil timecifrene begynder at blinke.
- Brug UP or NED knapper for at justere timen.
- Trykke MODE or SÆT igen for at gå til minutcifrene.
- Brug UP or NED knapper for at justere minutterne.
- Trykke MODE or SÆT to confirm and exit time setting mode. Some models may require multiple presses to cycle through 12/24-hour format or date settings.
2. Indstilling af alarmen
- Tryk på MODE or SÆT button repeatedly until "AL" or the alarm time appears on the display.
- Tryk og hold MODE or SÆT until the alarm hour digits flash.
- Brug UP or NED knapperne for at indstille den ønskede alarmtime.
- Trykke MODE or SÆT igen for at gå til alarmminutcifrene.
- Brug UP or NED knapperne til at indstille de ønskede alarmminutter.
- Trykke MODE or SÆT to confirm. An alarm icon (e.g., a bell) should appear on the display, indicating the alarm is active.
- To turn off the alarm sound when it rings, press any button except SLUM. To activate snooze, press the SLUM knap.
3. Using the Laser Time Projector
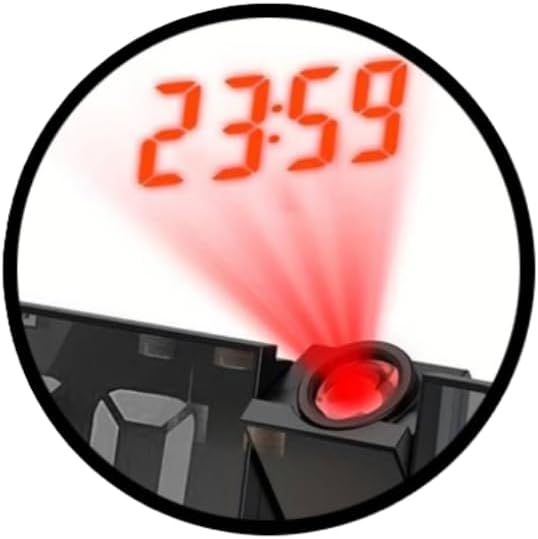
Figure 2: Detail of the laser projector in action, showing the time projected onto a surface.
- Aktivér projektion: Find FREMSKRIVNING button or a dedicated switch (often combined with SNOOZE/LIGHT). Press it to turn the projector on or off.
- Juster projektionsvinkel: The projector lens module is typically rotatable. Gently adjust its angle to direct the time display onto your desired surface (wall or ceiling).
- Adjust Focus (if available): Some models may have a small focus wheel near the projector lens. Rotate it to sharpen the projected image.
4. Justering af skærmens lysstyrke

Figure 3: The digital display of the alarm clock, showing time and additional environmental data.
The display brightness is adjustable to suit different lighting conditions and personal preferences.
- Tryk på LYS or SNOOZE / LYS button repeatedly to cycle through different brightness levels (e.g., High, Medium, Low, Off).
- Vælg den ønskede lysstyrke for at opnå en behagelig viewing.
Opretholdelse
- Rensning: Brug en blød, tør klud til at tørre vækkeurets overflade af. Brug ikke slibende rengøringsmidler eller opløsningsmidler.
- Udskiftning af batteri: If the CR2032 backup battery needs replacement (e.g., if settings are lost during a power outage), open the battery compartment, remove the old battery, and insert a new CR2032 3V battery with the correct polarity.
- Opbevaring: If storing the device for an extended period, disconnect it from power and remove the backup battery to prevent leakage.
Fejlfinding
| Problem | Mulig årsag | Løsning |
|---|---|---|
| Skærmen er tom eller svag. | No power, power adapter faulty, brightness set to off/low. | Ensure power adapter is connected and working. Press the LIGHT button to adjust brightness. |
| Tids-/alarmindstillinger går tabt efter strømafbrydelsetage. | CR2032 backup battery is dead or not installed correctly. | Replace the CR2032 3V battery. Ensure it is inserted with correct polarity. |
| Alarmen lyder ikke. | Alarm not set, alarm volume too low (if adjustable), alarm turned off. | Verify alarm time is set and activated (check for alarm icon). Ensure volume is audible. |
| Projected time is blurry or not visible. | Projector not focused, angle incorrect, too much ambient light. | Adjust the focus wheel (if present) and projection angle. Reduce ambient light for better visibility. |
Specifikationer
| Mærke: | SUNLUX |
| Model: | 18.5x9cm Reflective Digital Alarm Clock |
| Dimensioner: | 18.5 x 9 cm |
| Farve: | Sort |
| Skærmtype: | Digital, Reflective |
| Særlige funktioner: | Laser Time Projector, Adjustable Display Brightness |
| Strømkilde: | Electric (via USB adapter, not included), CR2032 3V Battery (backup) |
| Materiale: | Plast |
| Anvendelse: | Indendørs |
Garanti og support
Dette produkt er dækket af en standard producentgaranti. For specifikke garantioplysninger henvises til den dokumentation, der blev leveret ved køb, eller kontakt din forhandler.
For technical support or inquiries, please contact SUNLUX customer service through their official webwebstedet eller forhandleren, hvor produktet blev købt. Hav venligst din produktmodel og købsdato klar, når du kontakter support.