1. Introduktion
This manual provides comprehensive instructions for the installation, operation, and maintenance of your Light My Bricks 2.0 Light Kit, designed specifically for the LEGO Ghostbusters Ecto-1 #10274 set. This kit is engineered to enhance your LEGO model with realistic lighting effects, bringing the iconic vehicle to life. Please read this manual thoroughly before beginning installation to ensure proper setup and optimal performance.
The Light My Bricks kit includes 18 carefully designed lights to highlight the car's iconic details, from the headlights to the siren and interiors, ensuring an immersive display.
2. Sikkerhedsoplysninger
Advarsel: Kvælningsfare - små dele. Ikke egnet til børn under 3 år.
Always handle electronic components with care. Do not expose the light kit components to water or extreme temperatures. Ensure all connections are secure before powering on the kit. Disconnect power before performing any maintenance or adjustments.
3. Hvad er der i æsken
Your Light My Bricks 2.0 Light Kit package should contain the following components:
- 24 x lys
- 4 x Bælter
- 4 x Dokker
- 1 x Flux-strøm
- 4 x tilbehør
- 4 x assorterede klodser
Please verify all components are present before beginning installation. If any parts are missing or damaged, please contact Light My Bricks customer support.
4. Opsætning og installation
The Light My Bricks kit is designed for flexible installation, allowing you to integrate the lights either during the initial LEGO build or after the model is complete. For detailed, step-by-step instructions, please refer to our 3D installation guides.
4.1 Accessing the 3D Installation Guide
To access the comprehensive 3D installation guide, scan the QR code located on the side of your product box. This guide provides visual, interactive instructions to ensure accurate placement of every brick and component.
4.2 Powering the Light Kit
Vigtig bemærkning: This light kit requires an external power source. We recommend powering this kit using a USB Power Bank or a USB Wall Adaptor (for connection to a mains outlet). These power components are ikke included with the light kit and must be acquired separately.
Ensure the power source provides stable and sufficient power for all 18 lights included in the kit.
4.3 Installationstrin (generelt overview)
- Forbered din LEGO-model: Depending on your chosen installation method, you may need to partially disassemble sections of your LEGO Ghostbusters Ecto-1 to integrate the light components.
- Ruteledninger: Carefully route the thin wires of the light components through and around the LEGO bricks. Avoid pinching or sharply bending the wires, as this can damage them.
- Forbind komponenter: Connect the individual lights to the expansion boards and other accessories as indicated in the 3D guide. Ensure all connectors are firmly seated.
- Integrate into Model: Secure the light components and wires within the LEGO structure, ensuring they are hidden and do not interfere with the model's appearance or functionality.
- Tilslut til strøm: Once all lights are installed, connect the main power cable from the light kit to your chosen USB power source.
Refer to the 3D installation guide for precise placement and connection details for each light point, including headlights, siren, interior lights, and taillights.

Billede: Forside view of the LEGO Ghostbusters Ecto-1 with the Light My Bricks kit fully installed, showcasing the bright headlights and blue roof lights.

Billede: Bagside view of the LEGO Ghostbusters Ecto-1, highlighting the illuminated red taillights and the blue and red lights on the roof rack.
5. Betjeningsvejledning
Operating your Light My Bricks kit is straightforward once installed:
- Tilslut strøm: Ensure the USB power cable from the light kit is securely connected to a compatible USB power source (e.g., USB power bank, USB wall adapter).
- Aktiver lys: The lights will illuminate automatically once power is supplied. There are no additional switches or controls on the light kit itself.
- Afbryd strømmen: To turn off the lights, simply disconnect the USB power cable from the power source.
The kit is designed for continuous illumination when powered, bringing your LEGO Ecto-1 to life with dynamic lighting effects.

Image: A detailed close-up of the roof section of the LEGO Ecto-1, showcasing the intricate blue and red light installations from the Light My Bricks kit.

Billede: Et nærbillede view of the rear section of the LEGO Ecto-1, focusing on the illuminated red taillight and the details around the rear wheel.
6. Vedligeholdelse
The Light My Bricks kit requires minimal maintenance to ensure longevity and optimal performance:
- Rensning: Use a soft, dry cloth to gently wipe down the light components and wires if they accumulate dust. Do not use liquid cleaners or abrasive materials.
- Ledningshåndtering: Periodically check that all wires are securely routed and not pinched or stressed. Adjust if necessary to prevent damage.
- Tilslutningskontrol: Ensure all connectors remain firmly seated. Loose connections can lead to flickering or non-functional lights.
- Opbevaring: If storing your LEGO model with the light kit installed, ensure it is kept in a dry, dust-free environment away from direct sunlight and extreme temperatures.
7. Fejlfinding
If you encounter issues with your Light My Bricks kit, please refer to the following common problems and solutions:
| Problem | Mulig årsag | Løsning |
|---|---|---|
| Lysene tænder ikke. | Ingen strøm, løs forbindelse eller defekt komponent. | Ensure USB power source is connected and functional. Check all wire connections to expansion boards and lights. Test with a different power source if possible. |
| Nogle lys flimrer eller lyser svagt. | Loose connection, insufficient power, or damaged wire. | Check connections for the affected lights. Ensure your power source provides adequate and stable power. Inspect wires for any visible damage. |
| Lights are too bright/dim. | Ikke justerbar. | The brightness of the lights is fixed and not adjustable. Ensure proper power supply for optimal brightness. |
| Wires are visible or interfering with LEGO parts. | Improper wire routing. | Refer to the 3D installation guide for optimal wire routing techniques. Carefully re-route wires to conceal them and prevent interference. |
If you continue to experience issues after attempting these solutions, please contact Light My Bricks customer support for further assistance.
8. Produktspecifikationer
| Feature | Detalje |
|---|---|
| Produktnavn | Light My Bricks 2.0 Light Kit Compatible with Lego Ghostbusters Ecto-1#10274 |
| Modelnummer | 2.0ecto-1-10274 |
| ASIN | B0DX16TXN7 |
| Produktdimensioner | 5.71 x 4.53 x 1.97 tommer |
| Varens vægt | 5.6 ounce |
| Oprindelsesland | Kina |
| Producent anbefalet alder | 12 år og opefter |
| Antal lys | 18 (designed to highlight specific details) |
| Power Source (Ikke inkluderet) | USB Power Bank or USB Wall Adaptor |
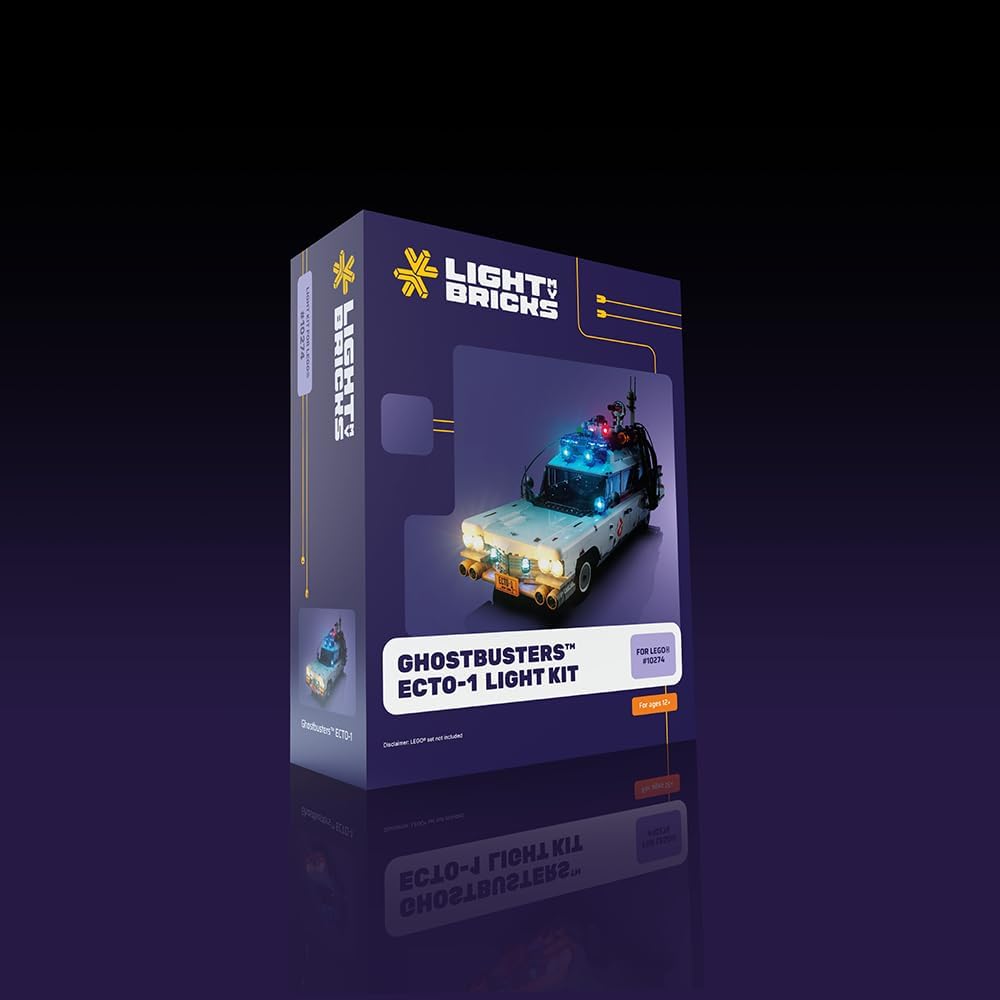
Image: The retail packaging for the Light My Bricks Ghostbusters Ecto-1 light kit, showing the product branding and a visual of the illuminated model.
9. Garanti og support
Light My Bricks is committed to providing high-quality products. For information regarding warranty coverage, returns, or technical support, please visit the official Light My Bricks website or contact their customer service directly. Details for contacting support are typically found on the product packaging or the Light My Bricks official webwebsted.
Gem venligst din købsbevis i tilfælde af garantikrav.