
ZEBRONICS Zeb-PB 13
ZEBRONICS EnergiPod 10MR1 Power Bank User Manual
Model: Zeb-PB 13
Indledning
Thank you for choosing the ZEBRONICS EnergiPod 10MR1 Power Bank. This device is designed to provide portable and efficient charging for your electronic devices. With its 10000mAh capacity, 22.5W super fast charging, and multiple output ports, it ensures your devices stay powered on the go. This manual provides essential information on how to set up, operate, maintain, and troubleshoot your power bank.

Image: The ZEBRONICS EnergiPod 10MR1 Power Bank, a sleek black device, is shown held comfortably in a hand, highlighting its compact and portable design.
Hvad er der i æsken
Upon unboxing your ZEBRONICS EnergiPod 10MR1 Power Bank, please ensure all the following items are present:
- Power bank - 1 unit
- Charging Cable - 1 unit
- QR-kodeguide - 1 enhed
Produkt overview og funktioner
The ZEBRONICS EnergiPod 10MR1 is engineered with several key features to enhance your charging experience:
Batteri med høj kapacitet
Featuring a 10000mAh battery capacity, it ensures efficient charging for your devices, providing ample power til længerevarende brug.
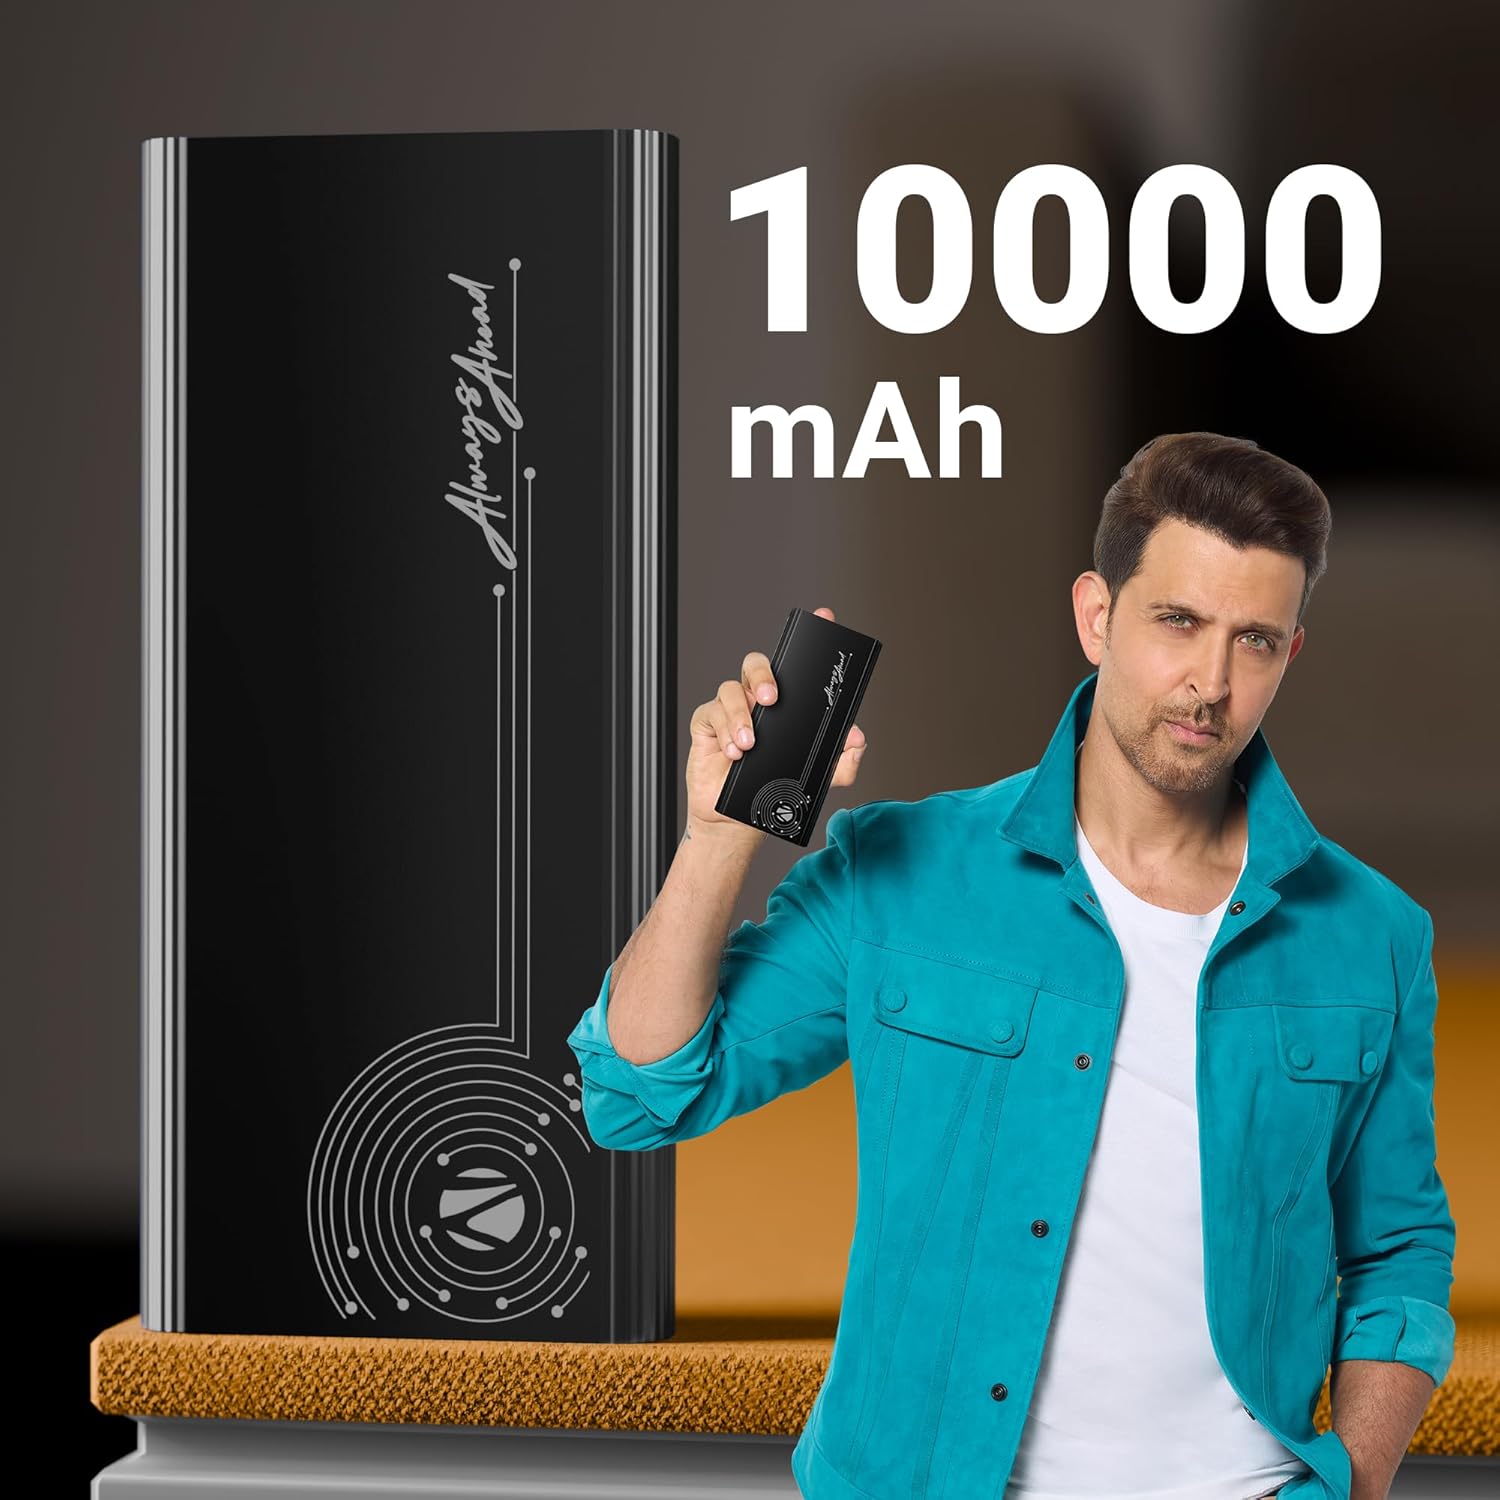
Image: The power bank is displayed alongside text indicating its 10000 mAh capacity, emphasizing its substantial power reserve.
Super Fast Charging Output
Efficiently charges a range of compatible smartphones and tablets with a maximum output of 22.5W. The PD3.0 Type-C output ensures rapid charging for supported devices.
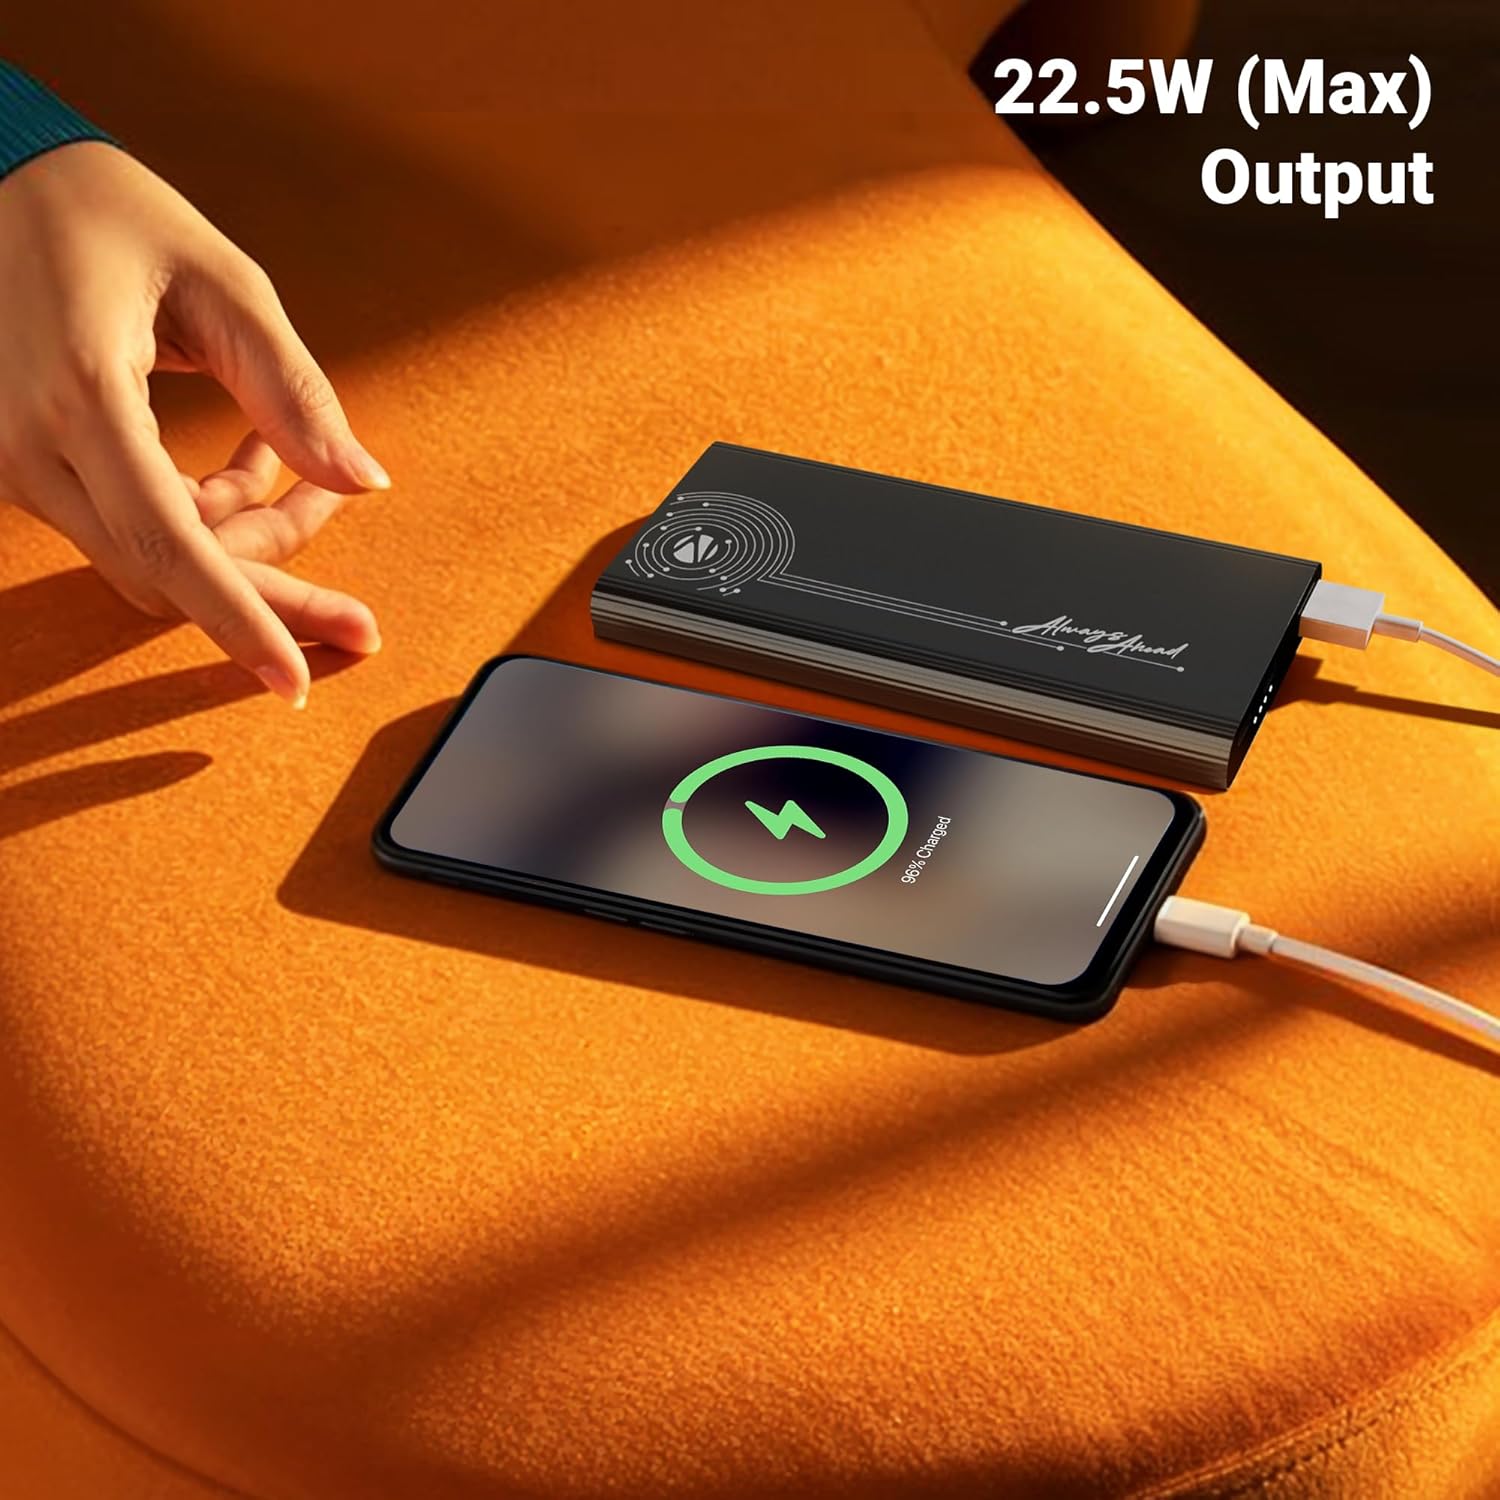
Image: A smartphone is shown connected to the power bank, displaying a charging icon, with text highlighting the 22.5W maximum output for fast charging.
Flere udgangsporte
Distinguished by its DC 5V/3A, 9V/2.22A, 12V/1.67A, 5~11V/2A PPS Type-C2 Output, PD 3.0 (with PPS) Type-C Output, and USB-A port output (DC 5V/3A, 9V/2A, 12V/1.85A), it facilitates the charging of multiple devices simultaneously.

Image: The power bank is shown connected to both a smartphone and a tablet, demonstrating its capability to charge multiple devices using its Type-C output ports.
Indgangsforbindelse
The power bank comes with DC 5V/3A, 9V/2A, 12V/1.5A Input via Type-C1 / C2 input ports for convenient recharging.
Sikkerhedsbeskyttelse
Incorporates overcharge, overload, and short-circuit protection to ensure a safe charging process for both the power bank and your connected devices.
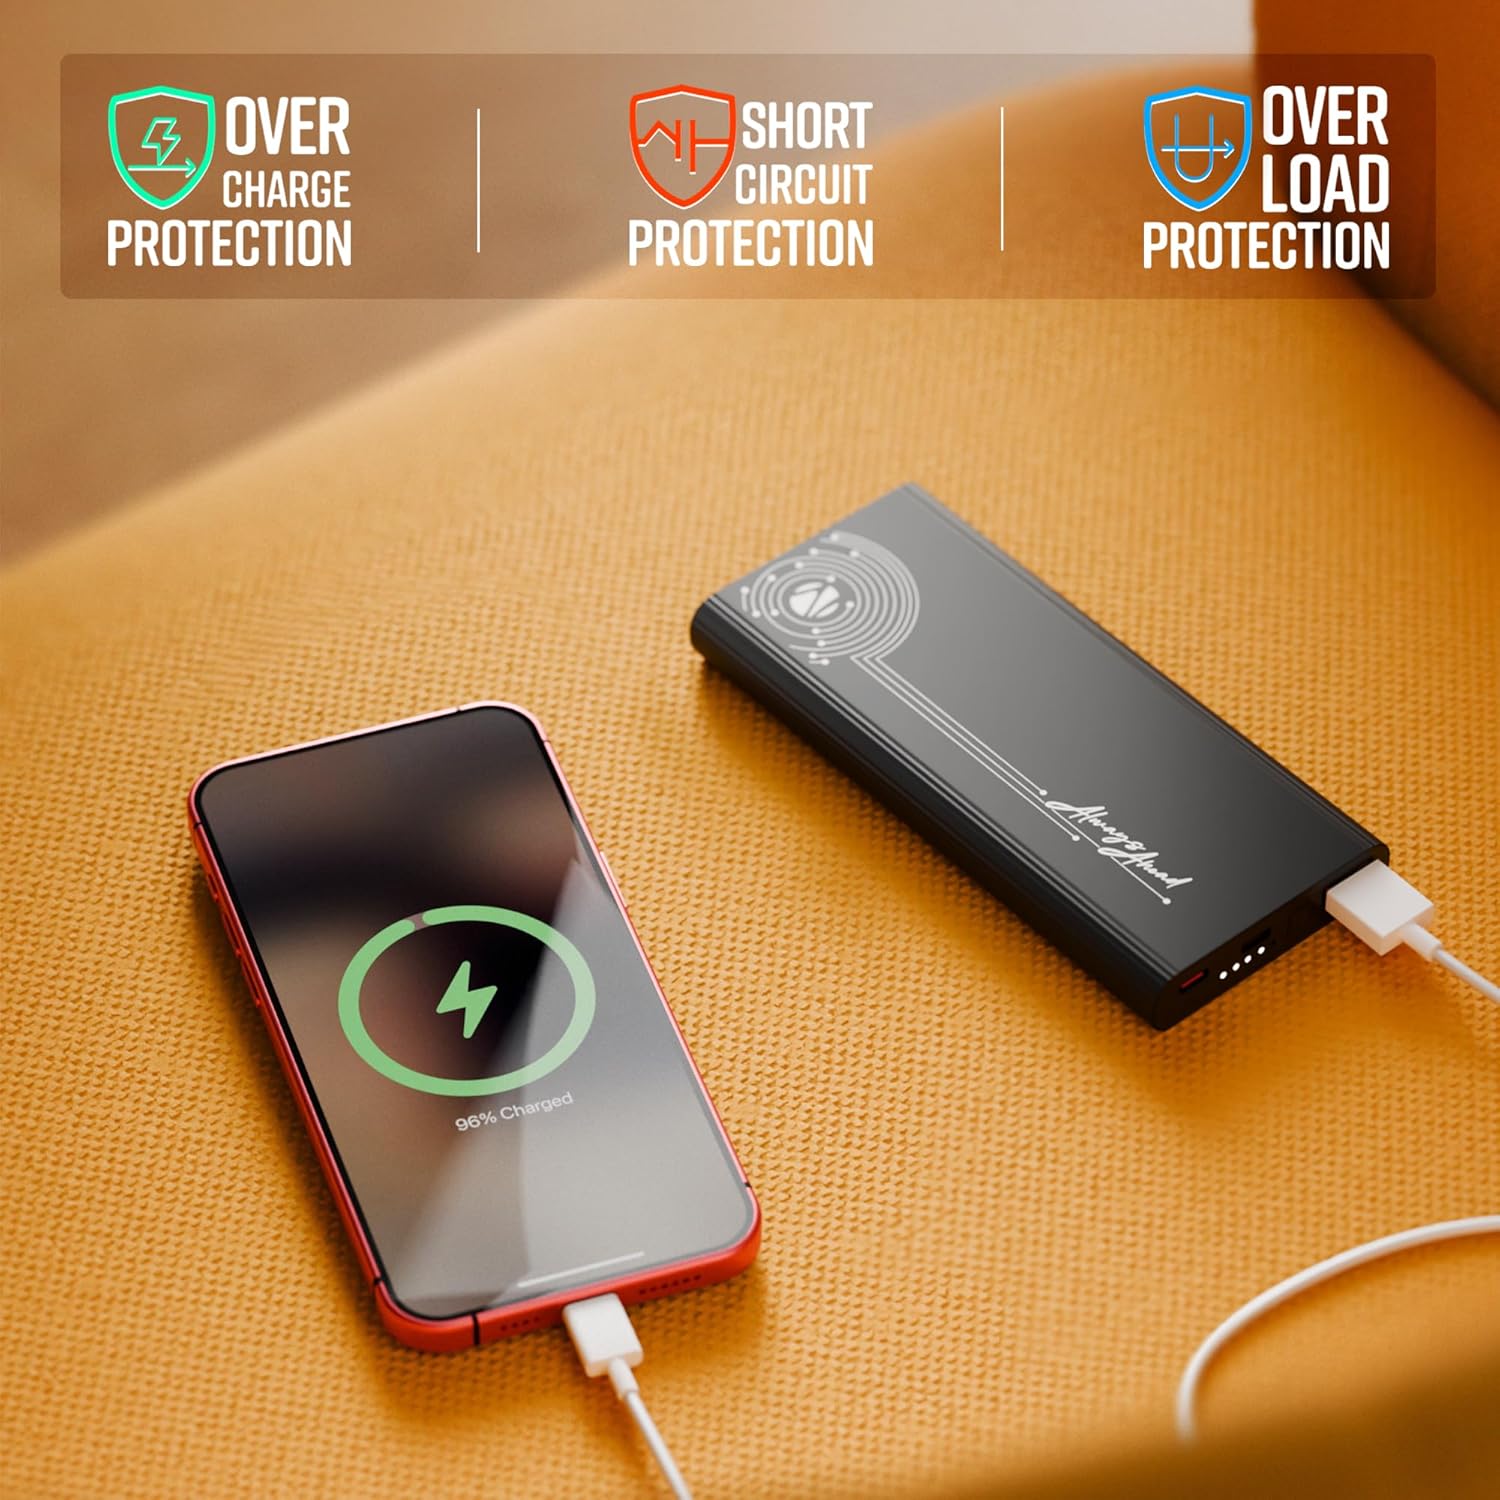
Image: The power bank is shown with visual indicators for its built-in safety features: overcharge protection, short circuit protection, and overload protection.
LED-indikator
A clear LED indicator shows information on the remaining battery percentage, allowing you to monitor the power bank's charge level easily.
Premium design
Carry this compact and stylish metal-outlook power bank effortlessly. It features a premium finish outlook with patterned edges for a better grip.

Image: A collage of close-up shots highlighting the power bank's design elements: patterned edges for grip, durable metal body, sleek profile, LED battery indicators, and its rapid charging capability.
Opsætning
Opladning af Power Bank
- Connect the provided charging cable to one of the Type-C input ports (Type-C1 or Type-C2) on the power bank.
- Connect the other end of the charging cable to a compatible USB wall adapter (not included) or a computer's USB port. For optimal charging speed, use a fast-charging adapter.
- The LED indicator lights will illuminate to show the charging progress. When all indicators are solid, the power bank is fully charged.
Note: It is recommended to fully charge the power bank before its first use to ensure optimal performance.
Betjeningsvejledning
Opladning af dine enheder
- Identify the appropriate charging cable for your device (USB-A to your device, or Type-C to your device).
- Connect one end of your device's charging cable to the corresponding output port on the power bank (USB Out, Type C Out).
- Tilslut den anden ende af kablet til din enhed.
- Powerbanken begynder automatisk at oplade din enhed. LED-indikatorerne viser powerbankens resterende batteriniveau.

Billede: En detaljeret view of the power bank's ports, including USB Out, Power Button, Type C In, and Type C In/Out, illustrating the various connectivity options.
Kontrol af batteriniveau
Tryk én gang på tænd/sluk-knappen for at aktivere LED-indikatorerne, som viser powerbankens aktuelle batteriniveau.
Opretholdelse
- Rensning: Brug en blød, tør klud til at rengøre overfladen på powerbanken. Undgå at bruge skrappe kemikalier eller slibende materialer.
- Opbevaring: Opbevar powerbanken et køligt, tørt sted væk fra direkte sollys, ekstreme temperaturer og fugtighed.
- Batteripleje: For at forlænge batteriets levetid, undgå at aflade powerbanken helt ofte. Genoplad den, når batteriniveauet er lavt.
- Håndtering: Tab ikke powerbanken, skil den ikke ad eller forsøg selv at reparere den. Dette kan ugyldiggøre garantien og forårsage skade.
Fejlfinding
| Problem | Mulig årsag | Løsning |
|---|---|---|
| Powerbank oplader ikke |
|
|
| Enheden oplader ikke fra powerbanken |
|
|
| Langsom opladning |
|
|
Hvis problemet fortsætter efter at have prøvet disse løsninger, bedes du kontakte kundesupport.
Specifikationer
| Modelnummer | Zeb-PB 13 |
| Batterikapacitet | 10000 mAh |
| Max udgangseffekt | 22.5W |
| Input (Type-C1 / C2) | DC 5V/3A, 9V/2A, 12V/1.5A |
| Output (Type-C2) | DC 5V/3A, 9V/2.22A, 12V/1.67A, 5~11V/2A PPS |
| Udgang (USB-A) | DC 5V/3A, 9V/2A, 12V/1.85A |
| Connector Type | 1 x USB A, 2 x USB type C |
| Farve | Sort |
| Varens vægt | 628 g |
| Oprindelsesland | Indien |
Garanti og support
This product is covered by a standard manufacturer's warranty. For specific warranty terms and conditions, please refer to the QR Code Guide included in the box or visit the official ZEBRONICS webwebsted.
For technical support, troubleshooting assistance, or any inquiries regarding your ZEBRONICS EnergiPod 10MR1 Power Bank, please contact ZEBRONICS customer service. Contact details can typically be found on the manufacturer's webwebstedet eller produktemballagen.
Du kan også finde yderligere support og ofte stillede spørgsmål på ZEBRONICS-butik på Amazon.
Ask a question about this manual
Ask about setup, troubleshooting, compatibility, parts, safety, or missing instructions. Manuals+ will review the question and use this page’s manual context to help answer it.