1. Produktet er slutview
The QRD Junior E5 Wireless Controller is a compact and versatile gaming controller designed for a wide range of platforms, including Nintendo Switch, Switch Lite, Switch OLED, PC (Windows), Mac, iOS, and Android devices. Its ergonomic design and advanced features provide an enhanced gaming experience.

Billede 1.1: Forside view of two QRD Junior E5 Wireless Controllers.

Image 1.2: Back and front views of the QRD Junior E5 Wireless Controller, highlighting its design.
2. Pakkens indhold
- QRD Junior E5 Wireless Controller (2 units for this package)
- USB-C ladekabel
- Brugervejledning (dette dokument)
3. Opsætning og tilslutning
3.1 Opladning af controlleren
Oplad controlleren helt før første brug. Tilslut det medfølgende USB-C-kabel til controllerens opladningsport og den anden ende til en USB-strømkilde (f.eks. konsol, pc eller USB-vægadapter). Indikatorlamperne viser opladningsstatus og slukker, når den er fuldt opladet.
3.2 Tilslutning til Nintendo Switch
- On the Nintendo Switch HOME Menu, select Controllere > Skift greb/rækkefølge.
- Tryk og hold på Hjem-knap on the QRD Junior E5 controller for 3-5 seconds until the indicator lights start flashing rapidly.
- Når den er tilsluttet, vil den/de tilsvarende afspillerindikatorlampe(r) på controlleren lyse konstant.
3.3 Connecting to PC (Windows/Mac)
The controller supports both wireless Bluetooth and wired USB-C connections for PC and Mac.
3.3.1 Wireless Bluetooth Connection
- Ensure your PC/Mac has Bluetooth enabled.
- On your PC/Mac, go to Bluetooth settings and search for new devices.
- Tryk og hold på Hjem-knap on the QRD Junior E5 controller for 3-5 seconds until the indicator lights start flashing rapidly.
- Select "QRD Controller" or similar from the list of available devices to pair.
- The controller supports X-indgang for PC games.
3.3.2 Kablet USB-C-forbindelse
Connect the controller to your PC/Mac using the provided USB-C cable. The controller will be automatically recognized, and no driver installation is required.
3.4 Connecting to iOS/Android Devices
- Enable Bluetooth on your iOS/Android device.
- Tryk og hold på Hjem-knap on the QRD Junior E5 controller for 3-5 seconds until the indicator lights start flashing rapidly.
- Søg efter "QRD Controller" or similar in your device's Bluetooth settings and pair.
4. Betjeningsvejledning og funktioner
4.1 Grundlæggende kontroller
The QRD Junior E5 controller features standard button layouts including A/B/X/Y buttons, D-pad, Left/Right joysticks, L/R/ZL/ZR triggers, Home button, and +/- buttons.
4.2 TURBO Funktion
The TURBO function allows for continuous or automatic rapid firing of buttons. This feature can be customized for different games and play styles.
- To set TURBO: Press and hold the desired action button (e.g., A) and then press the TURBO knap once. The button will now continuously fire when held.
- To set Auto-TURBO: Press and hold the desired action button and then press the TURBO knap a second time. The button will automatically fire without being held.
- To clear TURBO: Press and hold the desired action button and then press the TURBO knap en tredje gang.
- Justering af TURBO-hastighed: Tryk på TURBO knap og den Op/ned D-pad simultaneously to cycle through speeds: 8 times/sec, 15 times/sec, 25 times/sec.

Image 4.1: Illustration of the Turbo function for rapid actions in games.
4.3 6-Axis Gyro Motion Sensor
The controller is equipped with an advanced 6-axis gyro motion sensor, allowing for precise viewpoint and tilt operations in compatible games. Tilt, turn, and twist the controller to interact with game environments dynamically.

Image 4.2: Demonstrating the 6-Axis Gyro motion sensor capability.
4.4 Adjustable Vibration Feedback
Dual vibration motors provide immersive haptic feedback. The vibration intensity can be adjusted to suit personal preference and game requirements.
- Vibration modes: 0% (no vibration), 30% (weak), 70% (medium), and 100% (strong).
- To adjust vibration: Press the Vibrationsknap (if present, or a combination like TURBO + Left/Right joystick click) to cycle through intensity levels. Refer to the quick start guide for specific button combinations.

Image 4.3: Visual representation of the adjustable vibration feature.
5. Vedligeholdelse og pleje
- Hold controlleren tør og væk fra ekstreme temperaturer.
- Rengør controlleren med en blød, tør klud. Brug ikke skrappe kemikalier eller slibende materialer.
- Undgå at tabe controlleren eller udsætte den for kraftige stød.
- Opbevar controlleren et sikkert sted, når den ikke er i brug, for at forhindre skader.
6. Fejlfinding
6.1 Controlleren opretter ikke forbindelse
- Sørg for, at controlleren er fuldt opladet.
- Verify Bluetooth is enabled on your device (Switch, PC, Mac, iOS, Android).
- Make sure the controller is in pairing mode (indicator lights flashing rapidly).
- Prøv at genstarte både controlleren og den enhed, du forsøger at oprette forbindelse til.
- If connecting to Switch, ensure you are on the "Change Grip/Order" screen.
- For PC/Mac, try a wired USB-C connection to rule out Bluetooth issues.
6.2 Inputforsinkelse eller knapper, der ikke reagerer
- Sørg for, at controlleren er inden for rækkevidde af den tilsluttede enhed.
- Tjek for interferens fra andre trådløse enheder.
- Confirm the controller is fully charged. Low battery can affect performance.
- Restart the controller and the game/device.
6.3 Vibration Not Working or Incorrect
- Check the vibration settings on the controller (refer to section 4.4) to ensure it's not set to 0%.
- Bekræft, at det spil, du spiller, understøtter vibrationsfeedback.
- Sørg for, at controllerens firmware er opdateret (hvis relevant, tjek producentens webwebsted).
7. Specifikationer
| Model | Junior E5 |
| Mærke | QRD |
| Forbindelse | Trådløs Bluetooth, kablet USB-C |
| Kompatibilitet | Nintendo Switch, Switch Lite, Switch OLED, PC (Windows), Mac, iOS, Android |
| Inputtilstande | X-input (PC), Switch-input (Nintendo Switch) |
| Særlige funktioner | 6-Axis Gyro Motion Sensor, Adjustable Vibration, TURBO Function |
| Dimensioner (ca.) | 5 x 3.31 x 2.13 tommer (12.7 x 8.4 x 5.4 cm) |
| Vægt (ca.) | 1.06 pund (0.48 kg) |
| Batteri | 2 Nonstandard Battery batteries required (internal, rechargeable) |

Image 7.1: Physical dimensions of the QRD Junior E5 Wireless Controller.
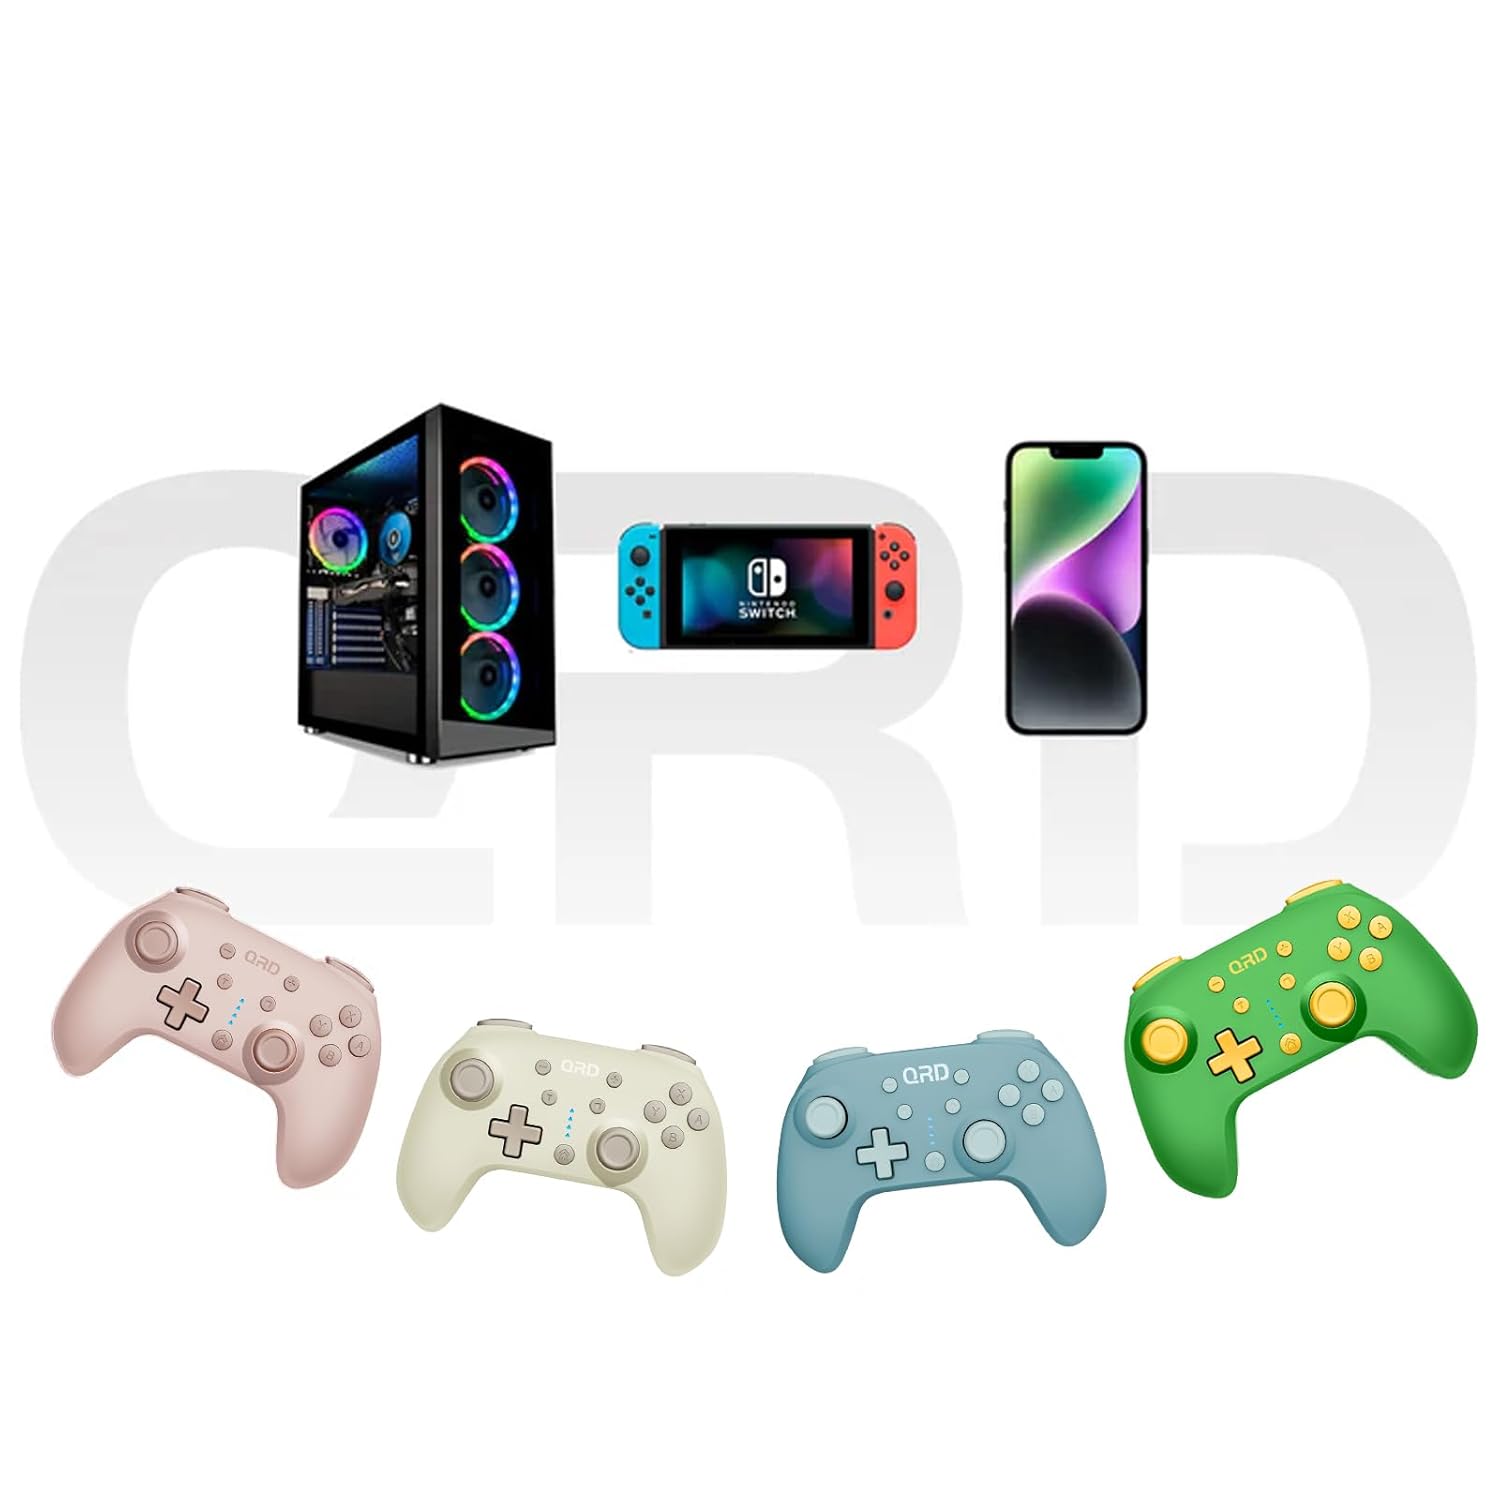
Image 7.2: Multi-platform compatibility of the QRD Junior E5 Wireless Controller.
8. Garanti og support
QRD products are designed for reliability and performance. For warranty information, technical support, or service inquiries, please refer to the contact information provided with your purchase or visit the official QRD webwebsted. Gem venligst din købsbevis til garantikrav.
For yderligere støtte kan du besøge QRD Store on Amazon.