
1. Introduktion
This user manual provides comprehensive instructions for the safe and effective operation of your DEPSTECH DS320 Dual Lens Borescope and DS260 Endoscope Camera. Please read this manual thoroughly before use and retain it for future reference. This bundle offers versatile inspection capabilities for various applications, from home maintenance to professional diagnostics.
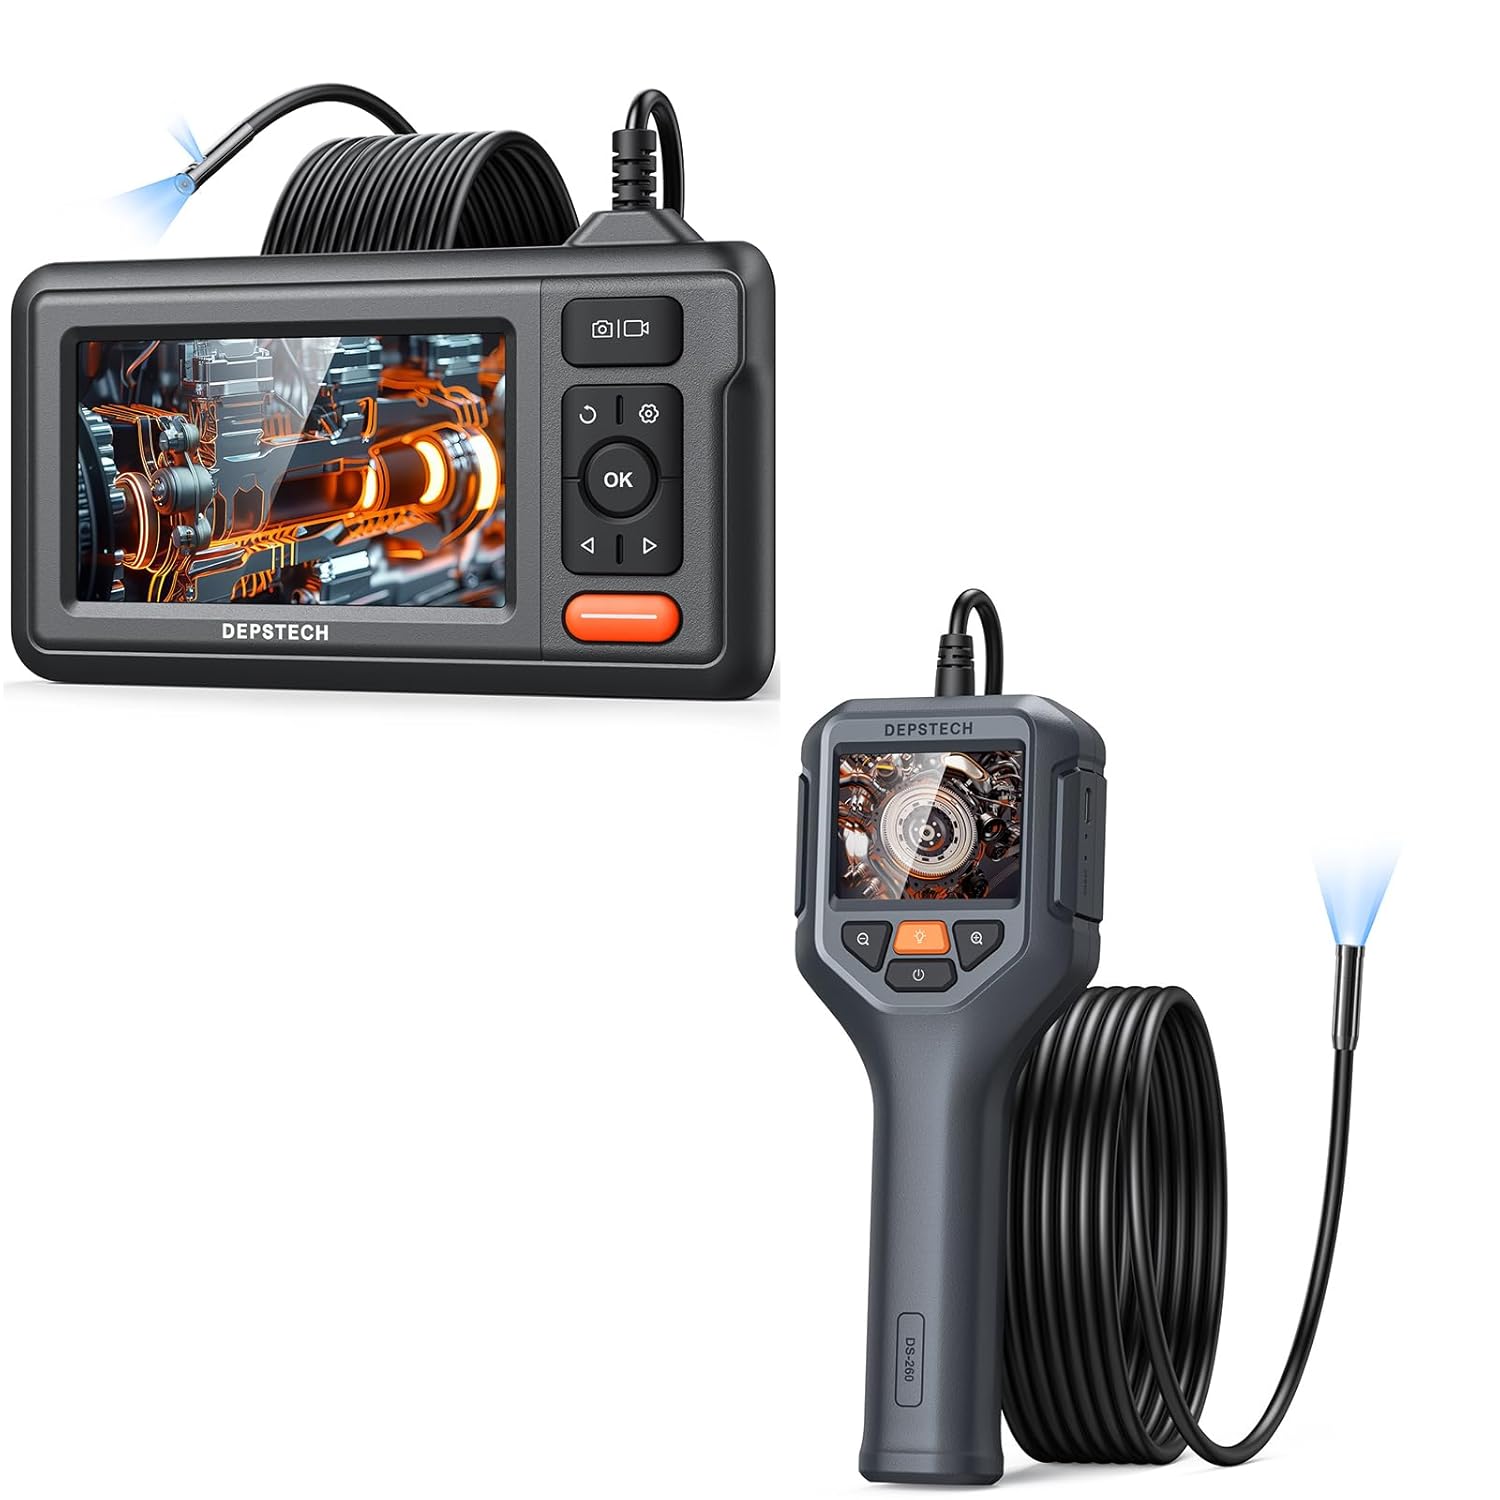
Figure 1.1: The DEPSTECH DS320 Dual Lens Borescope (top) and DS260 Endoscope Camera (bottom) included in the bundle.
2. Pakkens indhold
Kontroller venligst pakkens indhold ved udpakning for at sikre, at alle varer er til stede og ubeskadigede:
- 1 x DEPSTECH DS320 Dual Lens Borescope Unit
- 1 x DEPSTECH DS260 Endoscope Camera Unit
- 1 x USB Charging Cable (for DS320)
- 1 x USB Charging Cable (for DS260)
- 1 x brugermanual
- Accessories (e.g., hook, magnet, side mirror - specific to model, check individual product packaging)
3. Produktet er slutview
3.1 DEPSTECH DS320 Dual Lens Borescope

Figur 3.1: Forside view of the DEPSTECH DS320 Borescope, showing the 4.3-inch IPS display and control buttons.
- 4.3-tommer IPS-skærm: High-definition screen for clear viewing.
- Dobbelt linseprobe: Features both a front-facing and a side-facing camera for comprehensive inspection.
- Justerbare LED-lys: 7 lights for illumination in dark environments.
- Kontrolknapper: Power, OK, Navigation (Up/Down/Left/Right), Photo/Video capture, Settings, Light adjustment.
- Micro SD -kortplads: Til lagring af optagne billeder og videoer.

Figure 3.2: Illustration of the DS320's dual lens system, showing both the front camera (A) and side camera (B) with their respective focal ranges.
3.2 DEPSTECH DS260 Endoscope Camera

Figure 3.3: The DEPSTECH DS260 Endoscope Camera, featuring an ergonomic handle and integrated display.
- 2.4-tommer IPS-skærm: Compact display integrated into the handheld unit.
- Ergonomisk håndtag: Designet til behageligt greb og brugervenlighed.
- Single Lens Probe: Standard forward-viewmed kamera.
- Justerbare LED-lys: For optimal illumination.
- Direkte betjening: No Wi-Fi or app required.

Figur 3.4: Nærbillede view of the DS260's vivid 2.4-inch IPS screen, highlighting its display quality.
4. Opsætning
4.1 Opladning af enheden
Both the DS320 and DS260 units come with a built-in rechargeable battery. Before first use, fully charge the device.
- Connect the provided USB charging cable to the charging port on the device (DS320: side, DS260: bottom).
- Connect the other end of the USB cable to a standard 5V/1A USB power adapter (not included) or a computer USB port.
- Opladningsindikatorlampen lyser under opladning og slukker eller skifter farve, når den er fuldt opladet.
4.2 Inserting a Micro SD Card (DS320 Only)
The DS320 requires a Micro SD card (not included, up to 32GB recommended) to save photos and videos. The DS260 does not support external storage.
- Locate the Micro SD card slot on the side of the DS320 unit.
- Indsæt forsigtigt Micro SD-kortet med de gyldne kontakter nedad, indtil det klikker på plads.
- For at fjerne det skal du skubbe kortet let ind, indtil det springer ud.
5. Betjeningsvejledning
5.1 Tænd/sluk
- For at tænde: Tryk og hold tænd/sluk-knappen nede (normalt markeret med ⚡ or ⏺ symbol) for 2-3 seconds until the screen illuminates.
- For at slukke: Press and hold the Power button again for 2-3 seconds until the screen turns off.

Figure 5.1: The DS320 Borescope being held, demonstrating its readiness for immediate use without complex setup.

Figure 5.2: The DS260 Endoscope Camera being used to inspect a sink drain, highlighting its "Instant Explore" capability.
5.2 Justering af LED-lysstyrke
Both models feature adjustable LED lights on the camera probe to illuminate dark inspection areas.
- Press the Light adjustment button (often marked with a light bulb icon 💡) repeatedly to cycle through different brightness levels or to turn the lights off.
5.3 Switching Lenses (DS320 Only)
The DS320 allows you to switch between the front and side cameras.
- Mens i live view, press the Lens Switch button (often marked with a camera icon with arrows 📷) to toggle between the front camera, side camera, or both (if supported by the specific model firmware).
5.4 Optagelse af billeder og videoer
- Sådan tager du et billede: I live view, press the Photo/Video button (often marked with a camera icon 📷 or shutter icon) once. The screen may briefly flash to indicate a photo has been taken.
- Sådan optager du en video: I live view, press and hold the Photo/Video button for 2-3 seconds. A recording indicator (e.g., red dot, timer) will appear on the screen. Press and hold the button again to stop recording.
- Note: Only the DS320 saves media to an SD card. The DS260 does not have recording capabilities.
5.5 Playback Mode (DS320 Only)
Review captured images and videos on the DS320.
- Fra live view, press the Mode button (often marked with a play icon ► or menu icon) to enter playback mode.
- Use the Up/Down navigation buttons to browse through your files.
- Tryk på OK-knappen til view et billede eller afspil en video.
- Press the Mode button again to exit playback mode and return to live view.
5.6 Zoom Function (DS260 Only)
The DS260 features a digital zoom function to magnify the live view.
- Press the Zoom button (often marked with a magnifying glass icon 🔍 or +/-) to cycle through available zoom levels (e.g., 1x, 1.5x, 2x).

Figure 5.3: Visual representation of the DS260's zoom capabilities, showing 1x, 1.5x, and 2x magnification levels for detailed inspection.
6. Vedligeholdelse
- Rengøring af sonden: Efter hver brug, især i snavsede eller våde omgivelser, skal kameraets sonde og objektiv forsigtigt tørres af med en blød klud.amp cloth. For stubborn grime, a small amount of rubbing alcohol can be used. Ensure the probe is dry before storage.
- Rengøring af skærmen: Use a soft, lint-free cloth to clean the display screen. Avoid abrasive materials or harsh chemicals.
- Opbevaring: Store the devices in a cool, dry place, away from direct sunlight and extreme temperatures. Keep the probe cable neatly coiled to prevent kinks or damage.
- Batteripleje: For optimal batterilevetid bør du undgå at aflade batteriet helt ofte. Hvis det opbevares i længere perioder, skal du oplade batteriet til ca. 50% hver par måneder.
7. Fejlfinding
| Problem | Mulig årsag | Løsning |
|---|---|---|
| Enheden tænder ikke. | Lavt batteri. | Oplad enheden helt. |
| Intet billede på skærmen. | Probe not connected properly (DS320). Camera lens is dirty or blocked. | Sørg for, at sonden er sikkert tilsluttet. Rengør kameralinsen. |
| Billedet er sløret eller uklart. | Linsen er beskidt. Objektet er uden for fokusområdet. | Rengør kameralinsen. Adjust the distance between the camera and the object. |
| Cannot save photos/videos (DS320). | Intet Micro SD-kort isat, eller kortet er fuldt/beskadiget. | Insert a Micro SD card. Format the card (via device settings) or replace it. |
| LED-lys virker ikke. | Lights are turned off or at lowest setting. | Press the light adjustment button to increase brightness. |
8. Specifikationer
8.1 DEPSTECH DS320 Dual Lens Borescope
- Vise: 4.3-inch Full Color IPS Screen
- Opløsning: 1080P (for recording)
- Kamera: Dobbeltlinse (foran og på siden)
- LED lys: 7 justerbare LED'er
- Opbevaring: Micro SD-kort (op til 32 GB, medfølger ikke)
- Batteri: Genopladelig lithium-ion

Figure 8.1: The large 4.3-inch IPS display of the DS320, offering HD resolution and a wide 178-degree viewvinkel for klare billeder.
8.2 DEPSTECH DS260 Endoscope Camera
- Vise: 2.4 tommer IPS-skærm
- Opløsning: 1080P (for live view)
- Kamera: Enkelt objektiv
- LED lys: Justerbare LED'er
- Opbevaring: Ikke understøttet
- Batteri: Genopladelig lithium-ion
- Zoom: Digital Zoom (1x, 1.5x, 2x)
9. Sikkerhedsoplysninger
Overhold venligst følgende sikkerhedsforanstaltninger:
- Brug ikke enheden i miljøer med brandfarlige eller eksplosive gasser.
- Do not immerse the main unit in water. The camera probe is waterproof, but the main unit is not.
- Opbevar enheden utilgængeligt for børn.
- Forsøg ikke at skille enheden ad eller ændre den. Dette vil ugyldiggøre garantien og kan forårsage skade.
- Use only the provided charging cables.
- Undgå direkte kontakt med LED-lysene.
- If the device malfunctions, refer to the troubleshooting section or contact customer support.
10. Garanti og support
DEPSTECH products typically come with a standard manufacturer's warranty. Please refer to the warranty card included in your package or visit the official DEPSTECH webhjemmeside for detaljerede garantivilkår.
For technical support, troubleshooting assistance, or warranty claims, please contact DEPSTECH customer service through their official webwebstedet eller kontaktoplysningerne på din produktemballage.
Webwebsted: www.depstech.com