
Indledning
This manual provides detailed instructions for the installation, operation, and maintenance of your Rosewill Helium Air Mid Tower Computer Gaming Case. Designed for high-airflow and ease of use, this case supports E-ATX motherboards and offers extensive cooling options. Please read this manual thoroughly before beginning your build to ensure proper assembly and optimal performance.
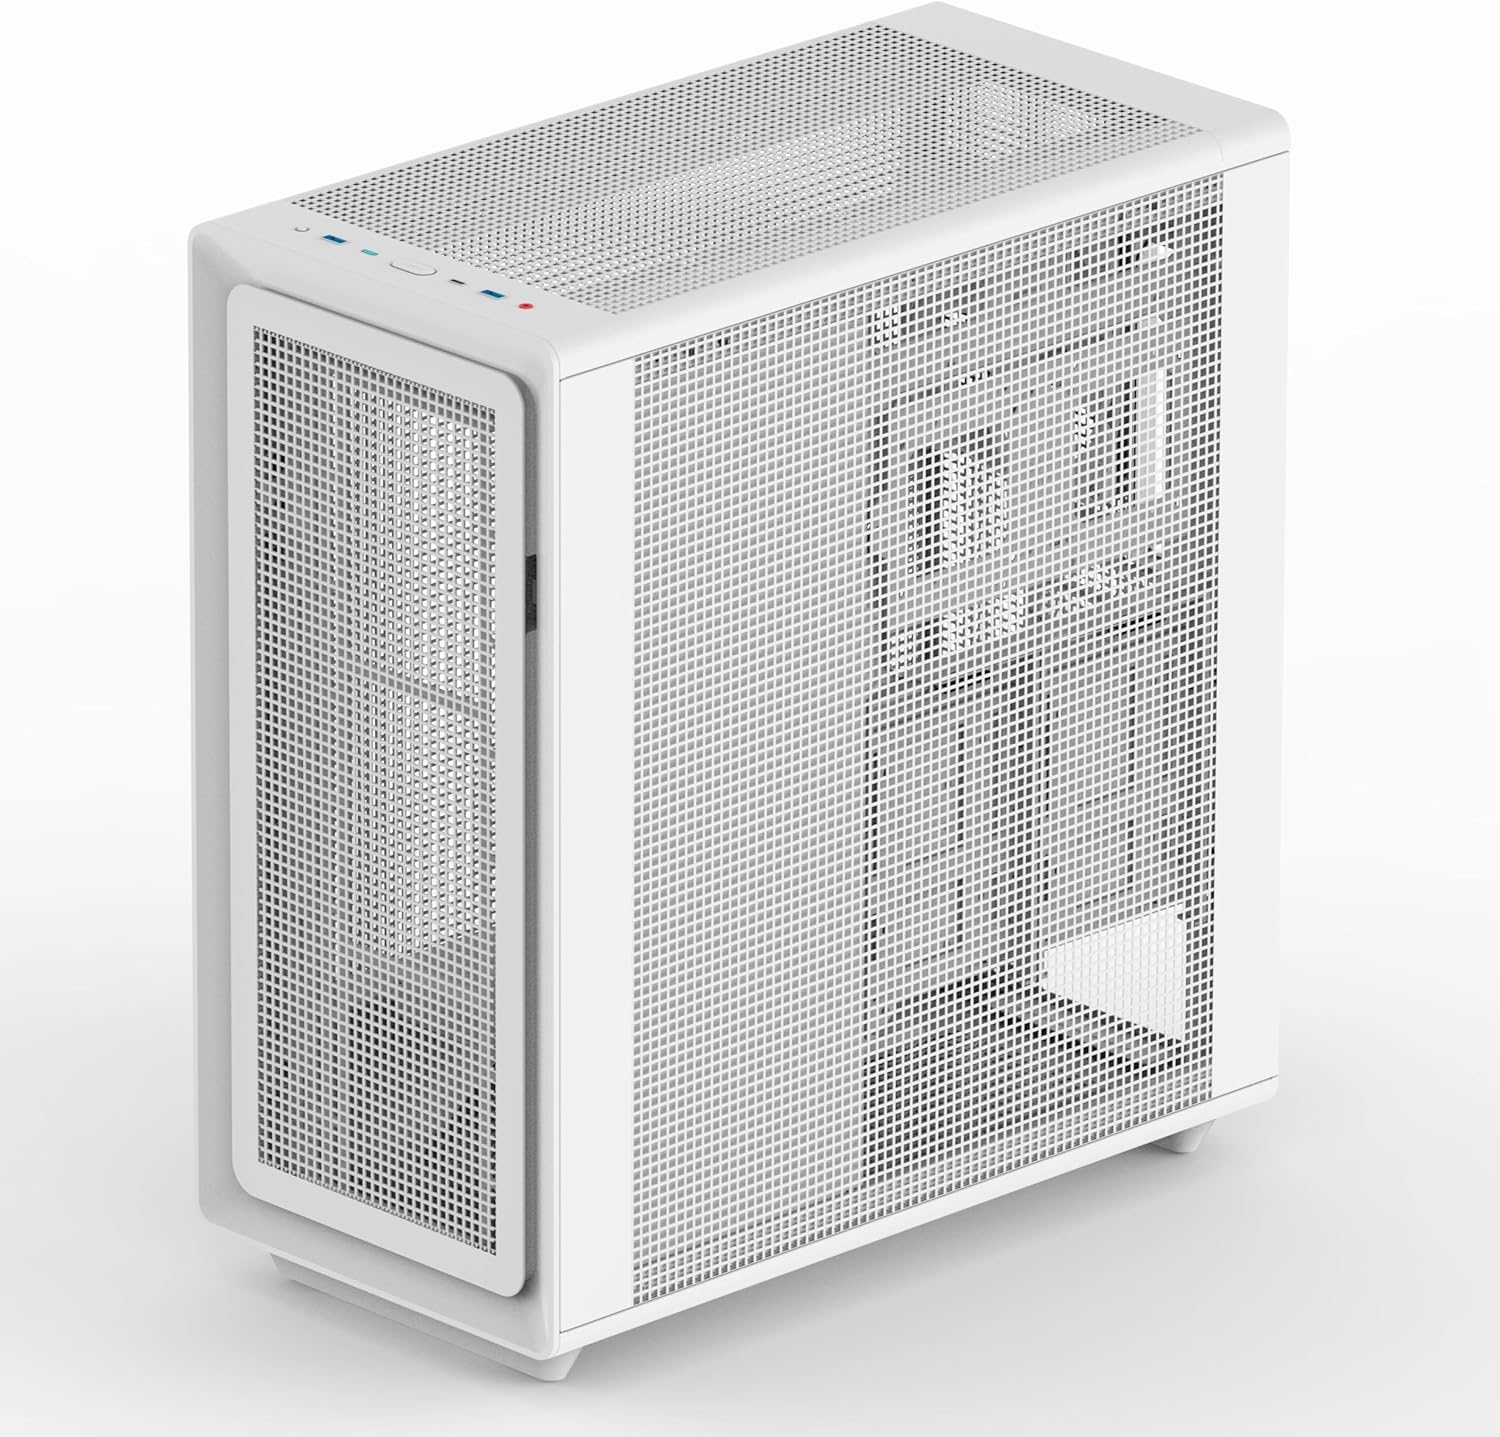
Billede: Vinklet view of the Rosewill Helium Air Mid Tower Gaming Case, showcasing its mesh panels.
Opsætning og installation
The Rosewill Helium Air case features a tool-free design for quick and easy component installation. Follow these steps for a smooth build process:
1. Forberedelse af sagen
Remove the side panels, front panel, and top cover. The tool-free design allows for easy removal of all panels. The bottom dust rack can also be pulled out for access.

Image: Rosewill Helium Air case with the side panel removed, showing the internal structure.
2. Installation af bundkort
Install your E-ATX, ATX, Micro ATX, or ITX motherboard into the designated area. Ensure all standoffs are correctly aligned and secured.
3. Drevinstallation
The case provides flexible storage options. Install your SSDs and HDDs in the dedicated bays. The rear of the motherboard tray offers multiple mounting points for SSDs and HDDs.
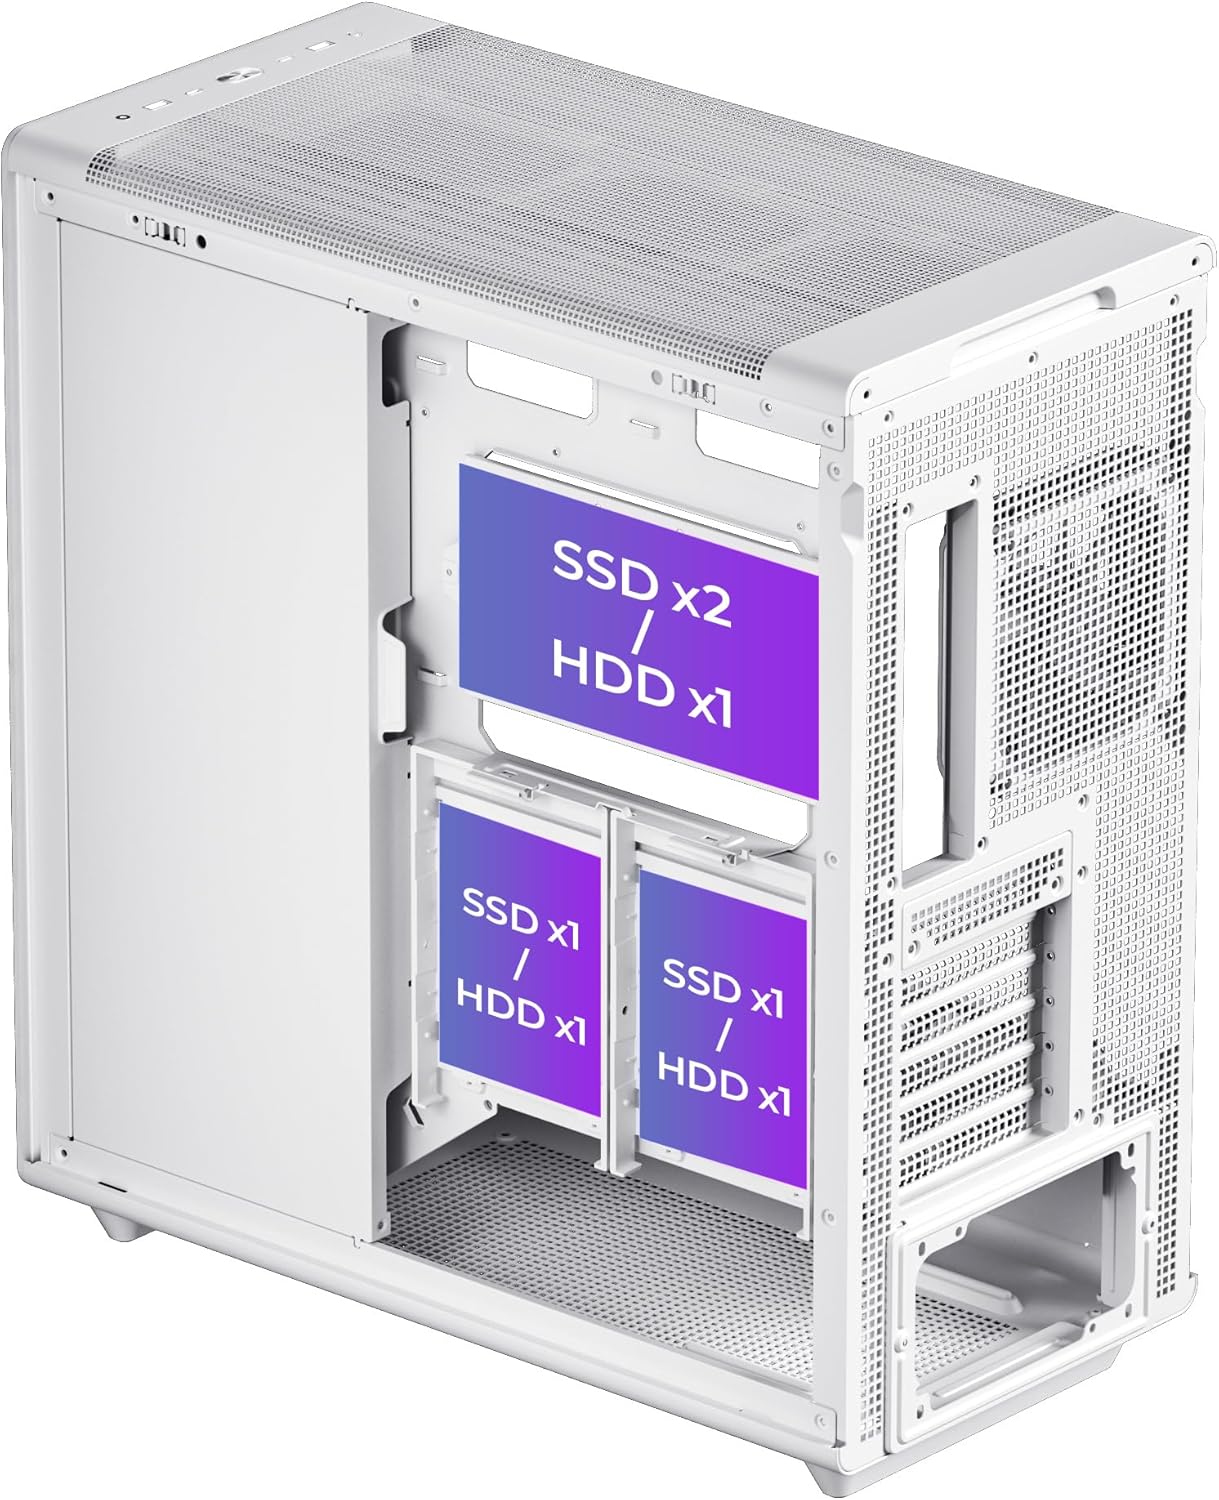
Billede: Bagside view of the Rosewill Helium Air case, highlighting the SSD and HDD mounting locations behind the motherboard tray.
4. Installation af kølesystem
The case comes with a pre-installed 140mm PWM fan. It supports up to 7x 120mm or 6x 140mm fans and multiple radiators, including 360mm radiators in the front and top. Plan your fan and radiator placement for optimal airflow.

Image: Internal diagram of the Rosewill Helium Air case showing supported fan and radiator sizes and locations.
5. Kabelforvaltning
Utilize the generous 34mm of space behind the motherboard tray for neat and efficient cable routing. This helps maintain a clean interior and improves airflow.
6. I/O-forbindelser på frontpanelet
Connect the front panel USB 3.1 Type-C, USB 3.0, and combination audio/microphone jack cables to your motherboard.
Video: En overview of the Rosewill Helium Air Mid Tower Gaming Case, demonstrating its cable management, cooling features, and tool-free design for easy assembly.
Betjeningsvejledning
Once your system is fully assembled and all components are securely connected, you can power on your computer. The Rosewill Helium Air case is designed to provide optimal airflow, ensuring your components remain cool during operation. The front panel ports offer convenient access for connecting peripherals and audio devices.
Opretholdelse
Regular maintenance helps prolong the life of your components and ensures consistent performance.
1. Rengøring af støvfiltre
The case features full-mesh panels and a pull-out bottom dust rack. Periodically remove and clean these filters to prevent dust buildup, which can restrict airflow and lead to overheating. Use compressed air or a soft brush to remove dust.
2. Indvendig rengøring
With the power off and unplugged, carefully open the side panels and use compressed air to remove dust from internal components, especially fans and heatsinks. Ensure no loose cables are obstructing airflow.
Fejlfinding
Hvis du støder på problemer under eller efter montering, kan du overveje følgende almindelige fejlfindingstrin:
- Systemet tænder ikke: Double-check all power connections, including the 24-pin ATX power, CPU power, and GPU power cables. Ensure the front panel power switch cable is correctly connected to the motherboard.
- Ventilatorer der ikke drejer: Verify that all fan cables are securely connected to the motherboard headers or fan controller. Check BIOS settings to ensure fan control is enabled and configured correctly.
- Ingen skærmoutput: Ensure your graphics card is properly seated in its PCIe slot and all necessary power cables are connected. Confirm your monitor cable is plugged into the graphics card, not the motherboard's integrated graphics port.
- Overophedning: Check fan orientation for proper airflow (intake vs. exhaust). Ensure dust filters are clean and no cables are obstructing internal airflow. Verify CPU cooler installation.
Specifikationer
| Feature | Detalje |
|---|---|
| Mærke | Rosewill |
| Modelnavn | Helium Air |
| Sagstype | Mid Tower |
| Bundkort kompatibilitet | Extended ATX, ATX, Micro ATX, ITX |
| Materiale | Legeret stål |
| Farve | Sort |
| Varens vægt | 11.34 kilo |
| Afkølingsmetode | Air (High-Airflow Mesh Panels) |
| Forudinstallerede ventilatorer | 1x 140mm PWM Fan |
| Fan Support | Up to 7x 120mm or 6x 140mm |
| Radiatorstøtte | Up to 360mm (Front & Top) |
| Internal Bays Quantity | Multiple (SSD x2 / HDD x1, SSD x1 / HDD x1, SSD x1 / HDD x1) |
| Frontpanel I / O | 1x USB 3.1 Type-C, 1x USB 3.0, Combination Audio/Microphone Jack |
| Max CPU kølerhøjde | 183 mm |
| Max GPU-længde | 395 mm |
| Kabelstyringsplads | 34mm behind motherboard tray |

Image: Diagram illustrating the maximum CPU cooler height, GPU length, and supported motherboard form factors within the case.
Garanti og support
Garantioplysninger
This Rosewill product comes with a 1 års garanti from the date of purchase. Please retain your proof of purchase for warranty claims. The warranty covers manufacturing defects and does not cover damage caused by misuse, accidents, unauthorized modifications, or normal wear and tear.
Kundesupport
For teknisk assistance, fejlfinding eller garantiforespørgsler, besøg venligst den officielle Rosewill website or contact their customer support team. You can find contact information and FAQs on the Rosewill Store side.