1. Introduktion
The Xigmatek Aqua V AIR is a high-performance mid-tower PC case designed for gaming enthusiasts. It features a spacious interior, optimized airflow, and tempered glass panels on the front and side to showcase your components. Equipped with seven 120mm ARGB fans, it supports graphics cards up to 410mm in length and is compatible with motherboards featuring hidden connectors for a clean build.
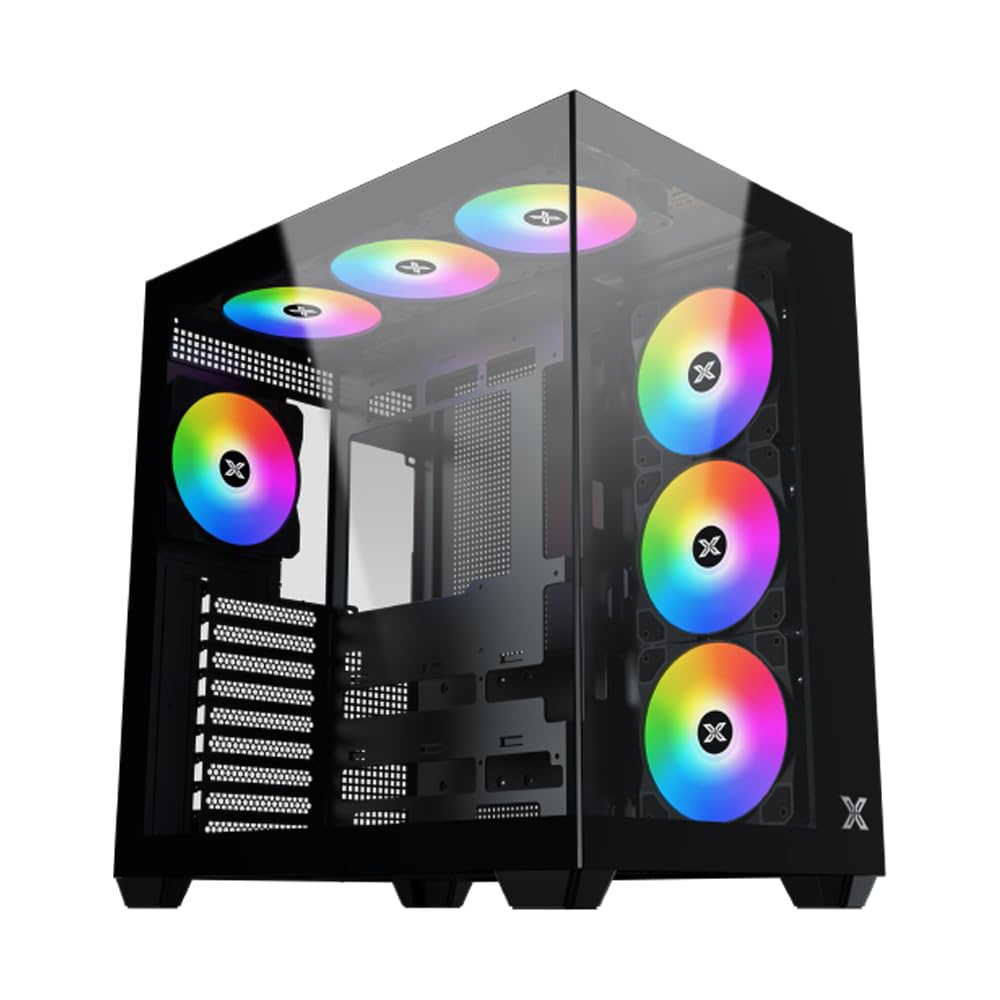
Figur 1: Samlet set view of the Xigmatek Aqua V AIR PC Case.
2. Nøglefunktioner
- Materiale: Constructed from high-quality steel for durability and reliability.
- Dimensioner: 427 x 285 x 455 mm (L x W x H), offering a spacious interior.
- Kølesystem: Supports up to three 120mm or two 140mm fans for optimal cooling performance.
- Radiatorstøtte: Compatible with 240/280/360mm radiators on the top, bottom, and rear for versatile cooling options.
- I/O panel: Features 2x USB 3.0 ports, 1x USB-C port, and HD audio for convenient connectivity.
- Bundkort kompatibilitet: Supports ATX, Micro ATX, and Mini ITX motherboards, including those with hidden connectors.
- GPU-længde: Plads til grafikkort op til 410 mm i længden.
- Storage Support: Giver ample space for multiple storage drives.
3. Specifikationer
| Feature | Detalje |
|---|---|
| Mærke | Xigmatek |
| Modelnummer | EN45820 |
| Serie | Aqua V AIR BLACK |
| Farve | Sort |
| Dimensioner (L x B x H) | 42.7 x 28.5 x 45.5 cm |
| Produktets vægt | 8.8 kilo |
| Materiale | Legeret stål, hærdet glas |
| Bundkort kompatibilitet | ATX, Micro ATX, Mini ITX |
| Sagstype | Mid-Tower |
| Anbefalede anvendelser | Gaming, High-Performance Computing |
| USB 3.0 porte | 2 |
| USB-C porte | 1 |
| Afkølingsmetode | Water (Liquid Cooling Support) |
| Fan størrelse | 120 Millimeters (Pre-installed ARGB fans) |
| PSU-monteringstype | Bundmontering |
4. Opsætning og installation
This section provides general guidance for installing components into your Xigmatek Aqua V AIR PC case. Always refer to the specific manuals for your motherboard, power supply, and other components for detailed instructions.
4.1 Forberedelse af sagen
- Pak pc-kabinettet ud, og fjern al emballage.
- Carefully remove the tempered glass side panel(s) and front panel (if applicable) to access the interior. Store them safely to prevent damage.
- Identify the accessory box, which typically contains screws, cable ties, and other small parts.
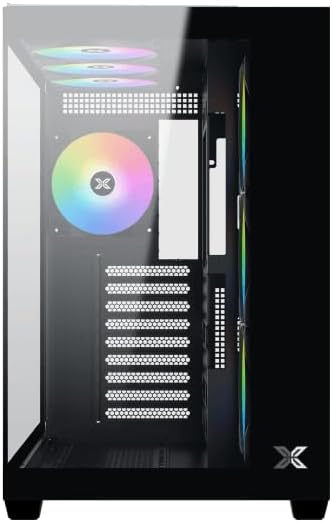
Figur 2: Interiør view med sidepanelet fjernet.
4.2 Installation af bundkort
- Installer I/O-skjoldet (hvis det ikke er forudinstalleret på dit bundkort) i den bageste åbning af kabinettet.
- Align your ATX, Micro ATX, or Mini ITX motherboard with the standoffs inside the case. Ensure all standoffs match the screw holes on your motherboard.
- Secure the motherboard with the appropriate screws provided in the accessory kit.

Figure 3: Motherboard tray and cable management area.
4.3 Installation af strømforsyningsenhed (PSU).
- Find monteringsområdet til strømforsyningen nederst på bagsiden af kabinettet.
- Slide your PSU into position, ensuring the fan faces downwards (if the case has a bottom vent) or upwards.
- Fastgør strømforsyningen med skruer fra bagsiden af kabinettet.
4.4 Installation af lagerdrev
The case supports various storage configurations. Refer to the case diagram for specific drive bay locations.
- Install 2.5" SSDs or 3.5" HDDs into the designated drive bays or mounting brackets.
- Secure the drives with screws.
4.5 Installation af grafikkort (GPU)
- Fjern de nødvendige PCIe-slotdæksler fra bagsiden af kabinettet.
- Indsæt dit grafikkort i det relevante PCIe-slot på bundkortet.
- Fastgør grafikkortet med skruer.
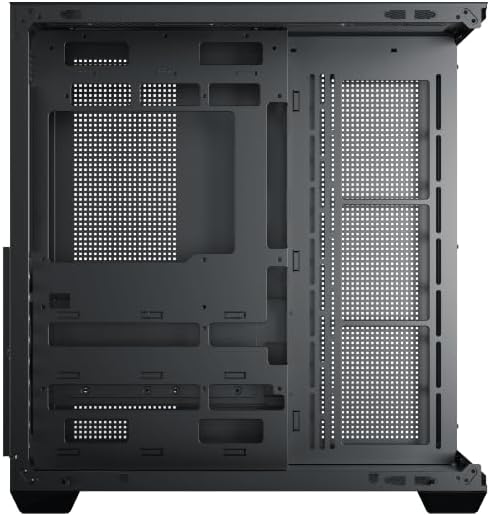
Figure 4: Components installed inside the case.
4.6 Kabelstyring
Brug kabelføringsudskæringerne og fastgørelsespunkterne bag bundkortbakken til at håndtere kabler for forbedret luftgennemstrømning og æstetik.
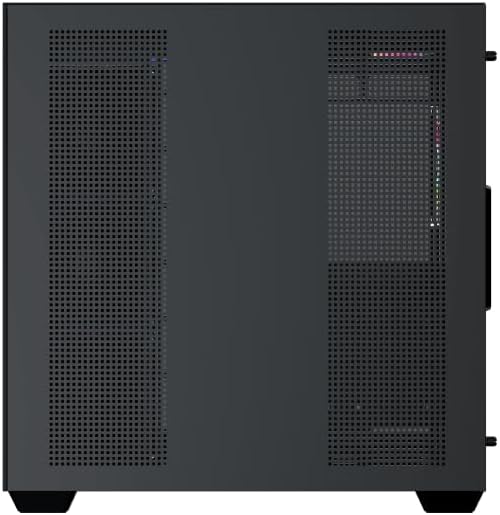
Figure 5: Top panel and I/O ports.
5. Betjeningsvejledning
5.1 Tænd
Once all components are securely installed and connected, close the side panels. Connect your power cable to the PSU and press the power button on the case's front I/O panel.
5.2 ARGB-blæserstyring
The Xigmatek Aqua V AIR comes with pre-installed ARGB fans. These fans can typically be controlled via:
- Bundkortsoftware: If your motherboard supports ARGB synchronization, connect the fan's ARGB cables to the motherboard's 3-pin 5V ARGB header and use the motherboard's software (e.g., ASUS Aura Sync, MSI Mystic Light, Gigabyte RGB Fusion) to customize lighting effects.
- Integreret controller: If your case includes a built-in ARGB controller, use the dedicated button on the I/O panel to cycle through various lighting modes and colors.
6. Vedligeholdelse
Regelmæssig vedligeholdelse er med til at sikre optimal ydeevne og levetid for dine pc-komponenter.
6.1 Rengøring af støvfilter
The Xigmatek Aqua V AIR case is equipped with dust filters to prevent dust buildup. Locate and gently remove the dust filters (typically on the top, front, and bottom). Clean them with compressed air or by rinsing with water. Ensure they are completely dry before reattaching.

Figure 6: Bottom dust filter.
6.2 Generel rengøring
Use a soft, dry cloth to wipe down the exterior of the case. For tempered glass panels, use a glass cleaner and a microfiber cloth to avoid streaks. Avoid using abrasive cleaners or solvents.
7. Fejlfinding
Hvis du støder på problemer, kan du overveje følgende almindelige fejlfindingstrin:
- Ingen strøm:
- Sørg for, at strømforsyningen er tændt og korrekt tilsluttet stikkontakten og bundkortet.
- Check all power connections to components (motherboard, CPU, GPU, drives).
- Verify the front panel power switch cable is correctly connected to the motherboard.
- Ventilatorer drejer ikke / RGB virker ikke:
- Check if fan power cables are securely connected to the motherboard or fan controller.
- Ensure ARGB cables are connected to the correct 3-pin 5V ARGB header (not 4-pin 12V RGB).
- If using a controller, ensure it has power and is functioning correctly.
- Overophedning:
- Ensure all fans are spinning and oriented correctly for optimal airflow (intake/exhaust).
- Rengør støvfiltre og indvendige komponenter.
- Verify CPU cooler and GPU cooler are properly seated and functioning.
8. Garanti og support
The Xigmatek Aqua V AIR PC Case comes with a 2 års producentgaranti. For technical support, warranty claims, or further assistance, please contact Xigmatek customer service or visit their official webwebsted.
Gem venligst din købsbevis af garantihensyn.