
1. Introduktion
Thank you for choosing the MOUNTUP Dual Monitor Arm MU8012-W-07. This instruction manual provides essential information for the safe and correct installation, operation, and maintenance of your new monitor arm. Please read this manual thoroughly before installation and keep it for future reference.
Sikkerhedsforanstaltninger
- Sørg for, at alle komponenter er til stede og ubeskadigede før montering. Må ikke anvendes, hvis nogen af delene mangler eller er defekte.
- Verify that your desk surface is strong enough to support the combined weight of the monitor arm and your monitors.
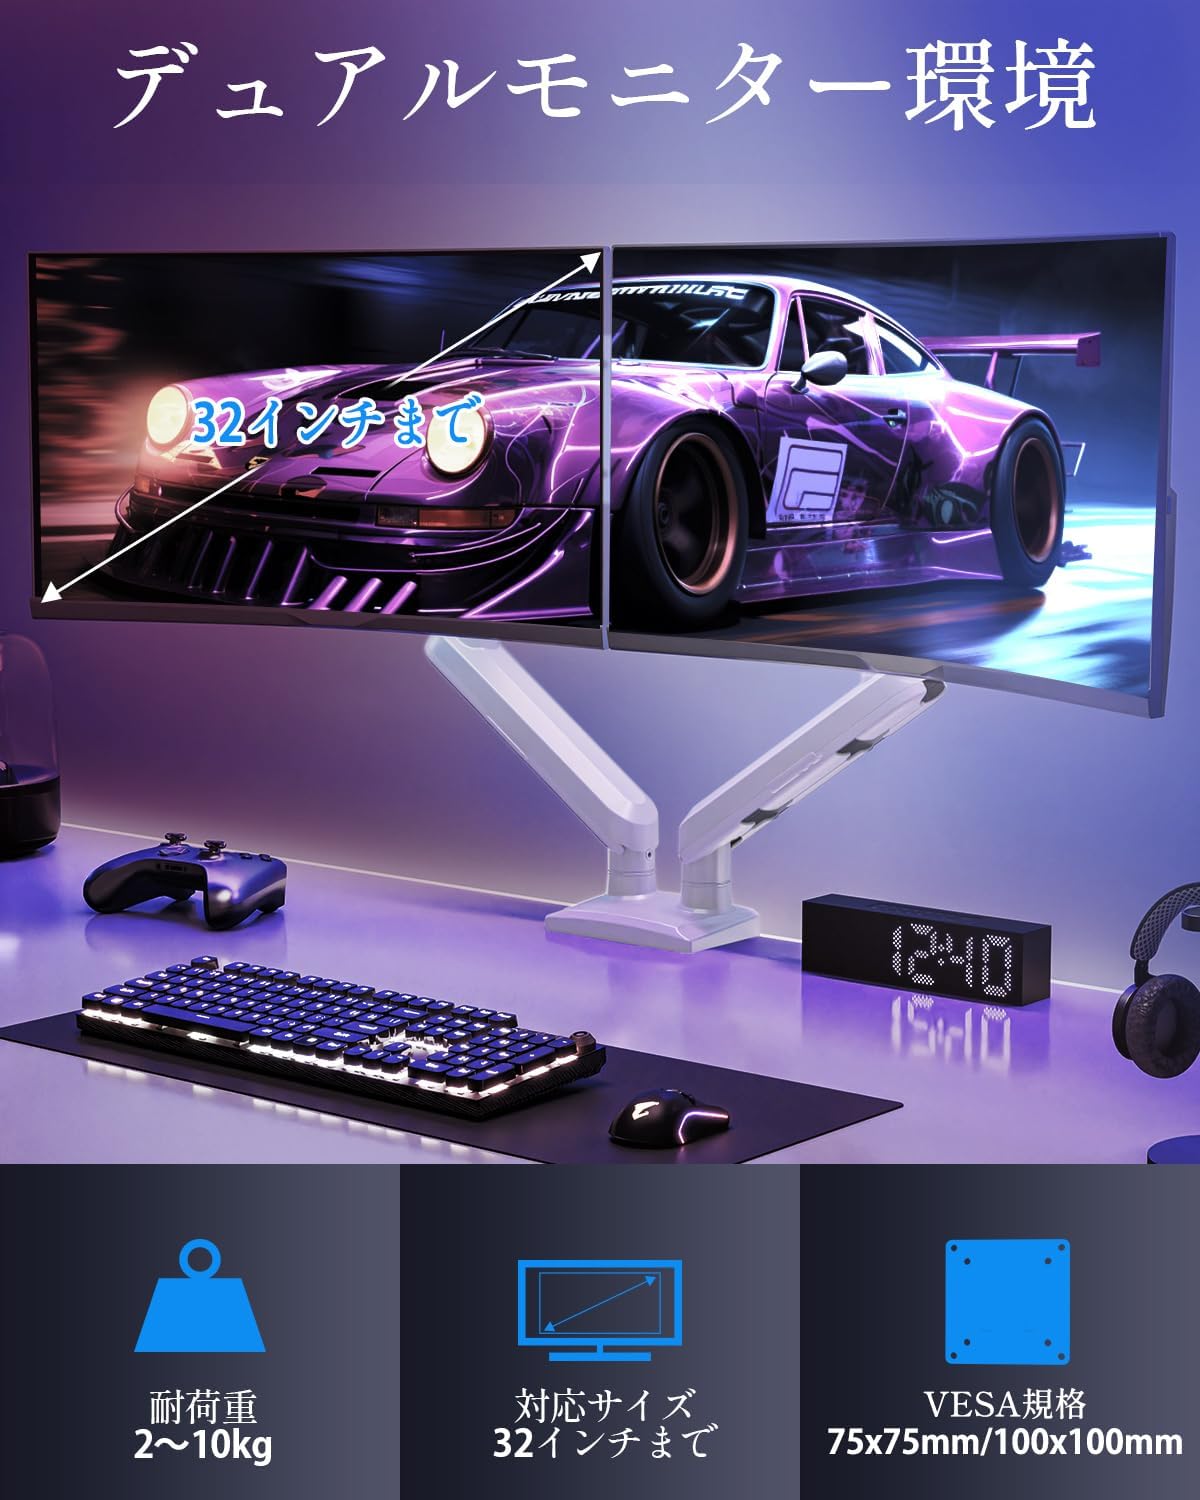
- Do not exceed the maximum weight capacity of 10kg (22 lbs) per arm.
- Always follow the installation steps carefully. Improper installation may result in product damage or personal injury.
- Keep children away from the product during assembly. Small parts may be a choking hazard.
2. Pakkens indhold
Kontroller venligst, at alle følgende komponenter er inkluderet i din pakke:
- Monitor Arm Assembly (x1)
- VESA-plade (x2)
- Skrivebord Clamp Base (x1)
- Grommet Base (x1)
- Monteringssæt (skruer, skiver, afstandsstykker)
- Hex Wrenches (various sizes)
- Instruktionsmanual (x1)
3. Specifikationer
| Feature | Specifikation |
|---|---|
| Model | MU8012-W-07 |
| Materiale | Legeret stål |
| Farve | Hvid |
| Skærmstørrelseskompatibilitet | 13-32 tommer |
| Vægtkapacitet (pr. arm) | 2 - 10 kg (4.4 - 22 lbs) |
| VESA-kompatibilitet | 75x75mm, 100x100mm |
| Monteringsmuligheder | Clamp, Grommet |
| Tilt rækkevidde | +85° til -45° |
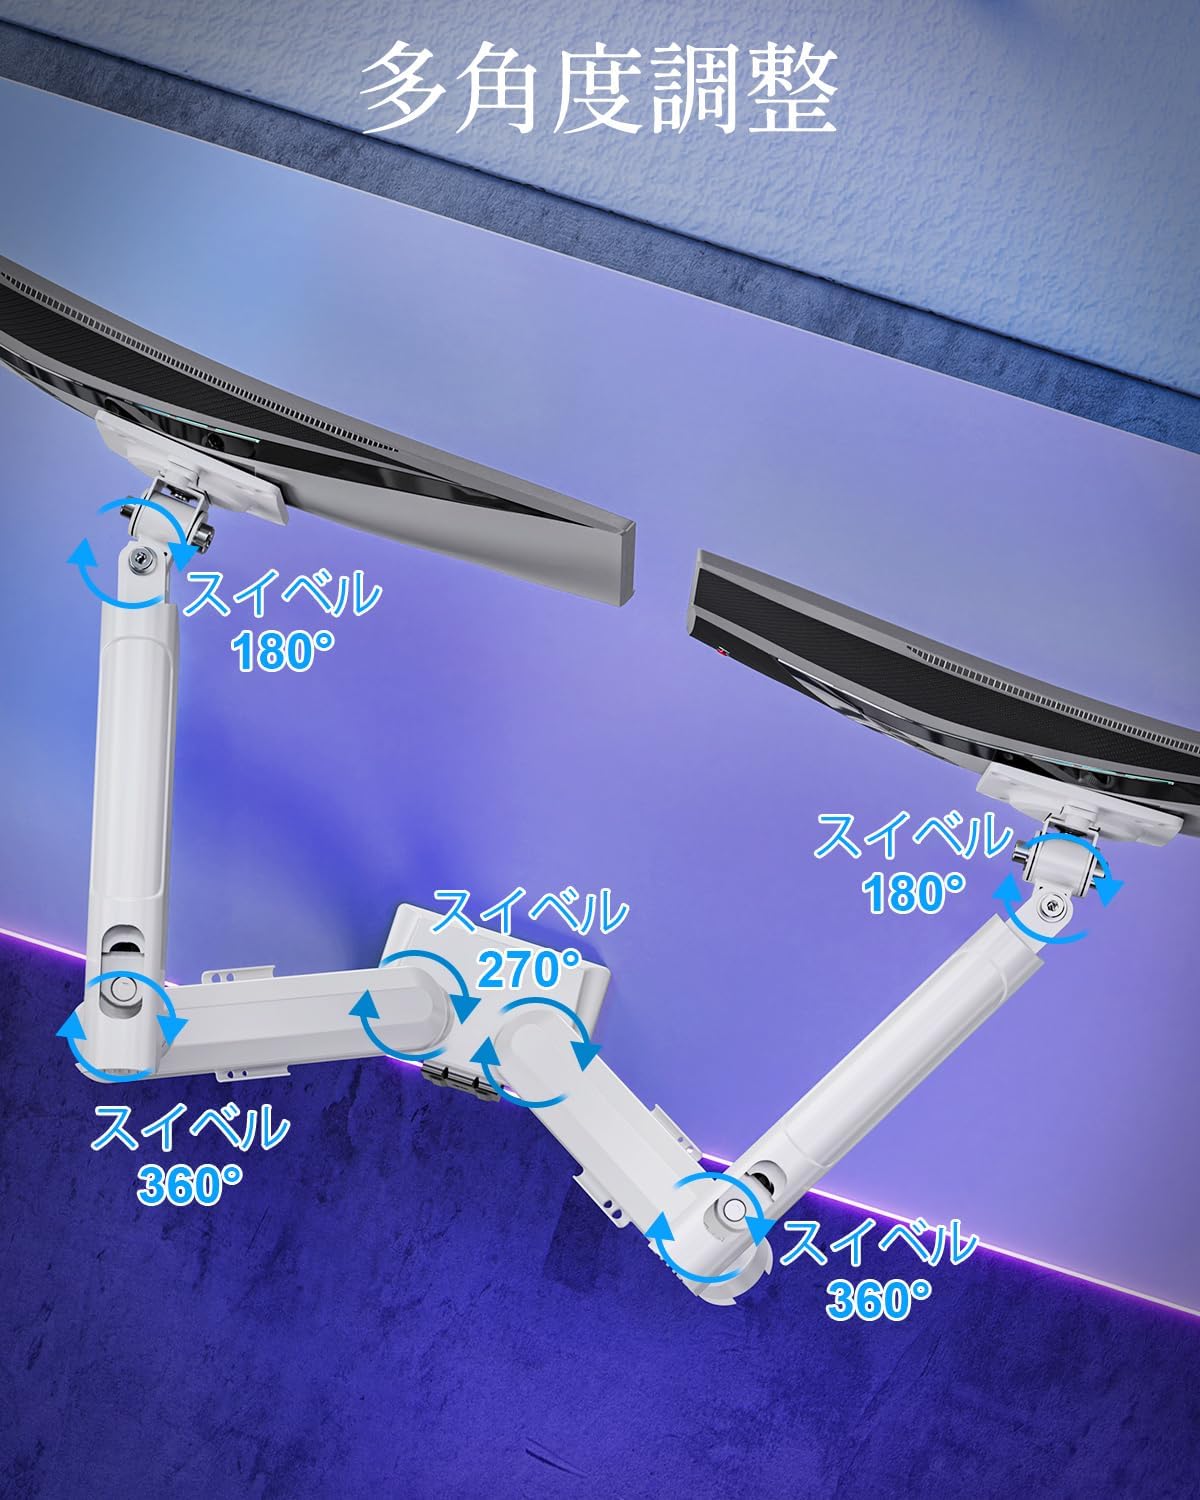
| Drejningsområde | 180° (monitor plate), 270° (middle joint), 360° (base) |
| Rotation (Pivot) | 360° |
| Maksimal højdejustering | 44 cm (17.3 tommer) |
| Maksimal armforlængelse | 50 cm (19.7 tommer) |
| Produktets vægt | 3.1 kg (6.8 lbs) |

4. Opsætning og installation
Trin 1: Vælg din monteringsmetode
The MOUNTUP Dual Monitor Arm supports two installation methods: Clamp Mount and Grommet Mount. Choose the method that best suits your desk.

Clamp Montering Montering
- Fastgør clamp base to the main pole of the monitor arm.
- Placer clamp onto the edge of your desk. Ensure the desk thickness is between 10-70mm (0.4-2.7 inches).
- Spænd clamp screw until the arm is securely fastened to the desk. Ensure it is stable and does not wobble.

Installation af tyllemontering
- If your desk has a grommet hole, ensure its diameter is between 10-60mm (0.4-2.4 inches) and the desk thickness is between 10-70mm (0.4-2.7 inches).
- Attach the grommet base to the main pole.
- Insert the grommet bolt through the desk hole and secure it from underneath with the provided plate and nut.
- Tighten the nut until the arm is firmly attached to the desk.
Trin 2: Fastgør VESA-plader til skærme
- Carefully lay your monitor face down on a soft, clean surface.
- Juster VESA-pladen med monteringshullerne på bagsiden af din skærm.
- Use the appropriate screws (M4 or M5) and washers from the hardware kit to secure the VESA plate to the monitor. Do not overtighten.
Trin 3: Monter skærme på arme
- Slide the monitor (with the attached VESA plate) onto the VESA head of the monitor arm.
- Ensure the monitor clicks into place or is securely fastened by the quick-release mechanism.
- Repeat for the second monitor.

Trin 4: Kabelstyring
Route your monitor cables through the integrated cable management clips on the underside of the arms. This helps maintain a tidy workspace.

5. Betjening og justeringer
The MOUNTUP Dual Monitor Arm offers flexible adjustments to optimize your viewoplevelse.

Adjusting Arm Tension (Gas Spring)
The gas spring mechanism allows for smooth height adjustments. If your monitor sags or is difficult to move, you may need to adjust the tension.

- To increase tension (if monitor sags): Use the provided hex wrench to turn the adjustment screw clockwise.
- To decrease tension (if arm is too stiff): Turn the adjustment screw counter-clockwise.
- Always adjust tension with the arm held horizontally. Test the movement after each small adjustment until the monitor holds its position freely.
Skærmjusteringer
- Højdejustering: Gently push or pull the monitor up or down to your desired height. The gas spring will assist in holding the position. Max height is 44cm (17.3 inches).
- Justering af hældning: Tilt the monitor screen up to +85° or down to -45° to reduce glare and optimize viewing angles. Loosen the tilt bolt, adjust, then re-tighten.
- Drejejustering: The arm allows for 180° swivel at the monitor plate, 270° at the middle joint, and 360° at the base, providing wide range of motion.
- Rotation (Pivot): Rotate your monitor 360° to switch between landscape and portrait orientations.

6. Vedligeholdelse
- Rensning: Tør skærmarmen af med en blød kludamp klud. Undgå slibende rengøringsmidler eller opløsningsmidler, der kan beskadige overfladen.
- Periodiske kontroller: Kontrollér regelmæssigt alle skruer og forbindelser for at sikre, at de forbliver stramme og sikre. Spænd efter om nødvendigt.
- Gas Spring Longevity: The high-quality gas spring is tested for over 20,000 cycles. Proper tension adjustment will help maintain its performance over time.

7. Fejlfinding
- Overvåg Sags eller vil ikke forblive oppe: The gas spring tension is too low. Refer to the "Adjusting Arm Tension" section and turn the adjustment screw clockwise to increase tension.
- Arm is Too Stiff or Difficult to Move: The gas spring tension is too high. Refer to the "Adjusting Arm Tension" section and turn the adjustment screw counter-clockwise to decrease tension.
- Skærmvagter: Ensure all mounting screws (VESA plate to monitor, arm to desk) are securely tightened. Check that the desk clamp or grommet mount is firm.
- Monitor Tilt Angle Won't Hold: The tilt bolt may be loose. Tighten the tilt bolt on the VESA head.
8. Garanti og support
MOUNTUP provides a 2 års kvalitetsgaranti fra købsdatoen for dette produkt. Denne garanti dækker fabrikationsfejl og problemer, der opstår ved normal brug.
If you encounter any problems with your MOUNTUP Dual Monitor Arm, or if you have questions regarding installation or operation, please contact our customer support. You can typically find seller contact information through your purchase history on the platform where you bought the product (e.g., Amazon order details).
Please have your model number (MU8012-W-07) and purchase date ready when contacting support to ensure a swift resolution.