1. Introduktion
This manual provides essential information for the installation, operation, and maintenance of your NVIDIA RTX A1000 Professional Graphics Card. Please read this manual thoroughly before installing and using the product to ensure optimal performance and safety.
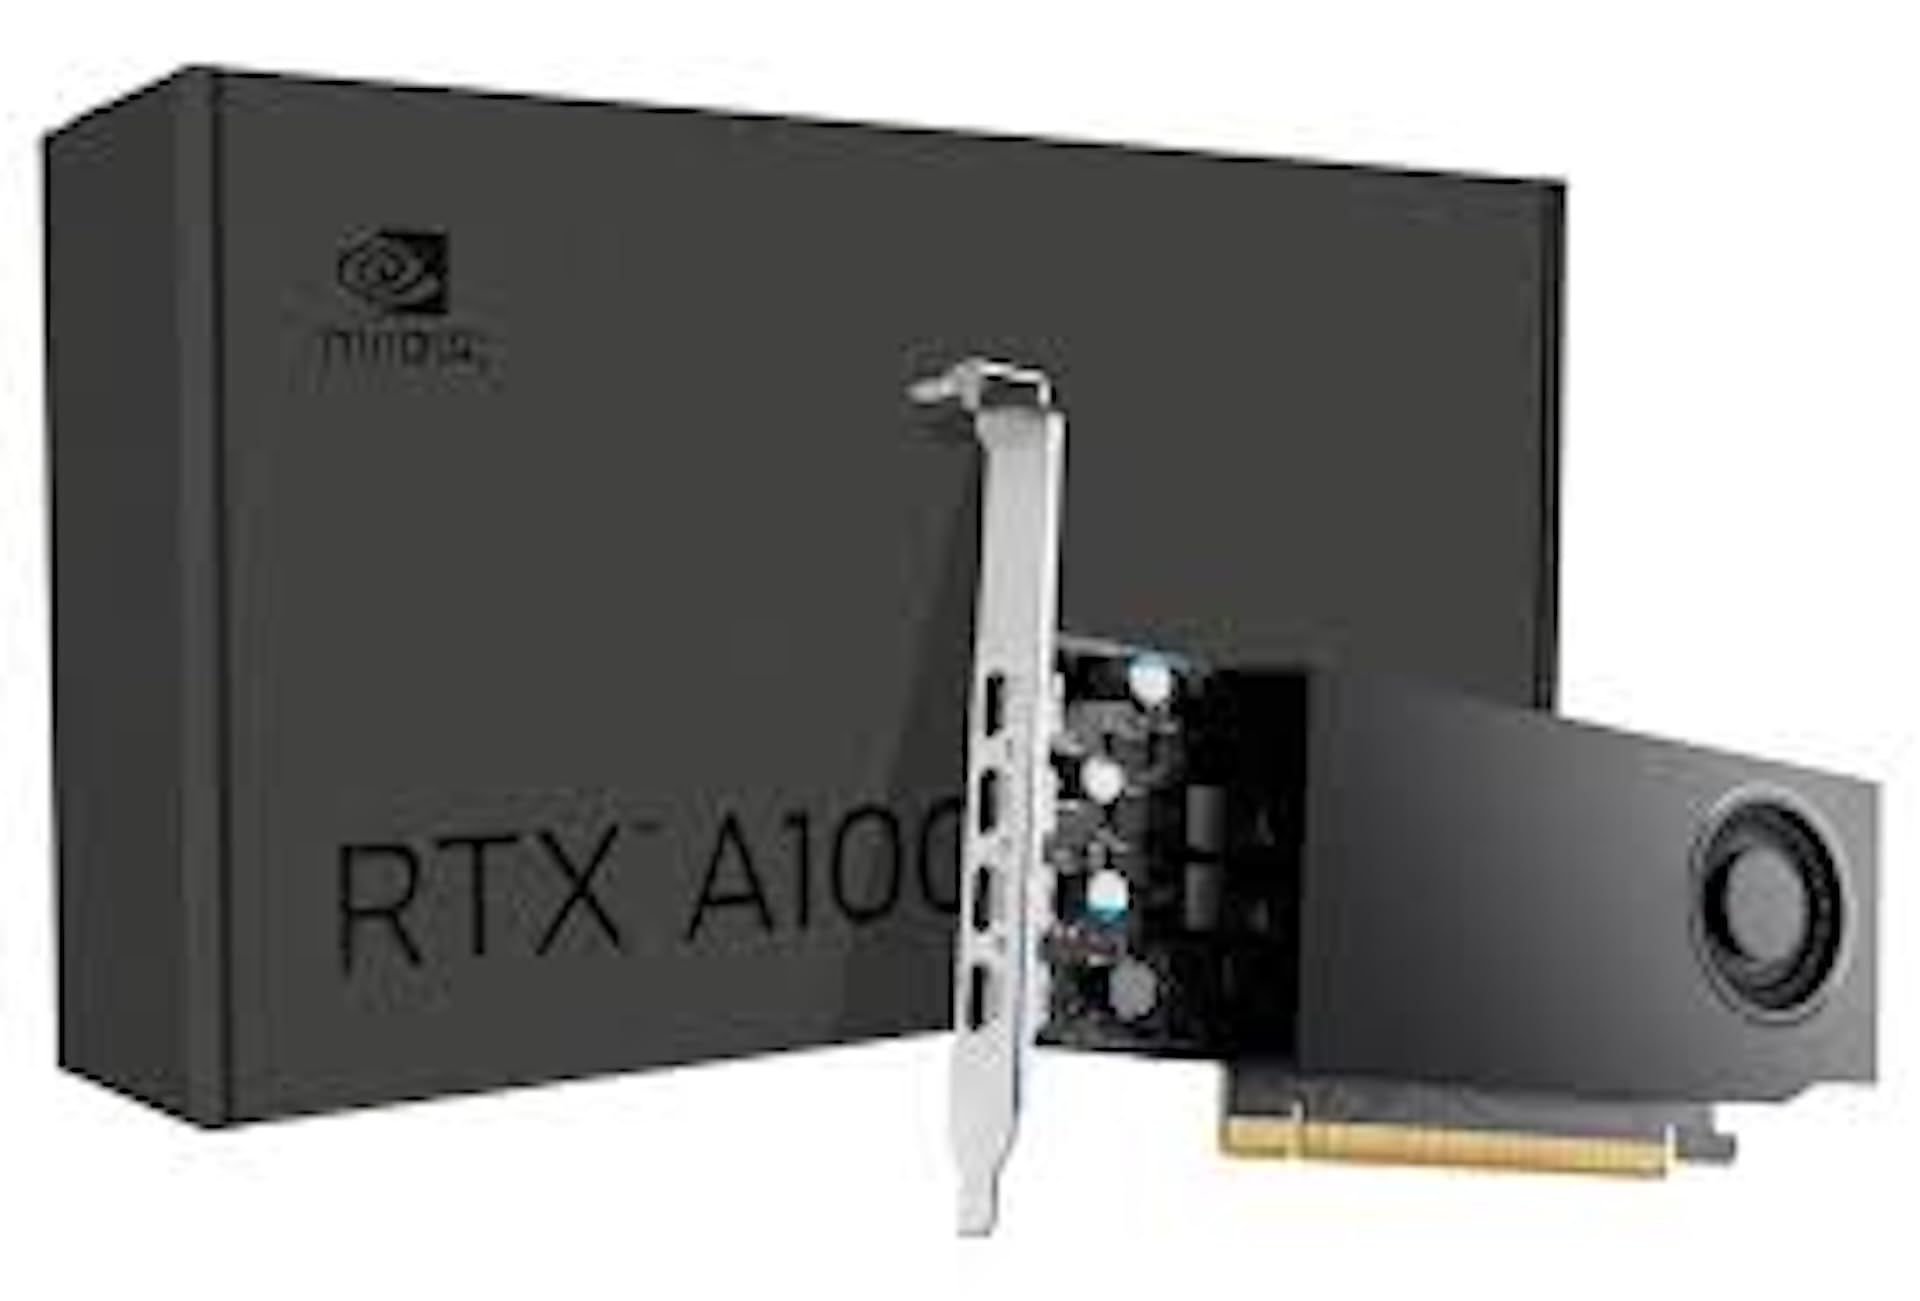
Figure 1: NVIDIA RTX A1000 Professional Graphics Card. This image shows the overall design of the graphics card, highlighting its compact form factor.
2. Produktet er slutview
The NVIDIA RTX A1000 is a low-profile graphics processing unit (GPU) designed for professional workstations. It integrates NVIDIA's Ampere GPU architecture, featuring 2,304 CUDA Cores, 72 third-generation Tensor Cores, and 18 second-generation RT Cores, along with 8GB of GDDR6 graphics memory. This card is engineered to enhance visual creation, accelerate AI-powered workflows, and boost productivity within a small-form-factor solution.

Figur 2: Vinklet view of the NVIDIA RTX A1000. This perspective showcases the cooling fan and the sleek design of the card.
3. Nøglefunktioner
- Advanced Core Architecture: Features 3rd generation Tensor Cores and 2nd generation RT Cores, providing enhanced graphic CAD performance and accelerated rendering and AI generation capabilities compared to previous models.
- Real-time Ray Tracing: Delivers up to twice the real-time ray-tracing performance of previous generations, facilitating complex 3D model processing and realistic image rendering.
- AI ydeevne: Offers up to 3.6 times higher generative AI performance, enabling rapid creation of high-quality images, videos, and 3D assets.
- Multi-Display Support: Equipped with four Mini DisplayPort connectors, supporting multi-application workflows and up to two 8K displays simultaneously for increased productivity.
- 8 GB GDDR6-hukommelse: Giver ample memory for demanding professional applications and complex datasets.
- Lav-Profile, Single-Slot Design: Optimizes space within workstations, making it suitable for a wide range of system configurations.
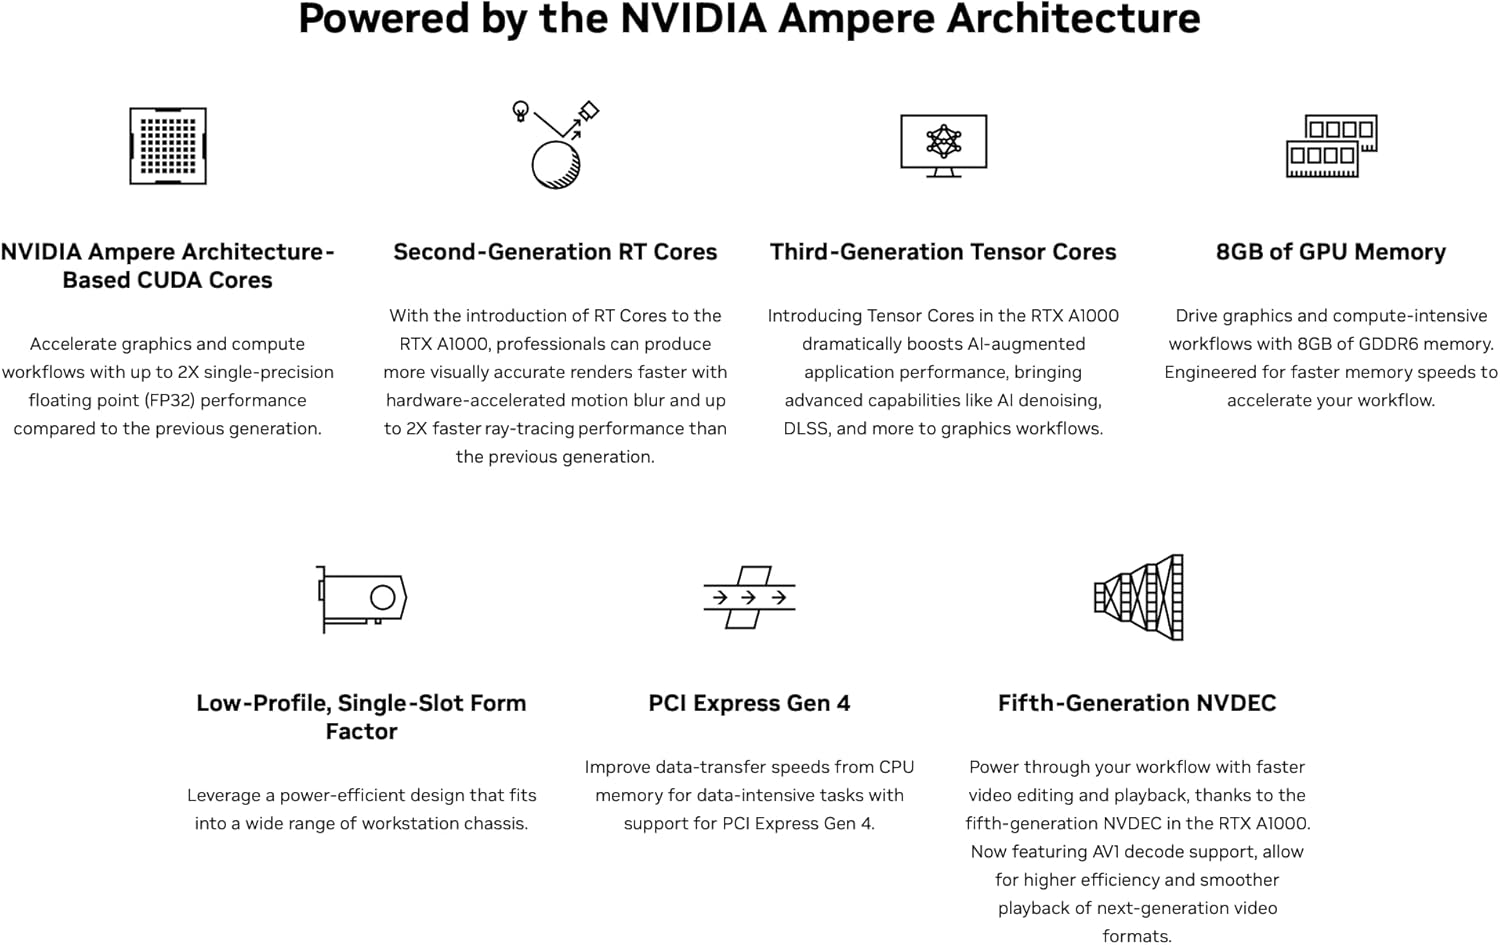
Figur 3: Overview of NVIDIA Ampere Architecture features. This graphic details the core components like CUDA Cores, RT Cores, Tensor Cores, and memory, which power the RTX A1000.

Figur 4: Eksamples of professional workloads supported by the NVIDIA RTX A1000. This image illustrates applications in design, digital content creation, generative AI, productivity, edge computing, and multi-display environments.
4. Installation og opsætning
4.1. Systemkrav
- Available PCI-Express x8 or x16 slot.
- Kompatibelt operativsystem (Windows 10/11 64-bit, Linux 64-bit).
- Sufficient power supply unit (PSU) with adequate wattage (typically 300W or higher recommended for system stability, as the card itself draws 50W).
- Minimum 8GB system RAM.
4.2. Hardwareinstallation
- Sluk og afbryd: Sørg for, at din computer er helt slukket og taget stikket ud af stikkontakten.
- Åben computerkasse: Fjern sidepanelet på computerens kabinet for at få adgang til bundkortet.
- Find PCIe-slot: Identify an available PCI-Express x8 or x16 slot on your motherboard. Remove any slot covers if necessary.
- Indsæt grafikkort: Carefully align the NVIDIA RTX A1000 card with the chosen PCIe slot and press down firmly until it is securely seated. Ensure the retention clip clicks into place.
- Sikkert kort: Brug en skrue eller kabinettets fastholdelsesmekanisme til at fastgøre grafikkortet til computerkabinettet.
- Luk sagen og genopret forbindelsen: Replace the computer case side panel, reconnect all cables, and plug the power cord back into the wall outlet.
4.3. Driver installation
- Tænd computeren: Turn on your computer. The operating system may automatically detect new hardware.
- Download drivere: Besøg den officielle NVIDIA webwebsted (www.nvidia.com/drivers) to download the latest professional drivers for the RTX A1000. Select your operating system and product series.
- Installer drivere: Kør det downloadede driverinstallationsprogram, og følg instruktionerne på skærmen. Det kan være nødvendigt at genstarte systemet for at fuldføre installationen.
- Bekræft installationen: After restarting, open NVIDIA Control Panel or NVIDIA Settings to verify that the graphics card is recognized and drivers are correctly installed.
5. Betjening
5.1. Tilslutning af skærme
The NVIDIA RTX A1000 features four Mini DisplayPort (mDP) outputs. Use appropriate mDP to DisplayPort, HDMI, or DVI adapters/cables to connect your monitors. Ensure your displays are powered on and set to the correct input source.

Figur 5: Nærbillede view of the four Mini DisplayPort outputs on the NVIDIA RTX A1000. These ports allow connection to multiple high-resolution displays.
5.2. NVIDIA Control Panel / Settings
The NVIDIA Control Panel (Windows) or NVIDIA Settings (Linux) provides comprehensive options for configuring your graphics card. Here you can adjust display settings, manage 3D application profiles, set up multiple displays, and monitor GPU performance.
- Skærmopløsning: Adjust screen resolution and refresh rates.
- Flere skærme: Configure display modes (extended desktop, duplicate displays).
- 3D-indstillinger: Optimize graphics settings for specific applications or global performance.
- GPU Monitoring: View GPU temperature, clock speeds, and memory usage.
6. Vedligeholdelse
- Hold drivere opdateret: Tjek regelmæssigt NVIDIA website for the latest drivers to ensure optimal performance, stability, and access to new features.
- Fjernelse af støv: Rengør grafikkortets blæser og køleplade med trykluft for støv regelmæssigt. Sørg for, at computeren er slukket og frakoblet, før du rengør den.
- Sørg for korrekt luftstrøm: Sørg for god luftgennemstrømning i computerkabinettet for at forhindre overophedning. Sørg for, at kabinetblæserne fungerer korrekt, og at kablerne er pænt organiseret.
7. Fejlfinding
7.1. Ingen skærmoutput
- Ensure the monitor is powered on and connected to the correct Mini DisplayPort on the graphics card.
- Kontroller, at grafikkortet er korrekt placeret i PCIe-slottet.
- Check if your monitor is set to the correct input source.
- Try connecting to a different display output on the card or a different monitor.
7.2. Driver Installation Issues
- Download de nyeste drivere direkte fra den officielle NVIDIA webwebsted.
- Deaktiver midlertidigt antivirussoftware under driverinstallation.
- If upgrading from a different GPU brand or older NVIDIA drivers, consider using a display driver uninstaller (DDU) in safe mode to remove old drivers before installing new ones.
7.3. Performance Issues or Crashes
- Sørg for, at dine drivere er opdaterede.
- Monitor GPU temperature using software like NVIDIA Control Panel or third-party tools. Overheating can cause performance degradation or crashes.
- Verify your system meets the recommended power supply requirements.
- Check for conflicting software or background processes that might be consuming resources.
8. Tekniske specifikationer

Figure 6: Detailed specifications for the NVIDIA RTX A1000. This table provides key technical data such as GPU memory, display ports, power consumption, and form factor.
| Feature | Detalje |
|---|---|
| Grafik coprocessor | NVIDIA RTX A1000 |
| GPU hukommelse | 8 GB GDDR6 |
| CUDA-kerner | 2304 |
| Tensorkerner | 72 (3. generation) |
| RT-kerner | 18 (2. generation) |
| Video Output Interface | 4x Mini DisplayPort 1.4a |
| Graphics Bus | PCI-Express Gen 4 x8 |
| Max strømforbrug | 50 W |
| Formfaktor | Lav-Profile, Single-Slot |
| Hukommelses urhastighed | 1200 MHz |
| Maximum Digital Resolution | 7680 x 4320 |
| Modelnummer | 900-5G172-2580-000 |
| Varens vægt | 453 gram |

Figure 7: Performance comparison of NVIDIA RTX A1000 against previous generation. This chart illustrates performance gains in graphics, rendering, and generative AI workloads.

Figure 8: Industry-leading performance highlights of the NVIDIA RTX A1000, including Single-Precision, RT Core, and Tensor Performance metrics.
9. Hvad er der i æsken
Når du åbner produktemballagen, bør du finde følgende:
- NVIDIA RTX A1000 Professional Graphics Card
Note: Additional accessories such as Mini DisplayPort adapters or documentation may be included depending on the specific retailer or bundle.
10. Garanti og support
10.1. Produktgaranti
NVIDIA products typically come with a limited manufacturer's warranty. The duration and terms of the warranty may vary by region and retailer. Please refer to the warranty information provided with your purchase or visit the official NVIDIA webwebstedet for detaljerede garantipolitikker.
10.2. Teknisk support
For technical assistance, driver downloads, and frequently asked questions, please visit the official NVIDIA support webwebsted:
NVIDIA-understøttelse Webwebsted
You may also contact your retailer or system integrator for support related to your specific purchase.