1. Introduktion og overview
This manual provides comprehensive instructions for the safe and effective operation, maintenance, and troubleshooting of your HITBOX 160A Stick Welder. This versatile 2-in-1 machine supports both Lift TIG and MMA (ARC) welding, making it suitable for a wide range of applications from beginner projects to professional tasks. Its compact and portable design ensures convenience for various welding needs.

Figure 1: HITBOX 160A Stick Welder, a compact and portable welding machine.
2. Sikkerhedsoplysninger
Welding can be hazardous if proper safety precautions are not observed. Always prioritize your safety and the safety of others in the work area. This machine incorporates multiple safety features including over-heating, over-current, over-loading protection, and Voltage Reduction Device (VRD) for enhanced user safety.
- Øjen- og ansigtsbeskyttelse: Brug altid en svejsehjelm med passende solbeskyttelsesglas for at beskytte dine øjne og ansigt mod lysbuer og gnister.
- Kropsbeskyttelse: Wear flame-resistant clothing, welding gloves, and sturdy footwear to protect against burns and electrical shock.
- Ventilation: Ensure adequate ventilation to remove welding fumes, which can be harmful if inhaled. Work in a well-ventilated area or use fume extraction equipment.
- Elektrisk sikkerhed: Ensure the welding machine is properly grounded. Do not operate in wet conditions. Inspect cables and connections for damage before each use.
- Brandforebyggelse: Keep a fire extinguisher nearby. Remove all flammable materials from the welding area. Be aware of hot metal and sparks.
- Arbejdsområde: Hold arbejdsområdet rent og frit for rod. Sørg for et stabilt fodfæste.
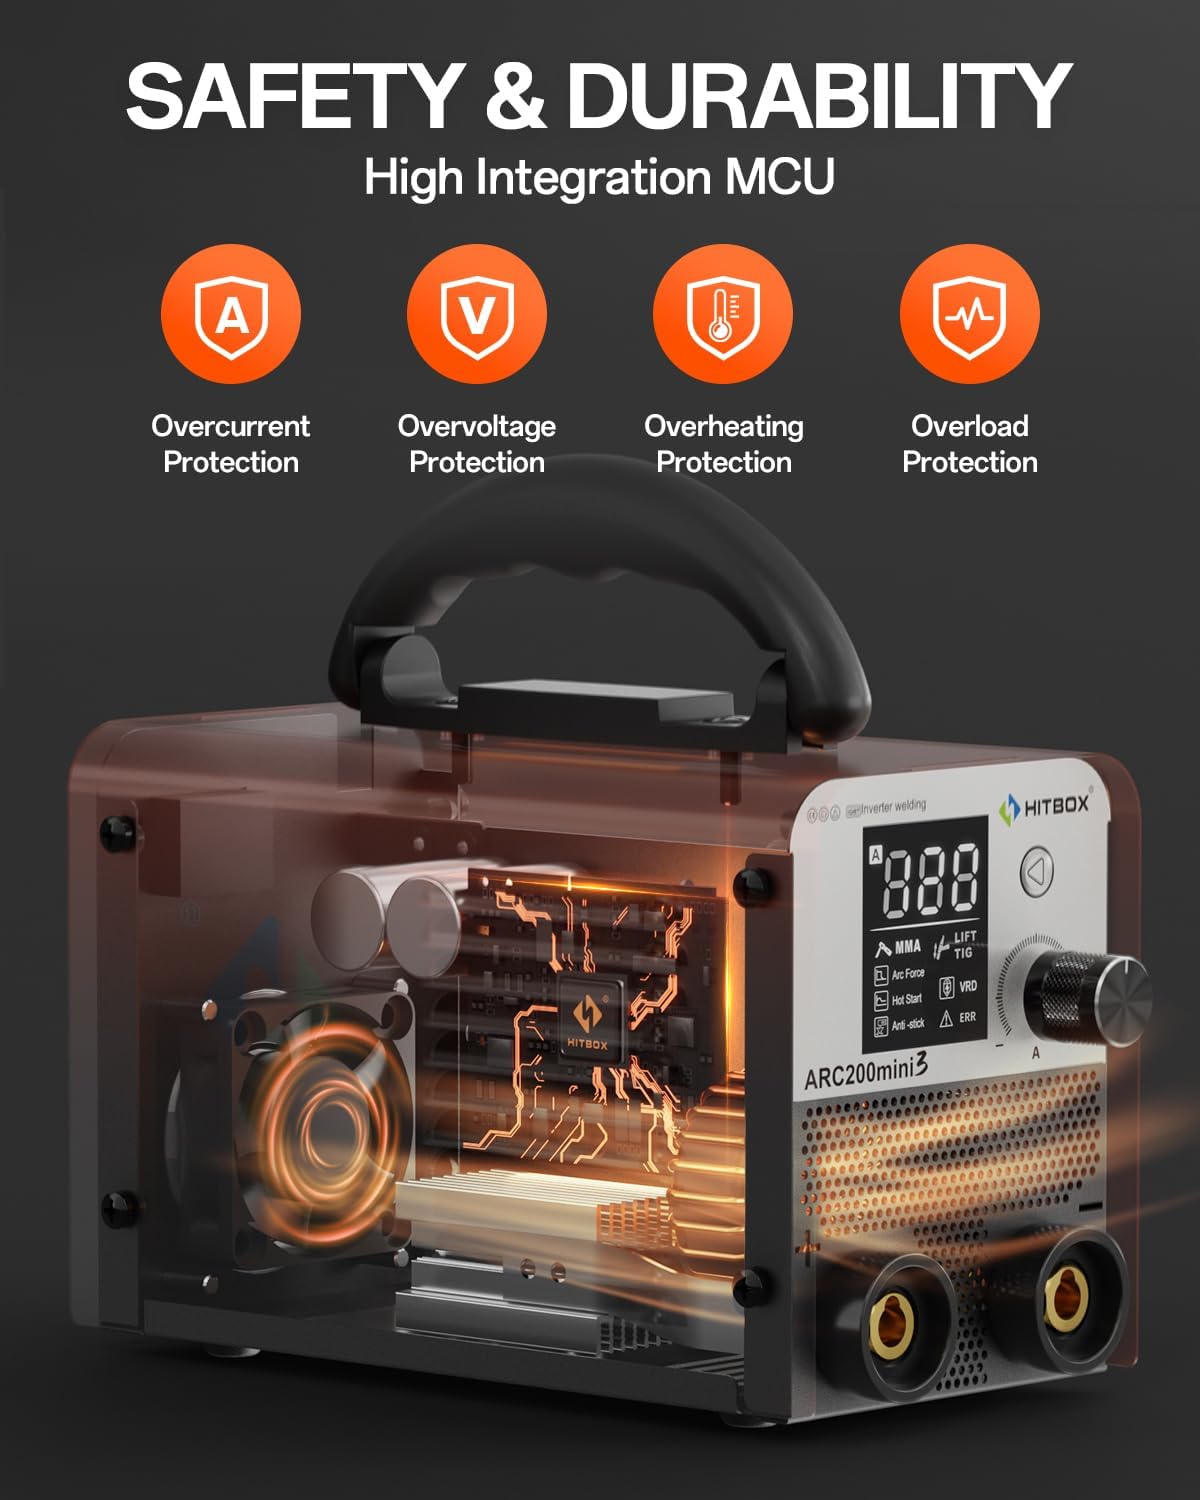
Figur 2: Intern view highlighting safety features such as Overcurrent, Overvoltage, Overheating, and Overload Protection.
3. Produktfunktioner
- Beginner-Friendly Operation: Simple setup and adjustable current via a single knob make this welder ideal for new users.
- Ultrakompakt og bærbar: Measuring 4.5x5.9x9.2 inches and weighing only 5.9 lbs, it is designed for easy transport and use in various locations, including outdoor maintenance, farming, and home repairs.
- Powerful Welding Capabilities: Features superior Anti-Stick, Arc Force, and Hot Start functions for reliable ignition of welding rods up to 3.2 mm. Compatible with E6010, E6011, and E6013 rods.
- Alsidig materialekompatibilitet: Capable of welding various metals including cast iron, mild steel, sheet metal, carbon steel, square pipe, and stainless steel, up to 6mm thick.
- Intuitiv LCD-grænseflade: Equipped with a smart LCD display, alarm LED, and clear welding current readout for simplified operation.
- Integrerede sikkerhedsfunktioner: Includes over-heating, over-current, over-loading protection, and VRD (Voltage Reduction Device) for enhanced user safety.

Figure 3: The large digital display provides clear and easy-to-read information for precise control.
4. Pakkens indhold
Ved udpakning skal du kontrollere, at alle nedenstående varer er til stede og ubeskadigede:
- 1x HITBOX 160A Stick Welder (ARC200D MINI3-CA)
- 1x brugsanvisning
- 1x formalet kloramp (4.9 fod kabel)
- 1x Electrode Holder (4.9 ft cable)
- 5x Welding Rods (2.0 mm)
- 1x rensebørste

Figure 4: Visual representation of the included accessories: Instruction Manual, Ground Clamp, Electrode Holder, Welding Rods, and Cleaning Brush.
5. Opsætning
Følg disse trin for at klargøre din svejsemaskine til drift:
- Strømtilslutning: Ensure the welder is connected to a stable 110V power supply. Verify that the power outlet can handle the required ampslette.
- Elektrodeholdertilslutning: Connect the electrode holder cable to the negative ("-") terminal on the front panel of the welder. Securely twist the connector into place.
- Jord Clamp Forbindelse: Tilslut jorden clamp cable to the positive ("+") terminal on the front panel of the welder. Securely twist the connector into place.
- Indsæt elektrode: Insert the welding electrode (rod) into the electrode holder. Ensure it is firmly gripped.
- (Optional) TIG Torch Connection: If performing Lift TIG welding, connect the WP17V TIG Torch (sold separately) to the positive ("+") terminal and the gas line (if applicable) to the appropriate gas inlet.
Video 1: Demonstrates the setup process for the HITBOX Stick Welder, including connecting the electrode holder and ground clamp, and preparing for welding operations.
6. Betjeningsvejledning
6.1 Kontrolpanel overview
The welder features a user-friendly control panel with a digital LCD screen and a multi-function knob for mode selection and parameter adjustment.
- Digital LCD skærm: Displays current welding parameters (amperage), selected mode (MMA/Lift TIG), and status indicators (Arc Force, Hot Start, Anti-Stick, VRD, ERR).
- Drej og bekræft knappen: Used to navigate through settings and adjust amperage. Press to confirm selections.
6.2 MMA (ARC) Welding
This mode is used for stick welding with coated electrodes.
- Select MMA Mode: Use the control knob to select "MMA" on the digital display.
- Sæt Ampalder: Juster amperage according to the electrode type and thickness of the material being welded. Recommended rods are E6010/E6011/E6013, below 3.2 mm.
- Forbered emnet: Ensure the workpiece is clean and the ground clamp is securely attached to it, providing good electrical contact.
- Start svejsning: Strike the arc by lightly touching the electrode to the workpiece and quickly lifting it slightly to establish the arc. Maintain a consistent arc length and travel speed.
- Funktioner: The built-in Hot Start, Arc Force, and Anti-Stick features will assist in smooth arc ignition, stable arc, and preventing electrode sticking.
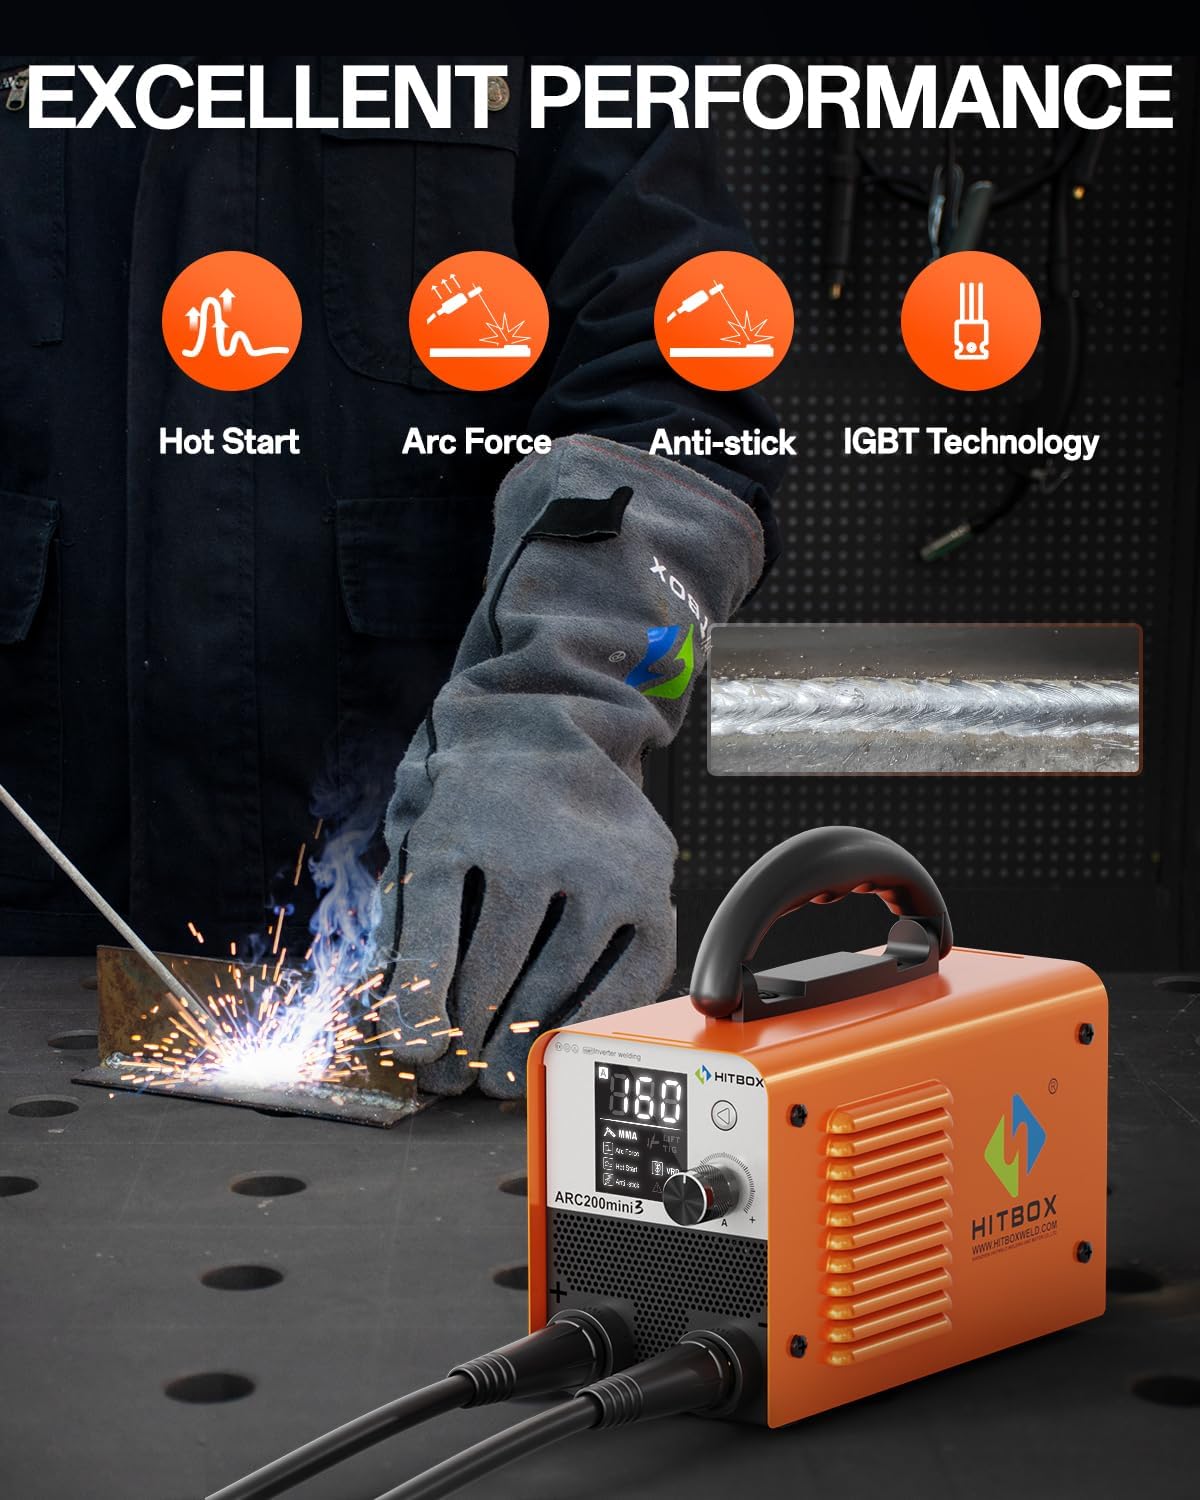
Figure 5: Demonstrates the welding process using the MMA (ARC) mode, highlighting the quality of the weld bead.
6.3 Lift TIG-svejsning
This mode allows for precise TIG welding, requiring a separate TIG torch and gas supply (not included).
- Tilslut TIG-brænder: Ensure the WP17V TIG Torch is correctly connected to the positive ("+") terminal and the gas line is connected to your argon gas cylinder.
- Select Lift TIG Mode: Use the control knob to select "Lift TIG" on the digital display.
- Sæt Ampalder: Juster amperage suitable for your material and desired weld.
- Forbered emnet: Ensure the workpiece is clean and the ground clamp er sikkert fastgjort.
- Start svejsning: Gently touch the tungsten electrode to the workpiece to initiate the arc, then lift it slightly to establish the arc. Maintain a consistent arc length and feed filler rod as needed.

Figure 6: Comparison of setup for Stick welding (left) and Lift TIG welding (right), showing the optional TIG torch connection.
7. Vedligeholdelse
Regelmæssig vedligeholdelse sikrer din svejsemaskines levetid og optimale ydeevne.
- Rensning: Periodically clean the exterior of the machine with a dry cloth. Use compressed air to clear dust from the ventilation openings.
- Kabelinspektion: Regularly inspect the electrode holder cable, ground clamp cable, and power cord for any signs of damage, cuts, or frayed insulation. Replace damaged cables immediately.
- Tilslutningskontrol: Sørg for alle forbindelser (elektrodeholder, jordforbindelse)amp, power plug) are tight and free from corrosion.
- Opbevaring: Store the welder in a dry, clean environment, away from excessive dust, moisture, and extreme temperatures.
8. Fejlfinding
Dette afsnit indeholder løsninger på almindelige problemer, du kan støde på.
| Problem | Mulig årsag | Løsning |
|---|---|---|
| Ingen lysbue / Svag lysbue |
|
|
| Overheating / Machine Shuts Off |
|
|
| "ERR" Indicator on Display |
|
|
9. Specifikationer
| Attribut | Detalje |
|---|---|
| Fabrikant | HITBOX |
| Modelnummer | ARC200D MINI3-CA |
| Varenummer | H1012012 |
| Strømkilde | DC (110V input) |
| Varens vægt | 3.49 kg (ca. 7.7 lbs) |
| Pakkedimensioner | 33.4 x 25.3 x 15.1 cm |
| Inkluderede komponenter | Welder, Ground Clamp, Electrode Holder, Welding Rods, Cleaning Brush |
| Batterier påkrævet? | Ingen |
| Oprindelsesland | Kina |
10. Garanti og support
HITBOX provides 2 years of quality support for this welding machine. For any technical assistance, warranty claims, or inquiries, please contact HITBOX customer service through your purchase platform or the official HITBOX webwebsted.
Gem venligst din købsbevis for at validere garantien.