1. Introduktion
This manual provides detailed instructions for the installation, maintenance, and replacement of accessories for your Xiaomi S20 plus S20+ B108GL robot vacuum cleaner. Regular replacement of these parts ensures optimal performance and extends the lifespan of your vacuum cleaner.
2. Kompatibilitet
This replacement kit is specifically designed to be compatible with the following robot vacuum cleaner models:
- Xiaomi S20 plus Robot Vacuum Cleaner
- Xiaomi S20+ Robot Vacuum Cleaner
- Xiaomi B108GL Robot Vacuum Cleaner

Figure 2.1: Compatible Robot Vacuum Cleaner Models.
This image displays two robot vacuum cleaners, one dark grey and one white, illustrating the models compatible with the replacement kit. Text overlays confirm compatibility with "Robot Vacuum S20+", "Robot Vacuum S20 Plus", and "B108GL".
3. Pakkens indhold
Kontroller venligst, at alle nedenstående varer er inkluderet i din pakke:
- 1 x Main Brush (Roller Brush)
- 2 x sidebørster
- 2 x HEPA-filtre
- 4 x moppeklude

Figure 3.1: Complete Replacement Kit Contents.
This image displays all the components included in the replacement kit. From left to right, it shows a main roller brush with orange and black bristles, two white three-armed side brushes, two rectangular white HEPA filters, and four circular grey mop cloths.
4. Installation og udskiftning
4.1. Montering af hovedbørste
The main brush is crucial for deep cleaning and efficient dust removal. Replace it when bristles show significant wear or damage.
- Turn off the robot vacuum cleaner and place it upside down on a flat surface.
- Locate the main brush cover, usually secured by latches or screws. Open or remove the cover.
- Løft forsigtigt den gamle hovedbørste ud.
- Insert the new main brush, ensuring the ends align with the slots in the vacuum cleaner.
- Luk hovedbørstedækslet ordentligt.
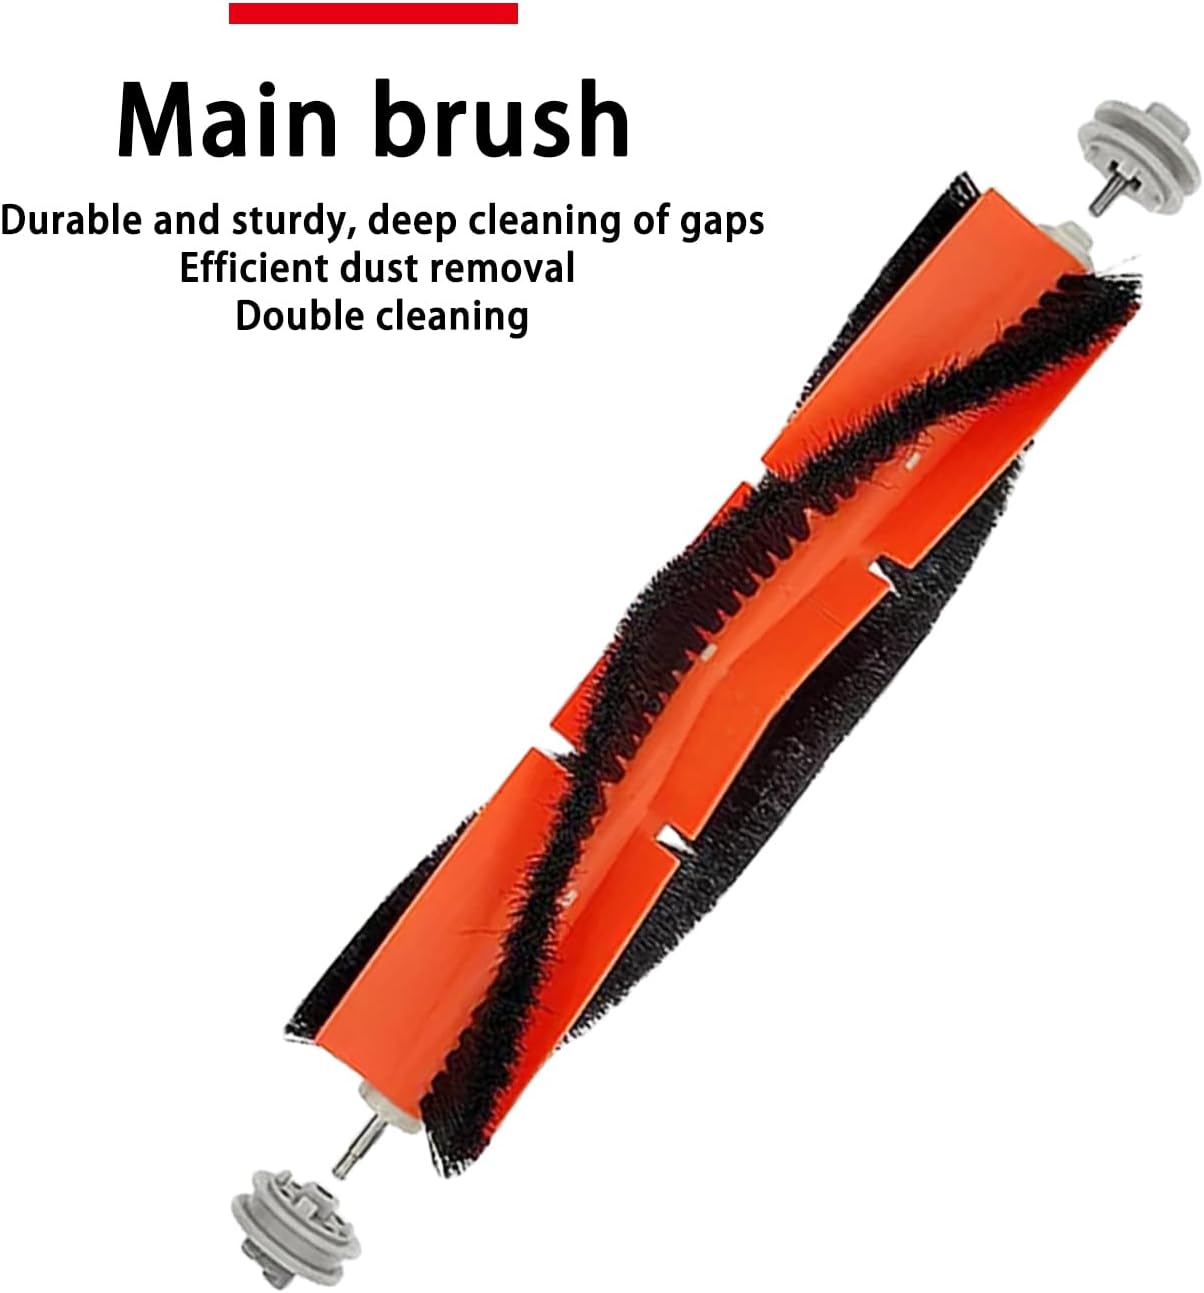
Figure 4.1: Main Brush Component.
Dette billede giver et nærbillede view of the main brush, featuring its orange and black bristles. The accompanying text emphasizes its durability, sturdiness, deep cleaning capabilities for gaps, efficient dust removal, and double cleaning action.
4.2. Montering af sidebørste
Side brushes help sweep debris from edges and corners into the vacuum's path. Replace them if bristles are bent or missing.
- Turn off the robot vacuum cleaner and place it upside down.
- Locate the side brushes. They are typically held by a single screw or snap into place.
- Remove the old side brush. If screwed, unscrew it.
- Align the new side brush with the corresponding post and press it down or screw it into place until secure.
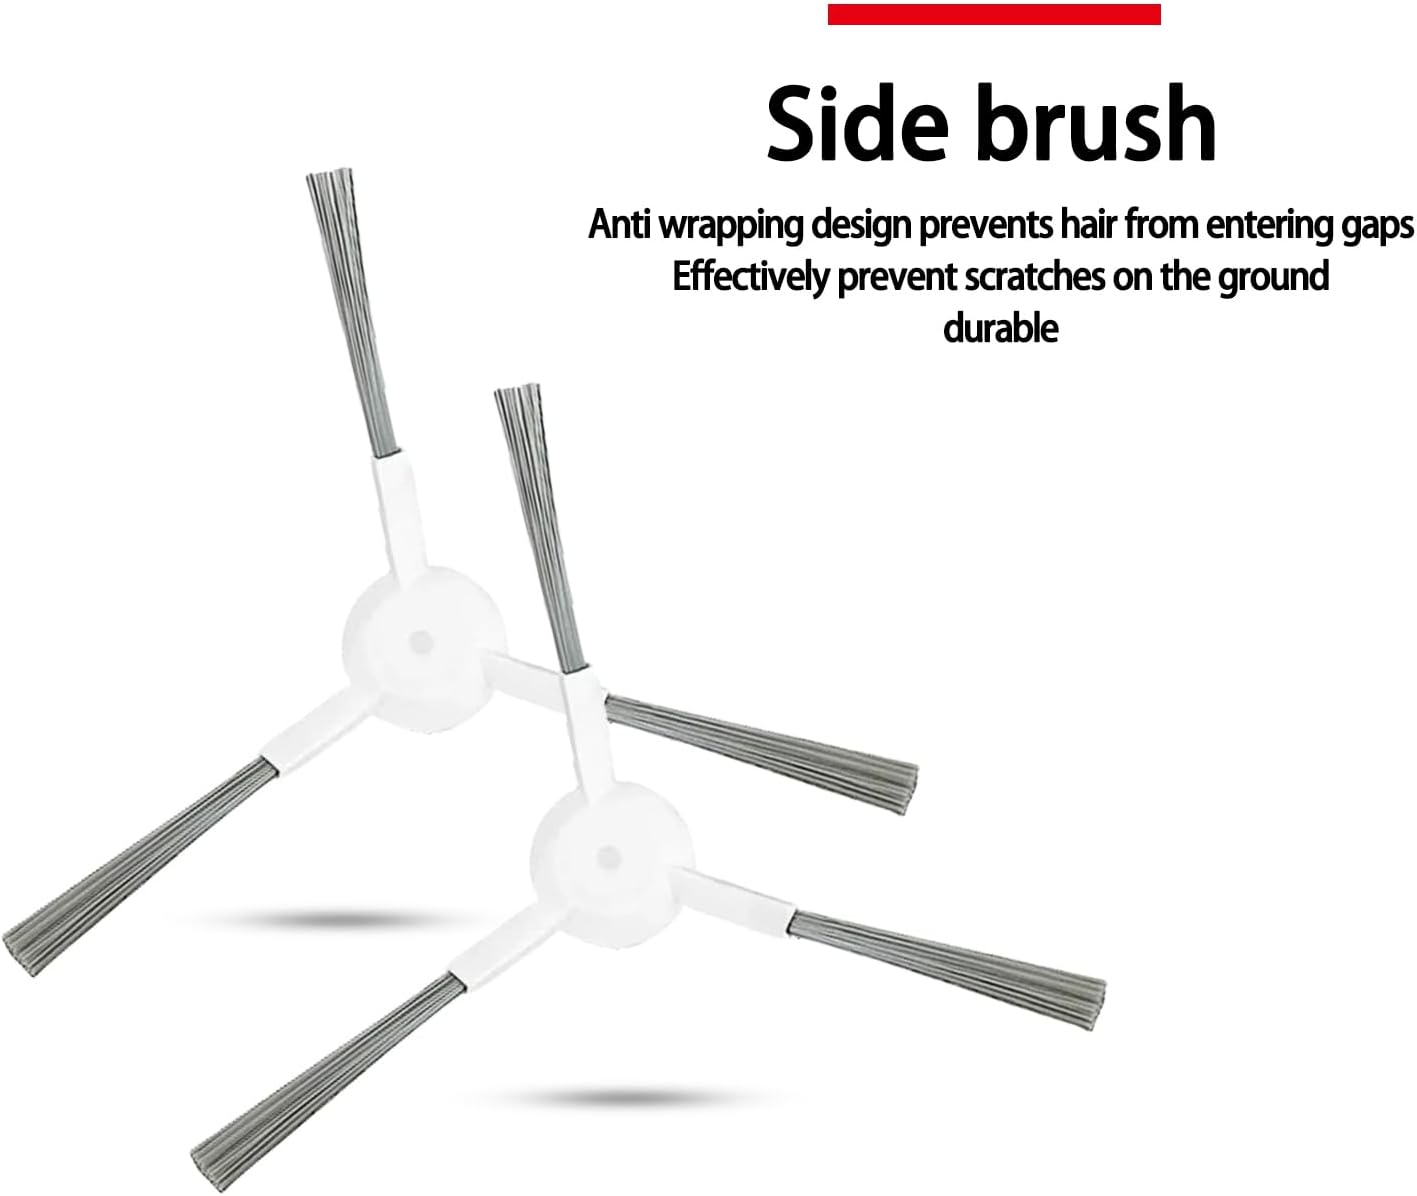
Figure 4.2: Side Brush Components.
This image shows two white side brushes, each with three grey bristles. The design is highlighted as "Anti wrapping design prevents hair from entering gaps" and "Effectively prevent scratches on the ground durable".
4.3. HEPA Filter Installation
HEPA filters capture fine dust and allergens, improving air quality. Replace them regularly to maintain suction power and filtration efficiency.
- Open the dustbin compartment of your robot vacuum cleaner.
- Fjern skraldespanden.
- Locate the filter within the dustbin. Remove the old filter.
- Insert the new HEPA filter into the designated slot in the dustbin, ensuring it fits snugly.
- Reinstall the dustbin into the vacuum cleaner and close the compartment.

Figure 4.3: HEPA Filter Components.
This image displays two white rectangular HEPA filters. The text highlights that they "Can be washed with water and air dried for reuse," are "Environmentally friendly and durable," and provide "Strong filtering."
4.4. Installation af moppeklud
Mop cloths are used for wet cleaning and polishing hard floors. Replace them when they become dirty or worn.
- Locate the mop cloth attachment on your robot vacuum cleaner. This may be a separate water tank or a dedicated mop plate.
- Remove the old mop cloth, typically by detaching it from Velcro or clips.
- Attach the new mop cloth to the attachment, ensuring it is securely fastened and evenly spread.
- If applicable, fill the water tank before reattaching the mop module to the vacuum.

Figure 4.4: Mop Cloth Component.
This image shows a close-up of a grey circular mop cloth. The description emphasizes that the "Mop adopts an ultra dense fiber design," provides "Uniform seepage," and "Can effectively clean the floor."
5. Vedligeholdelse og rengøring
Regular cleaning and maintenance of your robot vacuum accessories are essential for optimal performance and longevity.
- Hovedbørste: Remove hair and debris tangled around the main brush regularly. The main brush is designed to be easily removable for cleaning. Use a cleaning tool (often provided with the vacuum) to cut and remove tangled hair.
- Sidebørster: Check side brushes for tangled hair or debris. If bristles are bent, they can sometimes be straightened by soaking them in warm water for a few minutes.
- HEPA-filtre: Tap the filter gently over a trash can to remove loose dust. The HEPA filters in this kit can be washed with water. Rinse them under running water until clean. Ensure they are completely air-dried before reinstalling to prevent mold growth and damage to the vacuum.
- Moppeklude: After each use, remove the mop cloth and wash it thoroughly. They can be hand-washed or machine-washed with mild detergent. Air-dry completely before next use.
6. Specifikationer
| Komponent | Mængde | Materiale | Nøglefunktion |
|---|---|---|---|
| Hovedbørste | 1 | Plastic, Bristles | Durable, efficient dust removal |
| Sidebørster | 2 | Plastik, Nylon | Anti-wrapping design, corner cleaning |
| HEPA filtre | 2 | Filter paper, Plastic | Washable, strong filtering |
| Moppe klude | 4 | Mikrofiber | Ultra-dense fiber, uniform seepage |
Note: The material for the kit is listed as "Paper" in the product specifications, which likely refers to the filter media. Other components are made of plastic and fabric as described.
7. Fejlfinding
Hvis du støder på problemer efter udskiftning af dele, skal du overveje følgende:
- Reduceret sugekraft: Ensure the HEPA filter is clean and properly installed. A clogged filter is a common cause of reduced suction. Check the main brush for excessive hair entanglement.
- Vacuum Not Moving Straight/Turning: Check side brushes for entanglement or damage. Ensure they are securely attached and not obstructed.
- Usædvanlige lyde: Inspect the main brush for any foreign objects or excessive hair. Ensure all components are installed correctly and securely.
- Dårlig moppeydelse: Ensure the mop cloth is clean and properly attached. Verify the water tank (if applicable to your vacuum model) is filled.
If problems persist, refer to your robot vacuum cleaner's original instruction manual or contact the vacuum cleaner manufacturer's support.
8. Product Quality Assurance
This product has undergone testing to ensure quality before shipping. We are committed to providing reliable replacement parts to maintain the performance of your robot vacuum cleaner.
For any questions or concerns regarding the replacement kit, please contact the seller through the platform where the purchase was made.


