1. Introduktion
This manual provides essential instructions for the safe and effective operation, maintenance, and troubleshooting of your HITBOX ARC200D MINI3 Ultra Mini Inverter Welder. Please read this manual thoroughly before operating the device to ensure proper usage and to prevent injury or damage.
Sikkerhedsforanstaltninger
- Brug altid passende personlige værnemidler (PPE), herunder svejsehjelm, handsker og beskyttelsestøj.
- Sørg for tilstrækkelig ventilation i arbejdsområdet for at sprede svejserøg.
- Brug ikke svejsemaskinen i damp eller våde forhold.
- Afbryd strømmen, før du udfører vedligeholdelse eller justeringer.
- Hold børn og uautoriseret personale væk fra svejseområdet.
2. Produktet er slutview
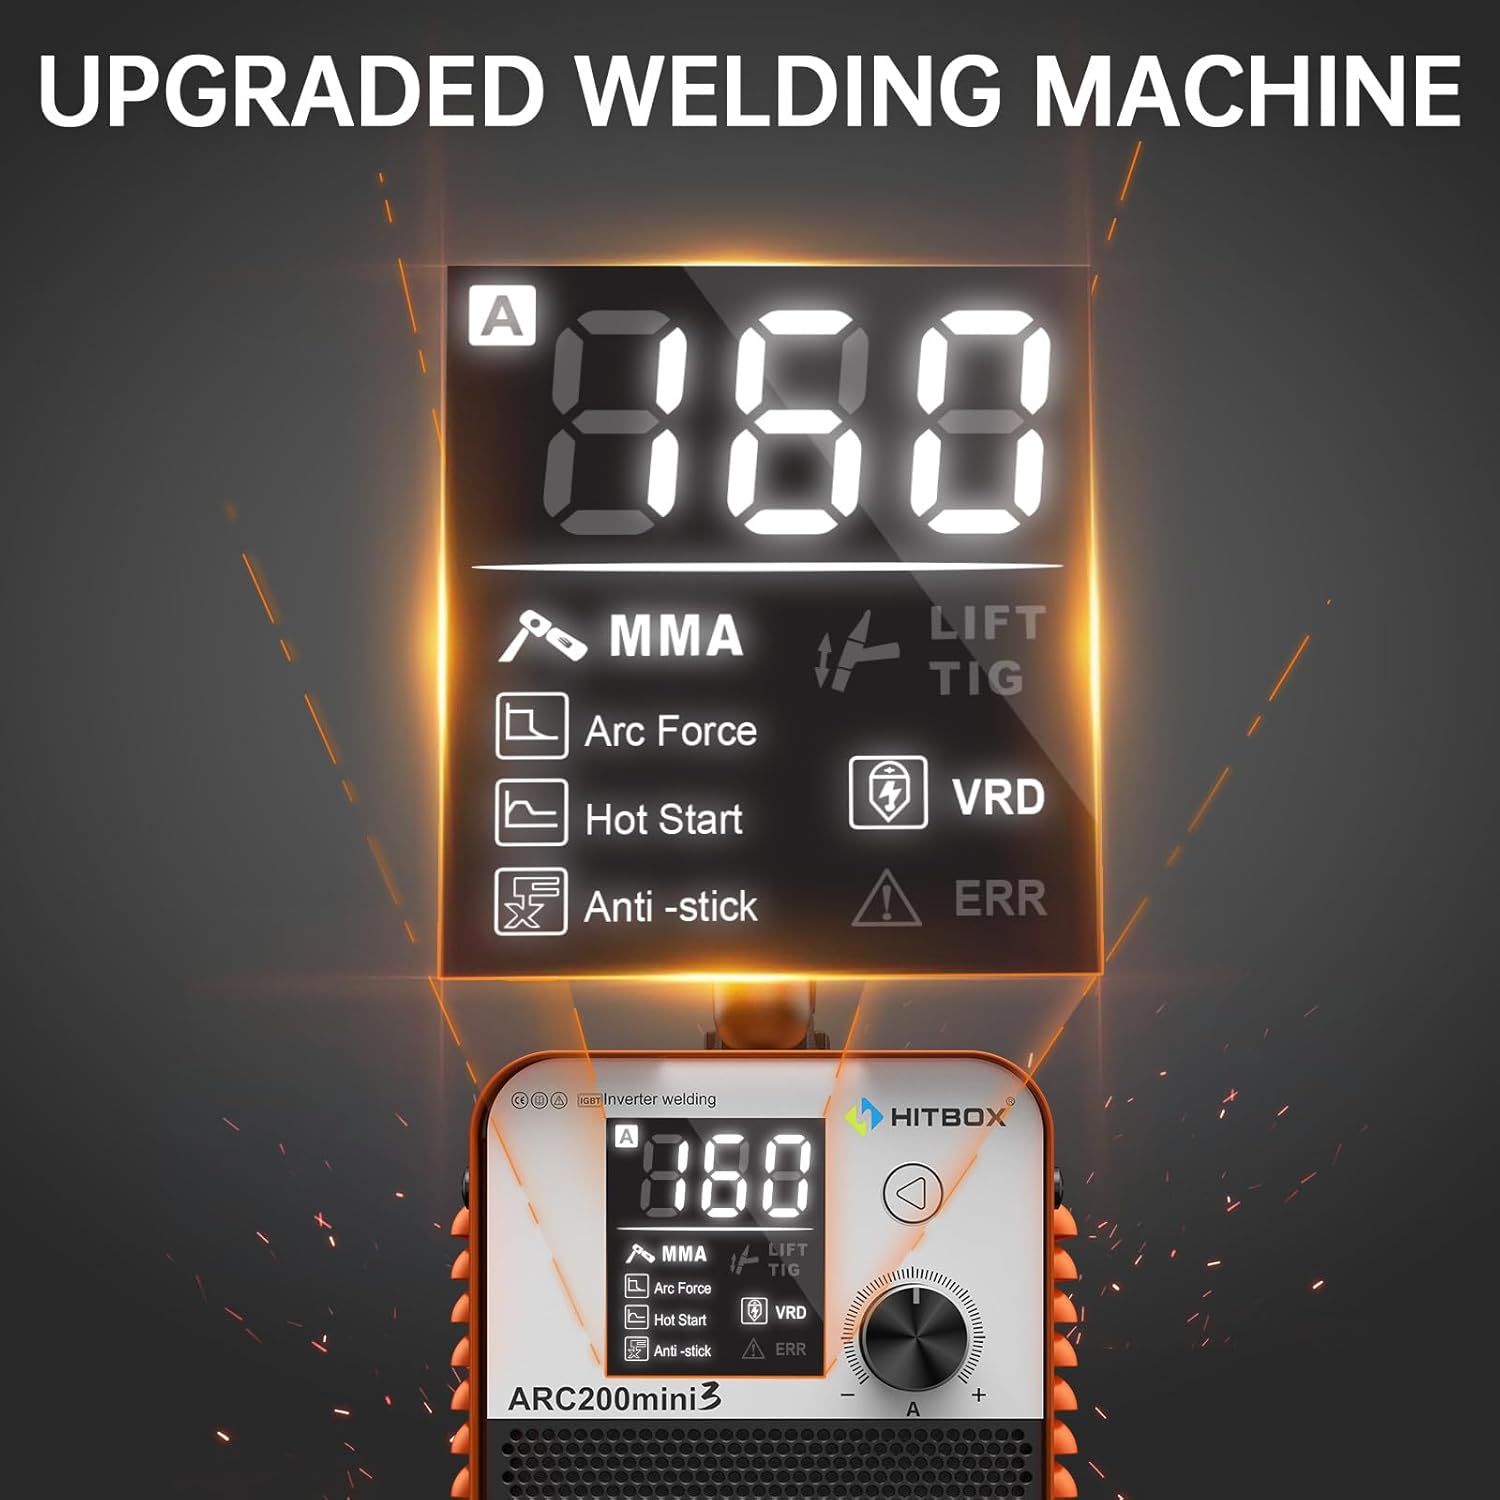
The HITBOX ARC200D MINI3 is a compact and portable 2-in-1 inverter welder, capable of both MMA (Stick) welding and Lift TIG welding. It features a digital display for easy parameter adjustment and various safety protections.
Nøglefunktioner:
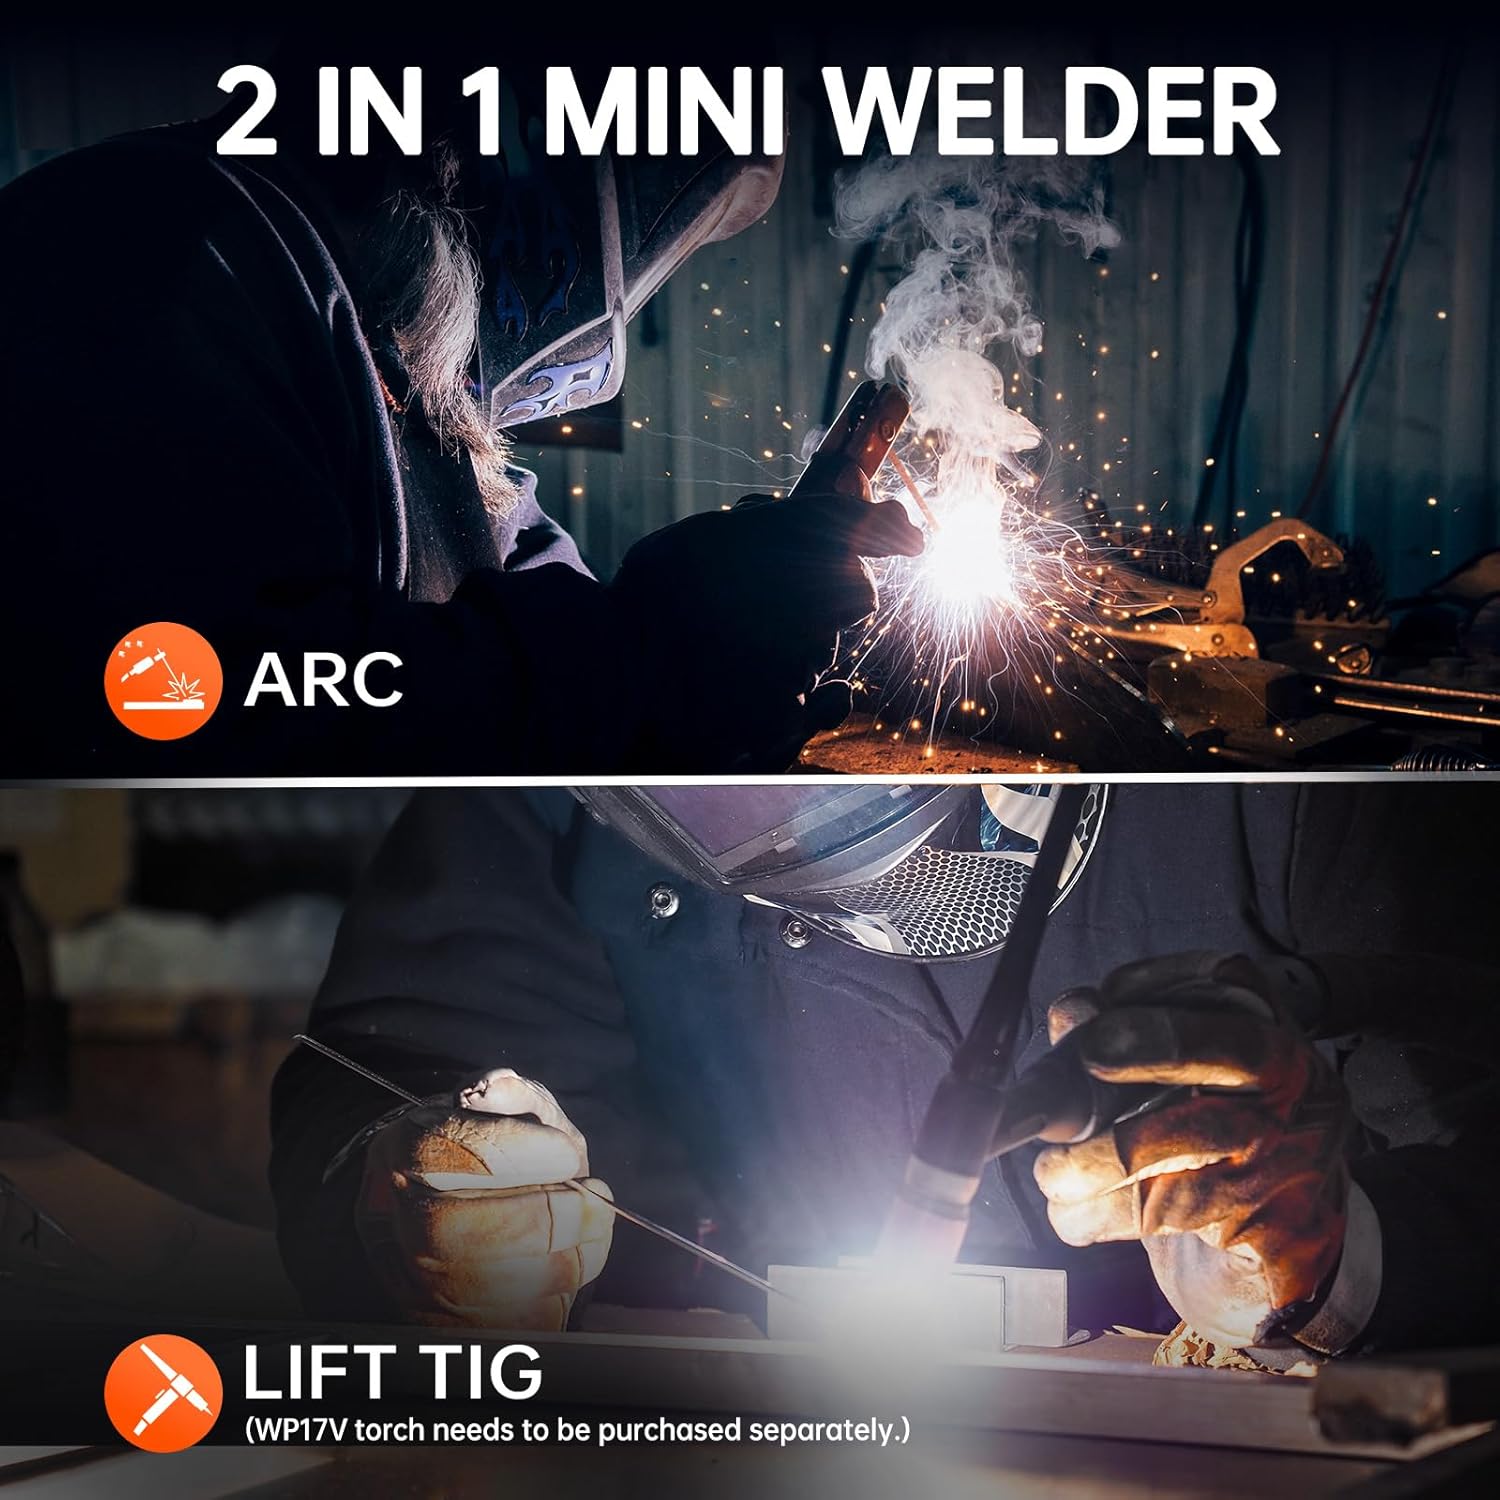
- 2-i-1 svejsning: Supports MMA (Stick) and Lift TIG welding modes.
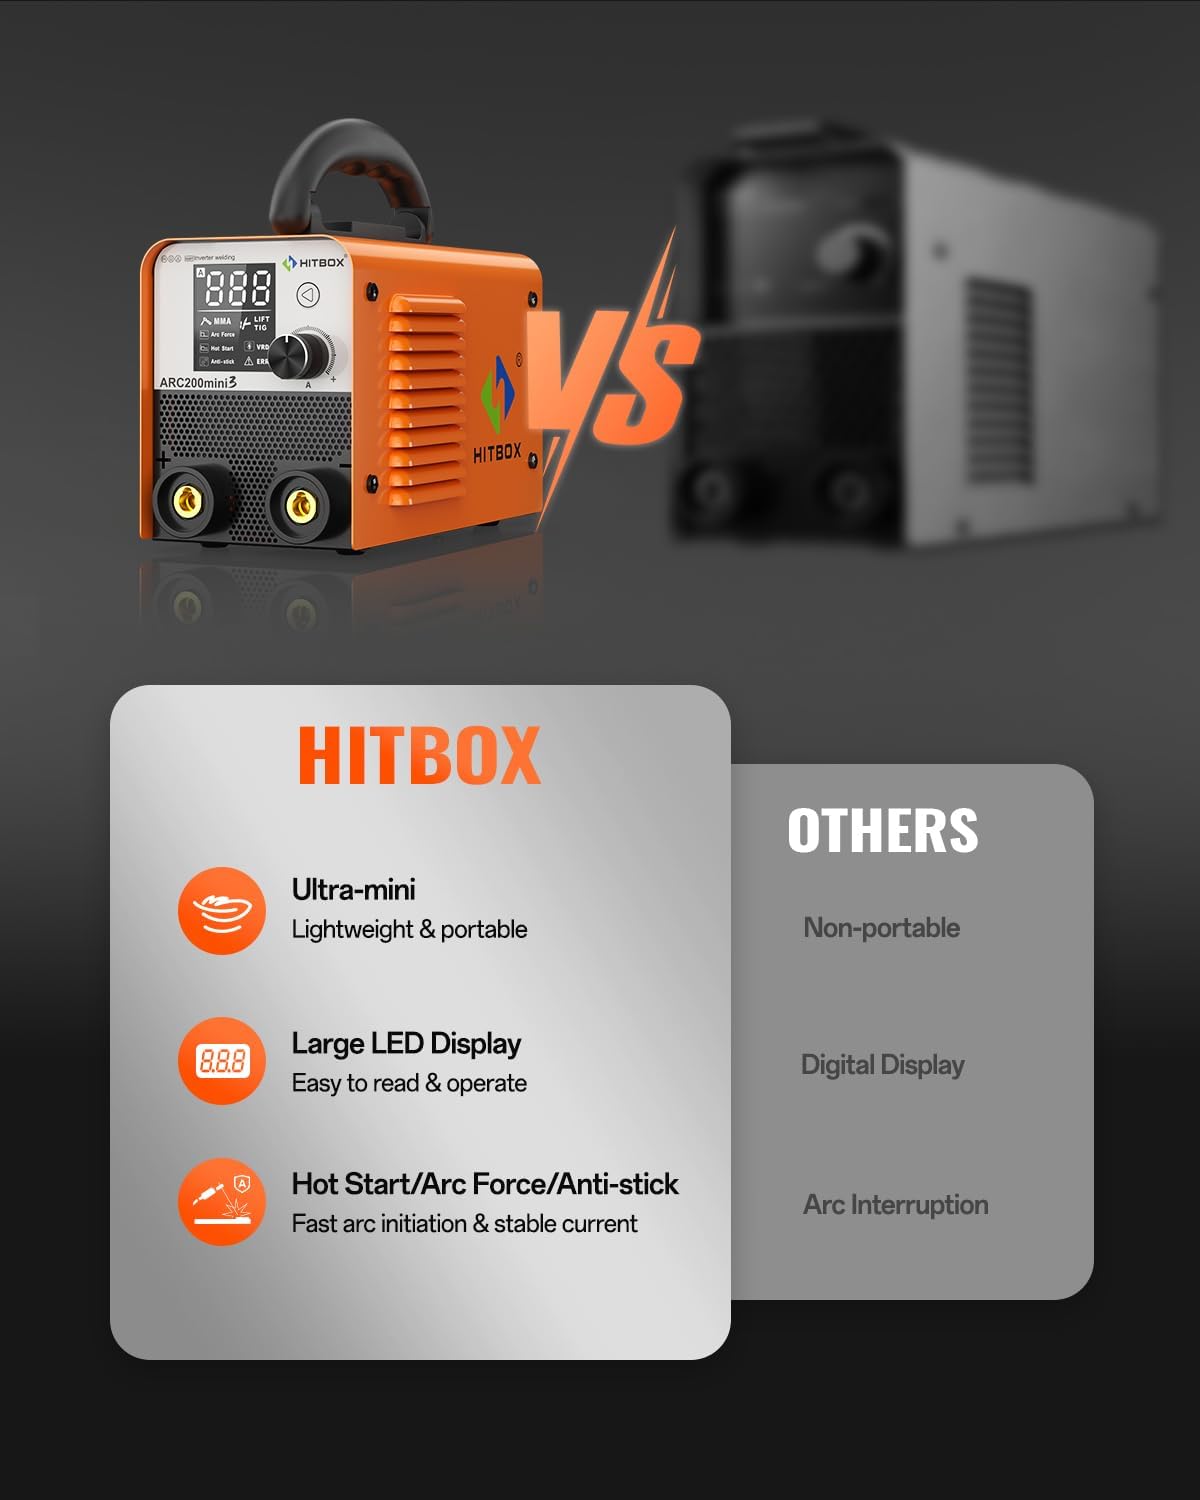
- Digital skærm: Clear LCD display for welding current indication and alarm lights.
- Bærbart design: Compact and lightweight (2.1kg) with an adjustable shoulder strap.
- Synergistic Technology: Automatically adjusts current intensity based on material thickness (for specific modes).
- Quick Arc Ignition: Facilitates easy priming of 3.2mm electrodes (E7018/E6013 compatible).
- Sikkerhedsbeskyttelse: Internal protection devices against overheating and over-current.
- Optimeret visning: Improved internal structure and clearer parameter panel for enhanced user experience.
Komponenter:

- Welding Machine Unit
- Elektrodeholderkabel
- Jord Clamp Kabel
- Shoulder Strap (pre-attached or included)
3. Opsætning
3.1 Strømtilslutning
Connect the welder to a suitable power supply. The unit operates on 230 Volts. Ensure the power source is stable and can provide the necessary current without fluctuations.
3.2 Kabelforbindelser
- Tilslut jorden clamp cable to the negative (-) terminal on the welder. Secure the ground clamp til emnet, hvilket sikrer god elektrisk kontakt.
- Connect the electrode holder cable to the positive (+) terminal on the welder for MMA welding. Insert the welding electrode into the holder.
- For Lift TIG welding, connect the TIG torch (purchased separately) to the appropriate terminal as per the torch's instructions, typically the negative (-) terminal for DC TIG.
4. Betjeningsvejledning
4.1 Tænd og valg af tilstand
- Turn on the main power switch located on the rear of the unit.
- The digital display will illuminate. Use the mode selection button (if available, or the main knob) to choose between MMA (Stick) or Lift TIG welding.
4.2 MMA-svejsning (elektrode-svejsning)
- Vælg MMA-tilstand.
- Adjust the welding current using the control knob. Refer to electrode manufacturer specifications for recommended current settings. The digital display shows the current.
- The welder features Hot Start for easier arc ignition, Arc Force for stable arc performance, and Anti-stick to prevent electrodes from sticking.
- Begynd svejsningen, og hold den korrekte lysbuelængde og svejsehastighed.
4.3 Lift TIG-svejsning
- Select Lift TIG mode. (Note: A WP17V TIG torch needs to be purchased separately for this function).
- Adjust the welding current as required for the material and tungsten electrode size.
- To initiate the arc, gently touch the tungsten electrode to the workpiece and then lift it slightly. The arc will ignite.
- Maintain a consistent arc length and feed filler rod as needed.
4.4 Materialekompatibilitet
The HITBOX ARC200D MINI3 is suitable for welding various materials, including:
- Blødt stål
- Metalplade
- Firkantet rør
- Støbejern
- Metalbur
- Rustfrit stål

5. Vedligeholdelse
5.1 Rengøring
- Regularly clean the exterior of the welder with a dry, soft cloth.
- Periodically use compressed air to blow out dust and debris from the ventilation openings. Ensure the power is disconnected before cleaning.
5.2 Opbevaring
- Store the welder in a dry, dust-free environment.
- Protect the unit from extreme temperatures and humidity.
6. Fejlfinding
Dette afsnit omhandler almindelige problemer, du kan støde på. Ved problemer, der ikke er nævnt her, bedes du kontakte kundeservice.
| Problem | Mulig årsag | Løsning |
|---|---|---|
| Svejser tænder ikke | Ingen strømforsyning; defekt strømkabel; intern sikring sprunget. | Check power connection and outlet; inspect power cable; contact service if fuse is suspected. |
| No arc ignition | Dårlig jordforbindelse; forkert strømindstilling; damp electrode; faulty electrode holder. | Ensure solid ground connection; adjust current; use dry electrodes; check electrode holder. |
| Arc is unstable or stops | Lav input voltage; incorrect current/arc force settings; overheating. | Check power supply; adjust settings; allow welder to cool down if protection light is on. |
| "ERR" indicator on display | Internal error; overheating; over-current. | Turn off the welder, allow it to cool. If the error persists, contact customer service. |

7. Specifikationer
| Specifikation | Værdi |
|---|---|
| Modelnummer | ARC200D MINI3 |
| Fabrikant | HITBOX |
| Produktdimensioner | 23.4 x 11.4 x 15 cm |
| Varens vægt | 2.7 kg (5.95 lbs) |
| Strømkilde | Hand-powered (requires external electrical supply) |
| Voltage | 230 volt |
| Svejsetilstande | MMA (elektrode), Lift TIG |
| Elektrodekompatibilitet | E7018/E6013 (up to 3.2mm) |
| Working Thickness | Op til 5 mm |
| Inkluderede komponenter | Welding machine, electrode holder cable, ground clamp kabel |
8. Garanti og support
For any issues or questions regarding your HITBOX ARC200D MINI3 welder, please contact HITBOX customer service. Refer to your purchase documentation for specific warranty terms and conditions.
Kundeservice: Please feel free to contact us if you have any problems during use.
You can often find support contact information on the official HITBOX webhjemmeside eller gennem din forhandler.