
Bryton Dual Sensor Sets
Bryton Cykelsensorer Brugermanual
Model: Dual Sensor Sets
1. Introduktion
This manual provides comprehensive instructions for the Bryton Bike Sensors, including the Speed & Cadence Dual Sensor Set. These sensors are designed to wirelessly transmit your cycling data, such as speed and cadence, to compatible cycling computers and smartphones using both ANT+ and Bluetooth technology. Please read this manual thoroughly before use to ensure proper installation, operation, and maintenance.

Image: The Bryton Dual Sensor Set, showing the speed sensor, cadence sensor, and mounting accessories.
2. Produktet er slutview
The Bryton Dual Sensor Set includes a speed sensor and a cadence sensor, both utilizing magnet-less technology for easy installation and accurate data collection. They are compatible with a wide range of devices supporting ANT+ and Bluetooth 4.0.
2.1 Nøglefunktioner
- Dobbelt teknologi: Supports both ANT+ and Bluetooth 4.0 for broad compatibility.
- Magnet-less Design: Simplifies installation and reduces potential points of failure.
- Nøjagtige data: Provides precise speed and cadence measurements.
- Lang batterilevetid: Extended operational time for both sensors.
- Vandtæt: IPX7 rating ensures durability in various weather conditions.

Image: Illustration showing the Bryton sensors highlighting their ANT+ and Bluetooth connectivity, compatible with bike computers and smartphones.
3. Opsætning og installation
Before installation, ensure your bike is clean and dry. The sensors are designed for simple, tool-free installation.
3.1 Cadence Sensor Installation
- Locate the crank arm of your bicycle.
- Attach the cadence sensor to the inside of the non-drive side crank arm using the provided rubber band or zip ties. Ensure the sensor is securely fastened and does not interfere with pedaling.
- The sensor should be positioned flat against the crank arm.
- A green LED light will flash briefly upon successful installation and activation.

Image: A Bryton cadence sensor mounted on the crank arm of a bicycle, demonstrating its simple installation.
3.2 Installation af hastighedssensor
- Locate the hub of either your front or rear wheel.
- Attach the speed sensor to the wheel hub using the provided rubber band or zip ties. Ensure it is centered and securely fastened.
- The sensor should be positioned flat against the hub.
- A green LED light will flash briefly upon successful installation and activation.

Image: A Bryton speed sensor mounted on the wheel hub of a bicycle, illustrating its compatibility with all wheel sizes.
4. Betjeningsvejledning
Once installed, the sensors will automatically activate when motion is detected. They are designed to be paired with compatible devices.
4.1 Pairing with a Cycling Computer or Smartphone
- Ensure Bluetooth and/or ANT+ is enabled on your cycling computer or smartphone.
- Open the device's sensor pairing menu or a compatible fitness application (e.g., Bryton Active App, Strava, Zwift).
- Spin the crank arm (for cadence) or the wheel (for speed) a few times to wake up the sensors.
- Select the Bryton sensor from the list of available devices. The sensor ID will typically appear as "Bryton Speed" or "Bryton Cadence".
- Confirm the pairing. Once paired, your device will begin receiving real-time speed and cadence data.
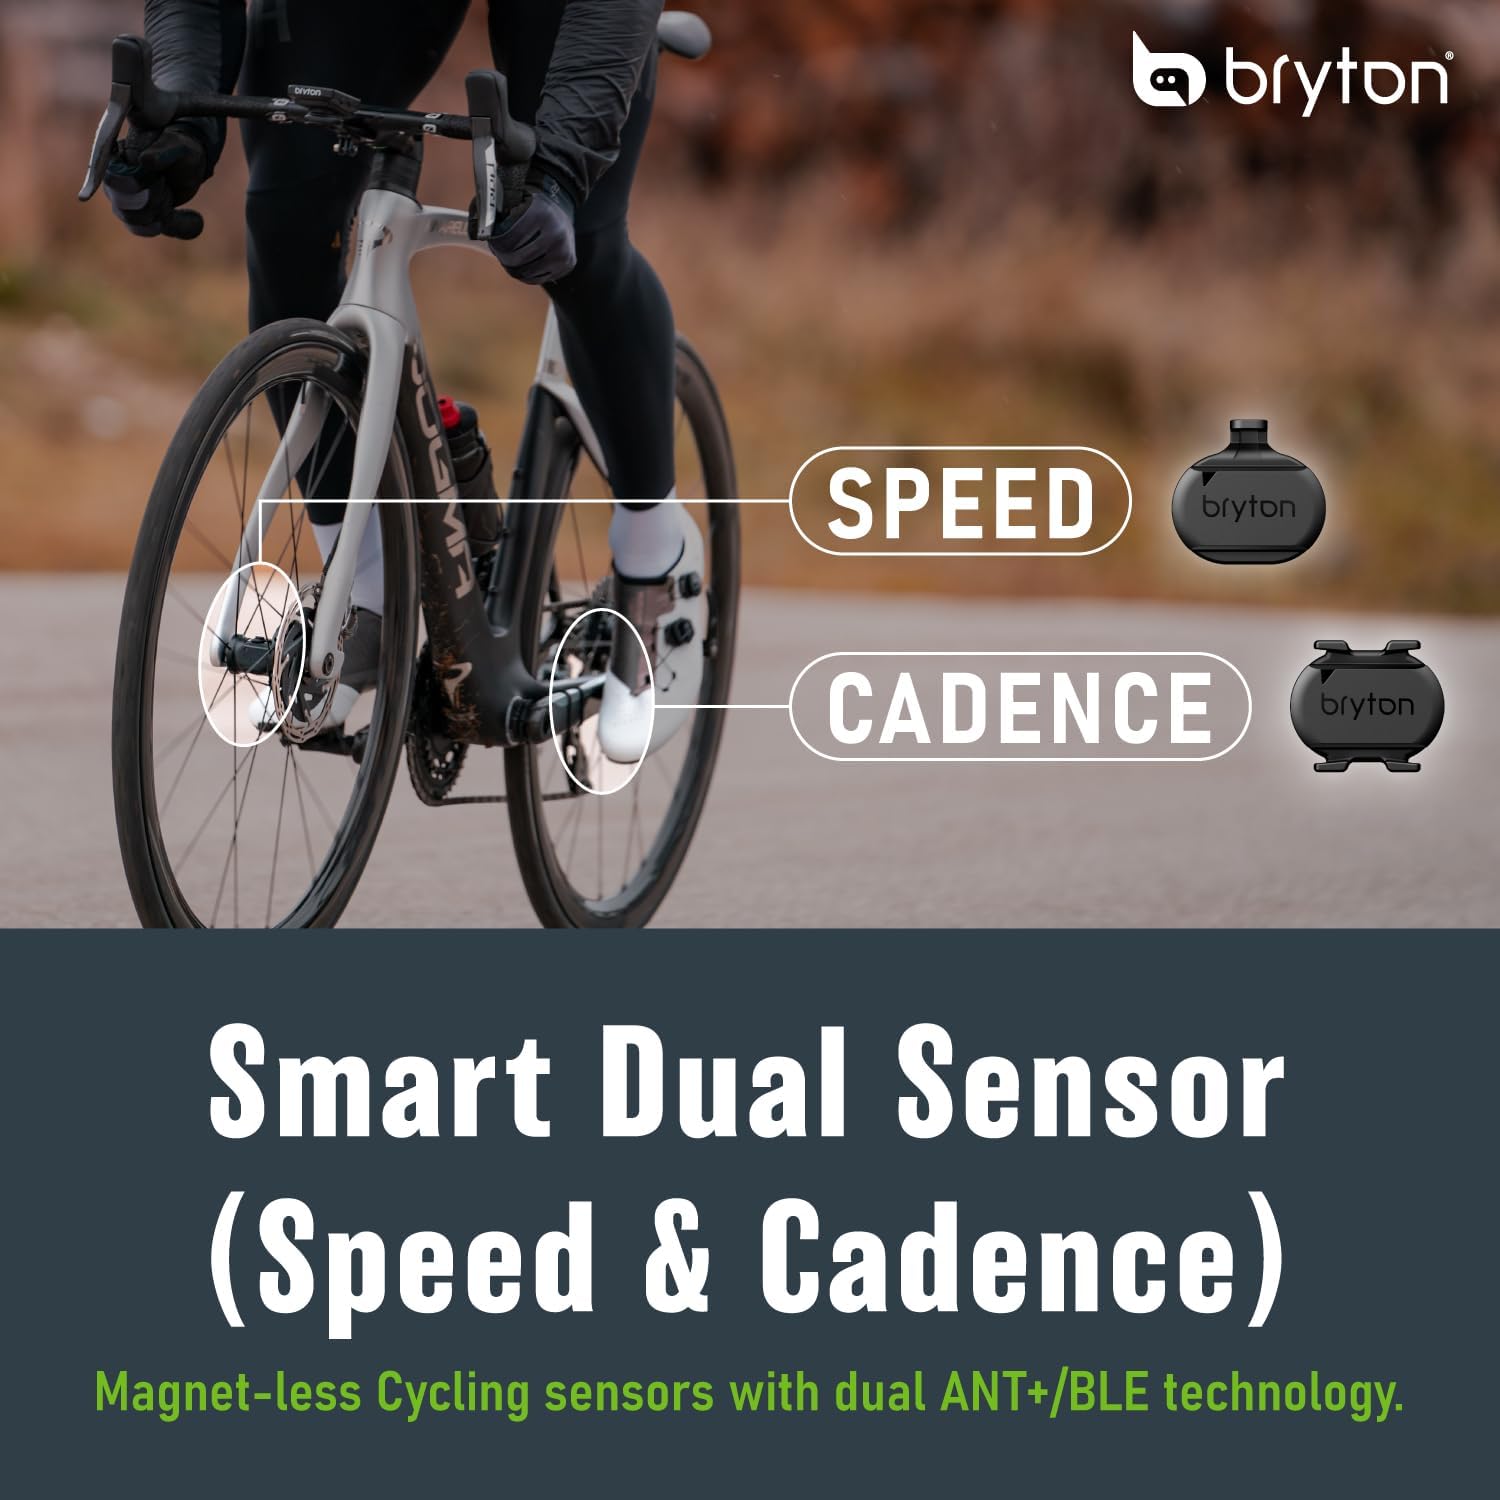
Image: Visual representation of the Bryton Smart Dual Sensor concept, indicating how speed and cadence are measured on a bicycle.
5. Maintenance and Battery Replacement
Regular maintenance ensures optimal performance and extends the lifespan of your Bryton sensors.
5.1 Rengøring
- Wipe the sensors with a soft, damp cloth after rides, especially if exposed to dirt or sweat.
- Do not use abrasive cleaners or solvents, as these can damage the casing.
- Ensure the sensors are dry before storage.
5.2 Udskiftning af batteri
The Bryton sensors use a replaceable CR2032 coin cell battery. Battery life is approximately 270 hours for the speed sensor and 360 hours for the cadence sensor, with a standby time of 300 days.
- Carefully twist open the battery cover on the back of the sensor using a coin or a flat-head screwdriver.
- Fjern det gamle CR2032-batteri.
- Indsæt et nyt CR2032-batteri med den positive (+) side opad.
- Align the battery cover and twist it back into place until it is securely sealed.
- Test the sensor by spinning the wheel or crank arm to ensure it activates and connects to your device.

Billede: En eksploderet view of a Bryton sensor showing the CR2032 battery and its compartment, illustrating the long battery life.
6. Fejlfinding
If you encounter issues with your Bryton sensors, refer to the following common solutions:
| Problem | Mulig årsag | Løsning |
|---|---|---|
| Sensor not detected by device | Battery low or dead; Sensor not awake; Bluetooth/ANT+ off on device; Sensor too far from device. | Replace battery; Spin wheel/crank to wake sensor; Enable Bluetooth/ANT+; Move device closer to sensor. |
| Unøjagtige aflæsninger | Sensor loose or improperly mounted; Interference. | Re-secure sensor; Ensure proper alignment; Avoid strong electromagnetic fields. |
| LED not flashing | Battery dead; Sensor not activated. | Replace battery; Spin wheel/crank to activate. |
7. Produktspecifikationer
| Feature | Detalje |
|---|---|
| Model | Smart Dual Sensor |
| Trådløs teknologi | Bluetooth 4.0 og ANT+ |
| Måling | Speed/Cadence |
| Universal Fit | Ja |
| Magnet Free | Ja |
| Vandtæt vurdering | IPX7 |
| Batteritype | CR2032 (replaceable, included) |
| Battery Life (Speed Sensor) | Op til 270 timer |
| Battery Life (Cadence Sensor) | Op til 360 timer |
| Standby tid | 300 dage |
| Driftstemperatur | -10°C til 60°C (14°F til 140°F) |

Image: A detailed table summarizing the technical specifications of the Bryton Smart Dual Sensor.
8. Garantioplysninger
Bryton provides a 1 års garanti from the date of purchase for manufacturing defects. This warranty does not cover damage caused by misuse, accidents, unauthorized modifications, or normal wear and tear. Please retain your proof of purchase for warranty claims.
9. Kundesupport
For further assistance, technical support, or warranty inquiries, please visit the official Bryton webwebstedet eller kontakt deres kundeserviceafdeling. Du kan finde flere oplysninger og ressourcer på Bryton Store on Amazon.
Ask a question about this manual
Ask about setup, troubleshooting, compatibility, parts, safety, or missing instructions. Manuals+ will review the question and use this page’s manual context to help answer it.