Acekool SECXRJ15X263
Acekool Commercial Slushy Machine User Manual
Model: SECXRJ15X263 | Brand: Acekool
Indledning
This user manual provides comprehensive instructions for the safe and efficient operation, maintenance, and troubleshooting of your Acekool Commercial Slushy Machine. Please read this manual thoroughly before operating the appliance to ensure optimal performance and longevity.
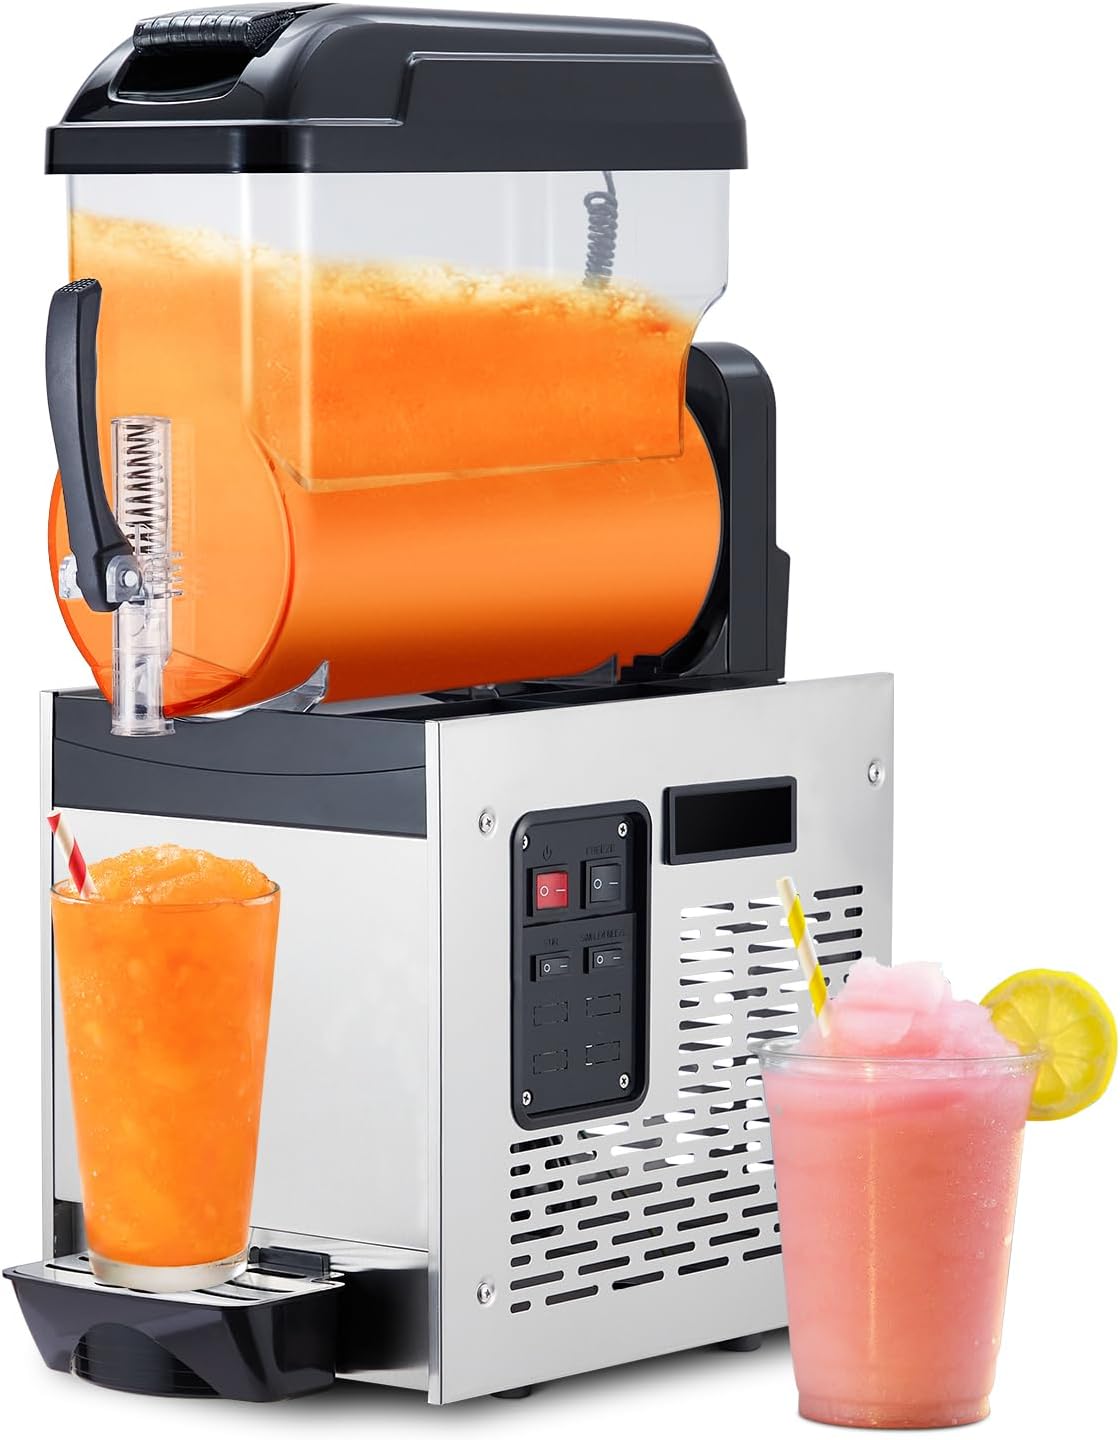
Figure 1: Acekool Commercial Slushy Machine with prepared beverages.
Vigtige sikkerhedsinstruktioner
For at mindske risikoen for brand, elektrisk stød eller personskade skal du altid følge grundlæggende sikkerhedsforanstaltninger, når du bruger elektriske apparater.
- Læs alle instruktioner før brug af apparatet.
- Do not immerse the machine base, cord, or plug in water or other liquids.
- Tæt opsyn er nødvendigt, når et apparat bruges af eller i nærheden af børn.
- Træk stikket ud af stikkontakten, når det ikke er i brug, og før rengøring. Lad det køle af, før du sætter dele på eller af.
- Betjen ikke noget apparat med en beskadiget ledning eller stik, eller efter at apparatet ikke fungerer korrekt eller er blevet beskadiget på nogen måde.
- Brug af tilbehør, der ikke er anbefalet af apparatets producent, kan forårsage skader.
- Må ikke bruges udendørs.
- Lad ikke ledningen hænge ud over kanten af bordet eller bordpladen eller røre ved varme overflader.
- Må ikke placeres på eller i nærheden af en varm gas- eller elektrisk brænder eller i en opvarmet ovn.
- Sæt altid stikket i apparatet først, og sæt derefter ledningen i stikkontakten. For at afbryde forbindelsen skal du slukke for en vilkårlig knap og derefter tage stikket ud af stikkontakten.
- Brug ikke apparatet til andet end tilsigtet brug.
Produkt overview og komponenter
Familiarize yourself with the various parts of your Acekool Commercial Slushy Machine.
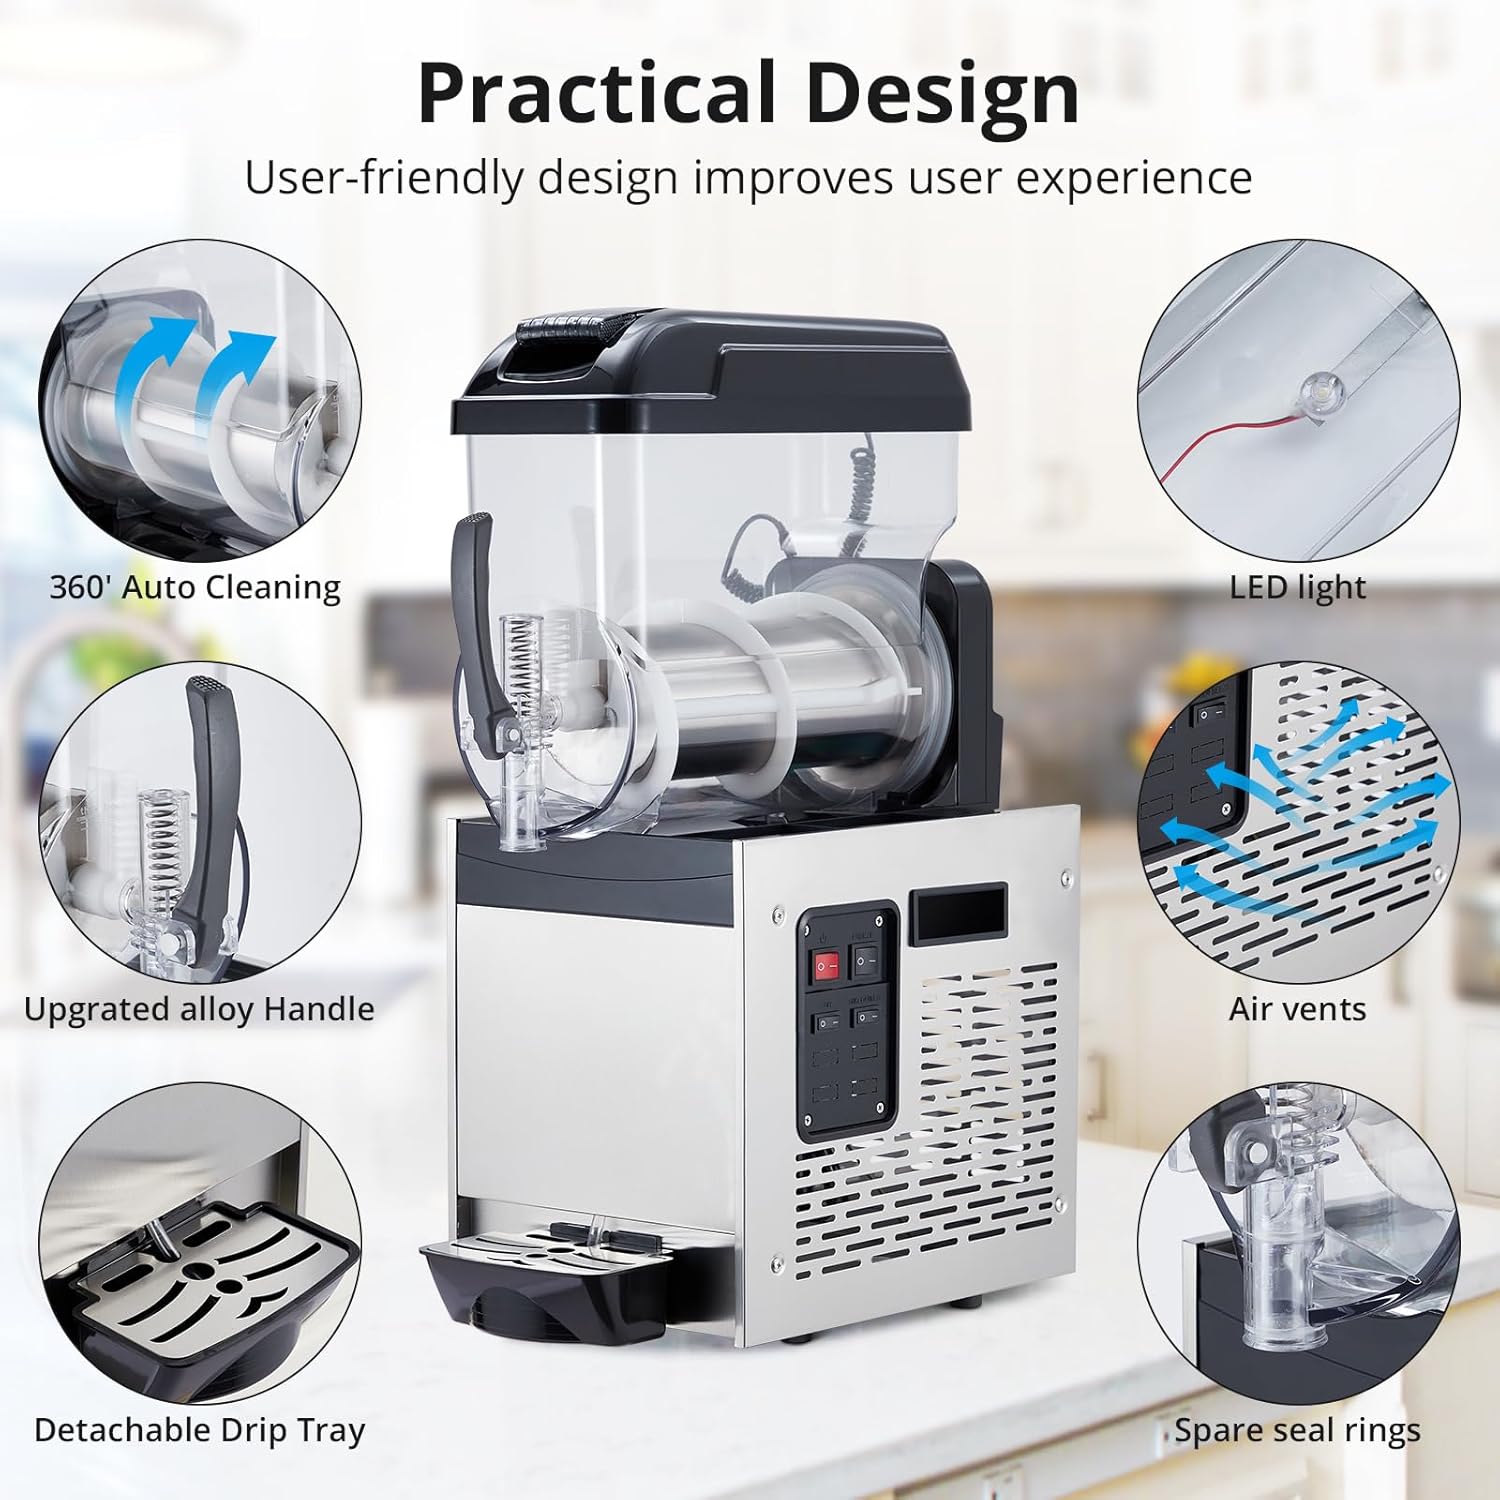
Figure 2: Practical Design Features of the Slushy Machine.
- Premium Food-grade PC Tank: The transparent tank holds the beverage mixture. Capacity: 12L (3.2 Gallons).
- Rustfrit stålhus: Durable and corrosion-resistant main unit housing the cooling system.
- Upgraded Alloy Handle: Ergonomically designed handle for dispensing beverages.
- Aftagelig drypbakke: Collects spills and drips, easily removable for cleaning.
- Kontrolpanel: Intuitive interface for operating the machine (Power, Freeze, Stir, Single Freeze).
- LED lys: Illuminates the tank for clear visibility of the beverage.
- Luftventiler: Ensures proper ventilation for the cooling system.
- 360° Auto Cleaning Function: Simplifies the cleaning process of the tank.
- Stable Compressor & Efficient Condenser: Components of the premium cooling system for quick and consistent freezing.

Figure 3: Machine Dimensions and Key Components.
Opsætningsinstruktioner
- Udpakning: Carefully remove the slushy machine from its packaging. Retain packaging materials for future storage or transport.
- Placering: Place the machine on a stable, level, and dry surface. Ensure there is adequate ventilation around the machine, especially near the air vents. Avoid placing it near heat sources or in direct sunlight.
- Indledende rengøring: Rengør grundigt alle dele, der kommer i kontakt med drikkevarer, inden første brug.
- Remove the tank and lid.
- Wash the tank, lid, and stirring components with mild soap and warm water. Rinse thoroughly.
- Tør maskinens ydre af med adamp klæde.
- Sørg for, at alle dele er helt tørre, før de monteres igen.
- Strømtilslutning: Sæt netledningen i en jordet stikkontakt. Sørg for, at lydstyrken er korrekt.tage matches the machine's requirements (500W).
Betjeningsvejledning
Follow these steps to prepare and dispense your frozen beverages.

Figur 4: Kontrolpanel overview.
- Prepare Beverage Mixture: Mix your desired beverage (juice, cocktail mix, etc.) according to its instructions. Ensure the sugar content is sufficient (typically above 13%) for proper freezing and slush consistency.
- Fyld tanken: Open the independently opening lid and pour the prepared mixture into the premium food-grade PC tank. Do not overfill beyond the maximum fill line.
- Tænd: Tryk på Magt switch (red switch) on the control panel to turn on the machine. The LED light inside the tank will illuminate.
- Vælg tilstand:
- Frysetilstand: Tryk på Fryse switch (white switch) to begin the freezing process. The stirring mechanism will activate automatically to ensure even freezing.
- Stir Mode: If you only want to stir the liquid without freezing (e.g., for chilling or mixing), press the Røre skifte.
- Single Freeze Mode: This option may be available for specific freezing requirements. Consult the control panel for its specific function if present.
- Overvåg fremskridt: The machine will continuously stir and freeze the mixture until it reaches the desired slush consistency. This typically takes minutes, depending on the initial temperature of the liquid and ambient conditions.
- Dispense Beverage: Once the slush is ready, place a cup under the dispensing spout and pull down the upgraded alloy handle to release the frozen beverage.
- Sluk: After use, or when the tank is empty, turn off the Magt switch and unplug the machine.
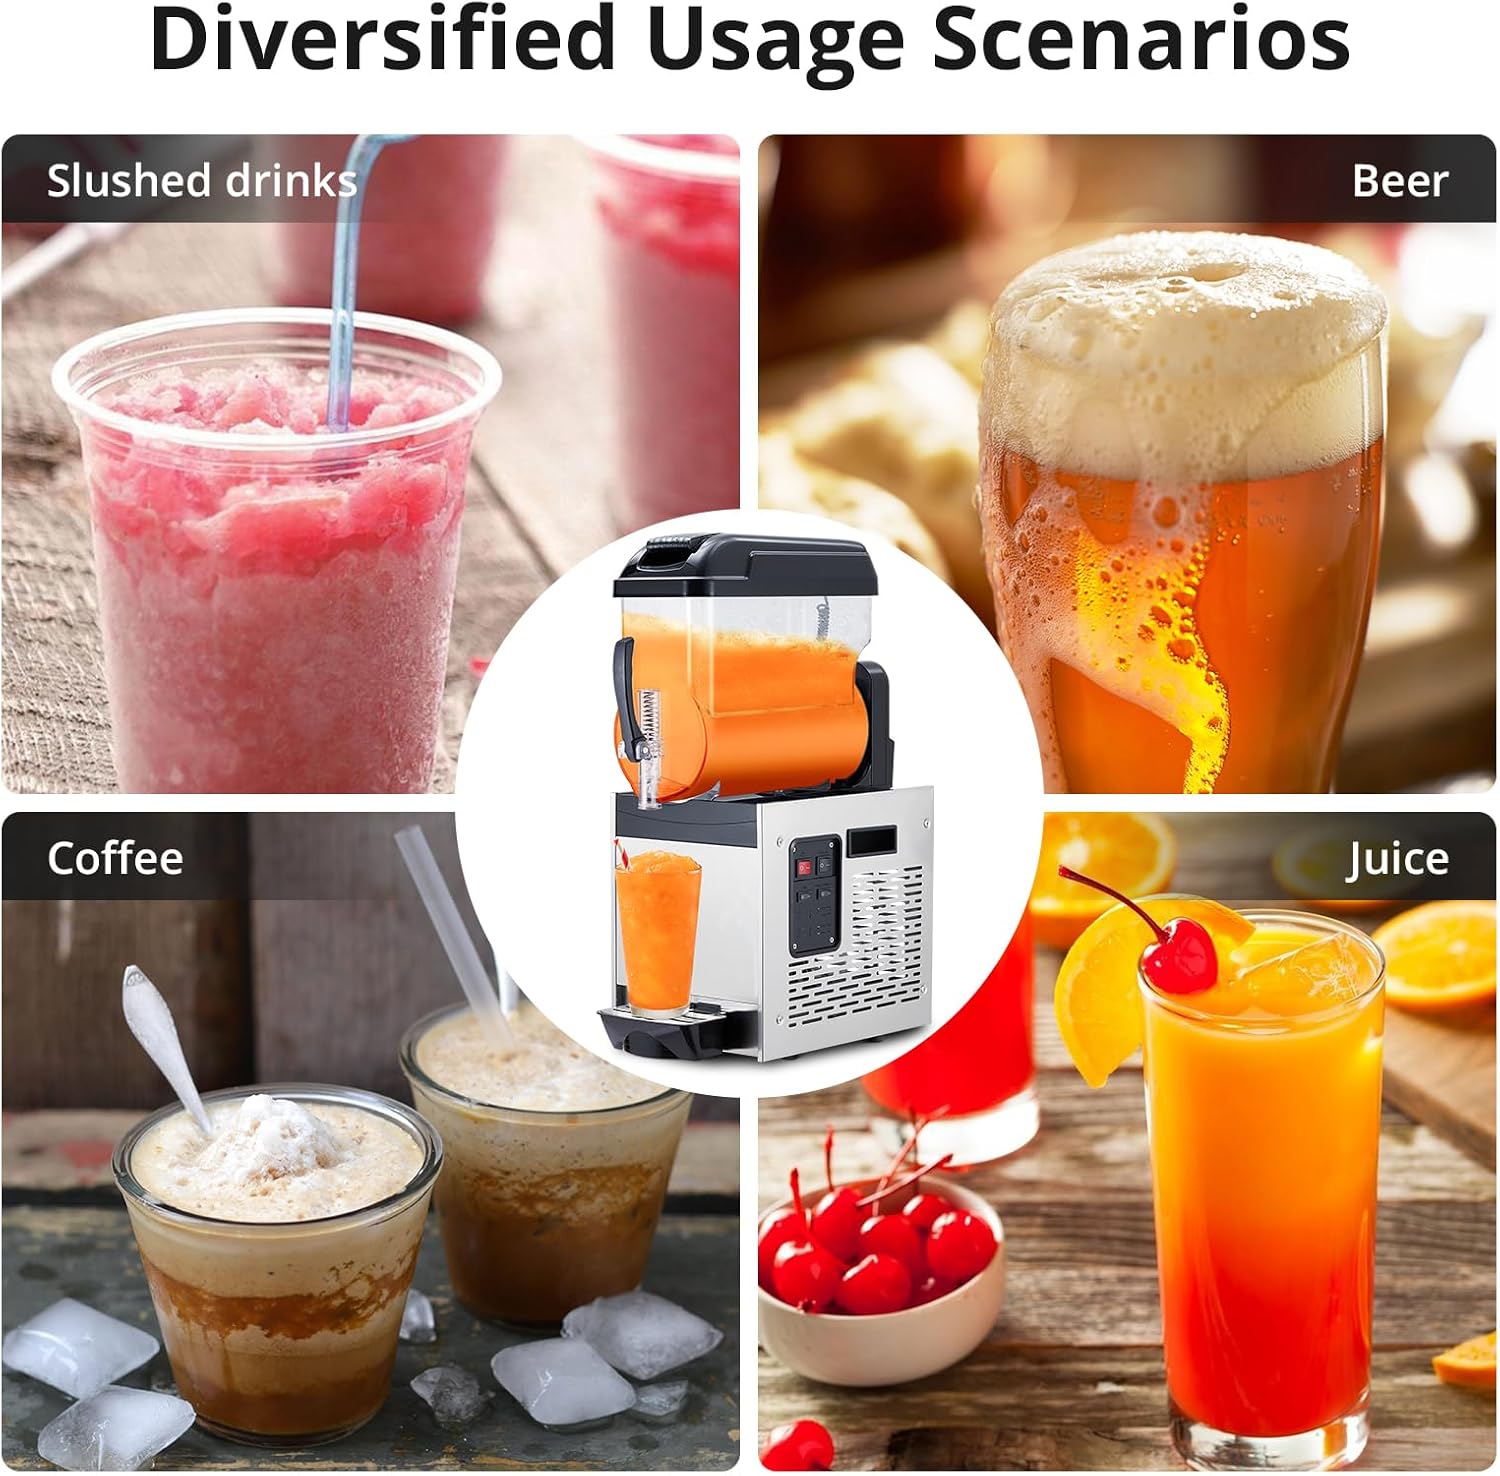
Figure 5: Diversified Usage Scenarios for the Slushy Machine.
Vedligeholdelse og rengøring
Regular cleaning and maintenance will ensure the longevity and hygienic operation of your slushy machine.
- Daily Cleaning (Self-Cleaning Function):
- Tøm eventuel resterende drikkevare fra tanken.
- Fill the tank with clean water (and a small amount of food-grade sanitizer if desired).
- Activate the 360° Auto Cleaning function (refer to control panel or specific instructions if a dedicated button exists, otherwise use Stir mode).
- Allow the machine to run for a few minutes to circulate the cleaning solution.
- Drain the cleaning solution through the dispensing spout.
- Rinse the tank with clean water and drain again.
- Dyb rengøring: Periodically, or as needed, perform a deep clean.
- Tag stikket ud af maskinen.
- Disassemble the tank, lid, stirring auger, and dispensing handle components.
- Wash all removable parts with warm, soapy water. Use a brush for hard-to-reach areas.
- Skyl grundigt og lad alle dele lufttørre helt, inden de samles igen.
- Wipe down the exterior of the stainless steel body with a damp cloth and then dry with a soft towel.
- Clean the detachable drip tray regularly.
- Luftventiler: Ensure the air vents on the machine's body are clear of dust and debris to maintain proper cooling system efficiency. Use a soft brush or vacuum cleaner if necessary.
- Opbevaring: When not in use for extended periods, ensure the machine is clean and dry. Store it in a cool, dry place, preferably in its original packaging.
Fejlfinding
Se dette afsnit for almindelige problemer og deres mulige løsninger.
| Problem | Mulig årsag | Løsning |
|---|---|---|
| Maskinen tænder ikke. | Ingen strømforsyning; Strømafbryder slukket; Beskadiget ledning/stik. | Check power outlet; Ensure power switch is ON; Inspect cord/plug for damage (do not use if damaged, contact support). |
| Beverage not freezing or too watery. | Freeze mode not activated; Insufficient sugar content in mixture; Ambient temperature too high; Overfilled tank. | Ensure Freeze mode is ON; Adjust sugar content (min 13%); Ensure proper ventilation; Do not overfill. |
| Maskinen er støjende. | Normal operation sound; Machine not level; Obstruction in stirring mechanism. | Some noise is normal; Ensure machine is on a level surface; Check for foreign objects in the tank. |
| Leaking from dispensing spout. | Dispensing handle not fully closed; Worn or improperly seated seal rings. | Ensure handle is fully closed; Inspect and replace seal rings if necessary (spare seal rings are provided). |
| Slush is too thick or icy. | Mixture too concentrated; Machine running too long in freeze mode. | Add a small amount of water to dilute; Turn off freeze mode once desired consistency is reached. |
Specifikationer
| Feature | Detalje |
|---|---|
| Modelnummer | SECXRJ15X263 |
| Kapacitet | 12 liter (3.2 gallons) |
| Magt | 500W |
| Produktdimensioner | 22.83 x 14.96 x 36.14 tommer |
| Varens vægt | 86.6 pund |
| Materiale | Stainless Steel (body), Food-grade PC (tank) |
| Fabrikant | Acekool |

Figure 6: Premium Cooling System Components.
Garanti og kundesupport
For warranty information, technical assistance, or any questions regarding your Acekool Commercial Slushy Machine, please contact Acekool Customer Support.
Refer to your purchase documentation or the Acekool official webwebstedet for specifikke garantivilkår og kontaktoplysninger.
Du kan også besøge Acekool Store on Amazon for mere information og supportressourcer.
Ask a question about this manual
Ask about setup, troubleshooting, compatibility, parts, safety, or missing instructions. Manuals+ will review the question and use this page’s manual context to help answer it.