Indledning
This manual provides detailed instructions for the installation, operation, and maintenance of your Chieftec AZ-01B-OP Mini Tower Computer Case. Please read this manual thoroughly before beginning any installation or operation to ensure proper use and to prevent damage to the product or other components.
The Chieftec AZ-01B-OP is an m-ATX Mini-Tower PC case designed for optimal hardware and cooling compatibility, featuring a brushed front panel and soundproofing material for reduced noise levels.
Sikkerhedsoplysninger
Overhold følgende sikkerhedsforanstaltninger under installation og drift:
- Afbryd altid strømforsyningen fra stikkontakten, før du installerer eller fjerner komponenter.
- Brug en antistatisk håndledsrem for at forhindre elektrostatisk udladning (ESD) på følsomme komponenter.
- Handle components carefully, avoiding contact with pins or circuit boards.
- Ensure all cables are properly routed and secured to prevent interference with cooling fans or moving parts.
- Do not operate the computer case in environments with excessive dust, humidity, or extreme temperatures.
Pakkens indhold
Bekræft at alle varer er til stede i pakken:
- Chieftec AZ-01B-OP Mini Tower Computer Case
- Tilbehørssæt (skruer, afstandsstykker, kabelbindere)
- Brugervejledning (dette dokument)
- 1 x 120 mm PWM fan (pre-installed)
Opsætning og installation
1. Åbning af sagen
Remove the side panels to access the interior of the case. Typically, this involves unscrewing thumbscrews at the rear of the case and sliding the panels backward.

Figur 1: Interiør view of the Chieftec AZ-01B-OP, showing the main compartment for motherboard and components.
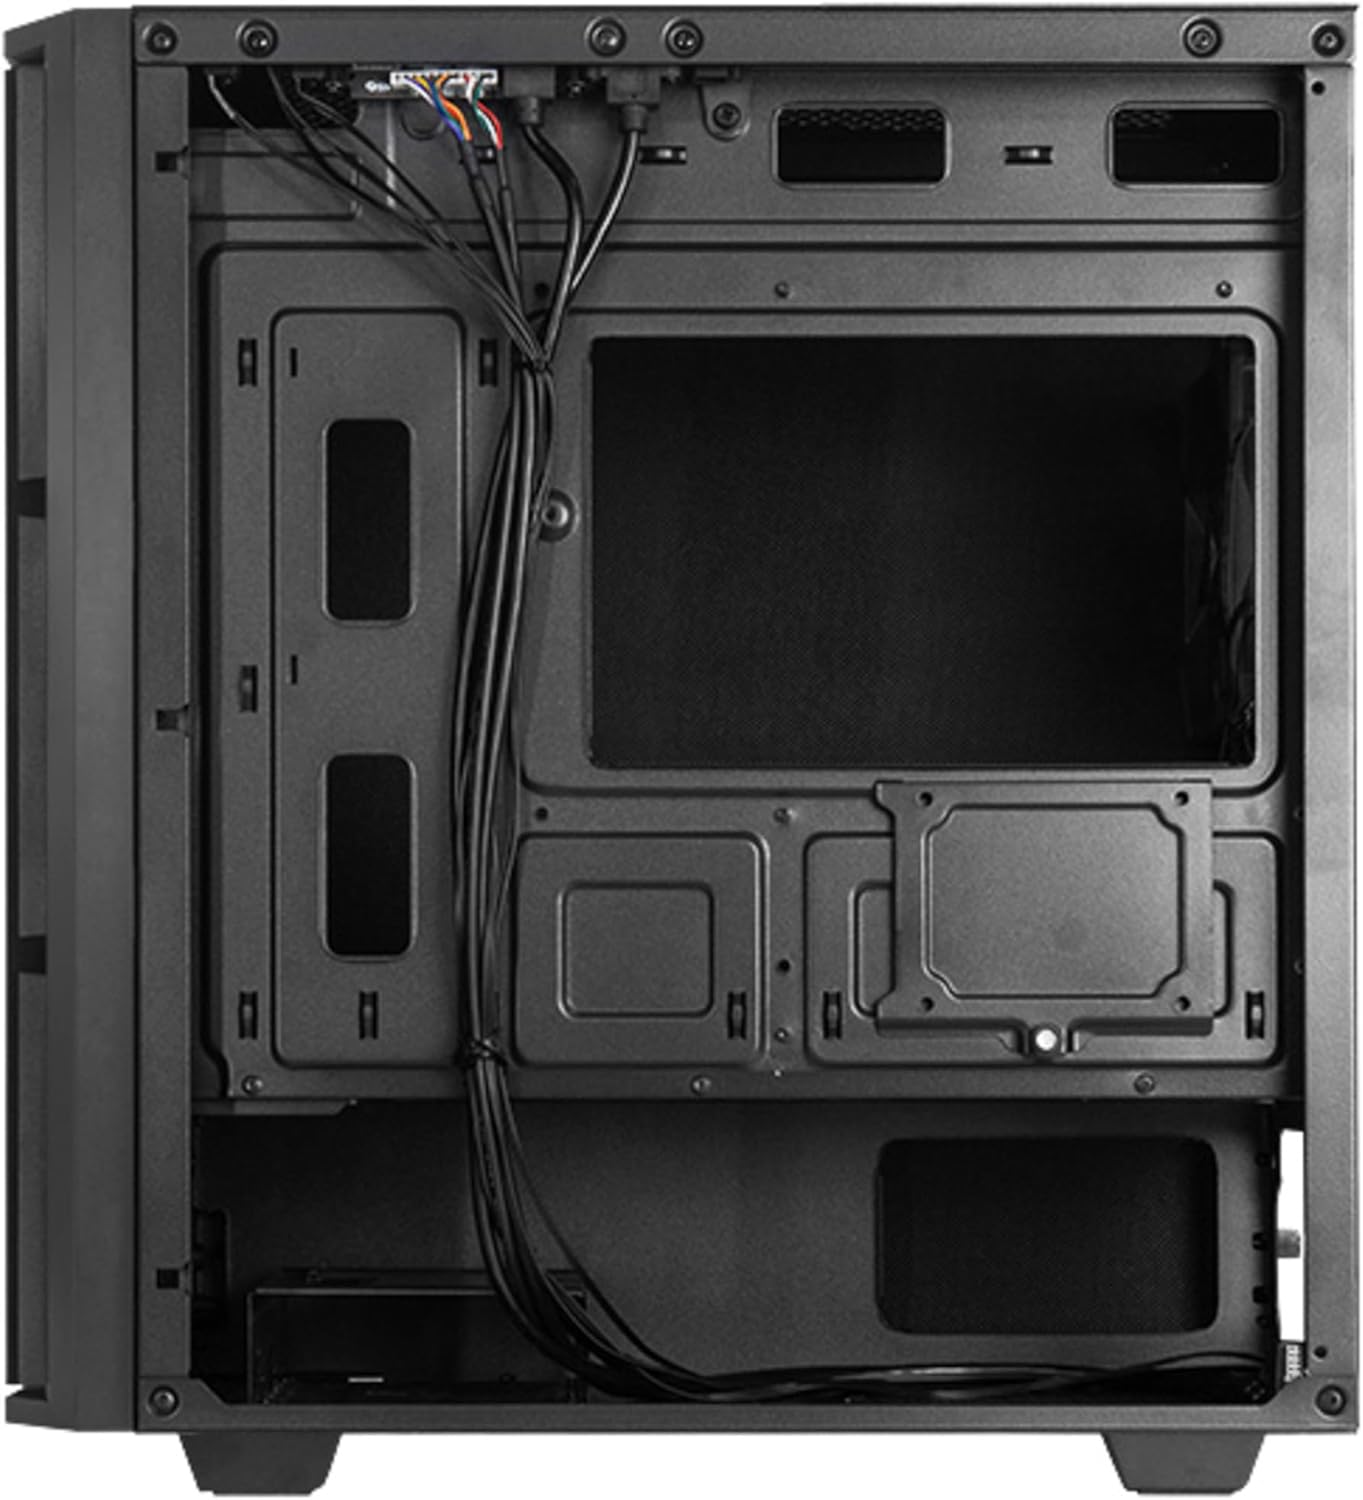
Figur 2: Bageste interiør view, illustrating cable management space and additional drive mounts.
2. Installation af bundkort
- Installer I/O-skjoldet i den bageste åbning af kabinettet.
- Align the motherboard with the standoffs inside the case. Ensure the standoffs match the motherboard's form factor (Micro ATX).
- Fastgør bundkortet med de medfølgende skruer.
3. Installation af strømforsyning
- Position the power supply unit (PSU) in the designated bottom-mount area.
- Secure the PSU to the rear of the case with screws.
- Før de nødvendige strømkabler gennem kabelføringsudskæringerne.

Figur 3: Bagside view of the case, indicating the PSU mounting location.
4. Installation af lagerdrev (HDD/SSD)
The case supports multiple drive configurations. Refer to the internal layout for specific mounting points.
- For 3.5" HDDs: Mount drives in the drive cage, typically located at the bottom front or behind the motherboard tray.
- For 2.5" SSDs: Mount drives on dedicated SSD trays or directly onto the motherboard tray using screws.

Figur 4: Nederst view, showing potential HDD/SSD mounting areas and the PSU dust filter.
5. Installation af udvidelseskort
- Fjern de nødvendige dæksler til udvidelsespladserne fra bagsiden af kabinettet.
- Insert the expansion card (e.g., graphics card) into the appropriate PCIe slot on the motherboard.
- Fastgør kortet med en skrue eller etuiets fastholdelsesmekanisme.
6. Kabelforvaltning
Brug kabelføringsudskæringerne og fastgørelsespunkterne bag bundkortbakken til at organisere kablerne. Dette forbedrer luftgennemstrømningen og æstetikken.
7. Sagens afslutning
Once all components are installed and cables are managed, reattach the side panels. Ensure they are properly aligned and secured with the thumbscrews.

Figur 5: Forside view of the assembled case.
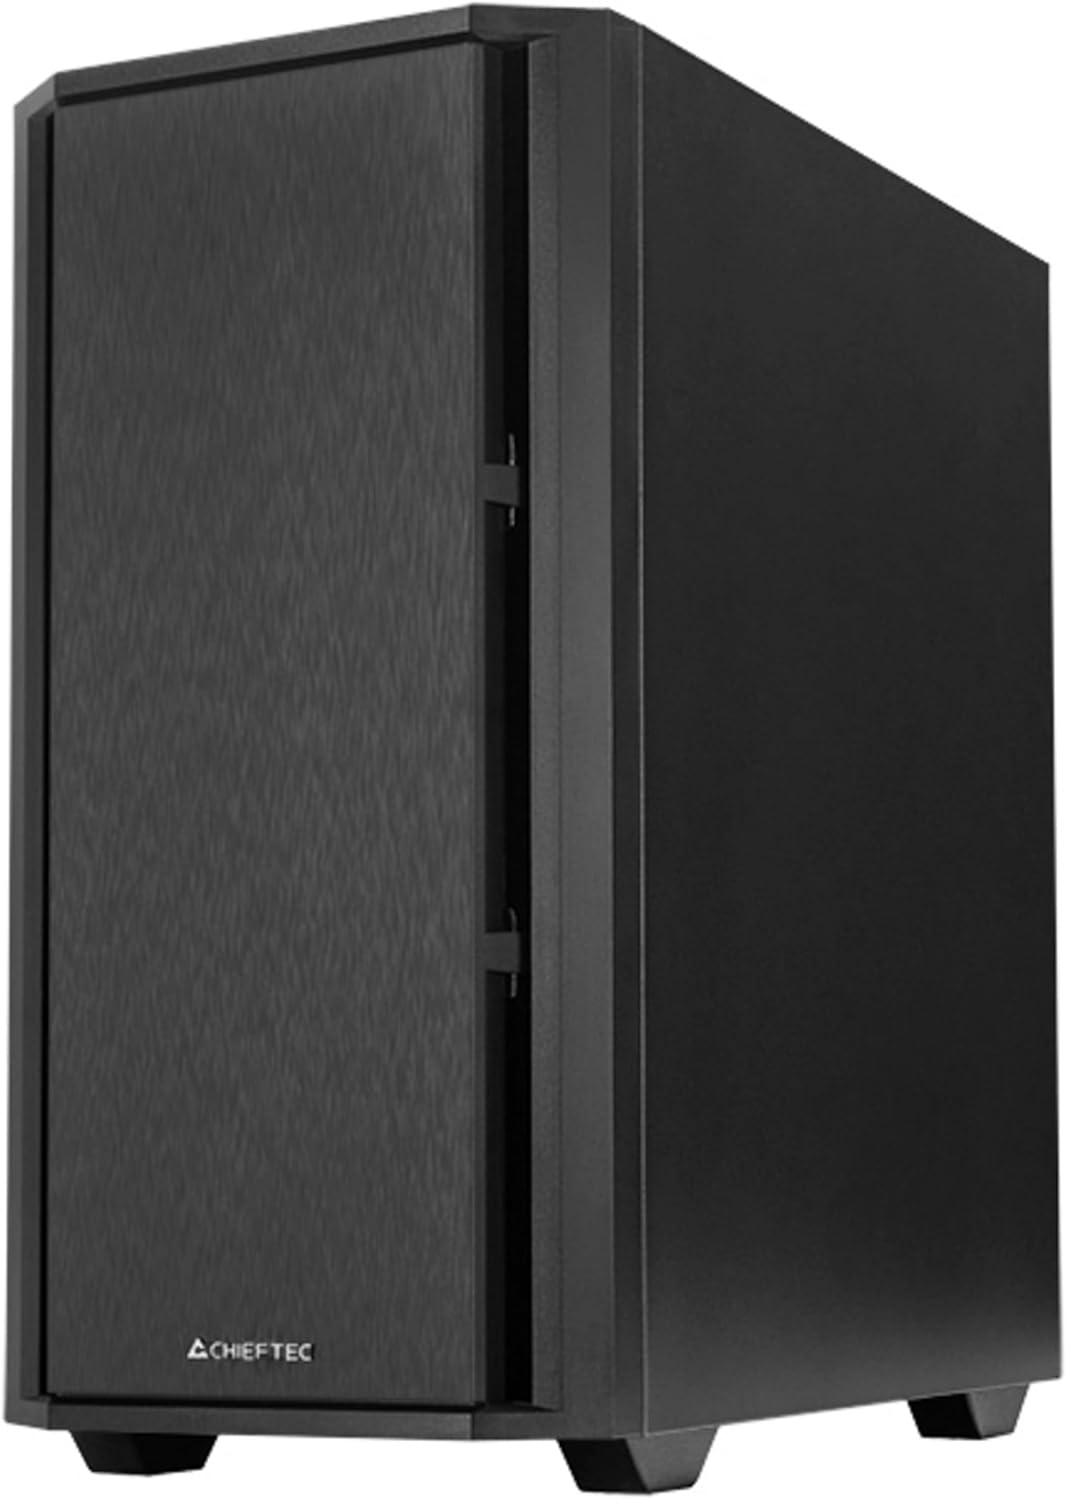
Figur 6: Vinklet front view of the assembled case.
Drift
1. Tilslutning af eksterne enheder
Connect your monitor, keyboard, mouse, and other peripherals to the appropriate ports on your motherboard's I/O panel and any installed expansion cards.

Figure 7: Top I/O panel for easy access to USB and audio ports.
2. First Power-On
- Tilslut strømkablet til strømforsyningen og en stikkontakt.
- Sæt tænd/sluk-knappen på strømforsyningen i positionen 'ON'.
- Press the power button on the front of the case to start your computer.
Opretholdelse
1. Rengøring af kabinettet
Rengør regelmæssigt ydersiden af kabinettet med en blød, tør klud.amp klud. Undgå slibende rengøringsmidler eller opløsningsmidler.
2. Vedligeholdelse af støvfilter
The Chieftec AZ-01B-OP includes dust filters to prevent dust buildup inside the system. Periodically remove and clean these filters (e.g., with compressed air or by washing with water and allowing to dry completely) to maintain optimal airflow and cooling performance.
Fejlfinding
Hvis du støder på problemer, kan du overveje følgende almindelige løsninger:
- Ingen strøm: Ensure the power cable is securely connected to both the PSU and the wall outlet. Check that the PSU switch is in the 'ON' position. Verify all internal power cables (24-pin ATX, 8-pin CPU, GPU power) are correctly seated.
- Ingen visning: Confirm the monitor is connected to the graphics card (not the motherboard's integrated graphics ports, unless you are using integrated graphics). Reseat the graphics card and RAM modules.
- Overophedning: Check that all case fans and CPU cooler fans are spinning. Ensure dust filters are clean and not obstructing airflow. Verify proper thermal paste application on the CPU.
- Usædvanlig støj: Identify the source of the noise. It could be a loose cable hitting a fan, a faulty fan, or a hard drive. Secure loose components or replace faulty fans.
Specifikationer
| Feature | Specifikation |
|---|---|
| Mærke | Chieftec |
| Modelnavn | AZ-01B-OP |
| Sagstype | Mini-tårn |
| Bundkort kompatibilitet | Mikro ATX |
| Materiale | Legeret stål |
| Farve | Sort |
| Varens vægt | 5.15 kilo (11.33 pund) |
| Produktmål (LxBxH) | 18.9 x 18.9 x 10.63 tommer |
| Strømforsyningsmonteringstype | Bundmontering |
| Afkølingsmetode | Luft |
| Forudinstallerede ventilatorer | 1 x 120 mm PWM fan |
| Særlige funktioner | Sound-absorbing material, Elegant and modern design |
Garantioplysninger
Chieftec products are manufactured to high-quality standards. This product is covered by a limited warranty against defects in materials and workmanship. The specific warranty period and terms may vary by region and retailer. Please retain your proof of purchase for warranty claims.
For detailed warranty information, please refer to the official Chieftec webwebstedet eller kontakt din lokale forhandler.
Støtte
For technical assistance, troubleshooting, or further inquiries, please visit the official Chieftec support webwebsted eller kontakt deres kundeserviceafdeling.
- Officiel Webwebsted: www.chieftec.eu
- Supportkontakt: Der henvises til webhjemmeside for regionale kontaktoplysninger.