
1. Introduktion
The HURRISE Model-100 Anti-Static Resistivity Meter is a precise instrument designed for accurately measuring the surface resistivity and grounding of various materials. This device is essential for evaluating conductive, antistatic, and static dissipative properties, ensuring compliance with industry standards such as ANSI ESD S20.20 and IEC61340-5-1.
Its versatile applications include engineering, maintenance, quality control, incoming inspection, manufacturing, and training environments where static control is critical.
2. Sikkerhedsoplysninger
Please read and understand all safety instructions before operating the device. Failure to follow these instructions may result in inaccurate readings or damage to the instrument.
- Do not expose the meter to extreme temperatures, humidity, or direct sunlight.
- Undgå at tabe enheden eller udsætte den for kraftige stød.
- Sørg for, at batterirummet er forsvarligt lukket under drift.
- Forsøg ikke at åbne eller reparere enheden selv. Overlad al service til kvalificeret personale.
- Keep the meter clean and free from dust and debris.
3. Produktet er slutview
The HURRISE Model-100 features a clear indicator panel and a simple interface for ease of use. Below is a diagram illustrating the key components of the device.

Figur 3.1: Front view of the HURRISE Model-100 Resistivity Meter with key components labeled. This image highlights the Flash Indicator LEDs, Insulation Indicator Light, Test Button, and Earth Leakage port.
- Flash Indicator (LEDs): A series of LEDs indicating the measured resistance range, from 103 til 1012 Ohms per square. These LEDs are grouped into Conductive, Static Dissipative, and Insulative categories.
- Insulation Indicator Light: A dedicated LED that illuminates when the material being tested is insulative.
- Test knap: A red button used to initiate a measurement.
- Earth Leakage Port: A connection point for an external ground wire to perform grounding tests.
- Model-100 Label: Identifies the specific model of the resistivity meter.
- Resistivity Meter Label: Indicates the primary function of the device.

Figur 3.2: Front view of the HURRISE Model-100 Anti-Static Resistivity Meter, showing the display panel and controls.
4. Opsætning
Before using the HURRISE Model-100, ensure it is properly set up.
4.1 Batteriinstallation
- Find batterirummet på bagsiden af måleren.
- Skub batterirummets dæksel op.
- Insert one 9V (6F22) battery, ensuring correct polarity. The device is shipped with a matching battery.
- Luk batterirummets dæksel forsvarligt.
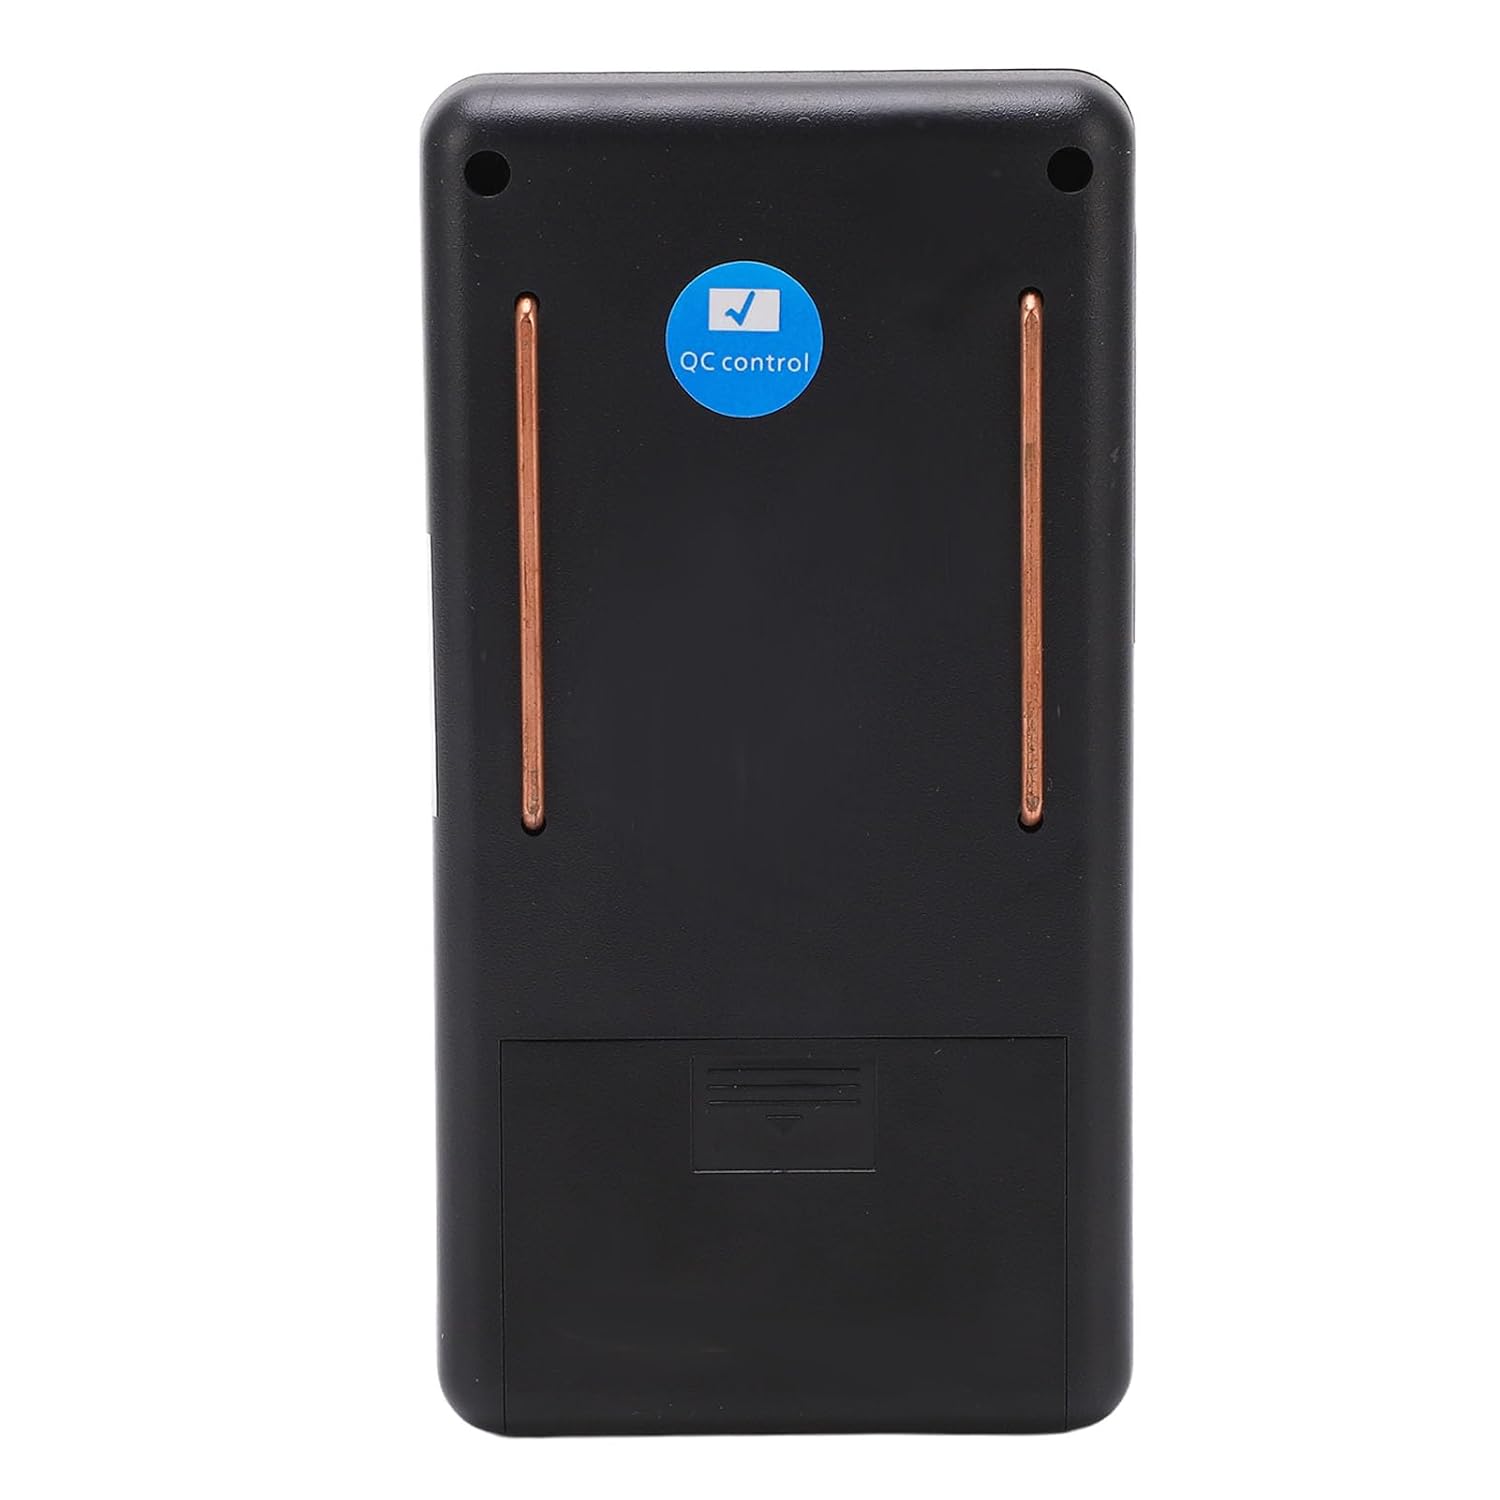
Figur 4.1: Tilbage view of the HURRISE Model-100, illustrating the battery compartment location.
4.2 Connecting the Ground Wire (Optional)
For specific grounding tests, the included ground wire can be connected.
- Insert the jack end of the ground wire into the Earth Leakage port on the front of the meter.
- Connect the alligator clip end of the ground wire to a known ground point or the material being tested for grounding.

Figur 4.2: The HURRISE Model-100 meter shown alongside its 9V battery and the ground wire with an alligator clip.
5. Betjeningsvejledning
The HURRISE Model-100 utilizes the ASTM standard D 257 parallel grid induction method for precise and high-speed measurements.
5.1 Surface Resistivity Measurement
- Place the meter directly onto the surface of the material you wish to test. Ensure good contact between the meter's electrodes and the material.
- Tryk og hold den røde PRØVE knap.
- Observe the Flash Indicator LEDs. The LED corresponding to the material's surface resistivity will illuminate.
- Slip PRØVE button to turn off the indicators.
5.2 Fortolkning af resultater
The illuminated LED indicates the resistance range in Ohms per square (Ω/sq).
- Conductive: LEDs from 103 til 105 Ω/sq. Materials in this range are highly conductive and allow static charges to dissipate rapidly.
- Statisk dissipativ: LEDs from 106 til 1010 Ω/sq. These materials allow static charges to dissipate at a controlled rate, preventing rapid discharge.
- Insulative: LEDs at 1011 Ω/sq and 1012 Ω/sq, or the dedicated Insulation Indicator Light. Materials in this range resist the flow of static charges and can accumulate them.
5.3 Grounding Measurement (using Earth Leakage Port)
To measure the resistance to ground, connect the ground wire as described in Section 4.2.
- Connect the alligator clip of the ground wire to the material or object whose resistance to ground you wish to measure.
- Place the meter on the material, ensuring good contact.
- Tryk og hold den røde PRØVE knap.
- Read the illuminated LED indicator to determine the resistance to ground.
6. Vedligeholdelse
6.1 Rengøring
Wipe the meter with a soft, dry cloth. Do not use abrasive cleaners or solvents, as these can damage the ABS material and electronic components.
6.2 Udskiftning af batteri
When the indicator lights become dim or the meter fails to power on, replace the 9V battery as described in Section 4.1. Remove the battery if the meter will not be used for an extended period to prevent leakage.
6.3 Opbevaring
Store the meter in a cool, dry place, away from direct sunlight and extreme temperatures. Keep it in its original packaging or a protective case to prevent damage.
7. Fejlfinding
- Måleren tænder ikke: Kontroller, om 9V-batteriet er installeret korrekt og har tilstrækkelig opladning. Udskift batteriet om nødvendigt.
- Inkonsistente eller ingen aflæsninger: Ensure the meter's electrodes are making firm and clean contact with the material surface. Clean the electrodes if they appear dirty. Verify the material is suitable for testing.
- Readings affected by humidity: Note that humidity levels above 65%RH can affect the measurement accuracy of the instrument. Perform tests in a controlled environment if precise readings are critical.
8. Specifikationer
| Feature | Specifikation |
|---|---|
| Model | Model-100 |
| Materiale | ABS |
| Batteri | 1 x 6F22 9V battery, 800mAh capacity |
| Kontinuerlig arbejdstid | Mere end 40 timer |
| Måling af temperaturområde | 40°F til 120°F (5°C til 49°C) |
| Measurement Humidity Range | 5% to 90%RH (accuracy affected above 65%RH) |
| Dimensioner (pakke) | 5.51 x 4.33 x 1.97 tommer |
| Vægt (pakke) | 6.84 ounce |
| Overholdelse af standarder | ANSI ESD S20.20, IEC61340-5-1, ASTM D 257 |
9. Garanti og support
For warranty information or technical support, please refer to the documentation provided with your purchase or contact HURRISE customer service through the retailer where the product was acquired. Keep your purchase receipt as proof of purchase.