1. Introduktion
This manual provides detailed instructions for the installation, operation, and maintenance of your Luowice Solar Security Camera. This wireless outdoor camera features a 3W solar panel for continuous power, 360° pan and tilt functionality, 3MP color night vision, and is designed to be weatherproof for reliable outdoor use. Please read this manual thoroughly before use to ensure proper setup and functionality.

Image 1.1: Luowice Solar Security Camera with integrated solar panel.
2. Produktet er slutview
2.1 Nøglefunktioner
- 100% Wire-Free Setup: Operates on WiFi and powered by a 3W solar panel, eliminating the need for frequent battery charging and complex wiring.
- Vidvinkeldækning: Offers 355° horizontal and 90° vertical rotation for comprehensive area monitoring via the O-KAM PRO app.
- 3MP Color Night Vision: Provides clear, high-resolution video day and night, including full-color night vision with floodlights.
- Motion-Triggered Floodlights & Auto Tracking: Automatically activates floodlights and tracks human-shaped objects upon detection, enhancing security.
- Tovejs lyd: Allows real-time communication with visitors or deterrence of intruders.
- Lokal og cloud-lagring: Supports micro SD card (up to 128GB, not included) for 24/7 loop recording and optional cloud storage services.
- Vejrbestandigt design: IP66 rated, ensuring reliable performance in various severe weather conditions.
- Multi-User Sharing & Data Encryption: Securely share camera access with family members with advanced encryption.
2.2 Komponenter
Pakken indeholder typisk:
- Luowice Solar Security Camera
- 3W Solar Panel (integrated or separate with mounting bracket)
- Monteringsbeslag og skruer
- USB opladningskabel
- Brugermanual
3. Opsætningsvejledning
3.1 Opladning af batteriet
Before initial use, fully charge the camera's internal battery using the provided USB cable. Connect the cable to the camera's charging port and a standard 5V USB power adapter (not included). The indicator light will show charging status.
3.2 Appinstallation og kontooprettelse
- Download O-KAM PRO app fra din smartphones appbutik (iOS eller Android).
- Åbn appen, og følg instruktionerne på skærmen for at oprette en ny konto eller logge ind, hvis du allerede har en.
3.3 Tilslutning af kameraet til Wi-Fi
- In the O-KAM PRO app, tap the "+" icon to add a new device.
- Select your camera model or scan the QR code on the camera if prompted.
- Follow the app's instructions to connect the camera to your 2.4 GHz Wi-Fi network. Ensure your phone is connected to the same 2.4 GHz network during setup.
- Once connected, the camera's indicator light will change, and you will receive a confirmation in the app.

Image 3.1: The camera supports 2.4 GHz Wi-Fi for stable data transmission.
3.4 Montering af kameraet
Choose a location with optimal sunlight exposure for the solar panel and a clear view af det område, du ønsker at overvåge. Sørg for, at kameraet er inden for rækkevidde af dit Wi-Fi-netværk.
- Marker borepositionerne ved hjælp af monteringsbeslaget som skabelon.
- Bor huller og isæt vægankre om nødvendigt.
- Fastgør monteringsbeslaget til væggen med skruer.
- Attach the camera to the mounting bracket. Adjust the angle of the solar panel to maximize sunlight exposure.

Image 3.2: Camera mounted outdoors, demonstrating continuous solar power.
4. Betjeningsvejledning
4.1 Live View og panorering/tilt-kontrol
Open the O-KAM PRO app and select your camera to access the live view. Use the on-screen controls to pan (355° horizontal) and tilt (90° vertical) the camera to adjust its viewvinkel.

Image 4.1: Remote pan and tilt control via the O-KAM PRO app.
4.2 Tovejslyd
Fra live view, tap the microphone icon to speak through the camera's speaker. Tap the speaker icon to listen to audio from the camera's vicinity.

Image 4.2: Demonstrating two-way audio communication.
4.3 Bevægelsesdetektion og advarsler
The camera features advanced motion detection with human shape recognition. When motion is detected, the camera can automatically turn on floodlights, track the object, and send instant alerts to your phone.
- Setting Detection Sensitivity: In the app settings, adjust the detection sensitivity to minimize false alarms.
- Defining Detection Zones: Create specific detection zones to focus monitoring on critical areas and ignore irrelevant movements.
- Advarsler: Receive instant app notifications and email alerts when motion is detected.

Image 4.3: Motion detection with intelligent recognition for humans, vehicles, and pets.

Image 4.4: Configuring custom motion detection zones.
4.4 Optagelse og opbevaring
Kameraet understøtter to primære lagringsmetoder:
- Micro SD-kort: Insert a micro SD card (up to 128GB, not included) into the designated slot for continuous 24/7 loop recording, even without network access.
- Cloud Storage: Optional cloud storage services are available through the O-KAM PRO app for secure, remote access to your footage.

Billede 4.5: Micro SD-kortslot til lokal lagring.
5. Vedligeholdelse
5.1 Rengøring
- Tør regelmæssigt kameralinsen og solpanelet af med en blød klud.amp cloth to remove dust and debris. This ensures optimal image clarity and solar charging efficiency.
- Brug ikke hårde kemikalier eller slibende rengøringsmidler.
5.2 Vejrbeskyttelse
The camera is IP66 weatherproof, designed to withstand rain, snow, and dust. However, extreme weather conditions may temporarily affect performance. Ensure all ports are securely sealed.
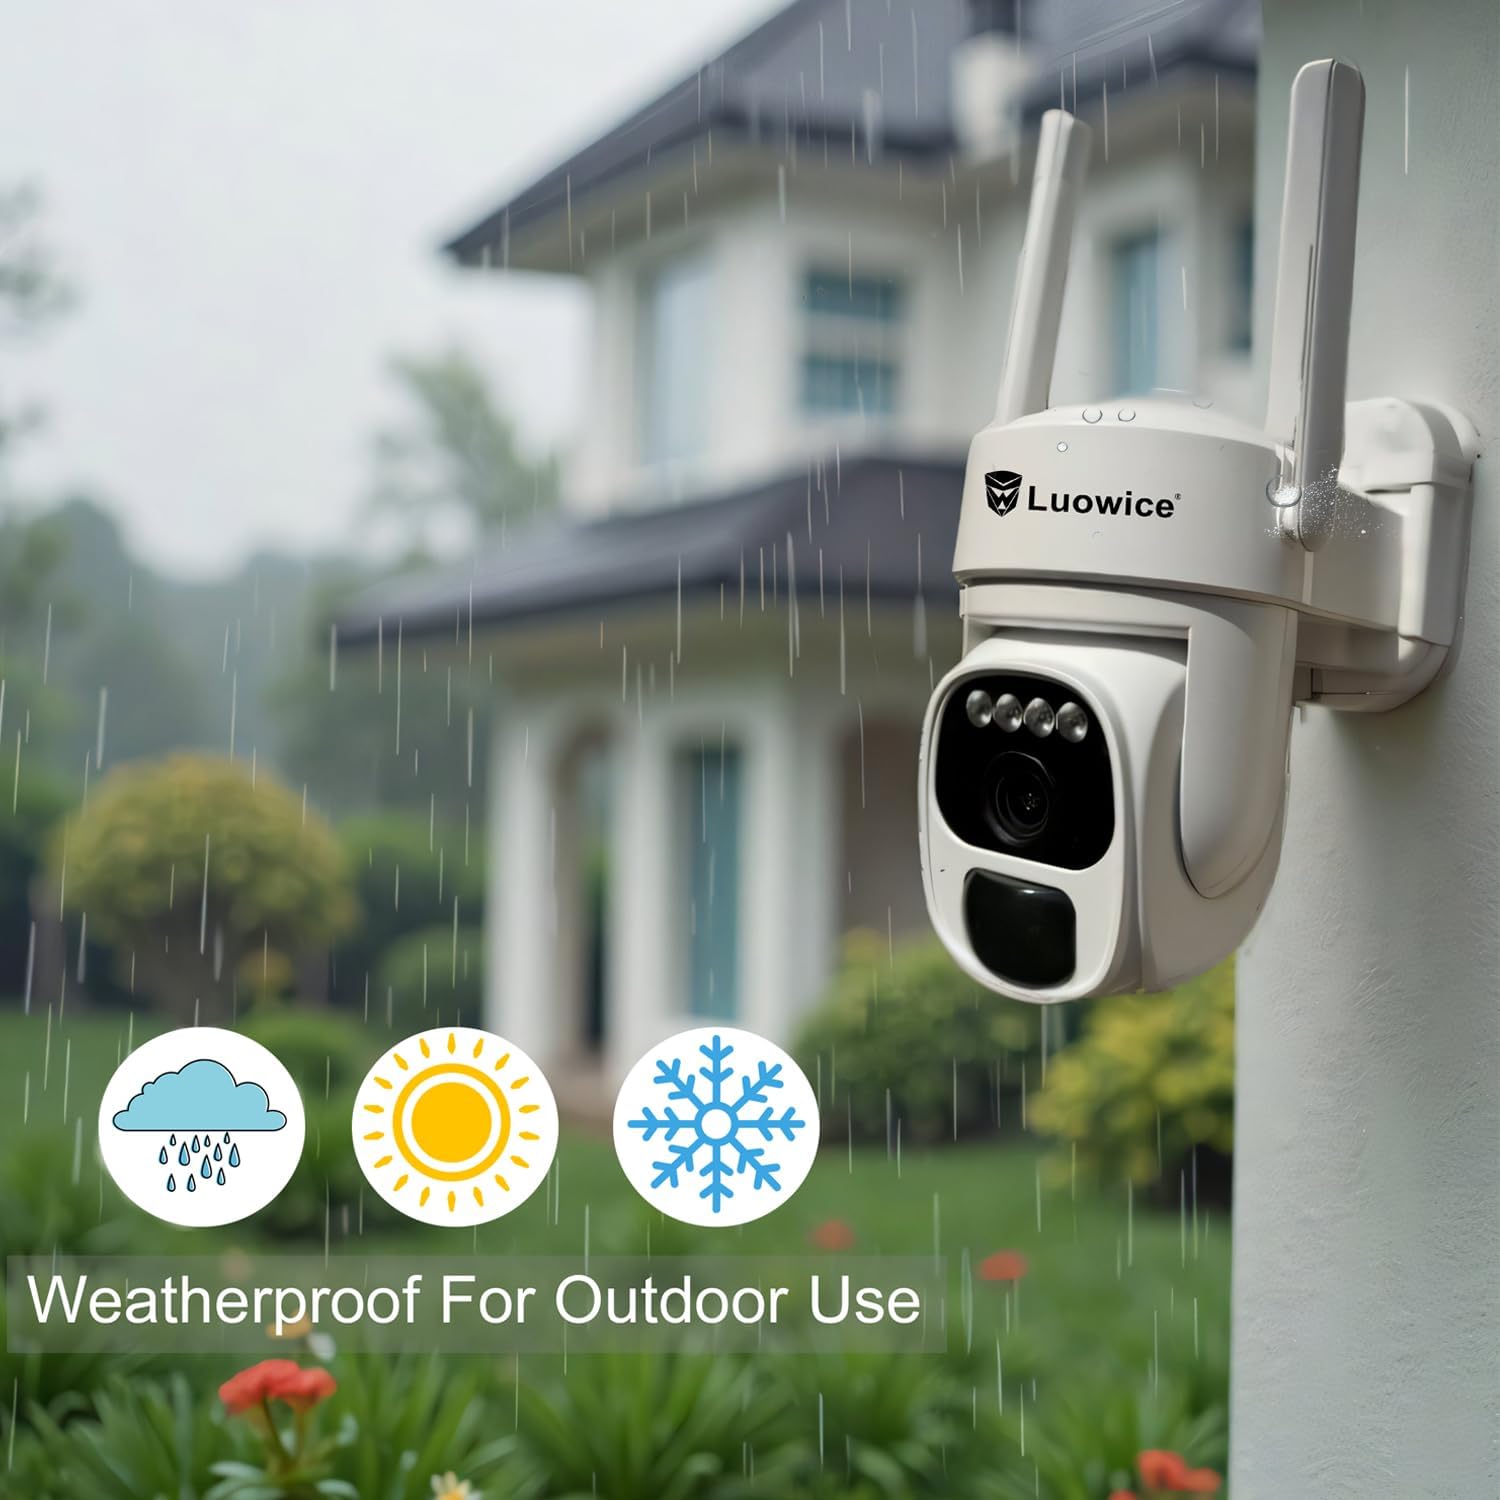
Image 5.1: The camera's weatherproof design for outdoor use.
6. Fejlfinding
- Kameraet opretter ikke forbindelse til Wi-Fi: Ensure your Wi-Fi is 2.4 GHz. Check Wi-Fi signal strength at the camera's location. Restart your router and the camera.
- Batteri oplades ikke: Verify the solar panel is clean and receiving direct sunlight. Check the USB charging cable connection. Ensure the ambient temperature is within the operating range for charging.
- Dårlig videokvalitet: Rengør kameralinsen. Sørg for tilstrækkelig belysning. Tjek din internetforbindelses hastighed.
- Falske bevægelsesalarmer: Juster følsomheden for bevægelsesdetektion i appen. Definer specifikke detektionszoner for at udelukke irrelevante områder.
- Pan/Tilt not responding: Check app connectivity. Ensure there are no physical obstructions. Restart the camera.
7. Specifikationer
| Feature | Specifikation |
|---|---|
| Videooptagelsesopløsning | 3 MP |
| Strømkilde | Solcelledrevet (3W solpanel) |
| Forbindelsesprotokol | Wi-Fi (2.4 GHz) |
| Pan/tilt rækkevidde | 355° vandret, 90° lodret |
| Nattesyn | Color Night Vision with Floodlights |
| Opbevaringsmuligheder | Micro SD-kort (op til 128 GB), Cloud-lagring |
| Vejrbestandig vurdering | IP66 |
| Batterier påkrævet | 1 lithium-ion batteri (medfølger) |
| Varens vægt | 1.85 pund |
| Dimensioner | 7.87 x 6.18 x 5.55 tommer (pakke) |
| Kompatible enheder | Smartphones, tablets, computere |
8. Garanti og support
8.1 Garantioplysninger
Luowice products typically come with a manufacturer's warranty. Please refer to the product packaging or the official Luowice website for specific warranty terms and conditions. Optional extended protection plans may be available for purchase.
8.2 Kundesupport
For technical assistance, troubleshooting, or warranty claims, please contact Luowice customer support through their official website or the contact information provided with your product. When contacting support, please have your product model (B0DF4TVZ7Z) and purchase details ready.