1. Produktet er slutview
The QRD Wireless Controller (Model: US-T5-JB02) is a high-performance replacement controller designed for Nintendo Switch, Switch Pro, Lite, and OLED models. It features advanced technologies such as Hall Effect joysticks for precise, drift-free control, dual vibration motors for immersive feedback, and a 6-axis gyroscope for accurate motion sensing. This controller also includes programmable back buttons and customizable LED backlighting, enhancing your gaming experience.
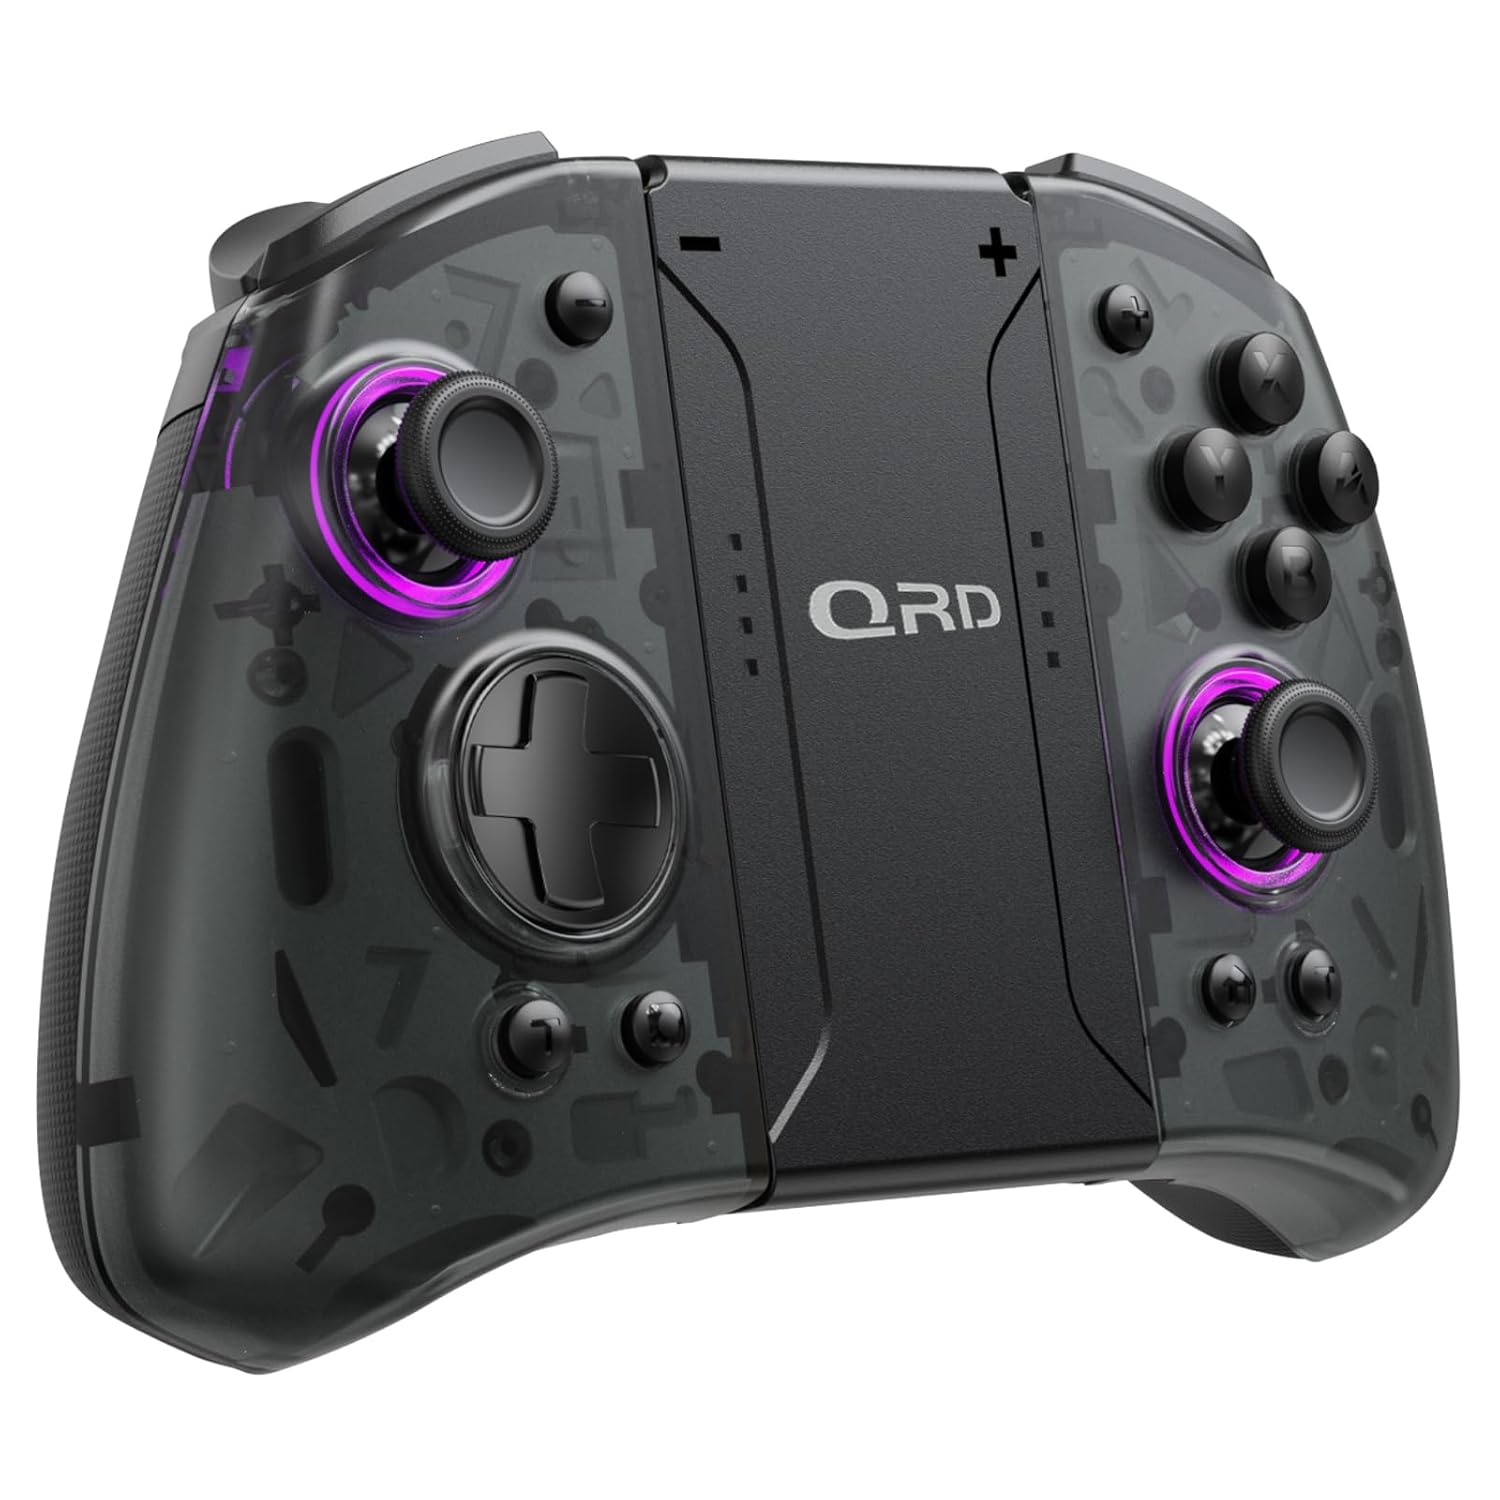
Billede 1.1: Forside view of the QRD Wireless Controller, showcasing dens ergonomiske design og knaplayout.
2. Nøglefunktioner
- Trådløs Bluetooth 5.3-forbindelse: Ensures stable, lag-free connection for seamless gameplay.
- Hall-effekt joysticks: Provides 360° precise, drift-free control and extended lifespan.
- Dobbelte vibrationsmotorer: Offers 3 levels of adjustable vibration for enhanced tactile feedback.
- 6-akset gyroskopbevægelsesregistrering: Enables accurate tilt detection for precise aiming and movement in compatible games.
- Programmerbare bagknapper: Customize controls with single or multiple mappings for efficient combo execution.
- Turbofunktion: Allows for rapid firing of buttons.
- LED baggrundsbelyst: Features 8 different colors with static, breathing, and flashing modes for personalized aesthetics.
- Lang batterilevetid: Up to 10 hours of uninterrupted gameplay on a single charge (2 hours charging time).
- Ergonomisk design: Comfortable grip for extended gaming sessions, includes a screenshot function.

Image 2.1: Diagram highlighting key features such as Bluetooth 5.3, Dual Vibration, 6-Axis Gyro, Turbo, Macro Back Paddles, and Colorful Options.

Image 2.2: Illustration demonstrating the Hall Effect Joysticks, emphasizing drift-free and accurate control.
3. Opsætning og tilslutning
3.1 Første parring med Nintendo Switch
- Sørg for, at din Nintendo Switch-konsol er tændt og opdateret til den nyeste systemversion.
- Fra HOME-menuen skal du vælge "Controllere" > "Skift greb/rækkefølge".
- On the QRD Wireless Controller, press and hold the HJEM knap (usually located in the center) for 3-5 seconds until the LED indicators start flashing rapidly.
- Når controlleren er parret, lyser den/de tilsvarende afspiller-LED('er) på controlleren konstant.
- The controller can also be connected by sliding it into the Nintendo Switch Dock while the console is attached.
3.2 Gentilslutning af controlleren
For at genoprette en tidligere parret controller skal du blot trykke på HJEM knap once. The controller will automatically attempt to connect to the last paired console.
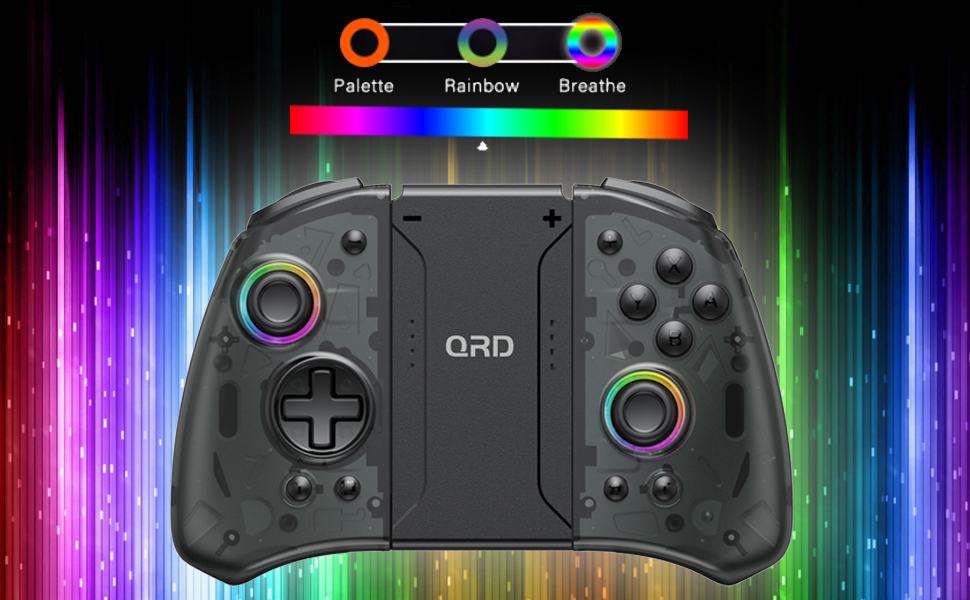
Image 3.1: Visual representation of controller compatibility with Nintendo Switch and Switch OLED models. Note: Not compatible with Switch Lite.
4. Betjeningsvejledning
4.1-knaplayout
Gør dig bekendt med controllerens knapplayout:
- Venstre joystick: Bevægelseskontrol.
- Højre joystick: Kamera- eller sigtekontrol.
- D-Pad: Retningsbestemt input.
- A/B/X/Y-knapper: Handlingsknapper.
- V/H-knapper: Skulderknapper.
- ZL/ZR-knapper: Udløserknapper.
- HJEM knap: Returns to the HOME Menu, powers on/off the controller.
- Skærmbillede-knap: Tager skærmbilleder.
- +/- knapper: Plus and Minus buttons for in-game functions.
- M1/M2 (Back Buttons): Programmable macro buttons.
4.2 Justering af vibrationsintensitet
The controller supports 3 levels of vibration intensity. To adjust, press and hold the Turbo-knap og tryk derefter på D-Pad Up or D-Pad Down to cycle through intensity levels (Low, Medium, High, Off).
4.3 Opsætning af turbofunktion
To set a button to Turbo mode:
- Tryk og hold på Turbo-knap.
- While holding Turbo, press the desired action button (e.g., A, B, X, Y, L, R, ZL, ZR). The button will now continuously register input when held down.
- To clear Turbo for a specific button, repeat the process. To clear all Turbo settings, press and hold the Turbo-knap i 5 sekunder.
4.4 Programming Back Buttons (Macro)
The M1 and M2 back buttons can be programmed to execute a sequence of button presses (macro). Each macro can store up to 16 button presses.
- Tryk og hold på M1 or M2 den knap, du ønsker at programmere.
- While holding the M button, press the SET knap (refer to manual diagram for location, typically a small button on the back). The indicator light will flash slowly.
- Enter the desired sequence of button presses (e.g., A, B, X, Y, D-Pad directions).
- Tryk på SET knap igen for at gemme makroen. Indikatorlampen vil holde op med at blinke.
- To clear a macro, press and hold the programmed M button and then press the SET knap to gange.
4.5 LED Backlight Adjustment
The controller features customizable RGB lighting. To cycle through modes and colors:
- Tryk på LED knap (refer to manual diagram for location) to change between static color, breathing, and flashing modes.
- In static mode, press the LED knap repeatedly to cycle through the 8 available colors.

Image 4.1: Display of the controller's LED backlight options, including Palette (static colors), Rainbow, and Breathe modes.
5. Opladning og batterilevetid
The QRD Wireless Controller is equipped with a built-in rechargeable Lithium Polymer battery. A 2.5m USB-C cable is included for charging.
- Connect the USB-C end of the cable to the controller's charging port and the USB-A end to a power source (e.g., Nintendo Switch Dock, USB wall adapter, computer USB port).
- Opladning tager cirka 2 timer for en fuld opladning.
- En fuld opladning giver op til 10 timers kontinuerlig spiloplevelse.
- The LED indicators on the controller will show charging status and battery level.
6. Vedligeholdelse
To ensure the longevity and optimal performance of your QRD Wireless Controller, follow these maintenance guidelines:
- Rensning: Brug en blød, tør klud til at tørre controlleren af. Ved genstridigt snavs, tør letampRengør kluden med vand. Undgå at bruge skrappe kemikalier, opløsningsmidler eller slibende rengøringsmidler.
- Opbevaring: Opbevar controlleren et køligt, tørt sted væk fra direkte sollys, ekstreme temperaturer og høj luftfugtighed.
- Håndtering: Avoid dropping the controller or subjecting it to strong impacts. Do not disassemble the controller, as this may void the warranty and cause damage.
- Opladning: Do not leave the controller charging for excessively long periods after it is fully charged.
7. Fejlfinding
| Problem | Mulig årsag | Løsning |
|---|---|---|
| Controlleren opretter ikke forbindelse. | Low battery; Not paired; Interference. | Charge the controller; Re-pair the controller following Section 3.1; Move closer to the console or away from other wireless devices. |
| Inputforsinkelse eller afbrydelse under spil. | Wireless interference; Distance from console; Low battery. | Ensure no strong wireless signals are nearby; Reduce distance to console; Charge the controller. |
| Joysticks drift or are unresponsive. | Calibration issue; Physical debris. | Go to Switch System Settings > Controllers and Sensors > Calibrate Control Sticks. Clean around the joystick base. |
| Knapperne reagerer ikke. | Stuck button; Software glitch. | Ensure buttons are not physically stuck. Try resetting the controller (if a reset button is present, otherwise power cycle). |
| Vibrationen virker ikke. | Vibration setting off; Game does not support vibration. | Adjust vibration intensity (Section 4.2). Verify game compatibility. |
8. Specifikationer
| Feature | Detalje |
|---|---|
| Modelnummer | US-T5-JB02 |
| Forbindelse | Bluetooth 5.3 |
| Kompatibilitet | Nintendo Switch, Switch Pro, Switch OLED |
| Joystick-type | Hall effekt |
| Vibration | Dobbelte motorer, 3 justerbare niveauer |
| Bevægelseskontrol | 6-akset gyroskop |
| Programmerbare knapper | Yes (Back Buttons) |
| Batteritype | Lithium polymer |
| Opladningstid | Ca. 2 timer |
| Spilletid | Op til 10 timer |
| Opladningsport | USB-C |
| Dimensioner | 7.95 x 5.51 x 2.36 tommer (ca.) |
| Vægt | 12.35 ounce (ca.) |
9. Garanti og support
9.1 Garantioplysninger
QRD products are manufactured with high-quality materials and undergo rigorous testing. This product comes with a standard manufacturer's warranty against defects in materials and workmanship. Please refer to the product packaging or the official QRD webwebstedet for specifikke garantivilkår og varighed.
9.2 Kundesupport
For technical assistance, troubleshooting, or warranty claims, please contact QRD Customer Support. Have your product model number (US-T5-JB02) and purchase information ready when contacting support.
- Online support: Visit the official QRD website for FAQs, updated manuals, and support contact forms.
- E-mail support: [Insert QRD Support Email Address Here - if available, otherwise omit]
- Telefonsupport: [Insert QRD Support Phone Number Here - if available, otherwise omit]
We are committed to providing excellent customer service and ensuring your satisfaction with QRD products.