Produkt overview
This document provides instructions for the installation, operation, and maintenance of the Laptop Keyboard for MEDION AKOYA S4402 MD63410 Swiss SW with Backlit Black. This keyboard is designed as a replacement part for compatible laptop models, offering a Swiss (SW) layout and integrated backlighting for improved visibility in low-light conditions.
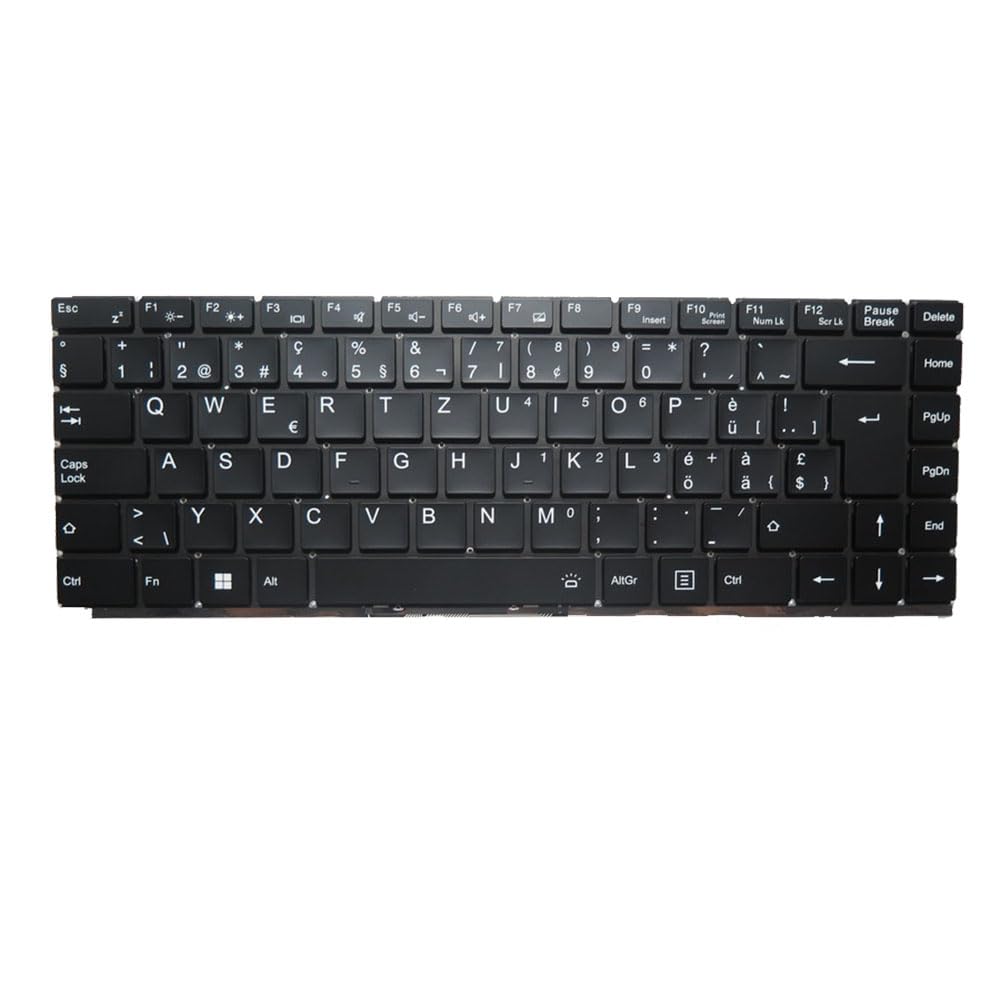
Billede: Forside view of the Laptop Keyboard for MEDION AKOYA S4402 MD63410. The keyboard features a black finish with white key legends, including a full alphanumeric section, function keys (F1-F12), navigation keys, and a numeric keypad. The layout is Swiss (SW), indicated by specific characters like '§', '€', 'é', 'à', 'ö', 'ä', 'ü', and '£'. The keyboard includes dedicated keys for backlight control (likely via Fn combinations) and standard laptop keyboard functions.
Specifikationer
| Feature | Detalje |
|---|---|
| Produkttype | Laptop Keyboard Replacement Part |
| Kompatibilitet | MEDION AKOYA S4402 MD63410 |
| Layout | Swiss (SW) |
| Baggrundsbelysning | Ja |
| Farve | Sort |
| Produktdimensioner | 11.81 x 7.87 x 3.94 tommer |
| Varens vægt | 1.76 pund |
| Fabrikant | Generisk |
| Modelnummer | MD63410-5. |
| Oprindelsesland | Kina |
Opsætning og installation
Installing a laptop keyboard typically requires technical expertise and careful handling of internal components. It is highly recommended to consult your laptop's official service manual or seek professional assistance for installation to avoid damage to your device.
General Guidelines (Consult Professional for Specific Steps):
- Sluk: Ensure the laptop is completely powered off and disconnected from all power sources, including the battery.
- Demontering: Carefully disassemble the laptop components that obstruct access to the keyboard. This may involve removing the bottom cover, battery, optical drive, or top case, depending on the laptop model.
- Frakobl det gamle tastatur: Locate the keyboard ribbon cable connector on the motherboard. Gently unlatch the connector and disconnect the old keyboard's cable.
- Fjern gammelt tastatur: Unscrew or unclip the old keyboard from its housing.
- Installer nyt tastatur: Position the new keyboard into the housing. Ensure it fits correctly and all mounting points align.
- Tilslut nyt tastatur: Carefully insert the new keyboard's ribbon cable into the connector on the motherboard and secure the latch. Ensure the cable is not bent or creased.
- Genmontering: Reassemble the laptop components in reverse order. Double-check all connections before fully closing the laptop.
- Test funktionalitet: Power on the laptop and test all keyboard keys, including the backlight function, to ensure proper installation.
Ansvarsfraskrivelse: Improper installation can lead to damage to your laptop. The manufacturer is not responsible for any damage incurred during self-installation.
Betjeningsvejledning
This keyboard functions as a standard laptop keyboard with additional features specific to the Swiss (SW) layout and integrated backlighting.
Nøglefunktioner:
- Standard alfanumeriske taster: Bruges til at skrive bogstaver, tal og symboler.
- Funktionstaster (F1-F12): Disse taster har ofte sekundære funktioner (f.eks. lydstyrkekontrol, skærmens lysstyrke, Wi-Fi-skift), når de trykkes ned i kombination med Fn key. Refer to your laptop's specific documentation for exact Fn key combinations.
- Baggrundslys kontrol: The keyboard features integrated backlighting. Typically, the backlight can be toggled on/off or adjusted in brightness using a specific Fn key combination (e.g., Fn + Fx, where Fx is a function key with a backlight icon). Locate the key with a backlight symbol (often resembling a sun or light bulb) to control this feature.
- Swiss (SW) Layout Specifics: This keyboard includes characters and symbols specific to the Swiss layout, such as '§', '€', 'é', 'à', 'ö', 'ä', 'ü', and '£'. Familiarize yourself with the placement of these characters.
- Navigationstaster: Includes Home, End, PgUp (Page Up), PgDn (Page Down), and arrow keys for document navigation.
Opretholdelse
Korrekt vedligeholdelse kan forlænge levetiden på dit tastatur og sikre optimal ydeevne.
- Rensning: Regularly clean the keyboard surface with a soft, lint-free cloth slightly dampened with water or a mild, non-abrasive cleaning solution. Avoid spraying liquids directly onto the keyboard.
- Fjernelse af støv: Use compressed air to remove dust and debris from between the keys. Hold the can upright and spray in short bursts.
- Undgå spild: Protect the keyboard from liquid spills, which can cause permanent damage.
- Skånsom brug: Avoid excessive force when typing to prevent premature wear on the keys.
Fejlfinding
If you encounter issues with your keyboard, consider the following common troubleshooting steps:
- Tastaturet reagerer ikke:
- Sørg for, at tastaturets båndkablet er korrekt tilsluttet til bundkortet.
- Genstart din bærbare computer.
- Check device drivers in your operating system. Reinstall or update if necessary.
- Visse taster virker ikke:
- Check for physical obstructions or debris under the non-functional keys.
- If multiple keys in a specific area are not working, it might indicate a cable connection issue or a defect in the keyboard itself.
- Baggrundslys virker ikke:
- Ensure the backlight function is enabled via the appropriate Fn key combination.
- Check your laptop's BIOS/UEFI settings for keyboard backlight options.
- Incorrect Characters Typed:
- Verify that the correct keyboard layout (Swiss SW) is selected in your operating system settings.
If issues persist after attempting these steps, professional diagnosis and repair may be required.
Garanti og support
Dette produkt leveres med en 90 dages garanti fra købsdatoen. Denne garanti dækker fabrikationsfejl og sikrer, at produktet fungerer som beskrevet under normal brug.
Garantien dækker ikke skader som følge af:
- Improper installation or handling.
- Accidental damage, spills, or physical abuse.
- Uautoriserede reparationer eller ændringer.
- Almindelig slitage.
For warranty claims or technical support, please contact the seller or retailer from whom you purchased this product. Ensure you have your proof of purchase readily available.


