1. Introduktion
Welcome to the CarpodGo T3 Pro User Manual. This document provides detailed instructions for the installation, operation, and maintenance of your CarpodGo T3 Pro portable display. Designed to enhance your in-car experience, the T3 Pro offers seamless wireless CarPlay and Android Auto functionality on an 8.9-inch IPS touchscreen.
Please read this manual thoroughly before using the device to ensure proper functionality and to maximize your user experience. Keep this manual for future reference.
2. Produktet er slutview
2.1 Nøglefunktioner
- Fully Laminated Display: Features a seamless black texture with a 1920x720 retina-like resolution, 16.7 million colors, and 700nit brightness. Supports automatic dimming for night driving.
- 60fps Wireless CarPlay & Android Auto: Provides smooth and responsive scrolling with quick reactions, booting to CarPlay display in approximately 12 seconds.
- Display-Only Bluetooth Mode: Allows the device to act as a display while your phone connects directly to the car's Bluetooth for full audio playback, calls, and steering wheel control support.
- Magnetisk design: Ultra-thin body with a strong magnetic base, tested to withstand 8KG of downward pressure. Compatible with 17mm ball head mounts and includes various mounting options.
- Modern UI Design: New linear neomorphic interface designed for simplified features and enhanced core functionalities.

Figure 2.1: CarpodGo T3 Pro display with CarPlay interface.

Figure 2.2: Close-up of the fully laminated display.

Figure 2.3: Visual representation of 60fps Wireless CarPlay.
2.2 Pakkens indhold
Bekræft at alle varer er til stede i din pakke:
- CarpodGo T3 Pro Wireless CarPlay Display
- Magnetisk base
- 9V Power Cord (for cigarette lighter)
- OTG adapter
- Brugermanual
- Fixed Console Mount
- Backup Camera (optional, if included in your specific package)
- Bluetooth Aux Receiver (to add Bluetooth to car)
- Suction Cup Mount (for console glass only)

Figure 2.4: CarpodGo T3 Pro Package Contents.
3. Opsætning
3.1 Montering af enheden
The CarpodGo T3 Pro offers flexible mounting options:
- Magnetisk base: Attach the magnetic base to a suitable flat surface on your dashboard. Ensure the surface is clean and dry for optimal adhesion. The display unit then magnetically attaches to this base.
- Fixed Console Mount: Use the provided fixed console mount for a more permanent installation. This mount is designed for seamless integration with your central console.
- Sugekopmontering: For mounting on glass surfaces, such as the windshield or console glass, use the suction cup mount. Ensure the surface is clean before applying.
The magnetic base is compatible with standard 17mm ball head mounts, allowing for customization with other mounting accessories if desired.

Figure 3.1: CarpodGo T3 Pro mounted using the magnetic base.
3.2 Strømtilslutning
Connect the provided 9V power cord to your car's cigarette lighter socket and then to the USB Type C port on the CarpodGo T3 Pro. Ensure a secure connection. The device will power on automatically when the car's ignition is turned on.
4. Betjeningsvejledning
4.1 Initial Power-On and Boot-Up
Upon receiving power, the CarpodGo T3 Pro will initiate its boot sequence. The device is designed for fast startup, typically reaching the CarPlay or Android Auto display within 12 seconds.
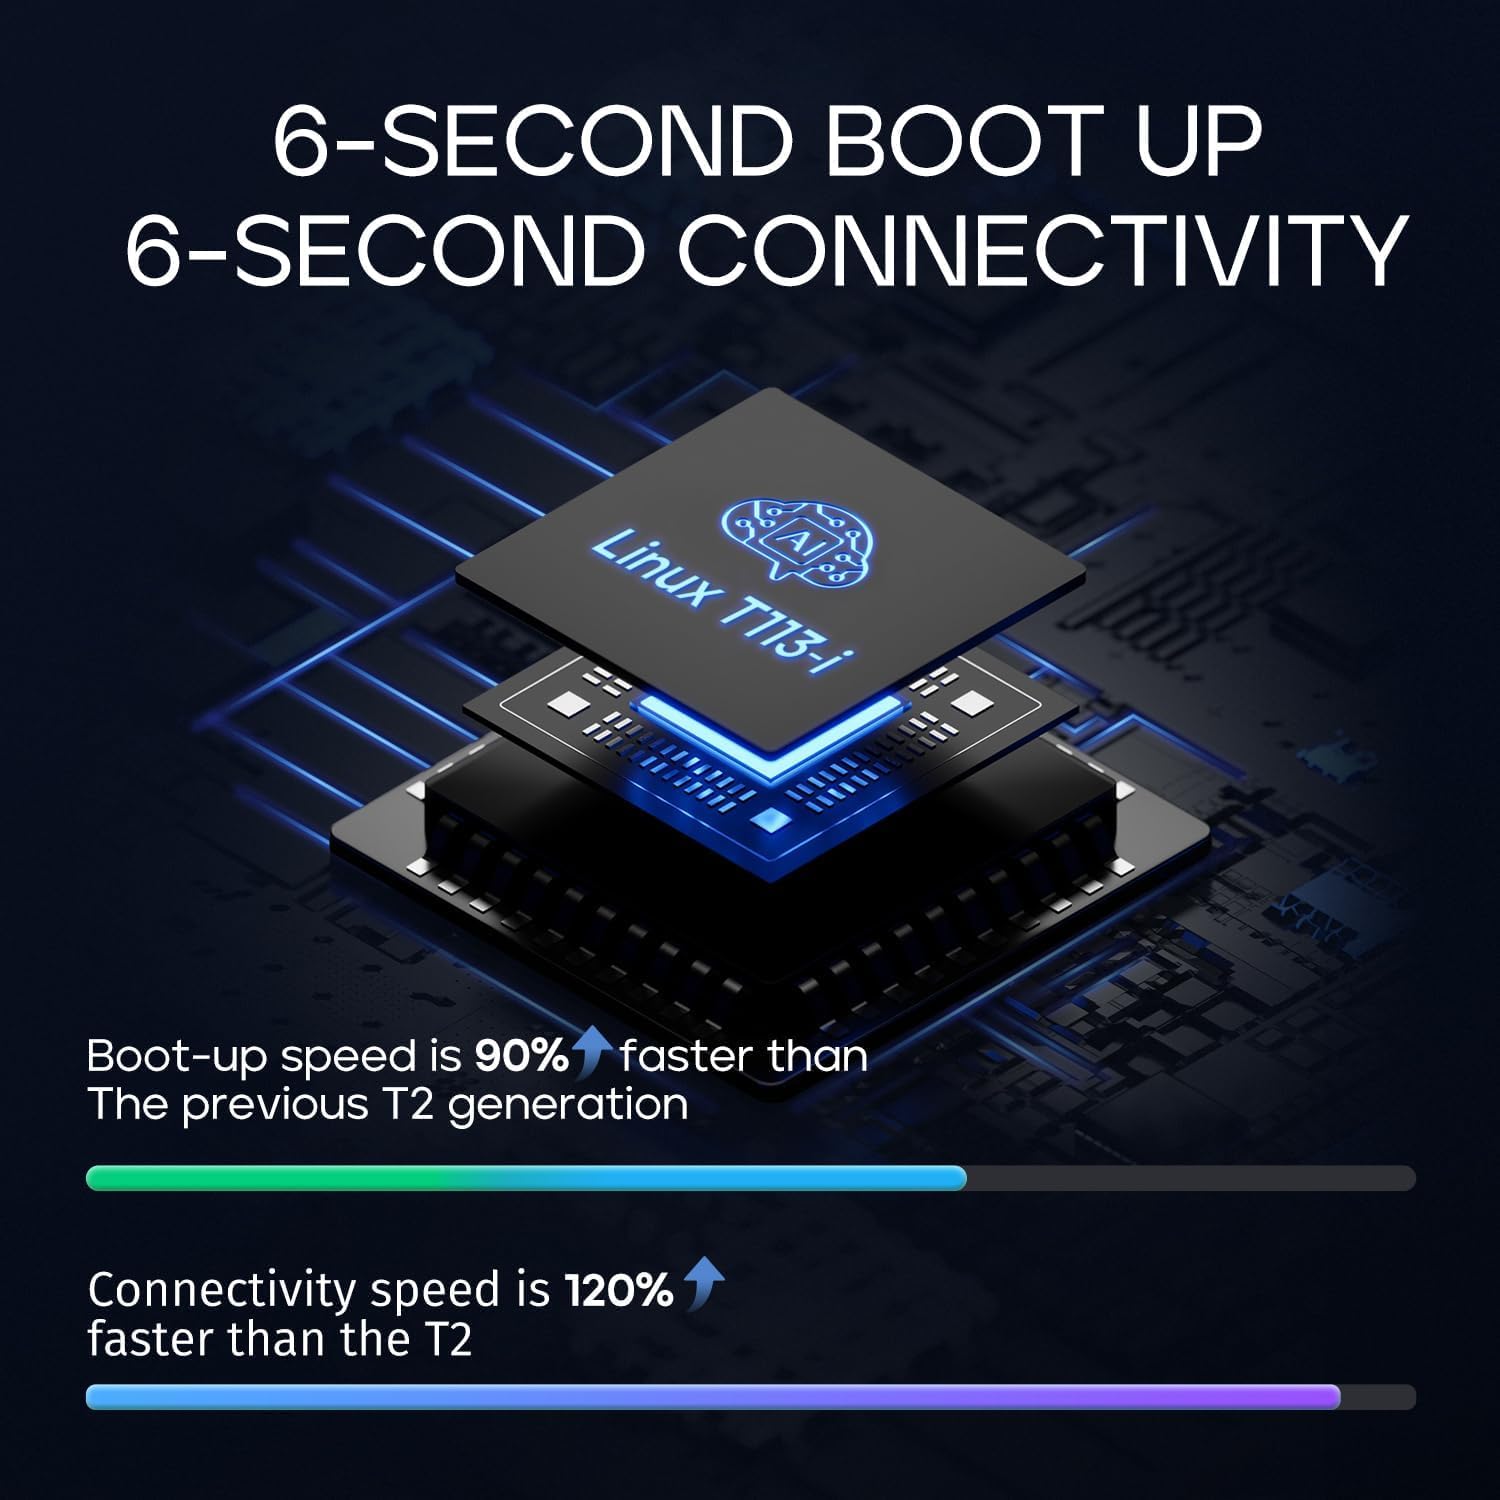
Figure 4.1: Fast boot-up and connectivity.
4.2 Interaktion med berøringsskærm
The 8.9-inch IPS touchscreen is fully responsive. Navigate the interface by tapping, swiping, and pinching as you would on a smartphone or tablet. The 60fps refresh rate ensures smooth scrolling and quick reactions to touch inputs.
4.3 Brugergrænseflade (UI)
The CarpodGo T3 Pro features a linear neomorphic UI design, prioritizing clarity and ease of use. You can customize certain aspects of the display, such as the startup screen, to match your preferences.

Figure 4.2: CarpodGo T3 Pro UI design in a vehicle.
4.4 Automatisk lysstyrkejustering
The display includes a light sensor that automatically adjusts screen brightness. In night mode, the brightness is intelligently reduced to minimize distraction and improve visibility.

Figure 4.3: Automatic brightness adjustment for day and night driving.
5. Forbindelse
5.1 Trådløs CarPlay og Android Auto
Sådan forbinder du din smartphone trådløst:
- Sørg for, at Bluetooth og Wi-Fi er aktiveret på din smartphone.
- On the CarpodGo T3 Pro, select either CarPlay or Android Auto from the main menu.
- Follow the on-screen prompts to pair your phone via Bluetooth. Once paired, the device will establish a Wi-Fi connection for wireless CarPlay/Android Auto.
- The connection should be established within seconds, providing a fluid 60fps experience.
5.2 Display-Only Bluetooth Mode
This mode is ideal for vehicles with existing Bluetooth audio systems:
- Activate the "Display-Only Bluetooth Mode" on the CarpodGo T3 Pro.
- Connect your smartphone directly to your car's built-in Bluetooth system for audio playback and calls.
- The CarpodGo T3 Pro will function solely as a visual display for CarPlay or Android Auto, allowing your car's speakers and microphone to handle all audio. This mode supports existing steering wheel controls.

Figure 5.1: Display-Only Bluetooth Mode in use.
6. Specifikationer
6.1 Tekniske specifikationer
| Feature | Specifikation |
|---|---|
| Mærke | CarpodGo |
| Modelnummer | CarpodGo T3 Pro |
| Forbindelsesteknologi | Bluetooth |
| Speciel funktion | Touchskærm |
| Kompatible enheder | Smartphone |
| Connector Type | USB Type C |
| Lydudgangstilstand | Omgive |
| Surround Sound Kanalkonfiguration | 5.1 |
| Videokodning | H.264, H.265/HEVC |
| Genopladeligt batteri | Ingen |
7. Vedligeholdelse
7.1 Rengøring af skærmen
For at rengøre skærmen skal du forsigtigt tørre den af med en blød, fnugfri klud. Ved genstridige pletter kan du gnide den let.ampRengør kluden med vand eller en skærmsikker rengøringsopløsning. Undgå at bruge skrappe kemikalier, slibende materialer eller for meget fugt, da disse kan beskadige skærmen eller de indvendige komponenter.
7.2 Generel pleje
- Undgå at udsætte enheden for ekstreme temperaturer, direkte sollys i længere perioder eller høj luftfugtighed.
- Forsøg ikke selv at skille enheden ad eller reparere den. Kontakt kvalificeret servicepersonale for eventuelle reparationer.
- Ensure all cables are securely connected but not overly strained.
8. Fejlfinding
If you encounter issues with your CarpodGo T3 Pro, refer to the following common problems and solutions:
8.1 Enheden tænder ikke
- Check the power connection: Ensure the 9V power cord is securely plugged into both the car's cigarette lighter socket and the device's USB Type C port.
- Verify car's power: Confirm that the car's cigarette lighter socket is receiving power. Test with another device if possible.
8.2 Problemer med trådløs CarPlay/Android Auto-forbindelse
- Bluetooth/Wi-Fi: Ensure Bluetooth and Wi-Fi are active on your smartphone.
- Reparer enhed: Delete the device from your phone's Bluetooth settings and re-pair it with the CarpodGo T3 Pro.
- Genstart enheder: Restart both your smartphone and the CarpodGo T3 Pro.
- Interferens: Flyt væk fra kilder til stærk elektromagnetisk interferens.
8.3 Audio Output Problems
- Display-Only Mode: If using Display-Only Bluetooth Mode, ensure your phone is successfully connected to your car's Bluetooth for audio.
- AUX -forbindelse: If using the Bluetooth Aux Receiver, ensure it is properly connected to your car's AUX input and your car's audio system is set to AUX mode.
- Lydstyrkeniveauer: Check volume settings on both the CarpodGo T3 Pro, your smartphone, and your car's audio system.
8.4 Screen Reflections
- Adjust the mounting angle of the device to minimize glare from sunlight or interior lights.
- Consider using an anti-glare screen protector (not included) if reflections persist in specific lighting conditions.
9. Garanti og support
9.1 Garantioplysninger
Specific warranty details for the CarpodGo T3 Pro are not provided in this manual. Please refer to the product packaging, the seller's webwebstedet eller din købsdokumentation for oplysninger om garantidækning og -vilkår.
9.2 Kundesupport
For technical assistance, troubleshooting beyond this manual, or warranty claims, please contact CarpodGo customer support through the retailer where you purchased the product or visit the official CarpodGo webwebsted for supportkontaktoplysninger.