
1. Introduktion
This manual provides detailed instructions for the installation, operation, maintenance, and troubleshooting of the HUANANZHI B760M D5 PLUS motherboard. Designed for Intel LGA 1700 processors (12th, 13th, and 14th Gen Core CPUs), this motherboard offers robust performance and extensive connectivity for your personal computer build.
2. Sikkerhedsoplysninger
Læs og følg disse sikkerhedsretningslinjer omhyggeligt for at forhindre skader på bundkortet eller personskade:
- Afbryd altid strømforsyningen fra stikkontakten, før du installerer eller fjerner komponenter.
- Bær en antistatisk håndledsrem, eller rør ofte ved en jordforbundet metalgenstand for at aflade statisk elektricitet, før du håndterer bundkortet eller andre komponenter.
- Hold bundkortet i kanterne for at undgå at berøre følsomme komponenter.
- Sørg for ordentlig ventilation i dit pc-kabinet for at forhindre overophedning.
- Hold bundkortet væk fra fugt og ekstreme temperaturer.
3. Pakkens indhold
Verify that all items are present in your motherboard package. Standard contents typically include:
- HUANANZHI B760M D5 PLUS bundkort
- SATA-datakabler
- I / O-skjold
- M.2 Screw Kit
- Brugervejledning (dette dokument)
Hvis der mangler eller er beskadigede varer, bedes du kontakte din forhandler.
4. Produktet er slutview
The HUANANZHI B760M D5 PLUS motherboard is engineered for high performance and reliability. Key features include:
4.1. DDR5 Dual Channel Memory Support
The motherboard supports DDR5 memory in a dual-channel configuration, allowing for high-speed data transfer and up to 96GB capacity. This ensures efficient multitasking and demanding application performance.
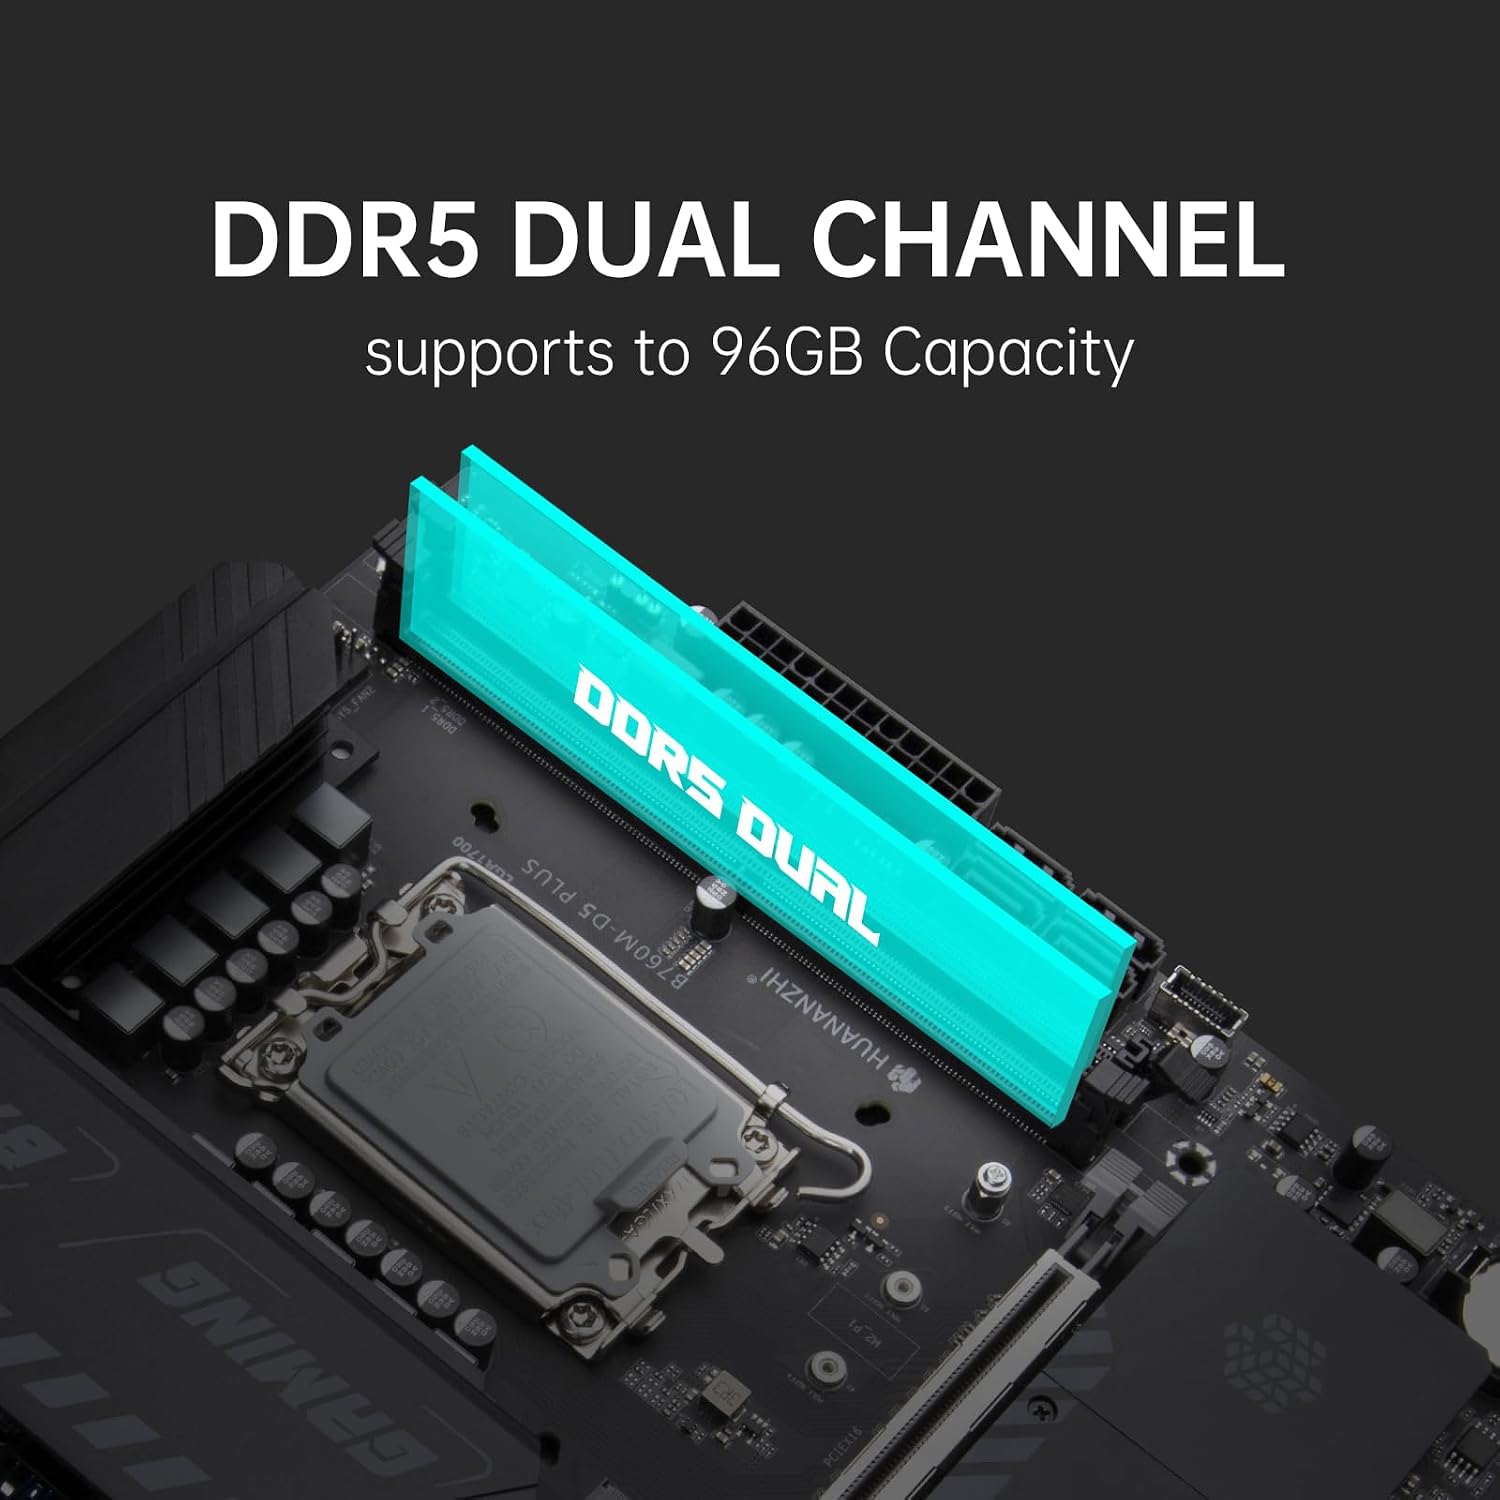
Image: The motherboard features two DDR5 memory slots, highlighted to show dual-channel support and up to 96GB capacity.
4.2. Full Speed PCIe 4.0 M.2 NVMe Slots
Equipped with multiple full-speed PCIe 4.0 M.2 slots, the motherboard provides advanced storage solutions with significantly faster data transfer rates compared to previous generations. This is ideal for high-performance NVMe SSDs.

Image: Three PCIe 4.0 M.2 slots are visible on the motherboard, indicating support for high-speed NVMe storage devices.
4.3. 2.5G Gigabit Network Card
The integrated Realtek 2.5G Gigabit network card offers enhanced network performance, providing faster internet speeds and lower latency for online gaming and data transfers.

Image: A visual representation of the 2.5G network card, emphasizing its high-speed capability.
4.4. PCIe x16 4.0 Slot
The PCIe x16 4.0 slot provides double the bandwidth of PCIe 3.0, ensuring optimal performance for modern graphics cards and other expansion cards, leading to a smoother gaming and computing experience.

Image: The PCIe x16 4.0 slot is highlighted on the motherboard, indicating its high-speed data transfer capability for graphics cards.
4.5. SATA 3.0 Interfaces
The motherboard includes four SATA 3.0 interfaces, meeting the needs for large-capacity storage with traditional hard drives and SATA SSDs.

Image: Four SATA 3.0 ports are shown on the motherboard, ready for connecting storage devices.
4.6. ARGB Support
The motherboard supports 3*5V ARGB headers, allowing for customizable and dazzling lighting effects. Users can utilize HUANANZHI RGB gaming light control software to personalize their system's aesthetics.

Image: Three 5V ARGB headers are labeled on the motherboard, indicating support for addressable RGB lighting.
4.7. 10-Phase Power Supply
A stable 10-phase power supply design ensures reliable and efficient power delivery to the CPU, crucial for maintaining system stability and performance under load.

Image: A close-up of the motherboard's CPU power delivery area, illustrating the 10-phase power supply components.
4.8. Reasonable Layout and Connectivity
The motherboard features a well-thought-out layout for easy installation and excellent extensibility, including various ports for modern peripherals and displays.

Image: A detailed diagram of the motherboard's layout, labeling various ports, slots, and connectors such as USB, HDMI, DP, M.2, and fan headers.
5. Opsætning og installation
Følg disse trin for korrekt installation af dit bundkort og komponenter:
5.1. CPU-installation
- Open the CPU socket lever on the LGA 1700 socket.
- Carefully align the CPU with the socket, ensuring the triangular mark on the CPU matches the mark on the socket. Do not force the CPU into place.
- Luk soklen for at fastgøre CPU'en.
- Påfør termisk pasta på CPU'en, og installer CPU-køleren i henhold til producentens anvisninger.
5.2. Installation af RAM (DDR5)
- Åbn klipsene i begge ender af DDR5-hukommelsespladserne.
- Juster hukommelsesmodulet med stikket, og sørg for, at hakket på modulet passer til nøglen i stikket.
- Tryk godt ned i begge ender af hukommelsesmodulet, indtil klipsene klikker på plads.
5.3. Installation af lagerenhed
M.2 NVMe SSD
- Locate an available M.2 slot. Remove the M.2 standoff screw.
- Indsæt M.2 SSD'en i slotten i en 30-graders vinkel.
- Tryk SSD'en ned, og fastgør den med M.2-skruen.
SATA-drev
- Tilslut den ene ende af et SATA-datakabel til en SATA 3.0-port på bundkortet.
- Tilslut den anden ende af SATA-datakablet til din SATA-harddisk eller SSD.
- Tilslut et SATA-strømkabel fra din strømforsyning til drevet.
5.4. Graphics Card (PCIe x16) Installation
- Åbn fastholdelsesklipsen på PCIe x16-slottet.
- Juster dit grafikkort med stikket, og tryk godt ned, indtil det sidder helt på plads, og fastholdelsesklipsen klikker på plads.
- Fastgør grafikkortet til dit pc-kabinet med skruer.
- Tilslut alle nødvendige PCIe-strømkabler fra din strømforsyning til grafikkortet.
5.5. Strømforbindelser
- Connect the 24-pin ATX power connector from your power supply to the 24-pin main power socket on the motherboard.
- Connect the 8-pin CPU power connector (EPS 12V) from your power supply to the CPU 8-pin power socket.
5.6. Tilslutninger på frontpanelet
Connect the cables from your PC case's front panel (USB, audio, power button, reset button, HDD LED, power LED) to the corresponding headers on the motherboard. Refer to the motherboard layout diagram (Section 4.8) for header locations.
6. Betjeningsvejledning
6.1. Første opstart
After assembling all components, connect your monitor, keyboard, and mouse. Power on your system. The system should display the BIOS/UEFI splash screen. If not, check all connections.
6.2. BIOS/UEFI-opsætning
Press the designated key (usually DEL or F2) during startup to enter the BIOS/UEFI setup utility. Here you can configure boot order, system time, fan speeds, and other advanced settings. Save changes before exiting.
6.3. Driver installation
After installing your operating system, install the necessary drivers for the motherboard chipset, network card, audio, and any other integrated components. These drivers are typically provided on a support CD or can be downloaded from the HUANANZHI webwebsted.
7. Vedligeholdelse
- Rensning: Fjern regelmæssigt støv fra indersiden af dit pc-kabinet, især omkring ventilatorer og køleplader, med trykluft. Sørg for, at systemet er slukket og frakoblet, før du rengør det.
- BIOS-opdateringer: Kontroller HUANANZHI regelmæssigt webwebsted for BIOS/UEFI-opdateringer. Opdateringer kan forbedre stabiliteten, tilføje understøttelse af ny hardware eller rette fejl. Følg opdateringsvejledningen omhyggeligt for at undgå at beskadige bundkortet.
- Kabelstyring: Sørg for, at kablerne er pænt ført for at forbedre luftstrømmen og forhindre interferens.
8. Fejlfinding
Hvis du støder på problemer, kan du se følgende almindelige fejlfindingstrin:
- Ingen strøm: Kontrollér alle strømtilslutninger (24-bens ATX, 8-bens CPU, GPU-strøm). Sørg for, at strømforsyningen er tændt, og at stikkontakten fungerer.
- Ingen visning: Verify that the monitor is connected to the graphics card (or motherboard if using integrated graphics) and is powered on. Reseat the graphics card and RAM modules.
- Systemustabilitet/nedbrud: Check CPU and GPU temperatures. Ensure RAM is properly seated and compatible. Update drivers and BIOS.
- Boot-enhed ikke fundet: Check SATA/M.2 cable connections. Verify boot order in BIOS/UEFI. Ensure the operating system is properly installed on the drive.
- Perifere problemer: Try connecting peripherals to different USB ports. Ensure relevant drivers are installed.
For persistent issues, consult the HUANANZHI support webwebstedet eller kontakt teknisk support.
9. Specifikationer
| Feature | Specifikation |
|---|---|
| Mærke | HUANANZHI |
| Modelnavn | B760M D5 PLUS |
| CPU socket | LGA 1700 |
| Kompatible processorer | Intel 12th, 13th, 14th Gen Core CPUs |
| Chipsættype | Intel B760 |
| RAM-hukommelsesteknologi | DDR5 |
| Hukommelsespladser til rådighed | 2 |
| Maksimal RAM-kapacitet | 96 GB |
| Hukommelses urhastighed | 3200 MHz (Base) |
| Grafikkort interface | PCI Express 4.0 |
| M.2 Slots | 1x M.2 2280 NVME PCIE X4 4.0, 1x M.2 WIFI |
| SATA porte | 4x SATA 3.0 |
| Netværkskort | Realtek 2.5G Gigabit |
| USB-porte | Total 8 (including 1x Type-C 5Gb/s) |
| HDMI porte | 2x HDMI 2.1 |
| DisplayPort | 1x DP 1.4 |
| Hovedstrømstik | 24-benet |
| Dimensioner (L x B x H) | 20.3L x 15.2W x 5.1H centimeter |
10. Garantioplysninger
HUANANZHI motherboards typically come with a limited manufacturer's warranty. Please refer to the warranty card included with your product or visit the official HUANANZHI website for specific terms, conditions, and duration of your warranty. Keep your proof of purchase for warranty claims.
11. Support
For technical assistance, driver downloads, BIOS updates, or further inquiries, please visit the official HUANANZHI support website. You may also contact their customer service through the channels provided on their webwebsted.
- Officiel Webwebsted: www.huananzhi.com (Se venligst for de seneste URL)
- Kundeservice: Der henvises til webwebsted for kontaktoplysninger.