
Indledning
Welcome to your GOWENIC Digital Camera. This manual provides comprehensive instructions for setting up, operating, and maintaining your camera to ensure optimal performance and longevity. Please read this manual carefully before using your camera.
Hvad er der i æsken
Bekræft at alle varer er til stede i din pakke:
- Digitalt kamera
- USB kabel
- Brugervejledning (dette dokument)
- Opbevaringspose
- Snor
- Kortlæser
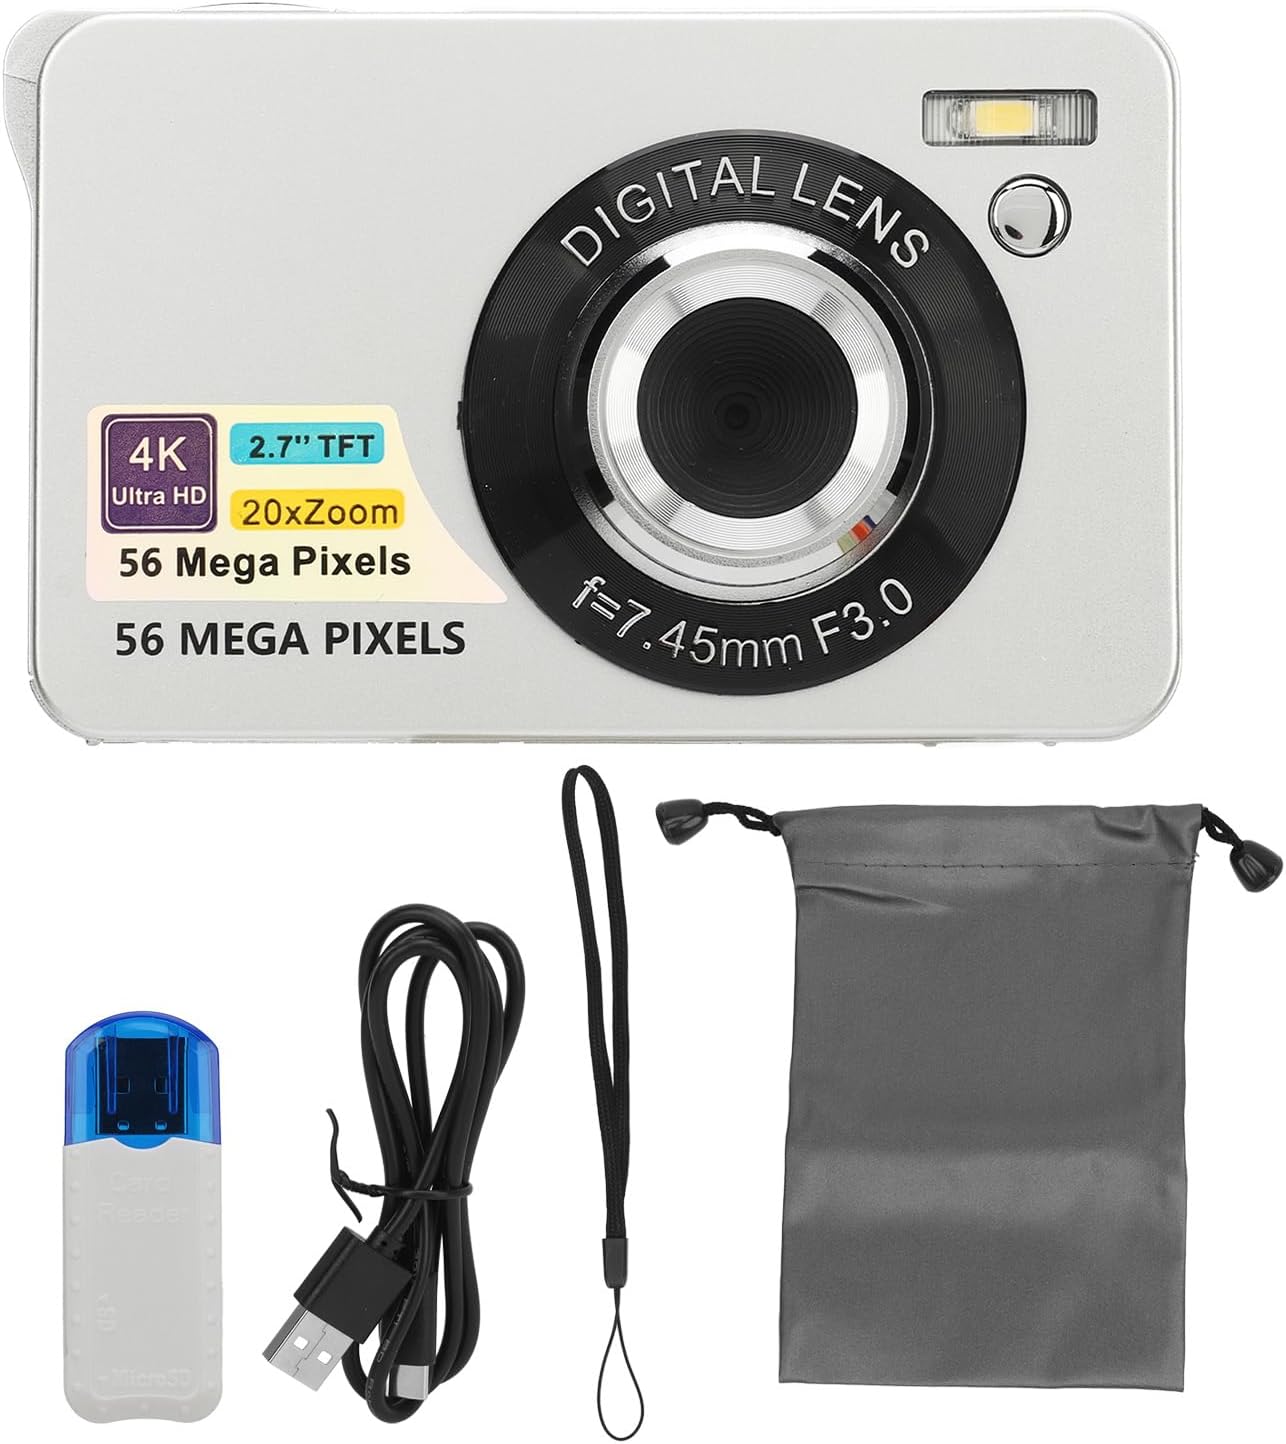
Image: The GOWENIC Digital Camera shown with its accessories, including the USB cable, lanyard, storage bag, and card reader.
Opsætning
1. Batteriinstallation
- Find batterirummet i bunden af kameraet.
- Skub batteridækslet for at åbne det.
- Insert the provided Lithium Ion battery (750 mAh) according to the polarity indicators inside the compartment.
- Luk batterirummets dæksel forsvarligt.
2. Installation af hukommelseskort
The camera supports SD cards up to 128GB (not included).
- Locate the memory card slot, typically next to the battery compartment or on the side.
- Isæt SD-kortet med metalkontakterne vendt mod kameraets forside, indtil det klikker på plads.
- For at fjerne det skal du forsigtigt trykke på kortet, indtil det springer ud.

Billede: Bund view of the camera, illustrating the location of the battery and memory card slots.
3. Opladning af kameraet
Use the provided USB cable to charge the camera directly.
- Tilslut den lille ende af USB-kablet til kameraets USB-port.
- Tilslut den større ende af USB-kablet til en USB-strømadapter (medfølger ikke) eller en computers USB-port.
- Opladningsindikatorlampen lyser under opladning og slukker, når den er fuldt opladet.
4. Tænd/sluk
Press and hold the power button, usually located on the top or side of the camera, to turn the camera on or off.
Betjening af kameraet
1. Grundlæggende fotografering
The camera supports 56MP photography for high-resolution images.
- Autofokus: Lightly press the shutter button to allow the camera to focus on your subject. Once focused, press the shutter button fully to capture the photo.
- Udløserknap: Located on the top of the camera, this button is used to take pictures.
- Zoom: Use the 'W' (Wide) and 'T' (Telephoto) buttons, typically located near the shutter, to adjust the 20x digital zoom.

Image: The camera's autofocus feature in action, highlighting how it sharpens the subject.

Image: A visual representation of the autofocus function, showing the transition from an unfocused to a focused image.
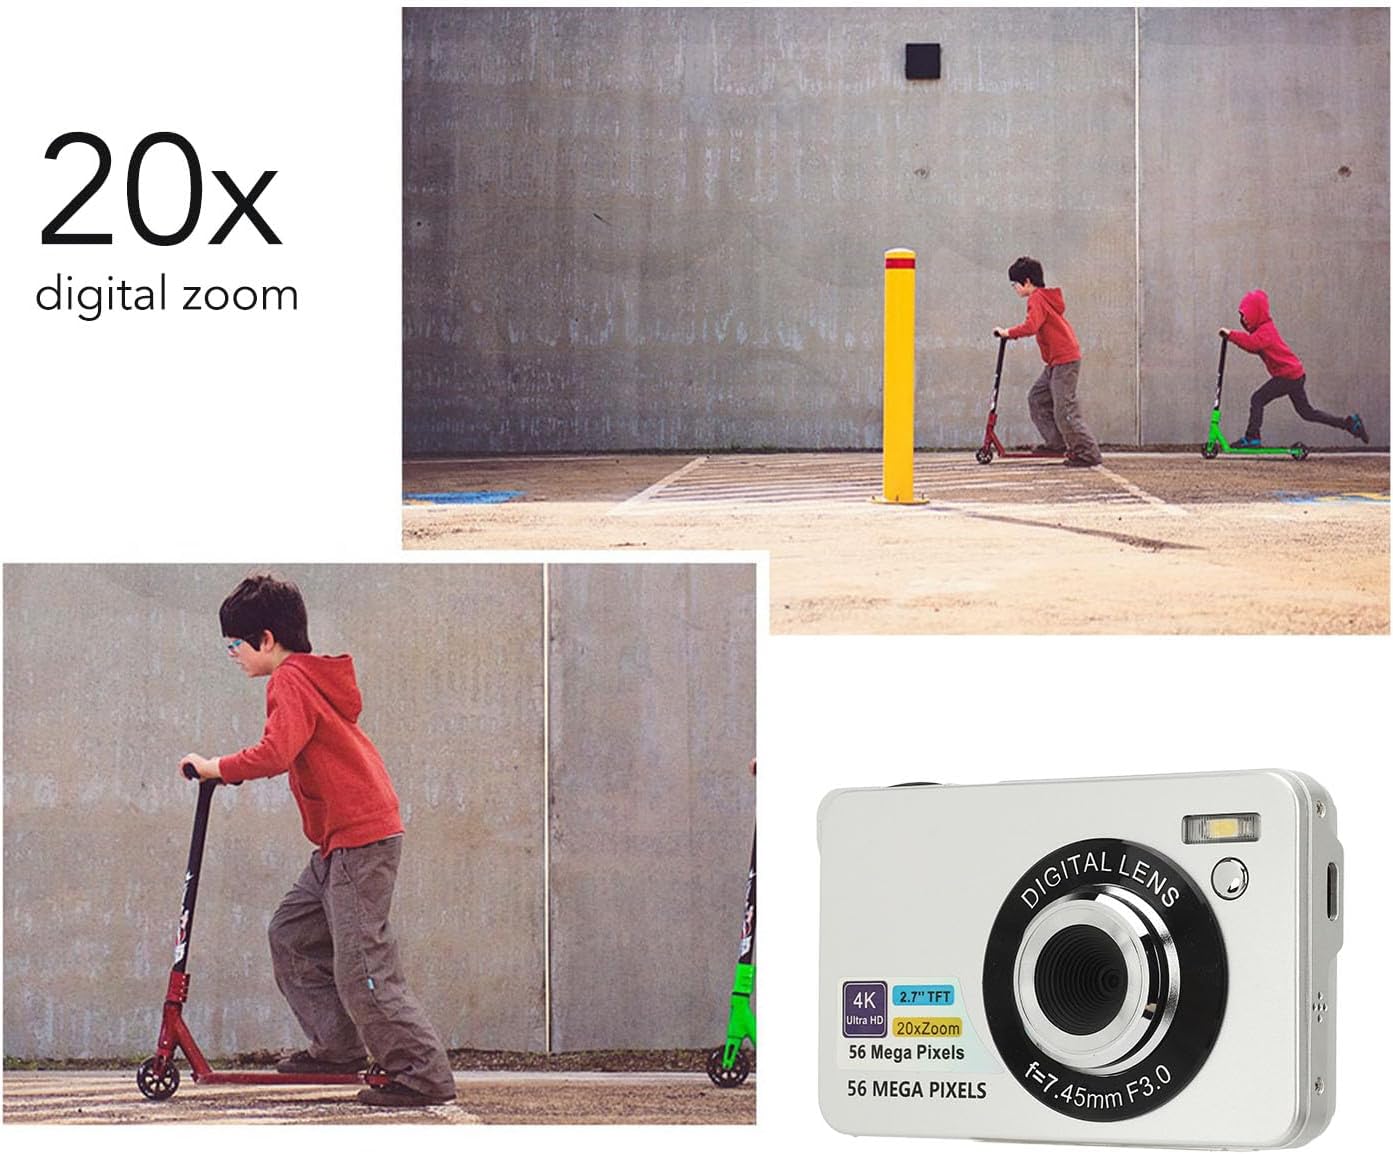
Image: The camera's 20x digital zoom capability, illustrated with a scene of children playing.

Image: A visual demonstration of the camera's 20x digital zoom, showing progressive magnification of a lighthouse.
2. Videooptagelse
The camera supports 4K (2160p) video recording.
- Switch the camera to video mode using the mode dial or button.
- Tryk på udløserknappen for at starte optagelsen.
- Tryk på udløserknappen igen for at stoppe optagelsen.

Image: The camera highlighting its 4K UHD video recording and 56MP photography capabilities.
3. Skærm
The camera features a 2.7-inch LCD screen for convenient viewing of your photos and videos.
- Use the navigation buttons to browse through your captured media.
- Adjust screen brightness in the camera settings if available.

Image: The camera's 2.7-inch screen displaying a captured image of sunflowers.
4. Særlige funktioner
- Fyld lys: The built-in fill light can be turned on or off as needed to illuminate subjects in low-light conditions. Refer to the camera's menu for activation.
- Timelapse: Capture sequences of images over time to create time-lapse videos. Settings are available in the camera menu.
- Slowmotion: Record videos in slow motion for dramatic effects.
- Selvudløser: Set a delay (e.g., 2, 5, or 10 seconds) before a photo is taken, useful for group shots or selfies.
- Burst-tilstand: Capture multiple images in rapid succession by holding down the shutter button. This is ideal for capturing fast-moving subjects.
Video: A short demonstration of capturing motion, illustrating the camera's ability to record dynamic scenes, potentially using burst mode or slow motion.

Image: An illustration of the camera's burst mode, capturing a series of moments in quick succession.
- Billedstabilisering: The camera features digital image stabilization to help reduce blur caused by camera shake, resulting in clearer photos and smoother videos.

Image: A comparison demonstrating the effectiveness of the anti-shake feature, showing a blurry image versus a clear one.
5. Overførsel Files
Easily transfer photos and videos from your camera to a computer for storage or sharing.
- Tilslut kameraet til din computer ved hjælp af det medfølgende USB-kabel.
- Kameraet skal vises som et flytbart drev på din computer.
- Open the camera's folder to access and copy your files.

Image: A visual guide to connecting the camera to a computer via USB for file overførsel.

Image: A person demonstrating the USB connection process for transferring files fra kameraet til en computer.
Opretholdelse
1. Rensning
- Brug en blød, fnugfri klud til at rengøre kamerahuset og skærmen.
- For the lens, use a specialized lens cleaning cloth and solution. Avoid touching the lens directly with your fingers.
- Do not use harsh chemicals or abrasive materials, as they can damage the camera's surfaces.
2. Opbevaring
- When not in use, store the camera in the provided storage bag to protect it from dust and scratches.
- Opbevar kameraet et køligt, tørt sted, væk fra direkte sollys og ekstreme temperaturer.
- Fjern batteriet, hvis kameraet ikke skal bruges i længere tid, for at forhindre lækage.
Fejlfinding
Hvis du støder på problemer med dit kamera, kan du bruge følgende almindelige løsninger:
| Problem | Løsning |
|---|---|
| Kameraet tænder ikke. | Sørg for, at batteriet er fuldt opladet og isat korrekt. Prøv at oplade kameraet i mindst 30 minutter. |
| Billeder er slørede. | Ensure autofocus is engaged by lightly pressing the shutter button before fully pressing. Check lighting conditions. Use the anti-shake feature if available. |
| Kan ikke overføre files til computeren. | Verify the USB cable is securely connected to both the camera and computer. Ensure the camera is in the correct mode for data transfer (check camera settings). Try a different USB port or cable. |
| Fejl på hukommelseskort. | Ensure the SD card is inserted correctly. Check if the card is damaged or full. Try formatting the card (this will erase all data). Ensure the card is compatible (up to 128GB). |
| Blitzen virker ikke. | Check flash settings in the camera menu. Ensure the fill light is enabled if desired. |
Specifikationer
Key technical specifications for the GOWENIC Digital Camera (Model GOWENIC8fderhqtab-12):
| Feature | Detalje |
|---|---|
| Mærke | GOWENIC |
| Modelnavn | GOWENIC8fderhqtab-12 |
| Effektiv stillopløsning | 56 MP |
| Video opløsning | 4K (2160p) |
| Digital Zoom | 20x |
| Skærmstørrelse | 2.7 tommer (LCD) |
| Fotosensorteknologi | CMOS |
| Billedstabilisering | Digital |
| Understøttet File Formater | JPEG, RAW (for photos), MP4 (for video) |
| Hukommelseslagringskapacitet | Supports up to 128 GB (SD card) |
| Batteritype | Lithium Ion |
| Batterikapacitet | 750 mioamp Timer |
| Forbindelsesteknologi | USB |
| Særlige funktioner | Autofocus, Fill Light, Time Lapse, Slow Motion, Self-Timer, Burst Mode |
| Formfaktor | Kompakt |
| Færdighedsniveau | Begynder |
Garanti og support
For warranty information or technical support, please refer to the documentation included with your purchase or contact GOWENIC customer service through their official channels. Keep your purchase receipt as proof of purchase for warranty claims.