
1. Introduktion
Thank you for choosing the Diymore Plug in Digital Thermostat Temperature Controller. This device is designed to precisely control temperature for various applications, offering both heating and cooling modes, along with advanced timing functions. Please read this manual carefully before operation to ensure proper use and to maximize the product's lifespan.
2. Sikkerhedsoplysninger
- Sørg for, at strømforsyningen voltage matches the device's specifications (250V, 15A, 2900W max).
- Do not immerse the unit or the temperature probe in water or other liquids.
- Avoid operating the device in excessively humid or dusty environments.
- Enheden må ikke skilles ad eller ændres. Overlad al service til kvalificeret personale.
- Opbevares utilgængeligt for børn.
- Tag altid stikket ud af stikkontakten før rengøring eller når apparatet ikke er i brug i længere perioder.
3. Produktfunktioner
- 5 Temperature Controller Modes: Includes cycle timer, countdown ON, countdown OFF, and countdown ON/OFF modes.
- Præcis digital kontrol: Temperature range of -40°C to 120°C with ±1% accuracy.
- Timingindstillinger: Cycle timing and countdown functions (0-99 hours, 59 minutes). Note: Thermostat and timer functions cannot be used simultaneously.
- HD LED-skærm: Backlit display for clear visibility in various lighting conditions.
- Datalagring: Saves all set parameters after power loss.
- Temperaturkalibrering: Supports calibration for enhanced accuracy.
- Nulstil funktion: Allows for easy restoration of default settings.

Figur 3.1: Overview af produktets funktioner og egenskaber.
4. Pakkens indhold
Tjek venligst pakken for følgende varer:
- 1 x Diymore Plug in Digital Thermostat Temperature Controller
- 1 x Temperature Probe (1.7m cable)
- 1 x brugermanual
5. Opsætning
- Tilslut temperaturføleren: Insert the temperature probe connector into the designated port on the side of the thermostat unit. Ensure it is securely connected.
- Placer sonden: Place the metal tip of the temperature probe in the area where you wish to measure and control the temperature. Ensure it is not directly exposed to heat sources or drafts that could skew readings.
- Tilslut termostaten: Insert the thermostat unit into a standard 3-prong grounded electrical outlet. The display will illuminate.
- Tilslut apparat: Plug your heating or cooling appliance (e.g., heater, fan, refrigerator) into the outlet on the front of the thermostat unit.
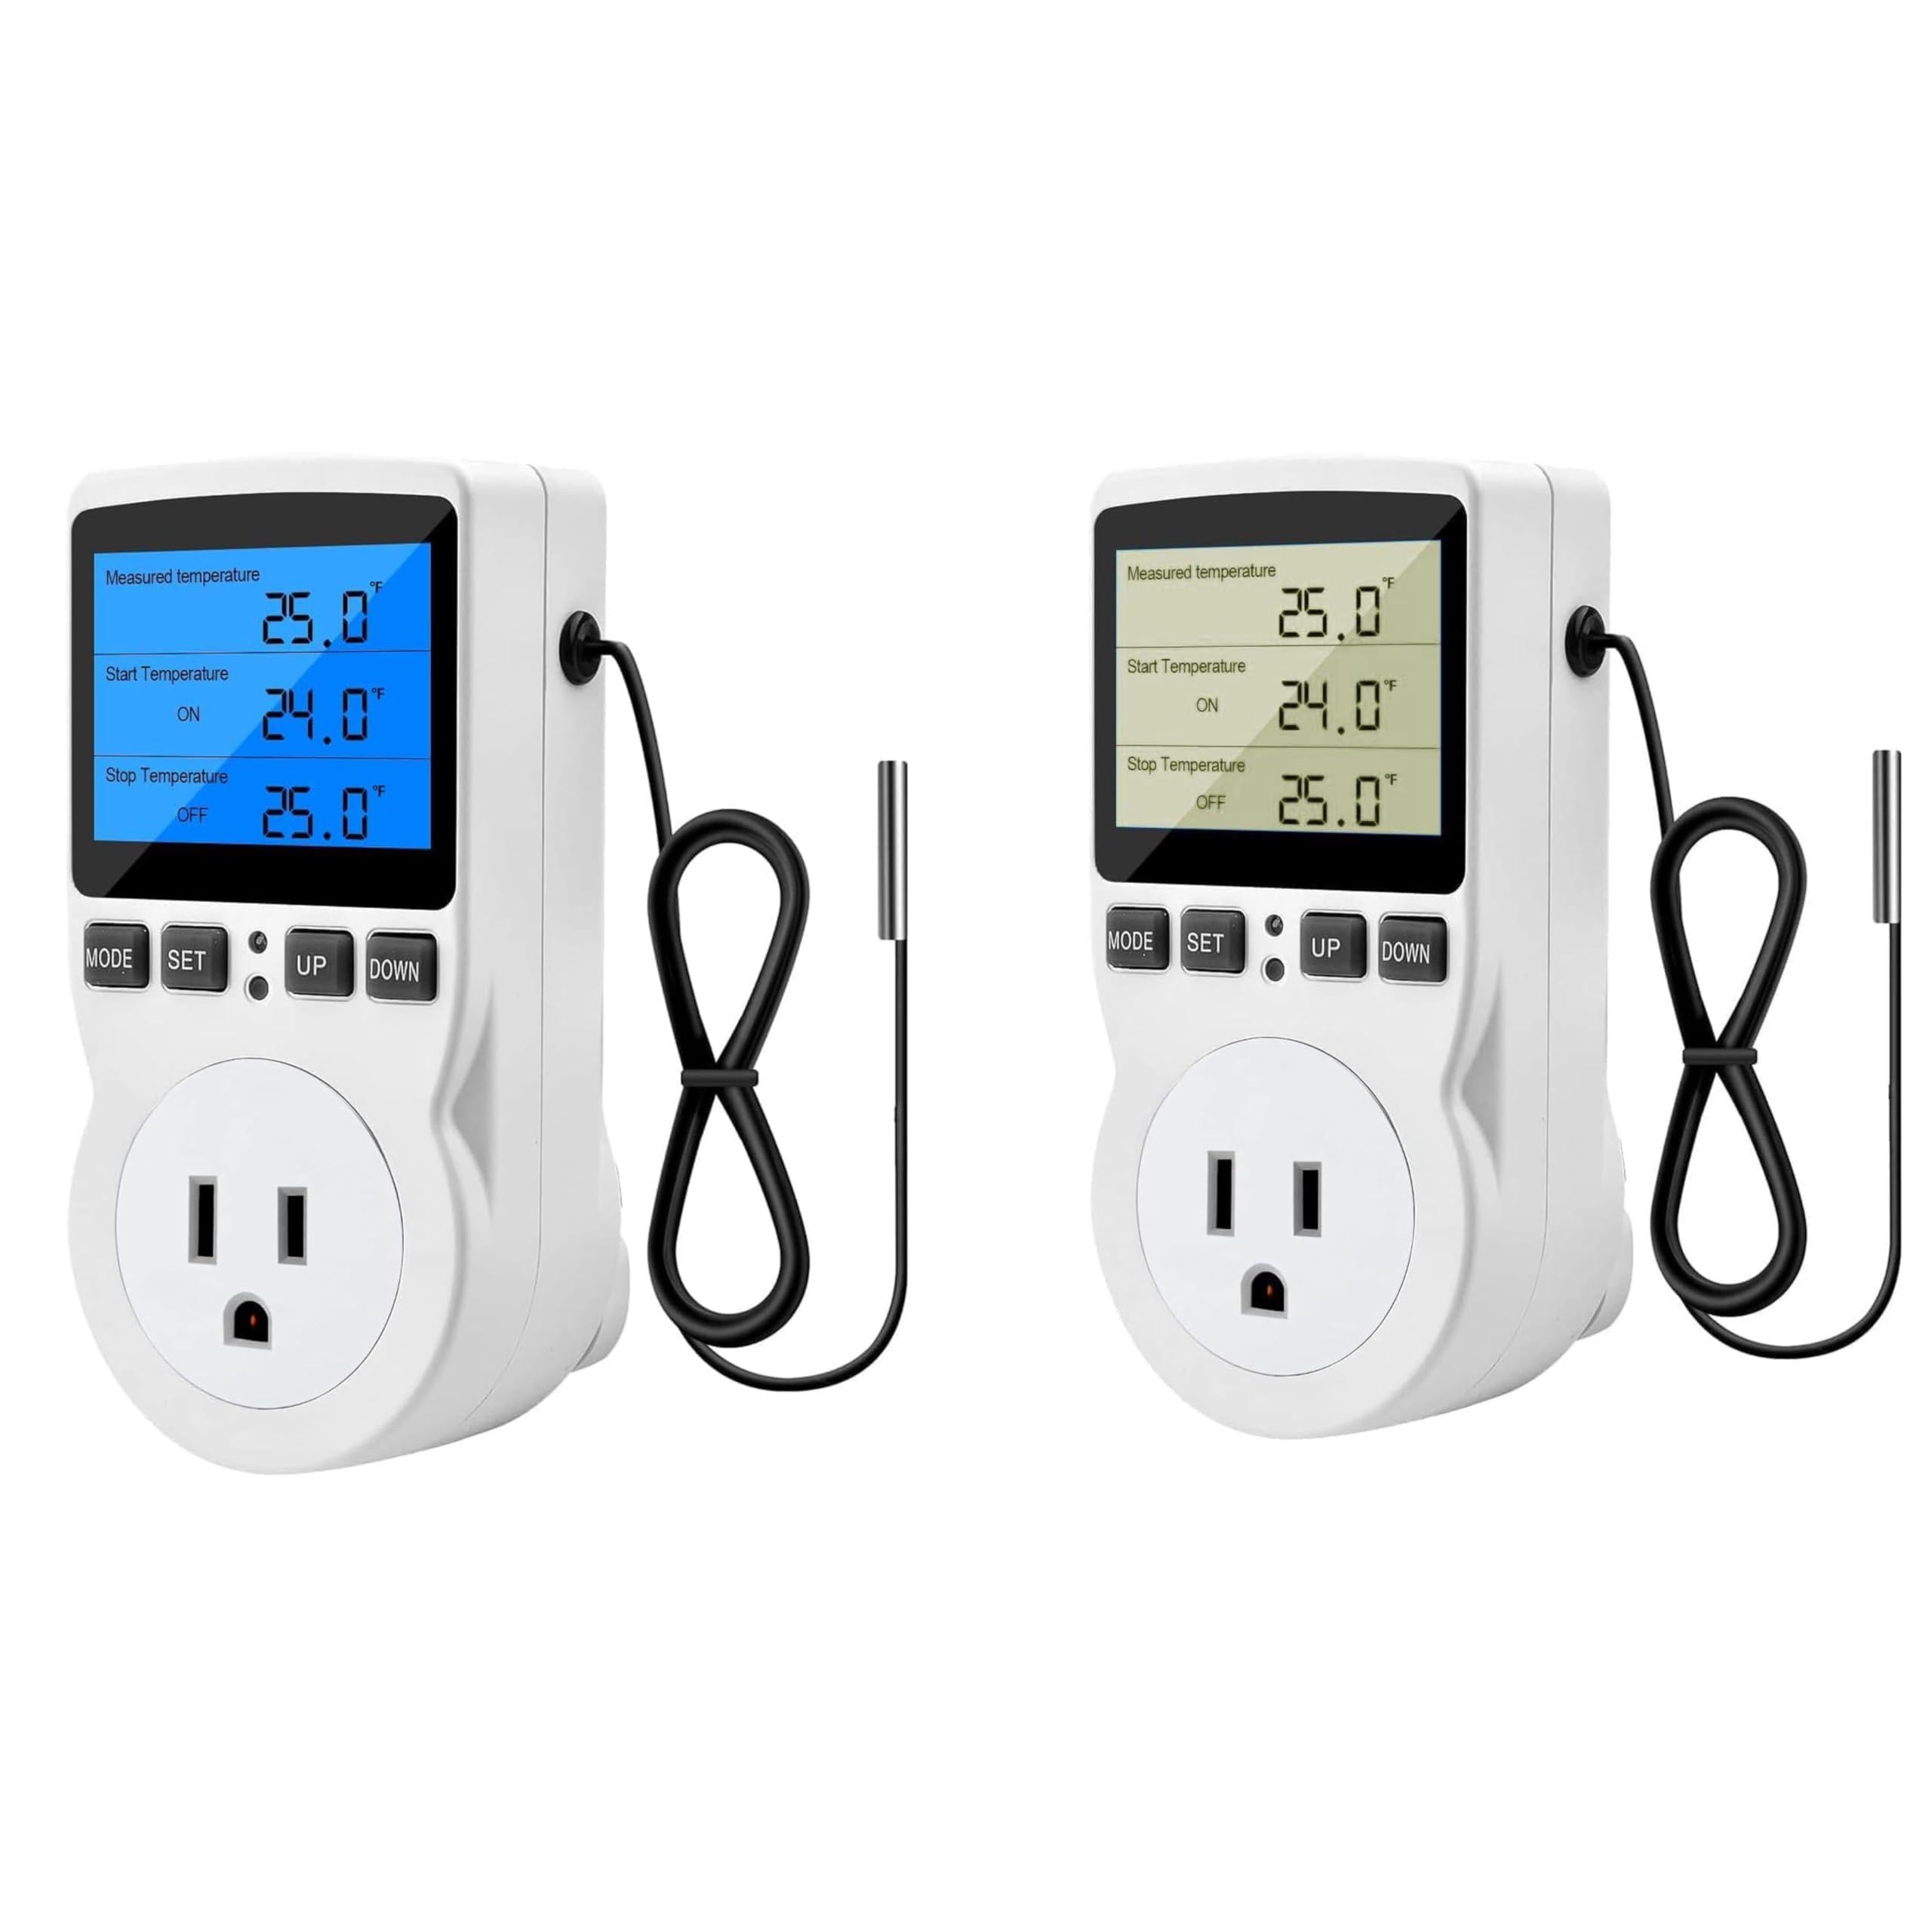
Figure 5.1: Thermostat unit with temperature probe connected.
6. Betjeningsvejledning
6.1. Basic Operation and Display
Upon plugging in, the backlit LED display will show the measured temperature, along with the set start (ON) and stop (OFF) temperatures. The unit has four buttons: MODE, SET, UP, and DOWN.
- KØRSELSVEJLEDNING: Cycles through different operating modes (Temperature Control, F01-F04 Timer Modes).
- SÆT: Enters setting mode for the currently selected mode.
- OP NED: Justerer værdier i indstillingstilstand.
6.2. Temperature Control Mode
This is the default mode for regulating temperature. The display shows the current measured temperature, the temperature at which the appliance turns ON, and the temperature at which it turns OFF.
- Set Start Temperature (ON): Tryk på SÆT button once. The 'ON' temperature will flash. Use UP or NED buttons to adjust the desired start temperature.
- Set Stop Temperature (OFF): Trykke SÆT again. The 'OFF' temperature will flash. Use UP or NED buttons to adjust the desired stop temperature.
- Bekræft indstillinger: Trykke SÆT a third time or wait a few seconds for the settings to be saved automatically.
- Opvarmnings-/køletilstand: The device automatically determines heating or cooling based on your set ON/OFF temperatures. If ON temperature < OFF temperature, it's heating mode. If ON temperature > OFF temperature, it's cooling mode.
- Temperaturkalibrering: In Temperature Control Mode, press and hold SÆT for 3 seconds to enter calibration. Use UP or NED to adjust the offset. Press SÆT for at bekræfte.

Figure 6.1: Display showing temperature settings.
6.3. Timer Modes (F01-F04)
Tryk på MODE button repeatedly to cycle through the timer modes (F01, F02, F03, F04). Note that the thermostat function and timer functions cannot be used simultaneously.
- F01 Cycle Timer Mode: Sets a repeating cycle of ON and OFF times. Press SÆT to adjust ON duration (hours/minutes) and OFF duration (hours/minutes) using OP/NED.
- F02 Countdown ON Mode: The appliance will turn ON after a set countdown period. Press SÆT to adjust the countdown duration (hours/minutes) using OP/NED.
- F03 Countdown OFF Mode: The appliance will turn OFF after a set countdown period. Press SÆT to adjust the countdown duration (hours/minutes) using OP/NED.
- F04 Countdown ON and Countdown OFF Mode: Combines F02 and F03. The appliance will turn ON after a set countdown, then turn OFF after another set countdown. Press SÆT to adjust both countdown durations using OP/NED.
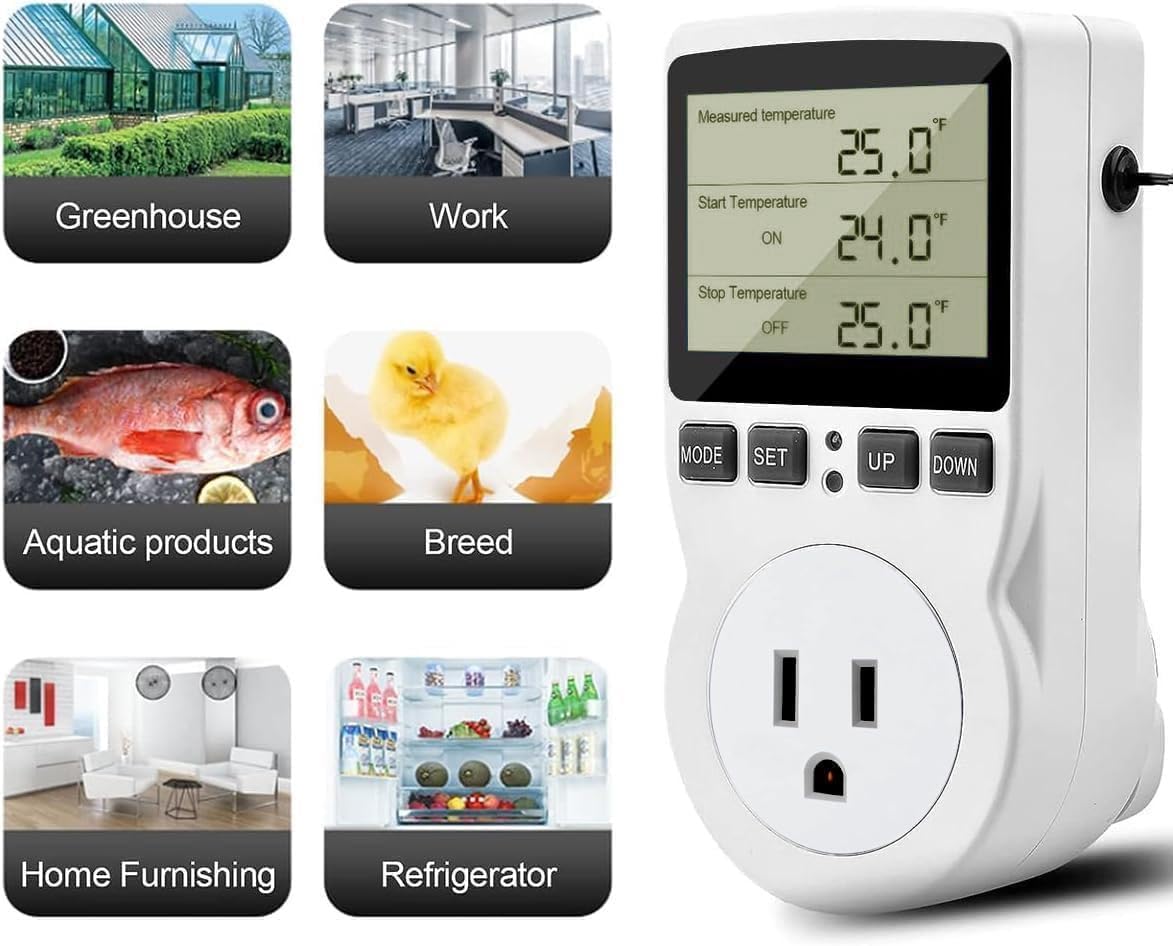
Figur 6.2: Overview af de 5 driftstilstande.
6.4. Datalagring og nulstilling
The device features a data storage function, automatically saving all set parameters even after a power outage. To reset the device to factory default settings, locate the small reset button (often a pinhole) and press it with a thin object (e.g., a paperclip) until the display briefly flashes or resets.
7. Vedligeholdelse
- Rengøring af enheden: Wipe the thermostat unit with a soft, dry cloth. Do not use abrasive cleaners or solvents. Ensure the unit is unplugged before cleaning.
- Probepleje: Hold temperatursonden ren og fri for snavs. Undgå at bøje eller beskadige sondekablet.
- Opbevaring: When not in use for extended periods, store the thermostat in a cool, dry place, away from direct sunlight and extreme temperatures.
8. Fejlfinding
| Problem | Mulig årsag | Løsning |
|---|---|---|
| Skærmen er tom | Ingen strøm; løs forbindelse | Ensure the unit is securely plugged into a live outlet. Check the power source. |
| Forkert temperaturaflæsning | Probe not connected properly; probe damaged; calibration needed | Check probe connection. Inspect probe for damage. Perform temperature calibration (Section 6.2). |
| Apparatet tænder/slukker ikke | Incorrect temperature settings; appliance not working; timer mode active | Verify ON/OFF temperature settings. Test the appliance directly. Ensure the unit is in Temperature Control Mode if not using timer functions. |
| Indstillinger gemmes ikke | Settings not confirmed | Ensure you press SET to confirm changes or wait for auto-save. |
9. Specifikationer
- Mærke: gør-det-selv-mere
- Model: B0D5YBKTDL
- Voltage: 250 volt
- Max belastning: 15A / 2900W
- Temperaturstyringsområde: -40°C til 120°C (-40°F til 248°F)
- Temperatur nøjagtighed: ±1 %
- Kontroltype: Knap kontrol
- Vise: HD LED with Backlight
- Probekabellængde: 1.7 meter
10. Garanti og support
This Diymore product is covered by a standard manufacturer's warranty. For specific warranty details, technical support, or assistance with troubleshooting beyond what is covered in this manual, please contact Diymore customer service through your purchase platform or the official Diymore website. Please have your model number (B0D5YBKTDL) and purchase information ready when contacting support.