
Indledning
This manual provides detailed instructions for the proper setup, operation, and maintenance of your WOOPKER AK35 200W Stereo Audio AmpLæs venligst denne manual grundigt, inden produktet tages i brug, for at sikre optimal ydeevne og levetid.
Pakkens indhold
Før du fortsætter med opsætningen, skal du kontrollere, at alle nedenstående varer er inkluderet i din pakke:
- 1x WOOPKER AK35 Audio Amplivligere
- 1x strømkabel
- 1x Brugermanual (dette dokument)
- 1x fjernbetjening

Image: Contents of the WOOPKER AK35 package, including the amplifier, power cable, remote control, and user manual.
Opsætning
1. Amplifier Overview
Familiarize yourself with the front and back panels of the AK35 amplifier to understand its various inputs, outputs, and controls.

Image: Front panel of the AK35 amplifier, showing the power switch, bass and treble knobs, audio input, LED display, function buttons, TF/USB port, and master volume control.

Image: Labeled diagram of the front panel, indicating: 1. Power Switch, 2. Bass Knob, 3. Treble Knob, 4. Audio Input, 5. LED Display, 6. Master Volume, 7. Function Buttons, 8. TF/USB Port.

Image: Back panel of the AK35 amplifier, showing RCA audio input, speaker output jacks, DC power input, AC power input, and FM antenna port.

Image: Labeled diagram of the back panel, indicating: 1. Audio Input Jack, 2. Speaker Output Jack, 3. DC 12V/5A Power, 4. AC 110-240V Power, 5. FM Radio Antenna.
2. Højttalerforbindelse
Follow these steps to connect your passive speakers to the AK35 amplivligere:
- Identify the positive and negative terminals of your speakers. The positive terminal is typically marked red, and the negative terminal is black.
- Press the clasp on the back of the AK35 amplifier's speaker output terminal. Insert the bare speaker wires into the corresponding positive (+) and negative (-) terminals. Ensure a secure connection.
- Avoid plugging and unplugging USB drives, SD cards, RCA audio cables, or speaker cables while the amplifier is powered on to prevent damage.

Image: Diagram illustrating how to connect passive speakers to the AK35 amplifier's speaker output terminals using bare wires. Also shows RCA input from a CD or DVD player.
3. Strømtilslutning
Connect the provided power cable to the AC power input on the back of the amplifier, then plug it into a standard wall outlet. Alternatively, if using a DC 12V/5A power source, connect it to the DC input jack.
Betjeningsvejledning
1. Tænd/sluk
Tryk på 'POWER'-knappen på frontpanelet for at tænde amplivligere til eller fra.
2. Valg af inputtilstand
Use the 'MODE' button on the front panel or the remote control to cycle through available input modes: Bluetooth (BT), AUX, USB, SD Card, and FM Radio.
3. Lydstyrkekontrol
Adjust the 'VOLUME' knob on the front panel to control the master output volume. The remote control also provides volume adjustment buttons.
4. Tonekontrol
Use the 'BASS' and 'TREBLE' knobs on the front panel to adjust the low and high frequencies of the audio output, respectively.
5. Bluetooth-parring
- Skift til amplifier to 'BT' mode using the 'MODE' button. The LED display will show 'BT'.
- Aktiver Bluetooth på din mobilenhed, og søg efter tilgængelige enheder.
- Select 'AK35' from the list of devices to pair. A confirmation sound will indicate successful pairing.
- The Bluetooth 5.0 chip ensures a stable connection within approximately 30 feet (10 meters).
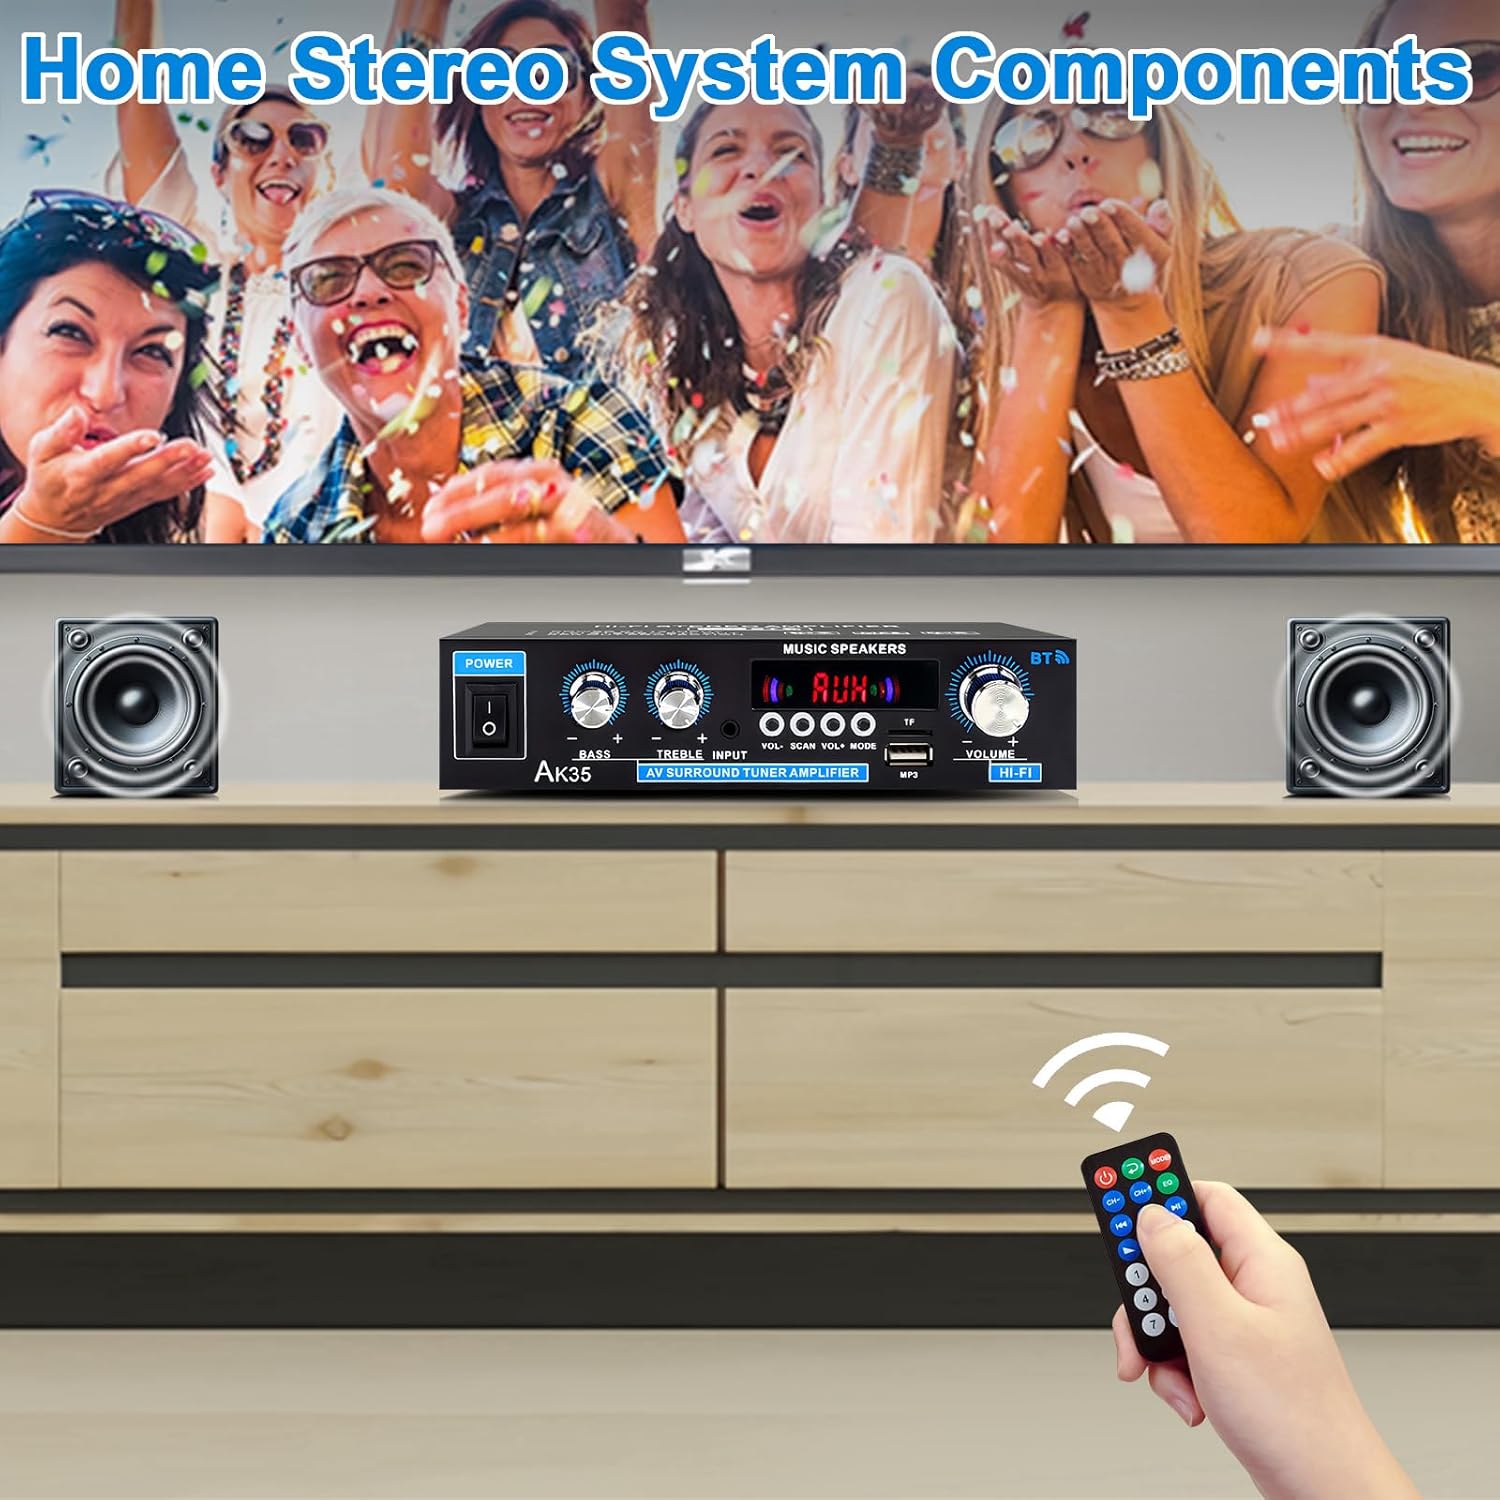
Image: The AK35 amplifier wirelessly streaming music via Bluetooth 5.0 from a smartphone to connected speakers.

Image: A close-up of the AK35 amplifier highlighting the bass and treble control knobs for sound customization.
6. USB/SD-kortafspilning
Insert a USB flash drive or SD card into the designated port on the front panel. The ampLifier skifter automatisk til USB/SD-tilstand og begynder at afspille kompatibel lyd files. Use the function buttons (play/pause, next/previous track) on the front panel or remote control to manage playback.
7. Betjening af fjernbetjening
The included remote control allows for convenient adjustment of volume, input mode, track selection, and other functions from a distance.

Image: The remote control for the AK35 amplifier, featuring buttons for power, mode, EQ, volume, track control, and number pad.
8. Videodemonstration
Video: A demonstration of the WOOPKER AK35 amplifier in use, showcasing its connection to speakers and a smartphone, and the adjustment of volume and input modes.
Opretholdelse
To ensure the longevity and optimal performance of your AK35 ampLifier, følg disse vedligeholdelsesretningslinjer:
- Behold ampOpbevar apparatet på et tørt, godt ventileret sted, væk fra direkte sollys, varmekilder og fugt.
- Rengør ydersiden med en blød, tør klud. Brug ikke flydende rengøringsmidler eller slibende materialer.
- Ensure proper ventilation by not blocking the vents on the amplivligere.
- Tag strømkablet ud af stikkontakten, hvis enheden ikke skal bruges i længere tid.
Fejlfinding
If you encounter any issues with your AK35 ampLifier, se følgende almindelige problemer og løsninger:
| Problem | Mulig årsag | Løsning |
|---|---|---|
| Ingen lydudgang |
|
|
| Bluetooth forbinder ikke |
|
|
| USB/SD-kort afspiller ikke |
|
|
| Fjernbetjening virker ikke |
|
|
Specifikationer
The following table outlines the technical specifications for the WOOPKER AK35 Stereo Audio Amplivligere:
| Feature | Specifikation |
|---|---|
| Modelnummer | AK35 |
| Spidseffekt | 100W + 100W |
| Nominel udgangseffekt (RMS) | 30W x 2 |
| Bluetooth version | 5.0 |
| Bluetooth rækkevidde | Op til 30 fod (10 meter) |
| Indgange | AUX (RCA), USB 2.0, SD Card |
| Kontrolelementer | Bass, Treble, Master Volume, Input Mode |
| Strømforsyning | AC 110-240V (50-60Hz) or DC 12V/5A |
| Varens vægt | 1.28 pund |
| Pakkedimensioner | 8.03 x 6.93 x 2.13 tommer |
Garanti og support
WOOPKER products are designed for reliability and performance. This product is covered by a standard manufacturer's warranty against defects in materials and workmanship. For specific warranty details, please refer to the documentation provided at the time of purchase or contact WOOPKER customer support.
If you require technical assistance, have questions about your product, or need to report an issue, please contact WOOPKER customer support through the retailer where the product was purchased or visit the official WOOPKER webwebsted for kontaktoplysninger.