
1. Vigtige sikkerhedsoplysninger
Læs venligst disse instruktioner omhyggeligt inden installation og brug. Gem denne manual til senere brug.
- Elektrisk sikkerhed: Always disconnect power at the main circuit breaker before installation, maintenance, or bulb replacement. Consult a qualified electrician if you are unsure about electrical wiring.
- Voltage: Sørg for, at strømforsyningen voltage matcher armaturets krav (240 volt).
- Pære type: Use only G9 bulbs, maximum 28 Watts. Do not exceed the recommended wattage. Pærer er ikke inkluderet.
- Installation: This fixture is designed for ceiling mounting. Ensure the mounting surface can support the weight of the chandelier (5.84 kg).
- Miljø: For indoor use only (IP20 rating). Do not expose to moisture or extreme temperatures.
- Rensning: Brug en blød, tør klud til rengøring. Brug ikke slibende rengøringsmidler eller opløsningsmidler.
2. Produktet er slutview
The MAYTONI Dallas Chandelier (MOD545PL-25B) is a modern decorative lighting fixture designed to enhance various indoor spaces such as living rooms, dining rooms, bedrooms, offices, kitchens, and cafes. Its unique design features a black metal frame with 25 smoked glass spheres, resembling a molecular structure.
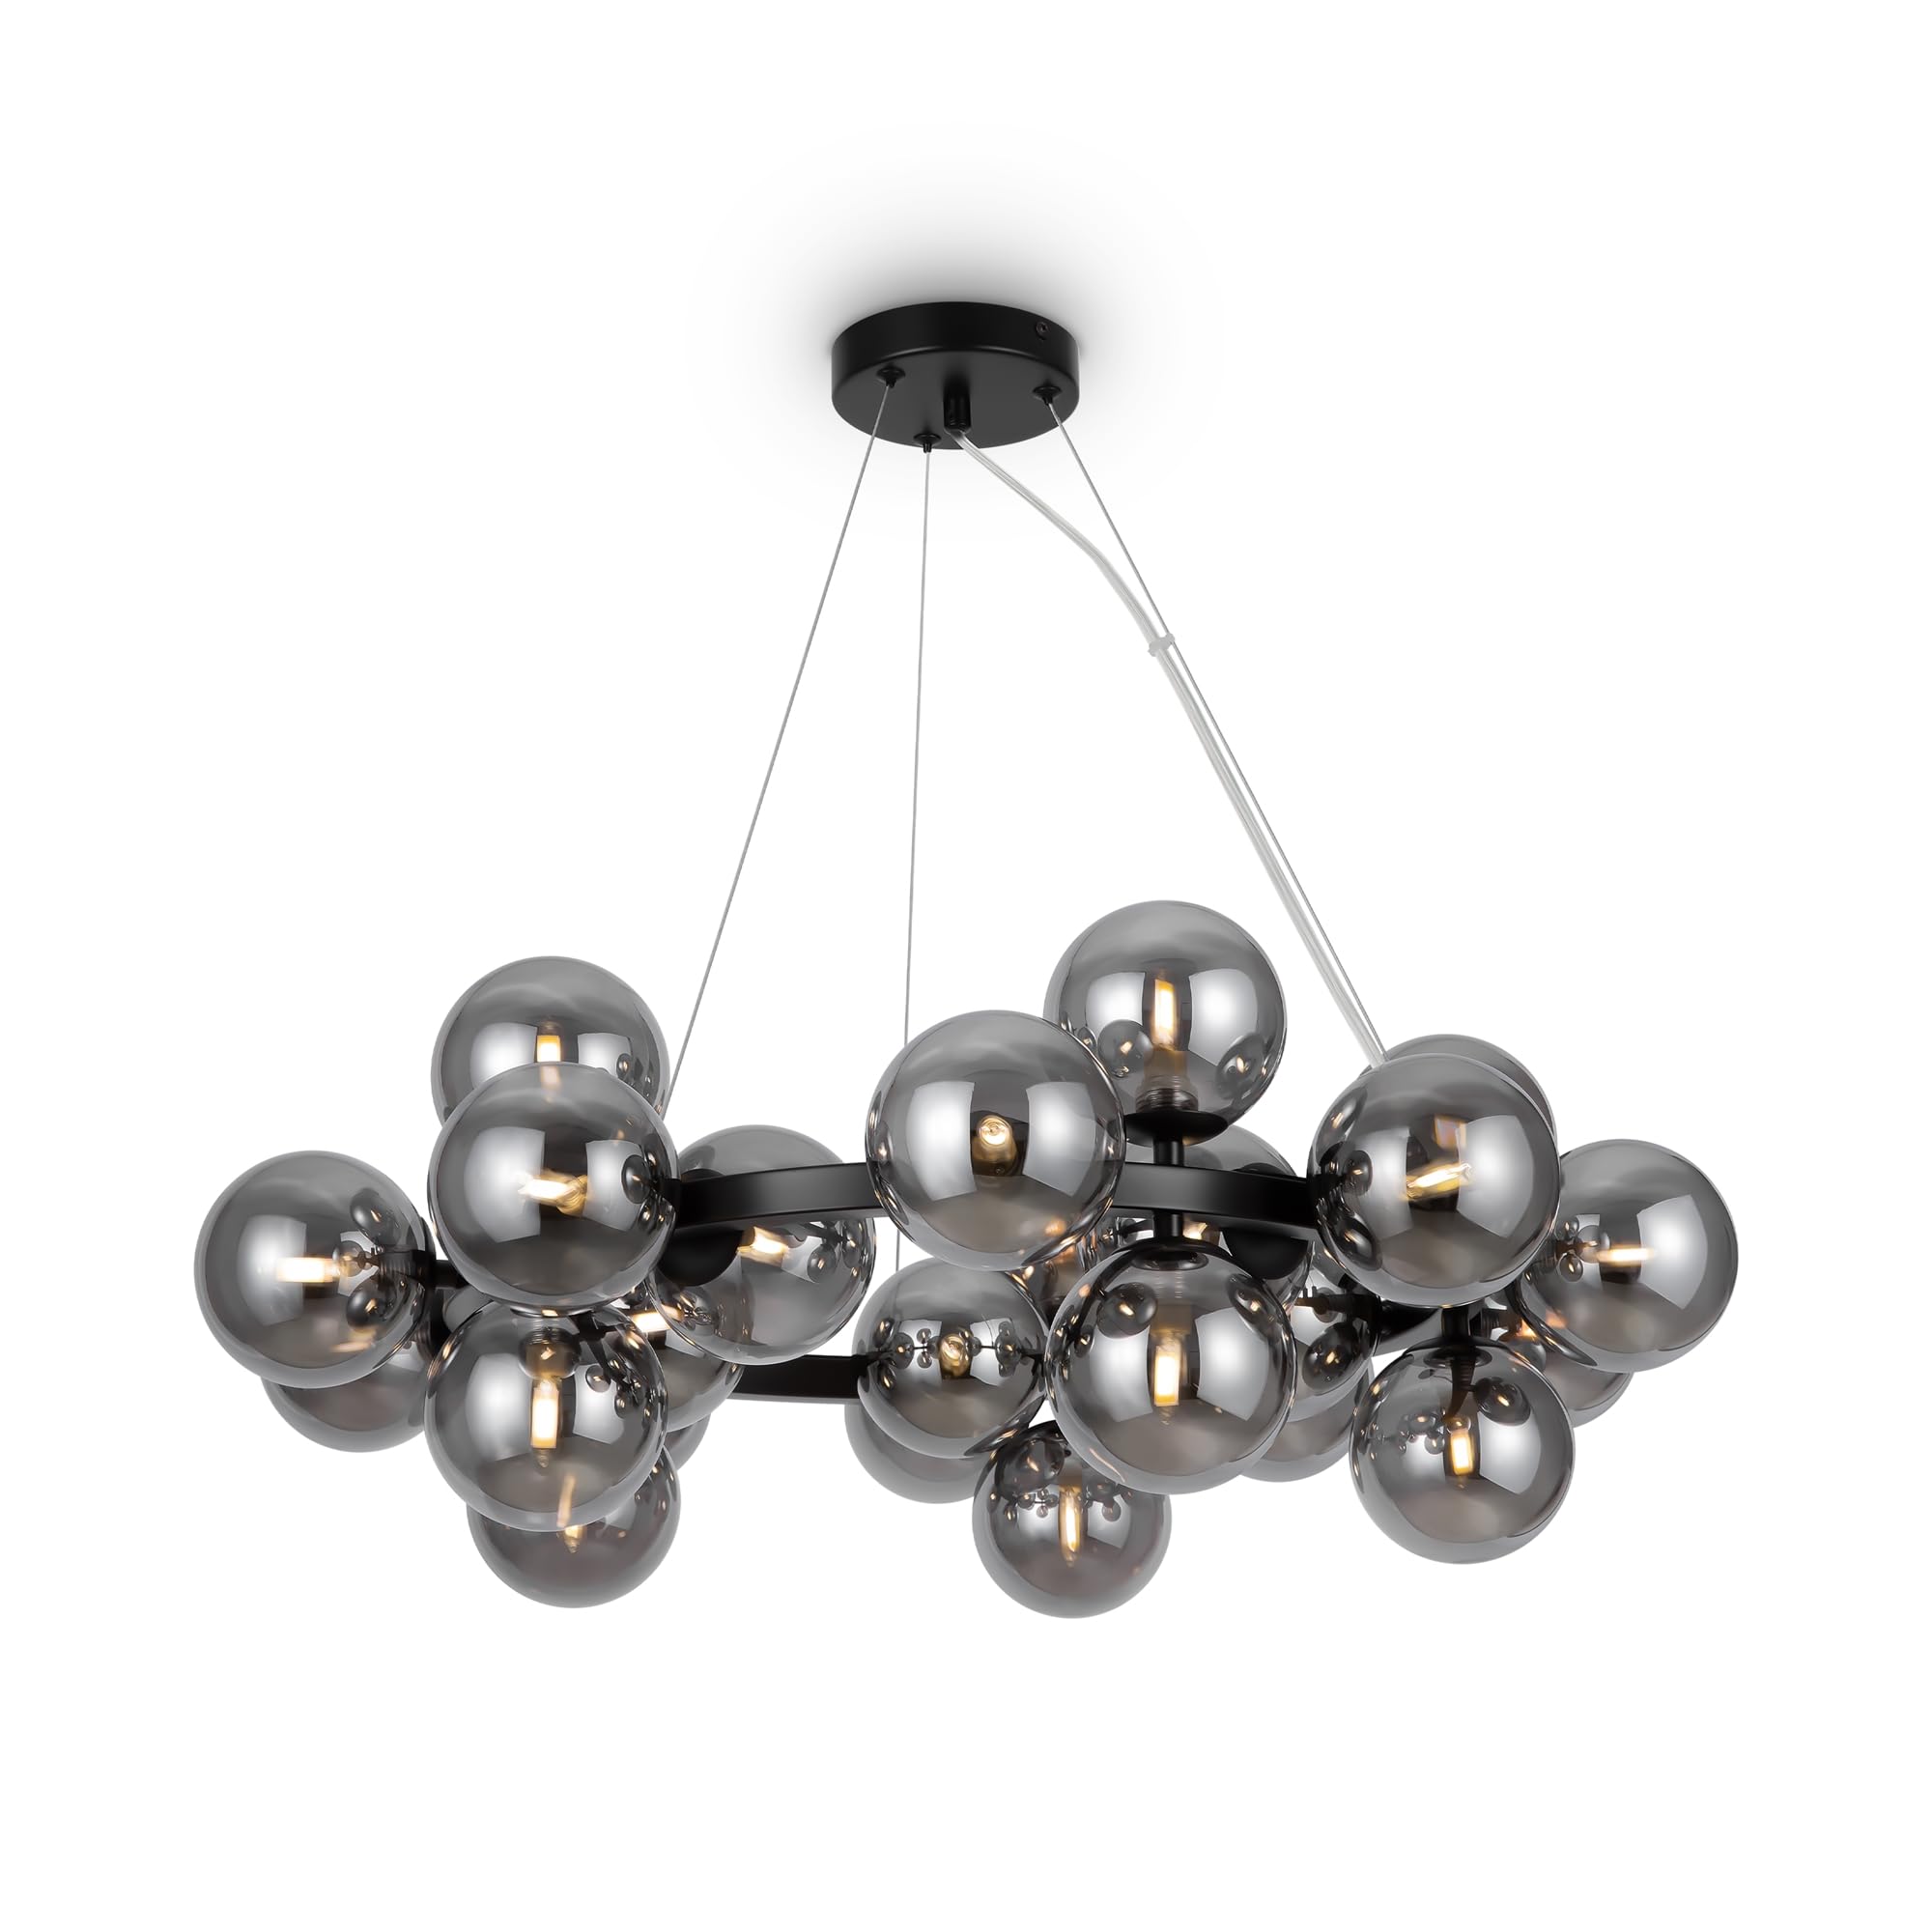
Figure 2.1: MAYTONI Dallas Chandelier (MOD545PL-25B) - Overall View.
This chandelier provides bright and pleasant general illumination, suitable for rooms with low ceilings due to its total height of 25 cm and diameter of 75 cm. The shade diameter is 10 cm.
3. Hvad er der i æsken
Carefully unpack the box and ensure all components are present and undamaged. If any parts are missing or damaged, contact customer support before proceeding with installation.
- Chandelier frame (black metal)
- 25 Smoked glass spheres (shades)
- Monteringsudstyr (skruer, ankre osv.)
- Brugsanvisning
Note: G9 bulbs are not included and must be purchased separately.
4. Specifikationer
| Feature | Detalje |
|---|---|
| Mærke | MAYTONI DEKORATIV BELYSNING |
| Modelnummer | MOD545PL-25B |
| Produktmål (L x B x H) | 123.5 x 23.8 x 135.4 cm |
| Samlet højde | 25 cm |
| Diameter | 75 cm |
| Varens vægt | 5.84 kg |
| Materiale | Metal (frame), Glass (shades) |
| Farve | Black (frame), Smoked (shades) |
| Stil | Moderne |
| Antal pærer | 25 |
| Pære type | G9 (ikke inkluderet) |
| Max Wattage pr. pære | 28 watt |
| Voltage | 240 volt |
| IP-vurdering | IP20 (kun indendørs brug) |
| Strømkilde | Elektrisk med ledning |
| Særlige funktioner | Energieffektiv |
5. Opsætning og installation
Før du begynder: Ensure the power supply is turned off at the circuit breaker. It is recommended to have two people for installation due to the size and weight of the fixture.
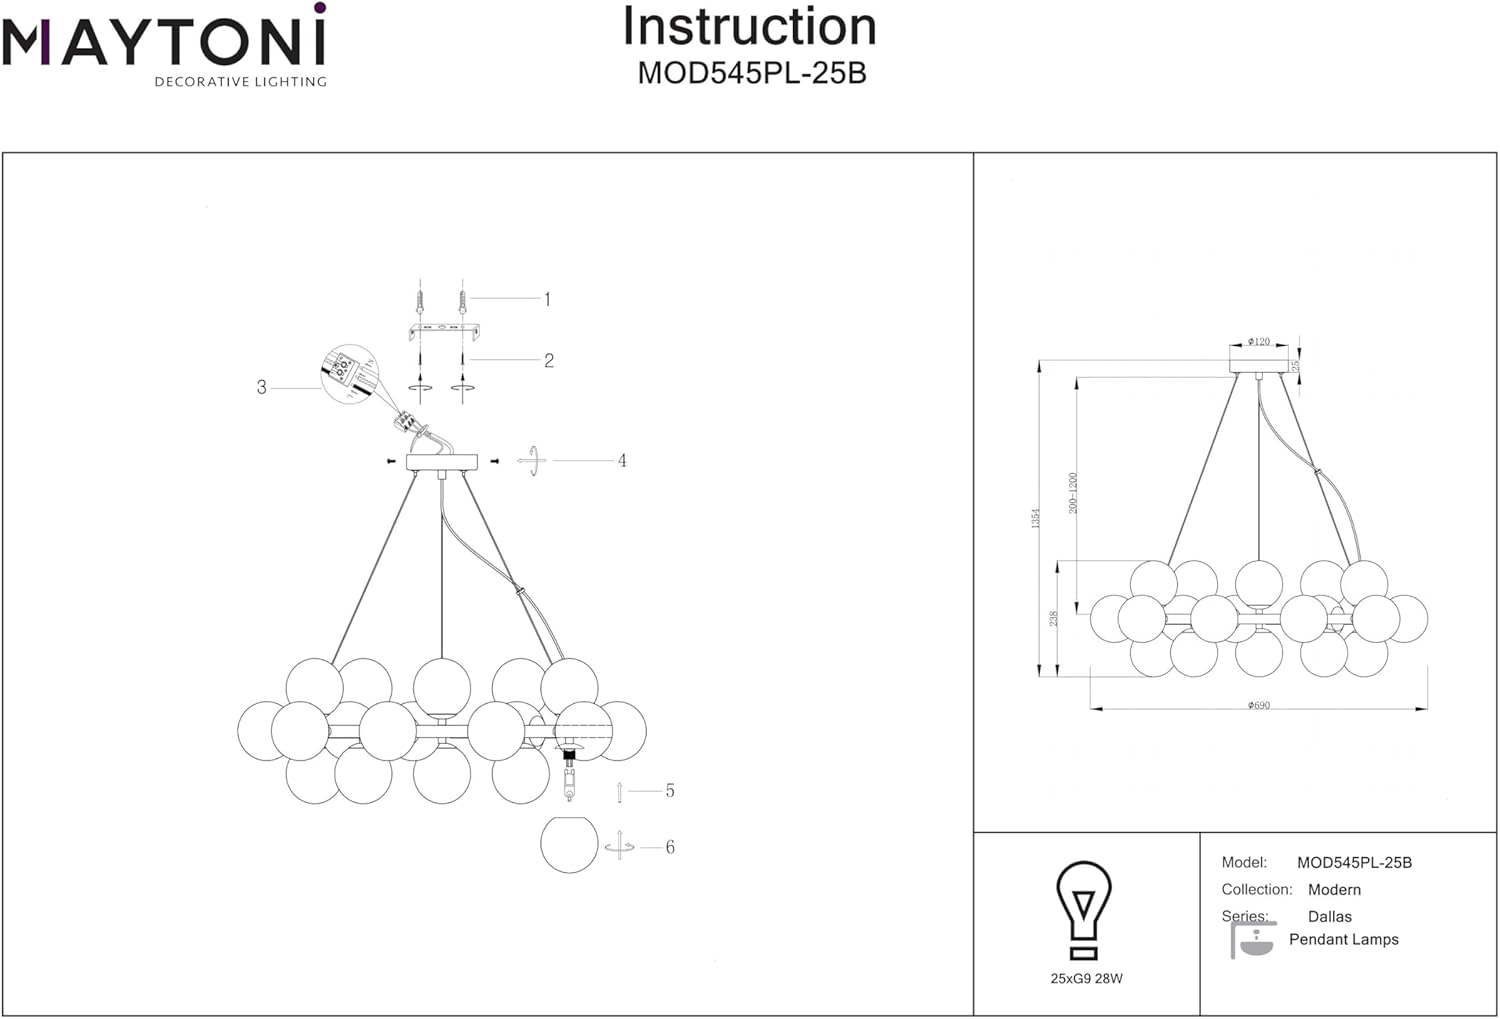
Figure 5.1: Installation Diagram and Dimensions.
- Forbered loftet: Mark the drilling points on the ceiling for the mounting bracket (1). Ensure the location is suitable and can support the chandelier's weight.
- Monter monteringsbeslag: Drill holes and insert appropriate anchors. Secure the mounting bracket to the ceiling using screws (2).
- Tilslut ledninger: Carefully connect the chandelier's electrical wires to your household wiring. Ensure correct polarity (Live to Live, Neutral to Neutral, Ground to Ground). Use appropriate wire connectors.
- Fastgør baldakin: Lift the chandelier and secure the canopy to the mounting bracket using the provided screws (4). Ensure the wires are not pinched.
- Installer G9-pærer: Insert the G9 bulbs into their respective sockets (3). Gently push and twist to secure.
- Fastgør glaskugler: Carefully attach each smoked glass sphere (6) to its designated holder on the chandelier frame (5). Twist or push to secure, depending on the mechanism.

Figure 5.2: Ceiling Mount Detail.
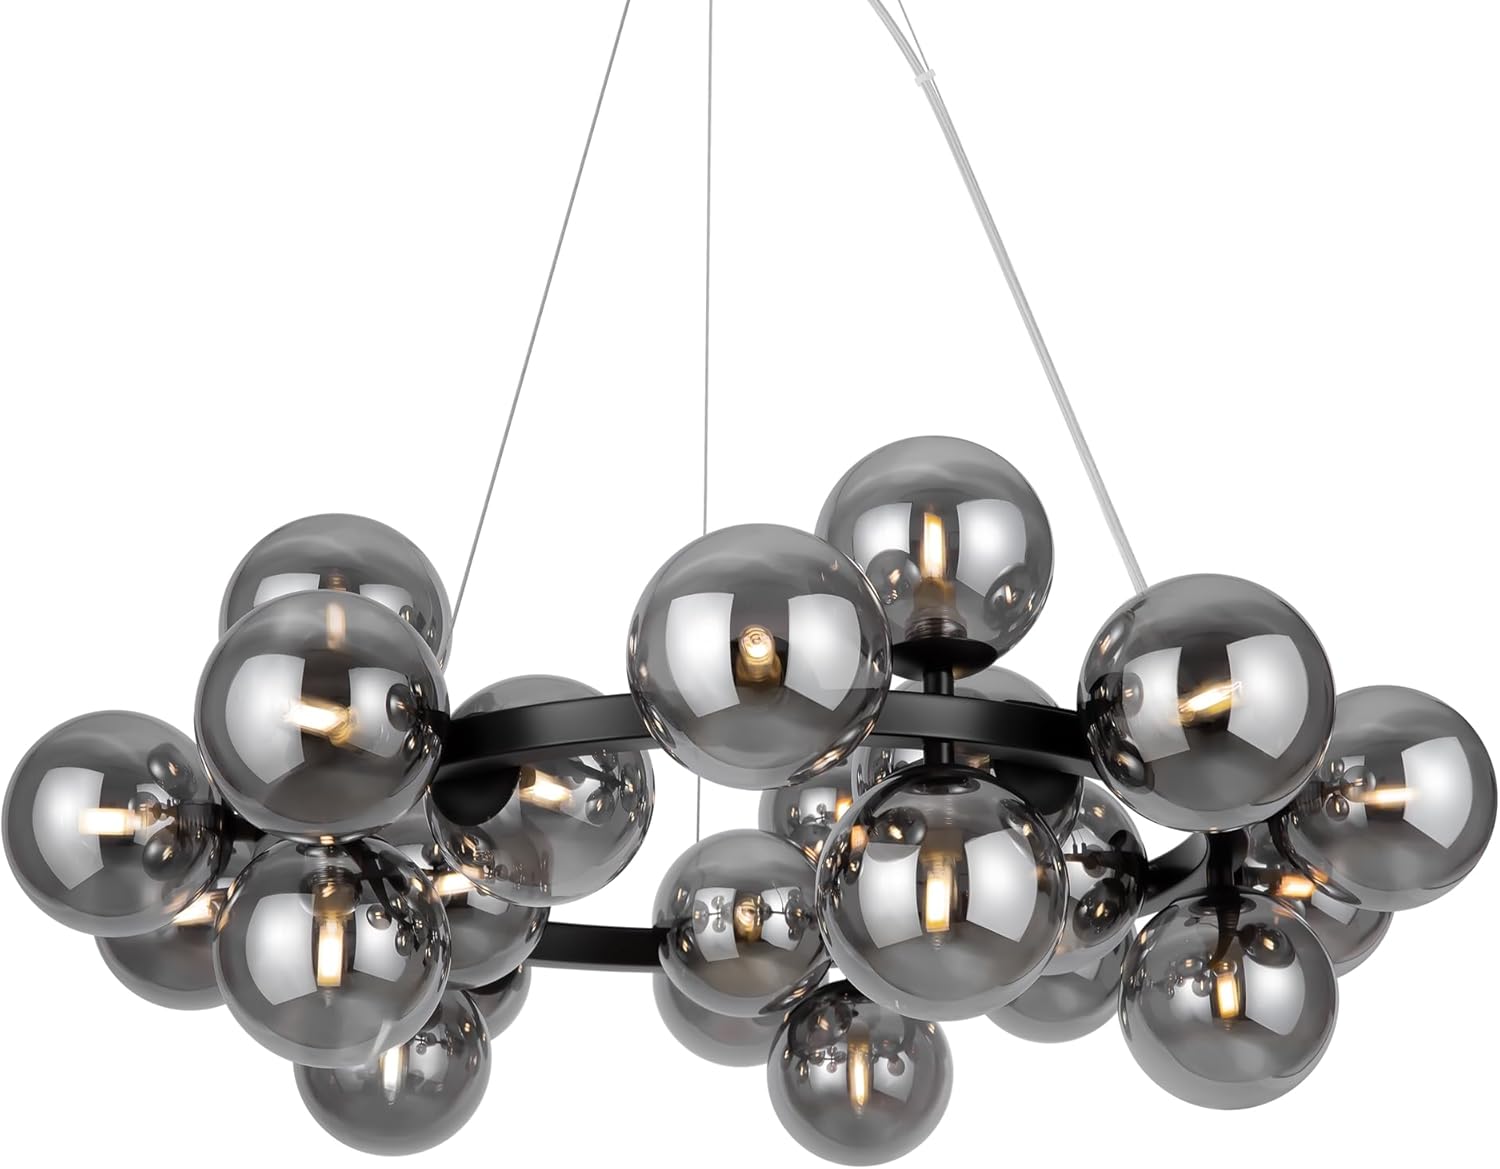
Figure 5.3: Detail of Glass Spheres and Bulb Sockets.
6. Betjeningsvejledning
Once installed, operating your MAYTONI Dallas Chandelier is straightforward:
- Tænd: Genopret strømmen ved hovedafbryderen.
- Tænd/sluk: Use your standard wall switch to turn the chandelier on or off.
- Udskiftning af pære: Ensure power is off before replacing any G9 bulbs. Allow bulbs to cool completely before handling.
7. Vedligeholdelse
Regelmæssig vedligeholdelse vil bidrage til at bevare din lysekrones udseende og funktionalitet.
- Rensning: Disconnect power before cleaning. Use a soft, dry, lint-free cloth to wipe the metal frame and glass spheres. Do not use liquid cleaners, abrasive materials, or chemical solvents, as these can damage the finish.
- Udskiftning af pære: As needed, replace G9 bulbs with new ones of the same type and wattage (max 28W). Always ensure power is off and bulbs are cool before replacing.
- Inspektion: Kontrollér regelmæssigt alle forbindelser og monteringsudstyr for at sikre, at de forbliver fastgjorte.
8. Fejlfinding
Hvis du støder på problemer med din lysekrone, kan du se følgende almindelige problemer og løsninger:
| Problem | Mulig årsag | Løsning |
|---|---|---|
| Lyset tænder ikke |
|
|
| Lyse flimrer |
|
|
| Glass sphere falls off |
|
|
Hvis problemet fortsætter efter at have prøvet disse løsninger, bedes du kontakte kundesupport.
9. Garanti og support
Garanti: This MAYTONI product comes with a 2-year warranty from the date of purchase, covering manufacturing defects. Please retain your proof of purchase for warranty claims.
Kundesupport: For any questions, concerns, or assistance with installation or troubleshooting, please contact MAYTONI customer service. Our dedicated team is ready to help you create the perfect lighting solution for your home or business.
You can visit the MAYTONI brand store for more information: MAYTONI Brand Store