1. Introduktion
This manual provides comprehensive instructions for the Andoer Mini Compact Digital Camera. This portable device is designed for capturing 1080P photos and videos, featuring a built-in LCD screen, flash, and rechargeable battery. It is suitable for beginners and casual users seeking a simple and functional camera.
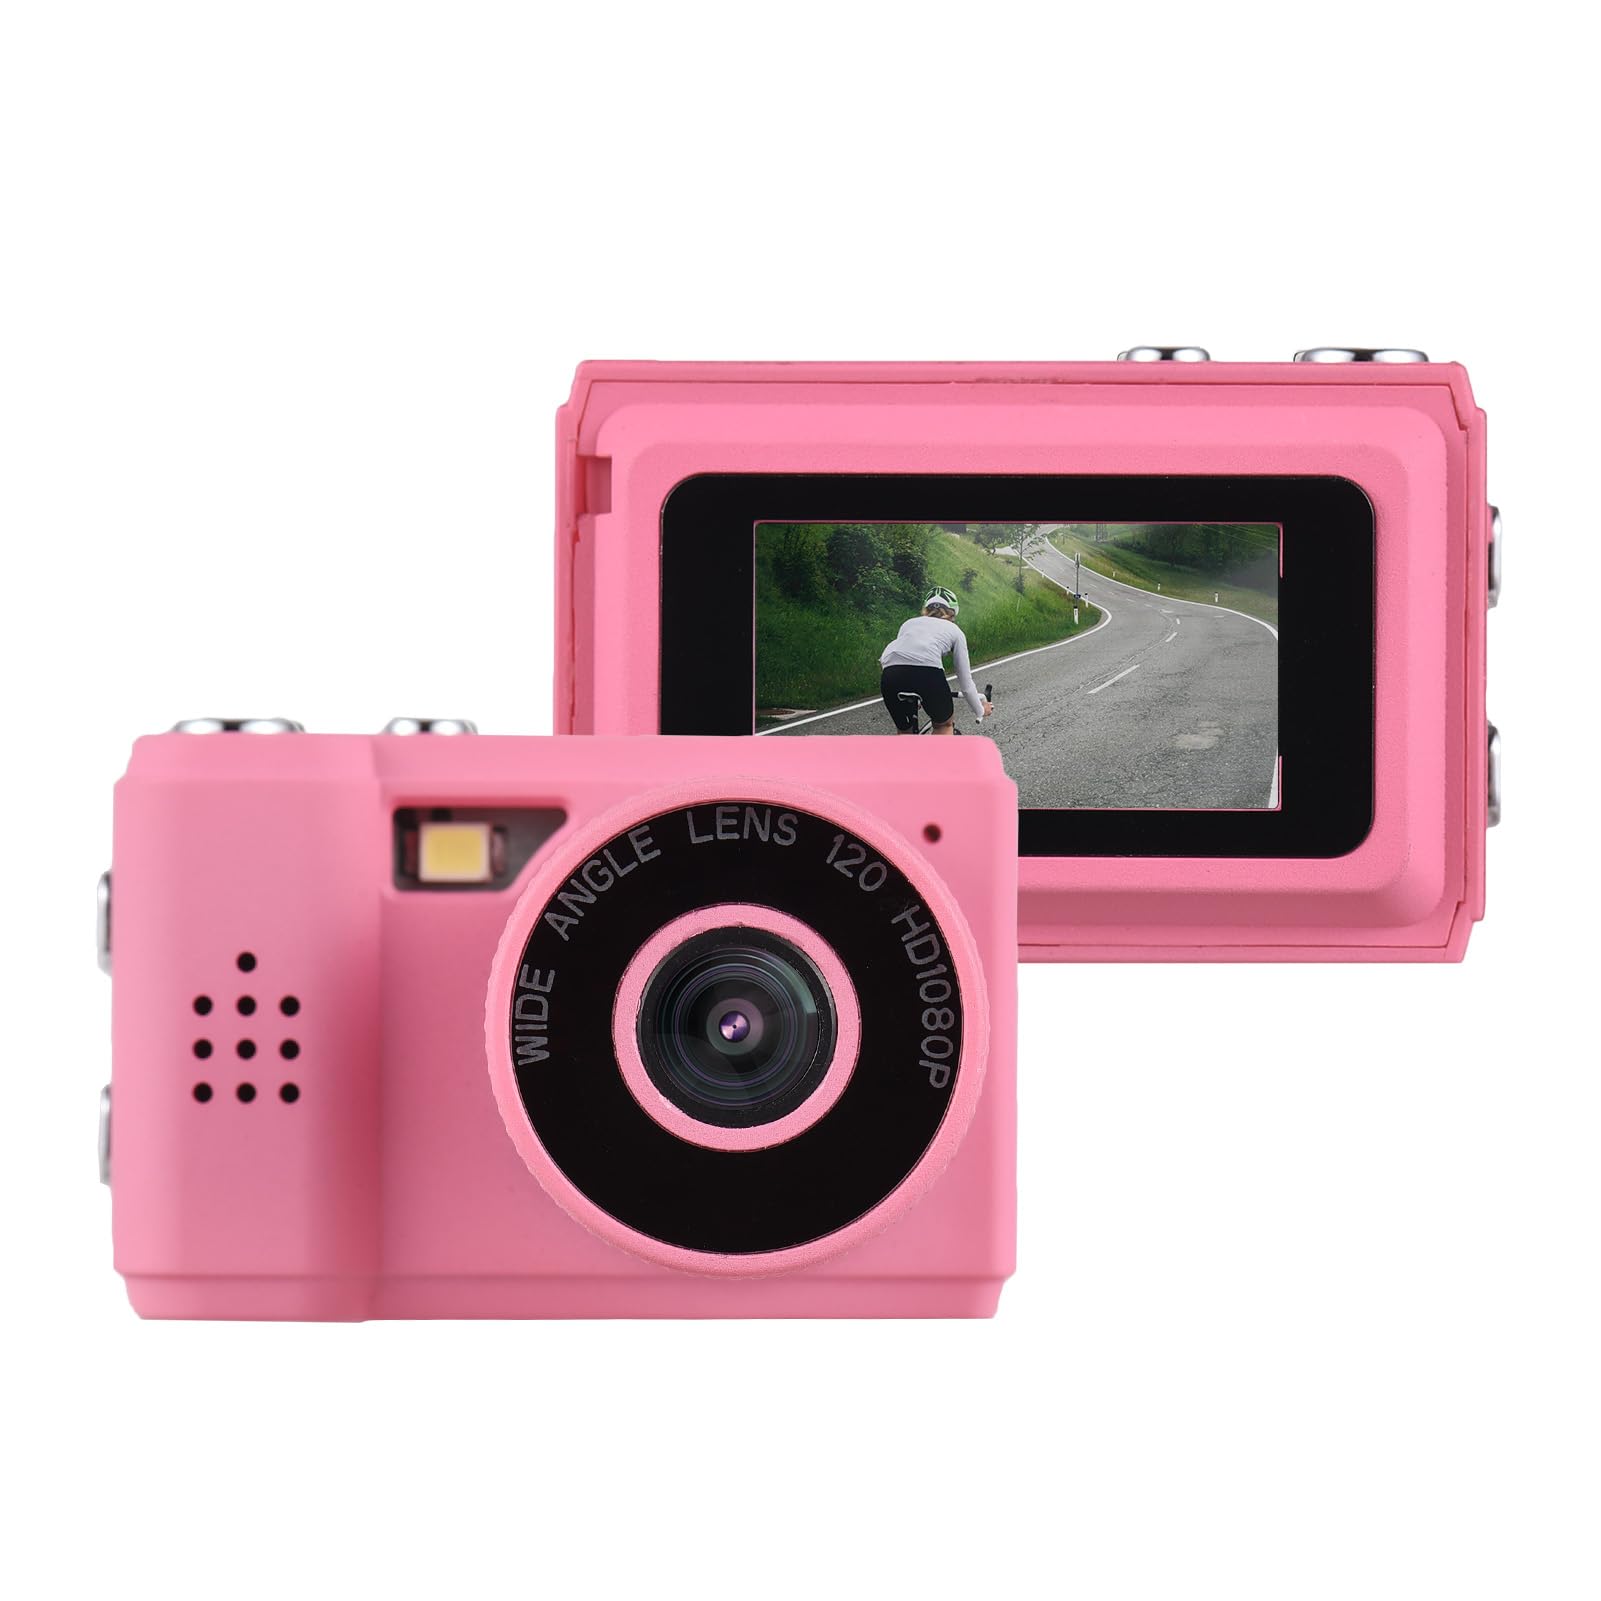
Image: The Andoer Mini Compact Digital Camera, demonstrating its compact size when held in a hand.
2. Hvad er der i æsken
Når du åbner pakken, skal du kontrollere, at alle komponenter er til stede:
- Kamerahus
- Accessories (e.g., USB charging cable, strap)
3. Produktfunktioner
The Andoer Mini Compact Digital Camera offers the following key features:
- Super mini size, with a net weight of only 18g, ensuring portability.
- Capable of capturing both still images and 1080P videos.
- Integrated LCD screen for direct viewindlæsning af fotos og videoer.
- Built-in flash for improved low-light photography.
- Includes 5 filter effects for creative photo enhancements.
- Built-in rechargeable battery, chargeable via the included USB cable.
4. Opsætning
4.1 Opladning af batteriet
The camera is equipped with a built-in rechargeable lithium-ion battery. Before initial use, fully charge the battery.
- Locate the USB charging port on the camera.
- Connect one end of the provided USB charging cable to the camera's port.
- Tilslut den anden ende af USB-kablet til en kompatibel USB-strømkilde (f.eks. en computers USB-port eller en USB-vægadapter).
- The charging indicator light will illuminate during charging and typically turn off or change color when fully charged.
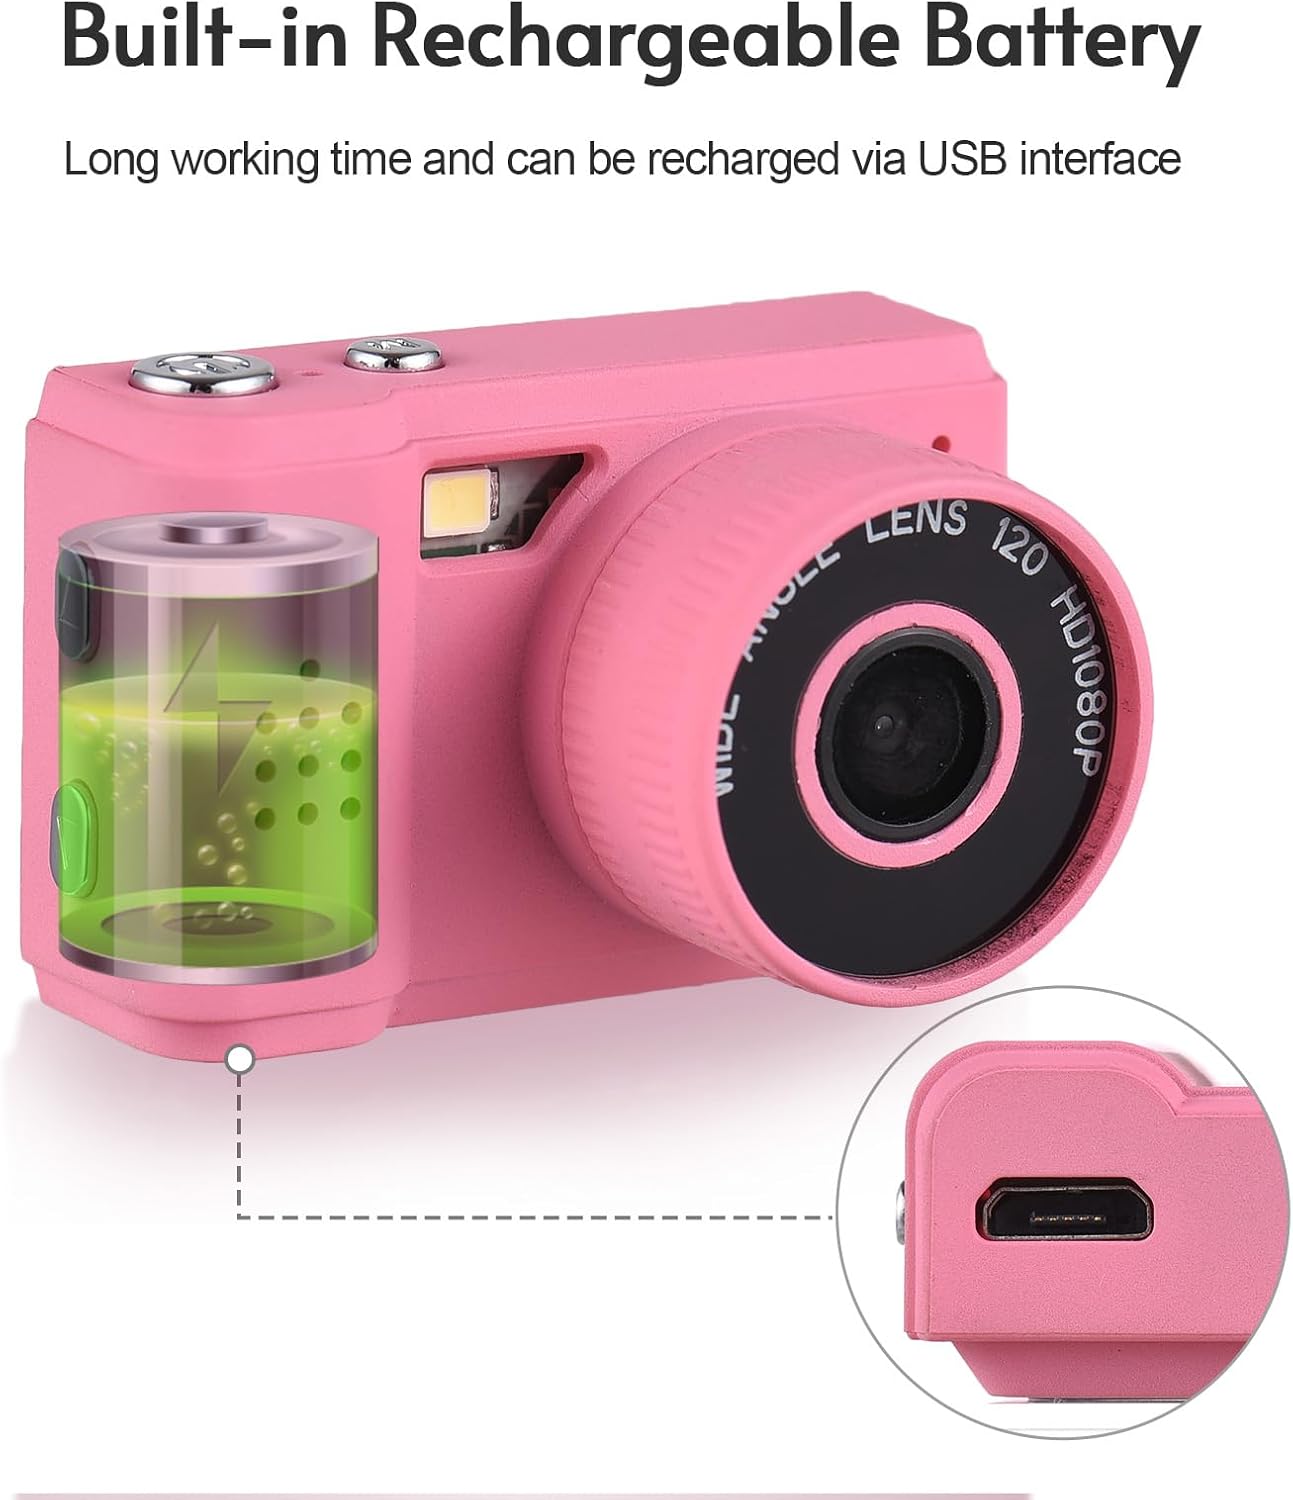
Image: Illustration of the camera's built-in rechargeable battery and the location of the USB charging port.
4.2 Indsættelse af et Micro SD-kort
A Micro SD card (not included) is required to store photos and videos. The camera supports Micro SD cards.
- Locate the Micro SD card slot on the camera, usually on the side or bottom.
- Insert the Micro SD card with the metal contacts facing downwards (or as indicated by a diagram near the slot) until it clicks into place.
- For at fjerne kortet skal du forsigtigt skubbe det ind, indtil det springer ud.
5. Betjeningsvejledning
5.1 Tænd/sluk
Press and hold the power button (typically located on the top or side) for a few seconds to turn the camera on or off.
5.2 Optagelse af billeder
- Ensure the camera is in photo mode. This is usually indicated by an icon on the LCD screen.
- Frame your desired shot using the LCD screen.
- Press the shutter button (usually a larger button on the top) to capture the photo.

Image: The camera's rear view, highlighting the LCD screen for framing and reviewskud.
5.3 Optagelse af videoer
- Skift kameraet til videooptagelsestilstand.
- Press the record button (often marked with a red dot or video camera icon) to begin recording.
- Press the record button again to stop recording. The camera records videos in 1080P resolution.
5.4 Brug af den indbyggede blitz
The camera features a built-in flash to assist in low-light conditions.
- Access the camera's menu or dedicated flash button to cycle through flash modes (e.g., Auto Flash, Fill Flash, Flash Off).
- Select the appropriate mode based on your lighting environment.

Image: The camera with its built-in flash activated, demonstrating its use in a low-light setting.
5.5 Viewpå fotos og videoer
Til review your captured media:
- Enter playback mode (usually indicated by a play icon).
- Use the navigation buttons (up/down/left/right) to scroll through your photos and videos on the LCD screen.
- Press the 'OK' or 'Play' button to view en video.
5.6 Tilslutning til en computer
At overføre files til en computer:
- Sørg for, at kameraet er tændt.
- Tilslut kameraet til din computer ved hjælp af det medfølgende USB-kabel.
- The camera should appear as a removable disk or mass storage device on your computer.
- Open the camera's folder to access and transfer your photos (JPEG) and videos (MJPEG).
6. Vedligeholdelse
6.1 Rengøring
- Brug en blød, tør og fnugfri klud til at rengøre kamerahuset.
- For the lens and LCD screen, use a specialized lens cleaning cloth and a small amount of lens cleaning solution. Avoid applying liquid directly to the screen or lens.
- Brug ikke slibende rengøringsmidler, opløsningsmidler eller stærke kemikalier.
6.2 Opbevaring
- Store the camera in a cool, dry place, away from direct sunlight, high humidity, and extreme temperatures.
- If storing for an extended period, remove the Micro SD card.
6.3 Pleje af batterier
- Charge the battery regularly, even if the camera is not in frequent use, to help maintain its lifespan.
- Avoid fully discharging the battery frequently, as this can reduce its overall capacity over time.
7. Fejlfinding
Se følgende løsninger for almindelige problemer:
7.1 Kameraet tænder ikke
- Ensure the battery is sufficiently charged. Connect the camera to a power source using the USB cable and try again.
- Tryk på tænd/sluk-knappen og hold den nede i længere tid (5-10 sekunder).
7.2 Cannot Take Photos or Record Videos
- Verify that a Micro SD card is inserted correctly.
- Check if the Micro SD card has sufficient free space. Delete unnecessary files or insert a new card if full.
- Ensure the camera is in the correct mode (photo or video).
7.3 Dårlig billedkvalitet
- Clean the camera lens with a suitable lens cleaning cloth.
- Ensure adequate lighting. Use the built-in flash in low-light conditions.
- Hold the camera steady during capture to prevent blur.
7.4 Files Not Transferring to Computer
- Sørg for, at USB-kablet er korrekt tilsluttet til både kameraet og computeren.
- Try connecting to a different USB port on your computer or using a different USB cable.
- Verify that the camera is powered on and recognized as a storage device by your computer's operating system.
8. Specifikationer
Detailed technical specifications for the Andoer Mini Compact Digital Camera:
| Feature | Specifikation |
|---|---|
| Mærke | Andoer |
| Modelnavn | Mini |
| Modelnummer | ded11659-e9f8-4b07-a44a-8be1159f3ded |
| Fotosensor opløsning | 2.1 MP (Total Still Resolution: 2 MP) |
| Video opløsning | 1080p |
| Display Type | LCD |
| Forbindelsesteknologi | USB |
| Batteritype | Lithium-ion (indbygget) |
| Flash-hukommelsestype | Micro SD |
| Understøttet File Format | JPEG (Image), MJPEG (Video) |
| Billedstabilisering | Digital |
| Varedimensioner (D x B x H) | 1" D x 1.7" B x 1" H |
| Nettovægt | 18 gram |
| Farve | Lyserød |
9. Garanti
This product is sold without an explicit manufacturer's warranty. For information regarding returns or exchanges, please refer to the return policy of the retailer from whom you purchased this device.
10. Support
For further assistance, technical support, or any inquiries not covered in this manual, please contact Andoer customer support through their official channels. You may also visit the official Andoer Store on Amazon for additional product information and resources: