
Indledning
This manual provides detailed instructions for the Svetaecho Wireless Controller. This controller is designed for use with Nintendo Switch, Switch Lite, Switch OLED, Windows PC (wired connection), iOS, and Android devices. Please read this manual thoroughly before use to ensure proper operation and to maximize your gaming experience.
Note: This controller does not support Xbox games.
Produktegenskaber
- Customizable Macro Buttons: Two back buttons (ML/MR) can be programmed to map 1-20 combined functions from A/B/X/Y/L/ZL/R/ZR/L3/R3/D-pad for enhanced gameplay. Double-click SR/SL to temporarily enable/disable macro functions.
- Justerbar turbofunktion: Supports both Auto and Manual Turbo modes with three adjustable speeds: 5 shots/s, 12 shots/s, and 20 shots/s.
- Dobbelte vibrationsmotorer: Built-in motors provide 3-level vibration feedback (None, Weak, Strong) for Switch and Windows PC games. Adjust intensity by pressing and holding L, R, ZL, ZR simultaneously.
- 6-akset gyrosensor: High-sensitivity gyro sensors offer precise motion control for Nintendo Switch games.
- One-Key Wake-Up (Switch Only): After initial connection, press the HOME button to wake up and reconnect the Switch console.
- Batteri med høj kapacitet: Integrated 1000mAh battery provides over 16 hours of playtime in LED lit mode. Fully charges in approximately 3 hours via USB Type-C.
- Automatisk dvaletilstand: The controller automatically shuts down after 20 minutes of inactivity in a connected state. Press the HOME button to wake and reconnect.
Pakkens indhold
- 1x Svetaecho Wireless Controller
- 1x USB Type-C ladekabel
- 1x Brugermanual (dette dokument)
Controller layout

Billede: Front view of the Svetaecho Wireless Controller, highlighting the main buttons, joysticks, D-pad, and the M1/M2 back buttons.
The controller features standard gaming buttons including A, B, X, Y, L, R, ZL, ZR, D-pad, Left and Right Analog Sticks, HOME button, SHARE button, TURBO button, and two programmable back buttons (M1/ML and M2/MR).

Billede: Bag view of the Svetaecho Wireless Controller, showing the SR, SL, and M buttons, along with the ML and MR programmable back buttons.
Opsætning og parring
1. Nintendo Switch Pairing
- Fra Switch HOME-menuen skal du vælge 'Controllere' > 'Skift greb/rækkefølge'.
- Press and hold the HOME button on the Svetaecho controller for 3-5 seconds until the LED indicators begin to flash rapidly.
- Når den er tilsluttet, lyser den/de tilsvarende afspiller-LED('er) på controlleren konstant.
- To wake up the Switch console after the first connection, simply press the HOME button on the controller.
2. PC (Wired Connection)
- Connect the controller to your Windows PC using the provided USB Type-C cable.
- The controller will be automatically recognized as a wired gamepad.
- Vibration function is supported on Windows PC.
3. iOS/Android Pairing (Wireless)

Billede: The Svetaecho Wireless Controller shown alongside various compatible devices including Nintendo Switch, PC, iOS, and Android phones/tablets.
- Sørg for, at Bluetooth er aktiveret på din iOS- eller Android-enhed.
- Press and hold the HOME button on the controller for 3-5 seconds until the LED indicators flash rapidly.
- On your device, search for Bluetooth devices and select the controller (e.g., 'Pro Controller' or similar).
- Once paired, the LED indicators will become solid.
Betjeningsvejledning
1. Custom Macro Buttons (ML/MR)
- Programmering: Press and hold the 'M' button, then press the ML or MR button you wish to program. The LED will flash. Now, press the sequence of buttons (up to 20) you want to assign. Press ML or MR again to save the macro.
- Using Macro: Simply press the programmed ML or MR button to execute the assigned sequence.
- Enable/Disable Macro: Double-click the SR or SL button to temporarily enable or disable the macro function.
2. Turbofunktion

Billede: The Svetaecho Wireless Controller illustrating the three adjustable Turbo speeds: 5 shots/s, 12 shots/s, and 20 shots/s.
- Manuel turbo: Press and hold the TURBO button, then press the desired action button (A/B/X/Y/L/R/ZL/ZR) to enable Turbo for that button. Release TURBO. Now, holding the action button will trigger rapid presses.
- Auto Turbo: Press and hold the TURBO button, then double-press the desired action button. Release TURBO. The action button will now continuously trigger rapid presses without being held down.
- Justering af turbohastighed: With Turbo enabled for a button, press and hold the TURBO button, then move the Right Analog Stick Up or Down to cycle through the three speeds (5, 12, 20 shots/s).
- Rydning af Turbo: To clear Turbo for a single button, press and hold TURBO, then press the action button twice. To clear all Turbo settings, press and hold the TURBO button for 5 seconds.
3. Vibration Adjustment (Switch/PC Only)

Billede: The Svetaecho Wireless Controller highlighting its 6-axis gyro sensor for precise motion control and dual motor vibration with adjustable intensity levels (None, Weak, Strong).
To cycle through vibration intensities (None, Weak, Strong), press and hold the L, R, ZL, and ZR buttons simultaneously.
4. Motion Control (Switch Only)
The built-in 6-axis gyro sensor provides motion control capabilities for compatible Nintendo Switch games. No special setup is required; the feature activates automatically when supported by the game.
5. LED-lystilstande
The controller features multi-RGB lighting. Specific instructions for changing LED modes are typically found in the quick start guide or by pressing a dedicated button (often indicated by a lightbulb icon) on the controller. Refer to the quick start guide for detailed steps on adjusting LED patterns and colors.
Batteri & opladning
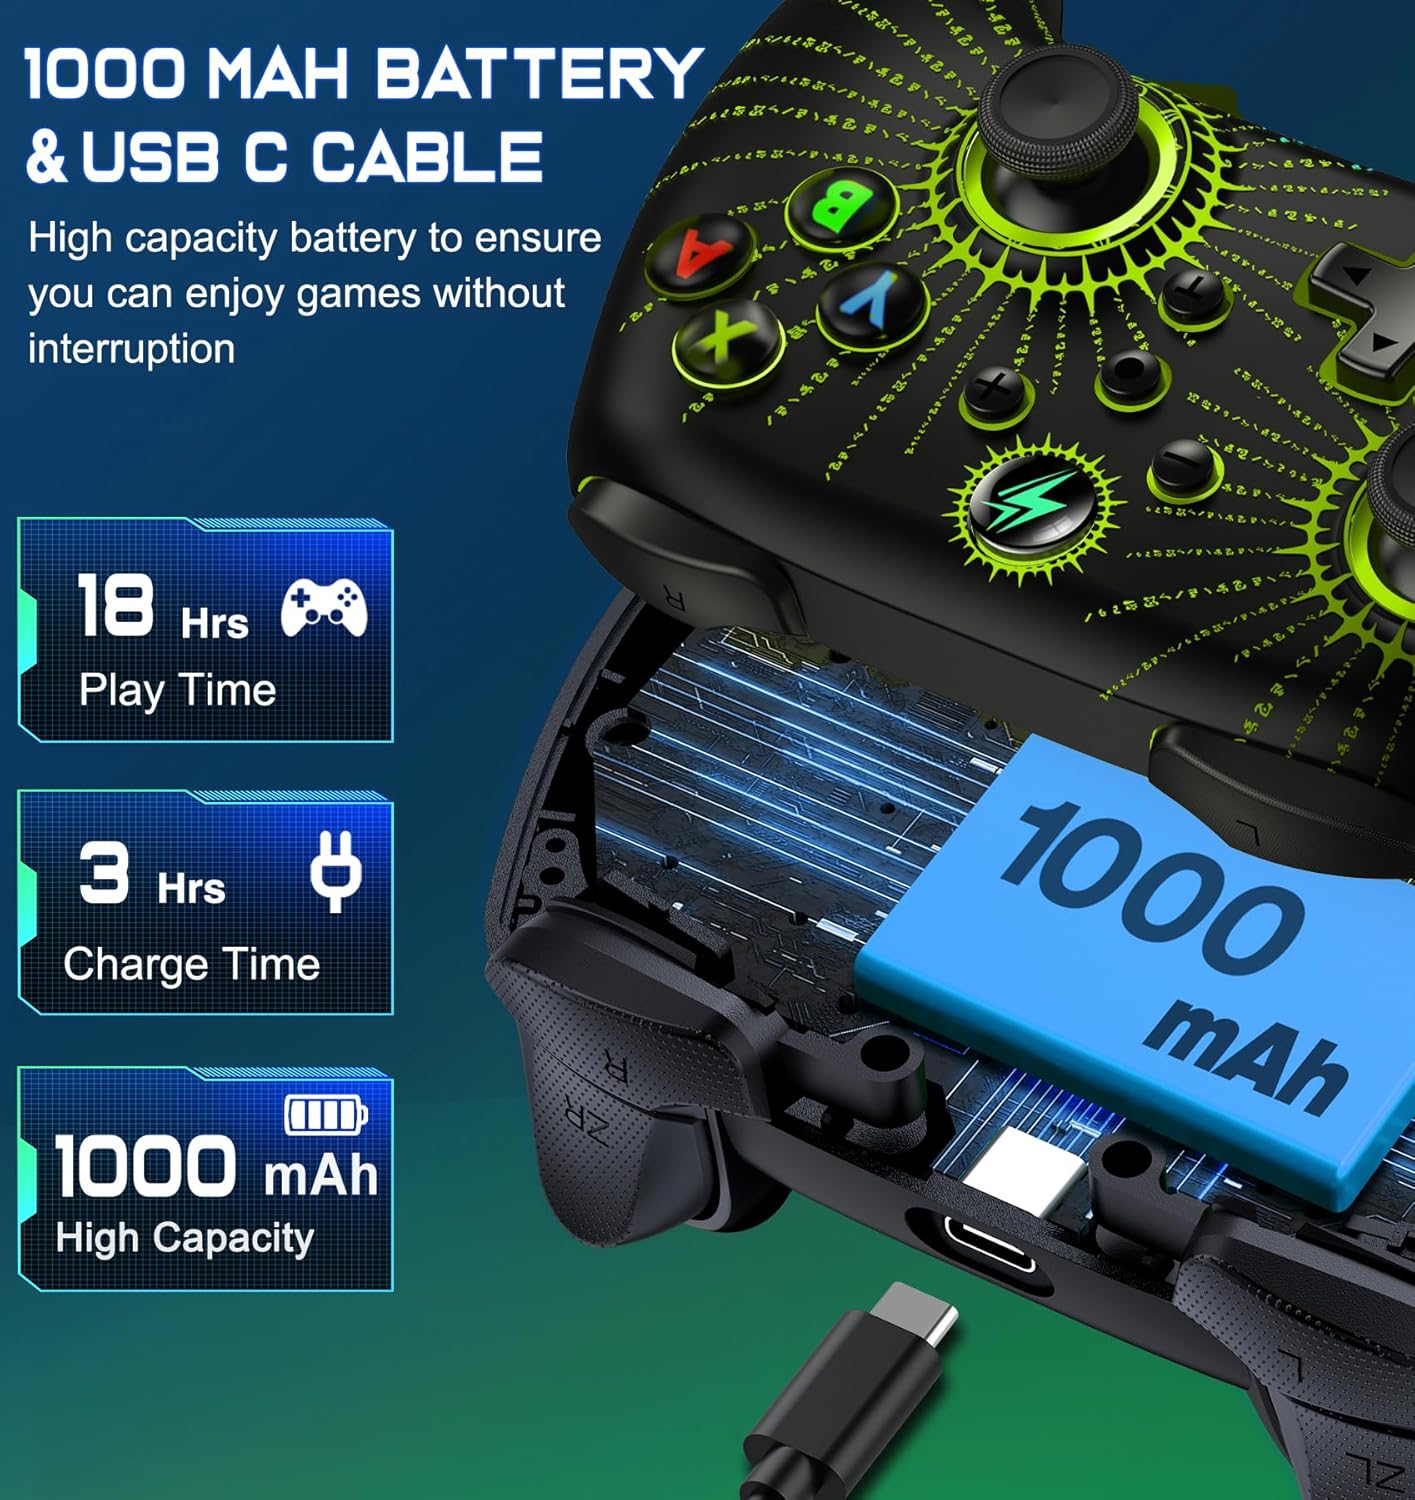
Billede: En eksploderede view of the Svetaecho Wireless Controller showing the internal 1000mAh battery and the USB Type-C charging port with cable.
- The controller is equipped with a 1000mAh rechargeable battery.
- Connect the controller to a USB power source (e.g., Switch dock, PC, USB wall adapter) using the provided USB Type-C cable to charge.
- Opladningstiden er cirka 3 timer for en fuld opladning.
- A full charge provides over 16 hours of playtime with LED lighting active.
- The LED indicators will show charging status and turn off or change color when fully charged.
Opretholdelse
- Hold controlleren tør og væk fra ekstreme temperaturer.
- Rengør controlleren med en blød, tør klud. Undgå at bruge skrappe kemikalier eller slibende materialer.
- Forsøg ikke at skille controlleren ad, da dette kan ugyldiggøre garantien og forårsage skade.
- Opbevar controlleren et sikkert sted, når den ikke er i brug, for at forhindre utilsigtet skade.
Fejlfinding
- Controlleren forbinder ikke: Ensure the controller is charged. Re-attempt the pairing process. For Switch, ensure 'Pro Controller Wired Communication' is enabled in system settings if using wired mode.
- Inputforsinkelse eller afbrydelse: Ensure there are no strong wireless interferences nearby. Move closer to the console/device. Ensure the controller battery is not low.
- Knapper reagerer ikke: Check if the macro function is temporarily disabled (double-click SR/SL). If the issue persists, try resetting the controller (a small reset button may be located on the back, often requiring a pin to press).
- Vibration virker ikke: Ensure the vibration intensity is not set to 'None'. Check game settings for vibration support.
- Controlleren oplader ikke: Ensure the USB-C cable is securely connected to both the controller and the power source. Try a different USB port or cable.
Firmware Update for Switch 2

Billede: A step-by-step guide demonstrating how to update the controller's firmware for Switch 2 compatibility using the 'KeyLinker' mobile application.
Note: All functions are supported except "One Press Home key to Wake up the Switch 2 console" and "Open voice menu" after the update.
- Trin 1: Søg efter the "KeyLinker" app in your mobile app store, then download and install it.
- Trin 2: Turn on Bluetooth on your phone and pair the controller with your phone. (Refer to the pairing method in this manual).
- Trin 3: Open the "KeyLinker" app.
- Trin 4: In the app, search for the Bluetooth name "NC100" and tap to pair. (If the controller's Bluetooth name does not appear on the screen, press and hold the screen, then pull down to refresh several times.)
- Trin 5: Tap the three dots in the top right corner, then select "Update device".
- Trin 6: Enter the upgrade interface, tap "Update Now" at the bottom of the screen, and confirm. (If the update button doesn't appear, please wait a few minutes.)
- Trin 7: Wait for the update to complete. (If the upgrade fails, please try several more times.)
Specifikationer
| Fabrikant | Svetaecho |
| Varens vægt | 11.3 ounce |
| Pakkedimensioner | 6.38 x 4.72 x 2.64 tommer |
| Batterikapacitet | 1000mAh |
| Opladningstid | Ca. 3 timer |
| Playtime (LED Lit Mode) | Over 16 timer |
| Forbindelse | Trådløs (Bluetooth), Kablet (USB Type-C) |
| Kompatibilitet | Nintendo Switch/Lite/OLED, Windows PC, iOS, Android |
Garanti & Support
For warranty information or technical support, please refer to the contact details provided with your purchase or visit the official Svetaecho webwebsted. Gem din købskvittering for garantikrav.