1. Introduktion
Welcome to the Bernette B35 Sewing Machine user manual. This guide provides essential information for setting up, operating, and maintaining your new sewing machine. The Bernette B35 is a mechanical sewing machine designed for beginners and hobbyists, offering reliability and simplicity for various sewing projects, from clothing to quilting and crafts.
Vigtige sikkerhedsinstruktioner:
- Tag altid stikket ud af maskinen umiddelbart efter brug og før rengøring, fjernelse af dæksler eller foretagelse af brugervedligeholdelsesjusteringer.
- Lad ikke børn betjene maskinen uden opsyn.
- Hold fingrene væk fra alle bevægelige dele. Der kræves særlig forsigtighed omkring symaskinens nål.
- Brug den korrekte stingplade. En forkert plade kan få nålen til at knække.
- Brug ikke bøjede nåle.
- Træk eller skub ikke i stoffet under syning. Dette kan afbøje nålen og få den til at knække.
- Sluk symaskinen, når du foretager justeringer i nåleområdet, f.eks. trådning af nålen, skift af nål, trådning af spolen eller skift af trykfoden.
2. Pakkens indhold
Din Bernette B35 symaskinepakke indeholder følgende:
- Bernette B35 Symaskine
- Fodpedal
- 7 Presser Feet (Zigzag, Buttonhole, Zipper, Satin, etc.)
- Spoler
- Nålesæt
- Søm Ripper
- Skruetrækker
- Lint Brush
- Spoleholdere
- Støvdæksel
- Instruktionsmanual
- Additional accessories may include: Rotary Cutting Mat, Rotary Cutter, Non-slip Frosted Acrylic Ruler, Tailor Scissors, Needle Threader.
3. Opsætning
3.1 Udpakning og placering
Carefully remove the machine from its packaging. Place the machine on a stable, flat surface. Ensure there is adequate lighting and space for your sewing projects.
3.2 Strømtilslutning
Connect the foot pedal cord to the machine's power socket. Plug the power cord into a suitable electrical outlet. Ensure the machine's power switch is in the "OFF" position before connecting.
3.3 Spolning af spolen
Follow these steps to wind the bobbin correctly:
- Læg en trådrulle på trådrulleholderen.
- Før tråden gennem den øverste trådfører og rundt om spolespændingsskiven.
- Placer en tom spole på spolevinderens spindel.
- Vikl tråden med uret et par gange rundt om spolen.
- Skub spolevinderen til højre.
- Gently press the foot pedal to start winding. The machine will stop automatically when the bobbin is full.
- Klip tråden over, og skub spoleapparatets spindel tilbage til venstre.

Billede: Nærbillede view of the bobbin winding area on the Bernette B35 sewing machine, showing the bobbin case and thread path.
3.4 Trådning af overtråden
Proper threading is crucial for good stitch quality. Follow the numbered guides on the machine:
- Løft trykfodsløfteren.
- Placer trådspolen på spoleholderen.
- Før tråden gennem den øverste trådfører.
- Før tråden ned gennem den højre kanal, rundt om spændingsskiverne og op gennem den venstre kanal.
- Hægt tråden ind i trådgiveren fra højre mod venstre.
- Guide the thread down through the remaining guides to the needle.
- Tråd nålen forfra og bagpå.
Billede: Detaljeret view of the Bernette B35 sewing machine's needle area, illustrating the correct upper thread path and the needle threader mechanism.
3.5 Isætning af spolen
After winding, insert the bobbin into the bobbin case and then into the machine's bobbin compartment. Ensure the thread feeds smoothly from the bobbin.
3.6 Montering af trykfoden
To change a presser foot, raise the presser foot lifter. Press the release lever at the back of the presser foot holder to detach the current foot. Align the new presser foot with the pin on the holder and lower the presser foot lifter until it snaps into place.
4. Betjeningsvejledning
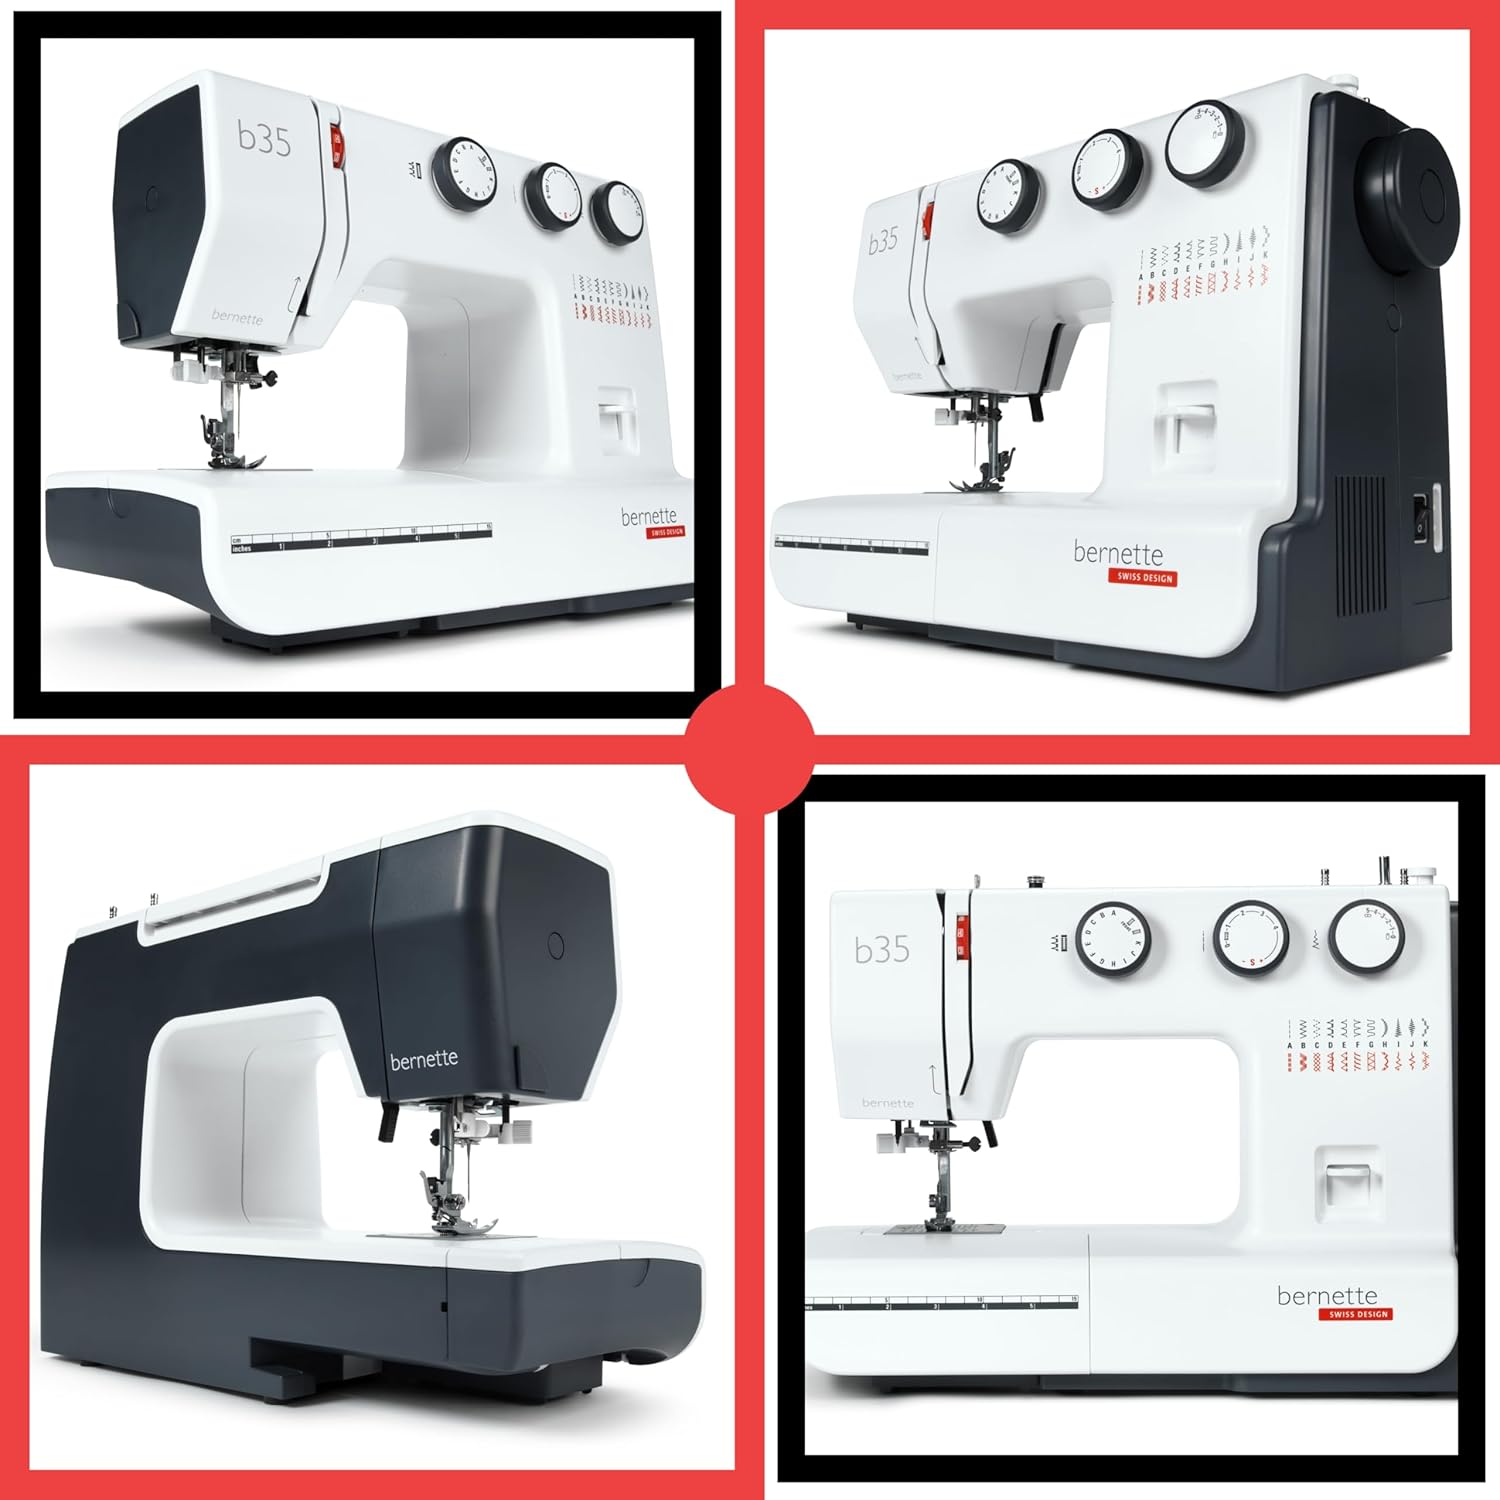
4.1 Valg af sting
The Bernette B35 offers 23 built-in stitches. Use the stitch selector dial on the front of the machine to choose your desired stitch pattern. Refer to the stitch chart printed on the machine for available options.

Billede: Forside view of the Bernette B35 sewing machine, highlighting the stitch selection dial and the stitch pattern chart.
4.2 Justering af stinglængde og -bredde
Use the dedicated dials to adjust the stitch length and width according to your fabric and project requirements. Shorter stitch lengths are for stronger seams, while longer lengths are for basting or decorative stitches. Stitch width controls the zigzag or decorative stitch spread.
4.3 One-Step Automatic Buttonhole
The B35 features a convenient one-step automatic buttonhole function. Attach the buttonhole presser foot, place the button in the foot's holder, and select the buttonhole stitch. The machine will automatically sew all four sides of the buttonhole to the correct size.
4.4 Brug af forskellige trykfødder
Your machine comes with 7 snap-on presser feet for various tasks:
- Zigzag-fod: Standard foot for most sewing tasks.
- Lynlåsfod: For sewing zippers and cording.
- Knaphulsfod: For creating automatic buttonholes.
- Satinsømfod: Til tætte dekorationssting.
- Consult your machine's accessory guide for specific uses of all 7 included feet.

Image: A person operating the Bernette B35 sewing machine, demonstrating its compact design and ease of use for various projects.
5. Vedligeholdelse
Regular maintenance ensures the longevity and optimal performance of your Bernette B35.
5.1 Rengøring
- Tag altid stikket ud af maskinen før rengøring.
- Use the provided lint brush to remove lint and dust from the bobbin area and feed dogs.
- Tør maskinens yderside af med en blød, tør klud. Brug ikke skrappe kemikalier.
5.2 Udskiftning af nål
Change the needle regularly, especially after 8-10 hours of sewing or if it becomes bent or dull. A dull needle can cause skipped stitches or fabric damage. Use only needles suitable for home sewing machines.
5.3 Smøring
The Bernette B35 is designed for minimal lubrication. Refer to the full instruction manual for specific lubrication points if required, or consult an authorized service center.
6. Fejlfinding
Her er løsninger på almindelige problemer, du kan støde på:
| Problem | Mulig årsag | Løsning |
|---|---|---|
| Springet sting over | Forkert nål, bøjet nål, forkert trådning. | Change needle, re-thread machine, ensure correct needle insertion. |
| Trådbrud | Forkert trådspænding, tråd af dårlig kvalitet, bøjet nål, forkert trådning. | Adjust tension, use good quality thread, change needle, re-thread. |
| Stof fodres ikke | Transportøren er sænket, trykfodstrykket er for lavt. | Hæv transportøren, øg trykfodstrykket. |
| Maskine starter ikke | Power cord not plugged in, foot pedal not connected, power switch off. | Kontrollér alle tilslutninger, sørg for at strømafbryderen er tændt. |
If you encounter persistent issues, please refer to the comprehensive troubleshooting section in your full instruction manual or contact Bernette customer support.
7. Specifikationer
Key technical specifications for the Bernette B35 Sewing Machine:
- Model: B35
- Mærke: Bernette
- Produktdimensioner: 11.8 x 14 x 17.1 tommer (29.97 x 35.56 x 43.43 cm)
- Varens vægt: 15.8 pund (7.17 kg)
- Materiale: Metalramme
- Farve: Hvid
- Strømkilde: AC (Electric)
- Indbyggede sømme: 23 (Utility and Decorative)
- Presser Feet Included: 7
- Knaphulstype: One-Step Automatic
- Belysning: LED

Image: Illustration highlighting the heavy-duty metal frame construction and LED lighting feature of the Bernette B35 sewing machine.

Image: The Bernette B35 sewing machine shown with an extension table, emphasizing its suitability for everyday sewing and repairs, and providing extra workspace.
8. Produktet er slutview Video
Watch this official product video for a comprehensive overview of the Bernette B35 Sewing Machine's features and basic operation.
Video: Et detaljeret produkt overview of the Bernette B35 Sewing Machine, demonstrating its various functions and capabilities.
9. Garanti og support
The Bernette B35 Sewing Machine comes with a manufacturer's warranty. Please refer to the warranty card included in your package for specific terms and conditions, including coverage duration and claim procedures.
For technical support, service, or to purchase genuine Bernette accessories, please visit the official Bernette website or contact an authorized Bernette dealer. Keep your purchase receipt as proof of purchase for warranty claims.
Online ressourcer: For additional tutorials and FAQs, visit the official Bernette support page: www.bernette.com/en-US/Support