Indledning
This manual provides instructions for the installation, maintenance, and care of your Generic replacement foam and felt filters. These filters are designed to maintain the performance of your compatible Shark vacuum cleaner by effectively capturing dust and allergens.
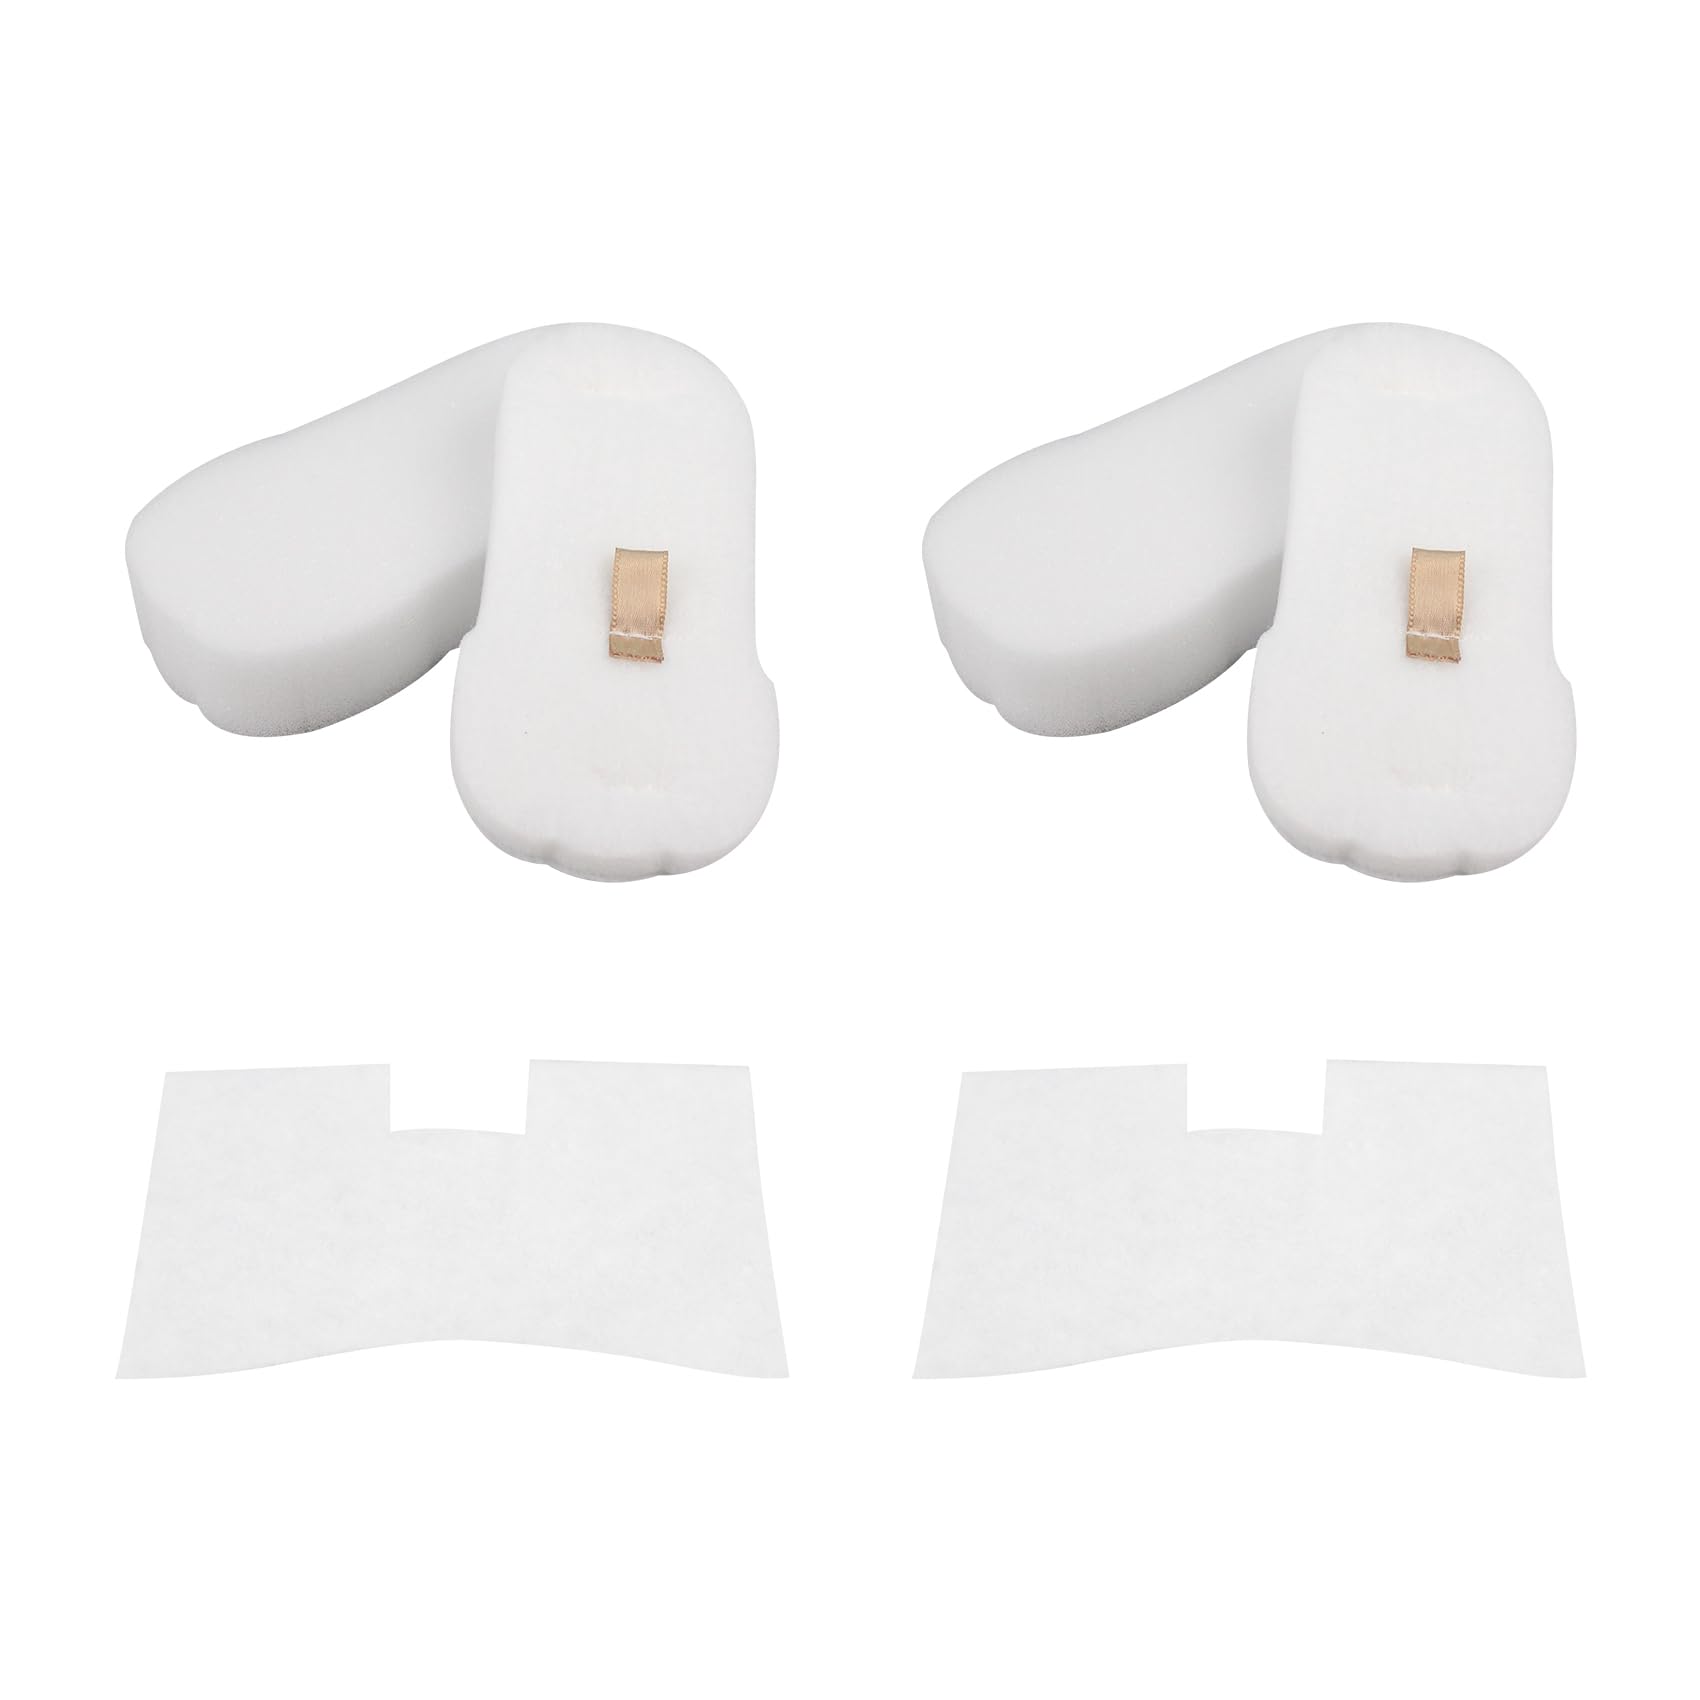
Image: The Generic replacement foam and felt filter kit.
Pakkens indhold
Your replacement filter package typically includes the following components:
- 2 Foam Filters
- 2 Felt Filters
- 2 Post-Motor Filters
Note: The foam and felt filters often work together as a pre-motor filter set, while the post-motor filter is a separate component.

Image: Components of the replacement filter kit, including foam and felt filters.
Kompatibilitet
These replacement filters are compatible with a wide range of Shark vacuum cleaner models, including but not limited to:
- Shark UV580
- Haj HZ752
- Haj HZ250
- Haj HZ702
- Haj HZ602
- Haj HZ700
- Haj HZ600
- Shark HZ600C
- Haj HZ255
- Haj HZ251
- Haj HZ2000
- Haj HZ2002
- Shark HZ2003C
- Shark HH200
- Shark HH202
- Shark HH205
- Shark HS152AMZ
- Shark QS175
- Shark QS2000 Series (e.g., QS2000QCP, QS2000QBL, QS2000QRD, QS2000QBK, QS2000QGN)
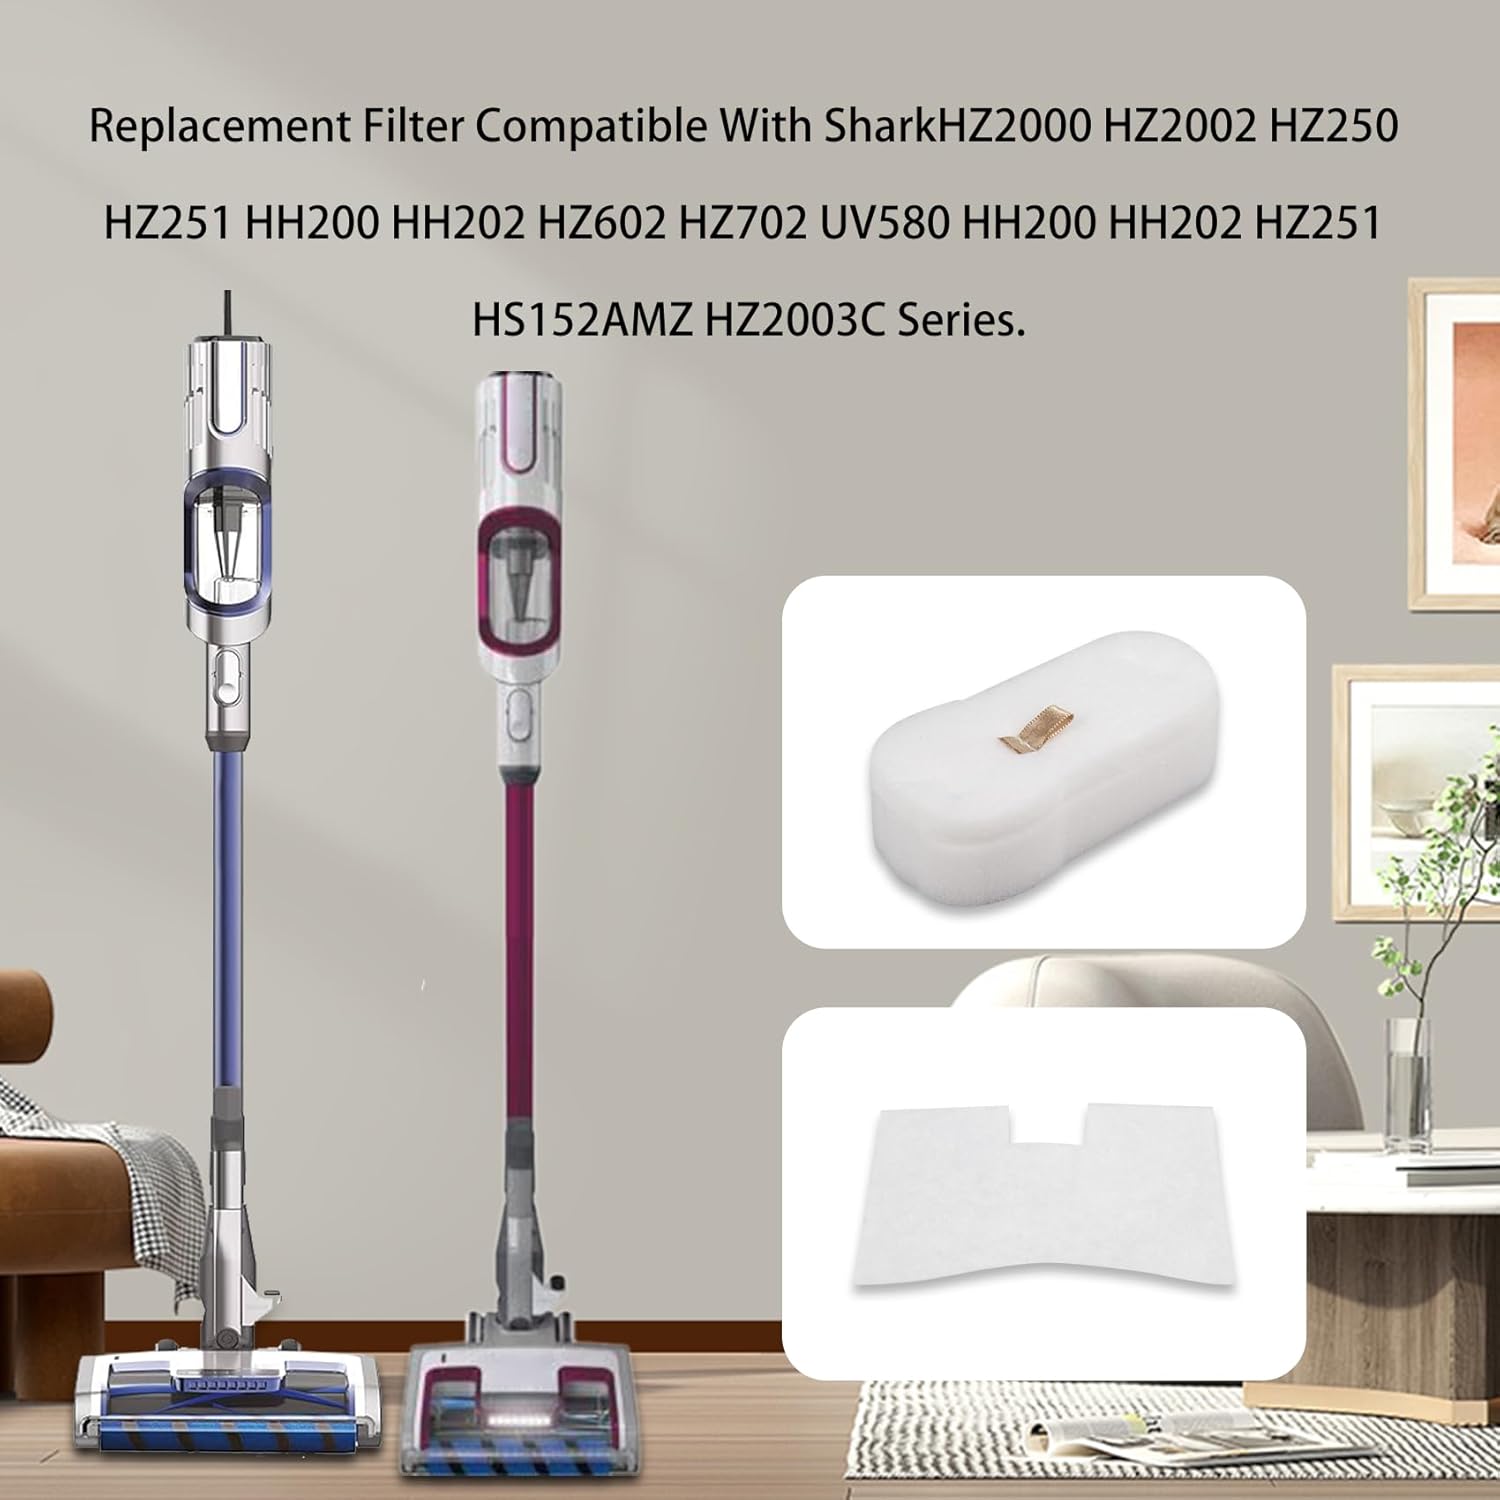
Image: Visual representation of the filters alongside compatible Shark vacuum models.
Installationsvejledning
To replace the filters in your Shark vacuum cleaner, follow these general steps. For specific instructions on accessing the filter compartments, please refer to your vacuum cleaner's original owner's manual, as locations may vary by model.
- Sluk: Ensure your vacuum cleaner is unplugged from the power outlet before beginning any maintenance or filter replacement.
- Find filterrummene: Identify the locations of the foam, felt, and post-motor filters on your specific Shark vacuum model. These are typically found near the dust cup or motor housing.
- Fjern gamle filtre: Carefully remove the old foam, felt, and post-motor filters. Note their orientation for correct installation of the new filters. Dispose of the old filters properly.
- Indsæt nye filtre: Place the new foam and felt filters into their designated slots. Ensure they are seated correctly and snugly. Install the new post-motor filter in its compartment, making sure it fits securely.
- Sikre komponenter: Reassemble any parts of the vacuum that were removed to access the filters, such as the dust cup or filter covers, ensuring all latches are securely fastened.
- Prøve: Plug in your vacuum cleaner and perform a brief test to ensure proper operation and suction.
Vedligeholdelse og pleje
Regular cleaning and timely replacement of your filters are crucial for maintaining optimal vacuum performance and suction power, and for prolonging the life of your appliance.
Rengøring af filtre
The foam and felt filters are reusable and washable. Follow these steps to clean them:
- Fjern filtre: Take out the foam and felt filters from your vacuum cleaner as described in the installation section.
- Skylle: Rinse the filters under running water until the water runs clear. Gently squeeze out excess water to remove dirt and debris.
- Lufttør: Allow the filters to air dry completely for at least 24 hours before reinstalling them. Do not use a machine dryer or any heat source to dry the filters, as this can damage the material and compromise filter integrity.
- Geninstaller: Once completely dry, reinstall the filters into your vacuum cleaner following the installation instructions.

Image: Washing the foam filter under running water.
Udskiftningsplan
For optimal cleaning results and to maintain peak performance, it is recommended to replace the vacuum filters every 3-6 months, depending on usage frequency and the amount of debris collected.
Fejlfinding
If you encounter issues with your vacuum cleaner after installing the new filters, consider the following:
Reduceret sugning
If you experience reduced suction, first ensure that all filters are clean and properly installed. Clogged or incorrectly seated filters are a common cause of decreased performance. If cleaning does not resolve the issue, and the filters are past their recommended lifespan, consider replacing them.
Filter Not Fitting
Double-check the compatibility list provided in this manual to ensure these filters are designed for your specific Shark vacuum model. Ensure the filters are oriented correctly and fully seated in their compartments during installation. Do not force filters into place.
Produktspecifikationer
| Feature | Detalje |
|---|---|
| Materiale | Skum |
| Genanvendelighed | Genanvendelig, Vaskbar |
| Producentens varenummer | XFFKHZ2000, XPMFHZ2000 |
| Approximate Foam Filter Dimensions (L x W x H) | 5 cm x 2.4 cm x 1.3 cm |
| Approximate Felt Filter Dimensions (L x W) | 4.9 x 3.8 cm |

Image: Detailed dimensions of the foam and felt filters.
Garanti og support
As per available information, this product does not come with an explicit warranty description. However, if you encounter any problems or if the product is not suitable for your vacuum cleaner, after-sales service is available. Please contact the seller or manufacturer (XSGXS) for assistance and support regarding your purchase.