1. Introduktion
This manual provides detailed instructions for the installation, operation, and maintenance of the ZSUS-X79 VG2 Motherboard Kit. This kit includes the ZSUS-X79 VG2 Motherboard, an Intel LGA2011 Xeon E5 2689 C2 CPU, and 1 x 16 GB 1600MHz ECC DDR3 RAM memory.
The ZSUS-X79 VG2 Motherboard is designed to support Intel LGA2011 V1/V2 Series Processors and features a H61 chipset. It offers dual-channel DDR3 memory support, NVMe M.2, and SATA connectivity, making it suitable for various computing needs.

Figur 1.1: Overview of the ZSUS-X79 VG2 Motherboard Kit components.
2. Produktkomponenter
The ZSUS-X79 VG2 Motherboard Kit typically includes the following items:
- ZSUS-X79 VG2 Motherboard
- Intel LGA2011 Xeon E5 2689 C2 Processor
- 1 x 16 GB 1600MHz ECC DDR3 RAM Module
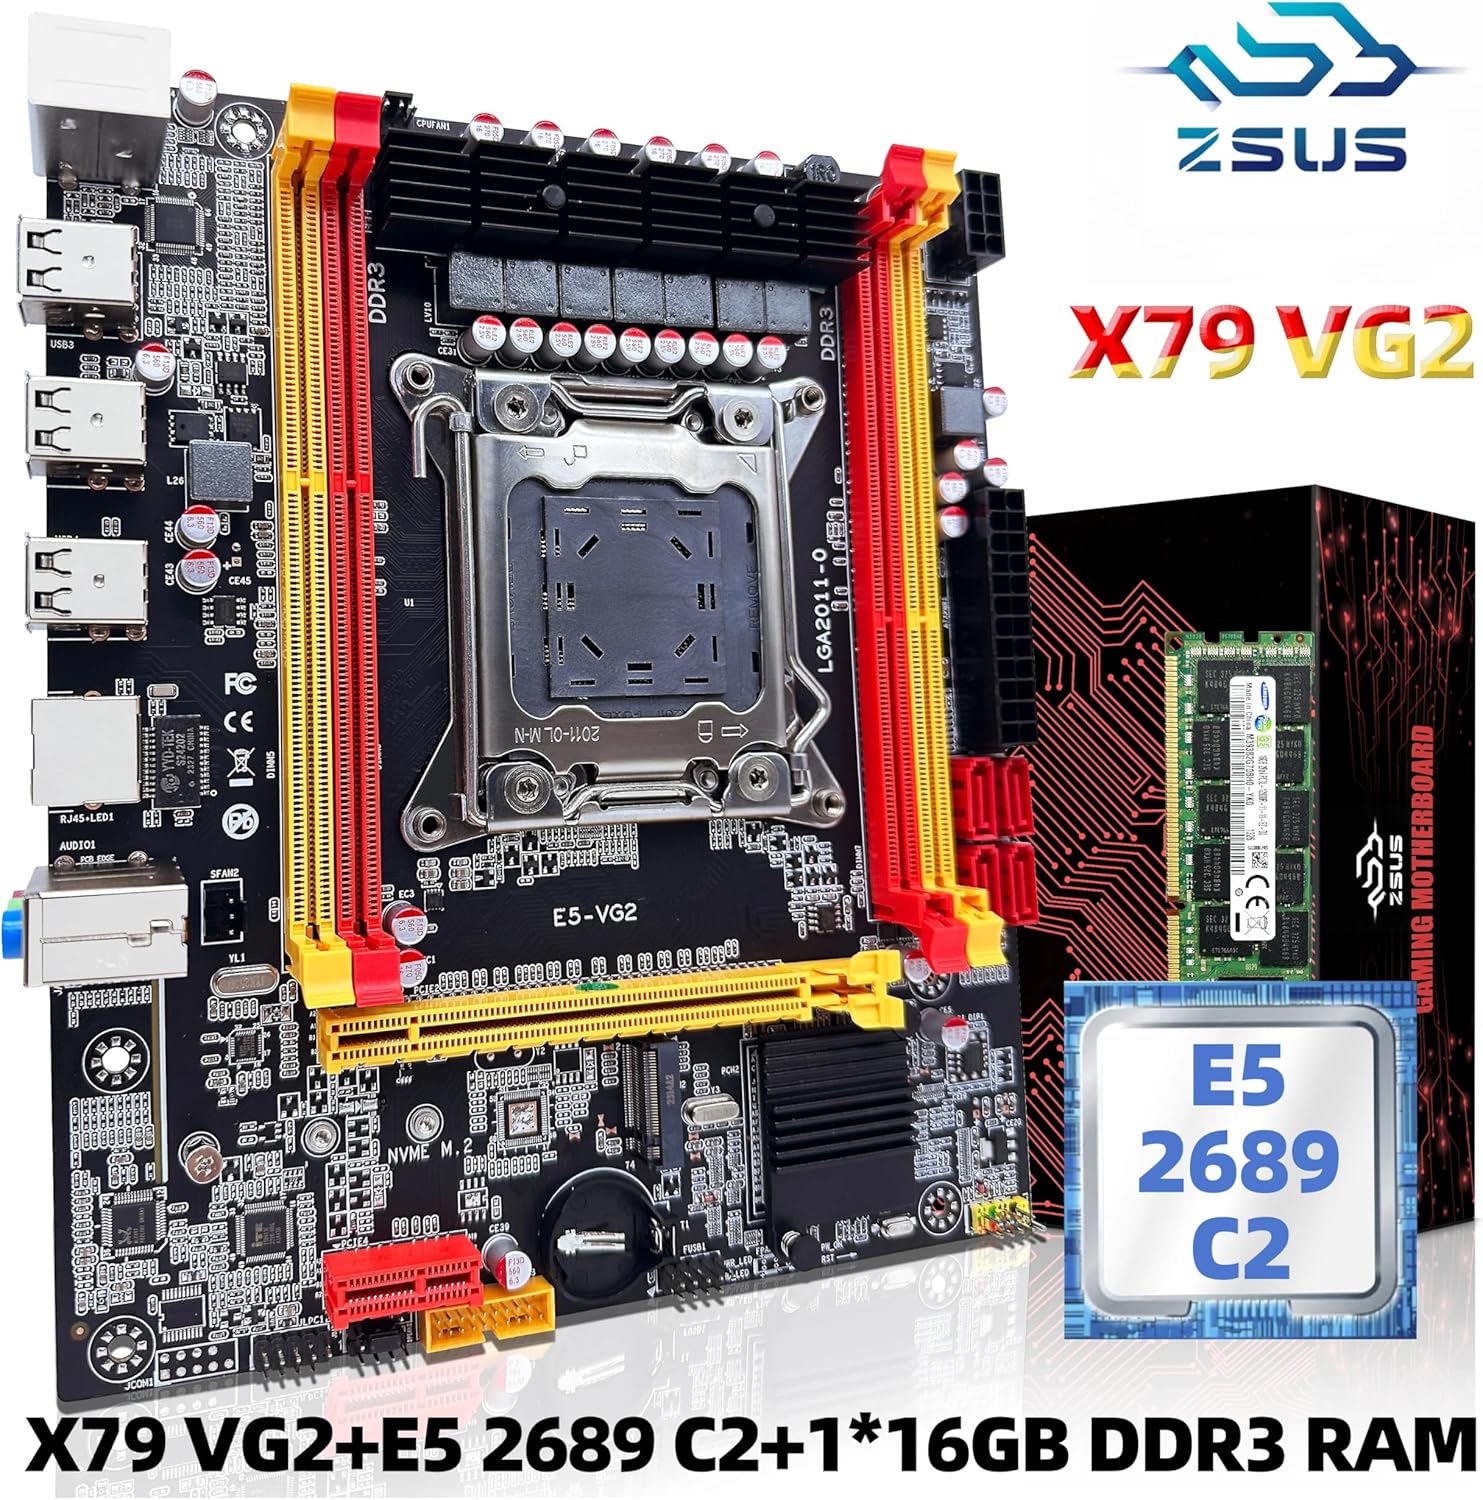
Figure 2.1: ZSUS-X79 VG2 Motherboard Kit showing the motherboard, CPU, and RAM module.
3. Opsætningsvejledning
3.1. Forberedelse
- Sørg for at du har en ren og statiskfri arbejdsplads.
- Gather necessary tools: Phillips head screwdriver, zip ties (optional for cable management).
- Aflad statisk elektricitet ved at berøre en jordforbundet metalgenstand, før du håndterer komponenterne.
3.2. Installation af bundkort
- Align the motherboard with the standoffs inside your computer case.
- Fastgør bundkortet med skruer, og sørg for, at det sidder godt fast.
3.3. CPU Installation (Intel LGA2011)
- Gently open the CPU socket retention arm.
- Carefully place the Intel Xeon E5 2689 C2 CPU into the LGA2011 socket, aligning the gold triangle on the CPU with the triangle on the socket. Do not force the CPU.
- Luk fastholdelsesarmen for at fastgøre CPU'en.
- Påfør et tyndt, jævnt lag termisk pasta på toppen af CPU'en.
- Installer CPU-køleren i henhold til producentens anvisninger.
3.4. RAM-installation (DDR3)
- Locate the DDR3 memory slots on the motherboard. The ZSUS-X79 VG2 has 4 DDR3 slots.
- Åbn klipsene i begge ender af hukommelsespladsen.
- Juster hakket på 16 GB DDR3 RAM-modulet med nøglen i hukommelsesporten.
- Tryk godt ned i begge ender af RAM-modulet, indtil klipsene klikker på plads.
3.5. Storage Installation (NVMe M.2 & SATA)
- NVMe M.2: Locate the M.2 slot. Insert your NVMe M.2 SSD at an angle and then gently push it down, securing it with the provided screw.
- SATA-enheder: Connect your SATA SSDs or HDDs to the SATA 2.0 ports using SATA data cables. Connect the power cables from your power supply to these devices.
3.6. Strømforbindelser
- Tilslut 24-bens ATX-strømstikket fra din strømforsyning til hovedstrømstikket på bundkortet.
- Connect the 8-pin CPU power connector (ATX 12V) from your power supply to the corresponding socket near the CPU.
3.7. Perifere forbindelser
Refer to the diagram below for common port locations:

Figure 3.1: ZSUS-X79 VG2 Motherboard layout with labeled ports and connectors.
- USB-porte: Connect USB devices to the available USB 2.0 ports (6 total).
- Lyd: Connect speakers, headphones, or microphones to the audio jacks (LINE OUT, LINE IN).
- Ethernet: Connect an Ethernet cable to the Gigabit Ethernet port for network access.
- PCIe-slots: Install graphics cards or other expansion cards into the PCIe x16 or PCIe x1 slots.
- Frontpanelstik: Connect your case's front panel cables (power button, reset button, USB, audio) to the corresponding headers on the motherboard. Consult your case manual for specific pin assignments.
4. Betjeningsvejledning
4.1. Første opstart
- Når du har samlet alle komponenter, skal du tilslutte din skærm, tastatur og mus.
- Tilslut netledningen til din strømforsyning, og tænd for afbryderen.
- Tryk på tænd/sluk-knappen på computerens kabinet.
- Systemet bør tænde og vise BIOS/UEFI-velkomstskærmen.
4.2. BIOS/UEFI-opsætning
To enter the BIOS/UEFI setup utility, press the designated key (commonly DEL or F2) repeatedly during the initial boot sequence. In the BIOS, you can configure boot order, system time, and other hardware settings.
4.3. Installation af operativsystem
Når BIOS er konfigureret, kan du fortsætte med at installere dit foretrukne operativsystem (f.eks. Windows, Linux) fra et bootbart USB-drev eller en DVD.
5. Vedligeholdelse
- Fjernelse af støv: Fjern regelmæssigt støv fra indersiden af computerkabinettet, især fra ventilatorer og køleplader, med trykluft. Sørg for, at systemet er slukket og frakoblet, før du rengør det.
- Driver opdateringer: Keep your motherboard drivers (chipset, audio, LAN) and graphics card drivers updated for optimal performance and stability. Visit the manufacturer's webwebsted for de nyeste drivere.
- BIOS-opdateringer: Only update the BIOS if necessary (e.g., for new CPU support, bug fixes, or stability improvements). Follow the manufacturer's instructions carefully, as an improper BIOS update can damage the motherboard.
- Kabelstyring: Sørg for, at kablerne er pænt ført for at forbedre luftstrømmen og forhindre interferens.
6. Fejlfinding
- Ingen strøm: Check all power connections (24-pin ATX, 8-pin CPU, power supply switch, wall outlet). Ensure the case's power button is correctly connected to the motherboard.
- Ingen visning: Ensure the monitor is connected to the graphics card (if installed) or integrated graphics port. Reseat the graphics card and RAM modules. Check monitor input selection.
- Systembiplyde: A series of beeps during startup usually indicates a hardware issue. Consult your motherboard's specific beep codes (if available) or common POST beep codes to diagnose the problem (e.g., RAM, CPU, GPU).
- Komponent ikke fundet: If a component (e.g., SSD, RAM, PCIe card) is not detected, ensure it is properly seated and connected. Try reseating it or testing it in a different slot if available.
- Problemer med operativsystemet: If the OS fails to boot, try booting into Safe Mode or using recovery options. Ensure boot order is correct in BIOS.
7. Specifikationer
The following table outlines the key technical specifications for the ZSUS-X79 VG2 Motherboard Kit:
| Feature | Specifikation |
|---|---|
| Model | ZSUS X79 VG2 |
| CPU socket | Intel LGA2011 V1/V2 Series Processor |
| Chipsæt | H61 chipset series |
| Hukommelsestype | DDR3 (ECC REG supported) |
| Hukommelsessokler | 4 x DDR3 |
| Hukommelsesfrekvens | 1066/1333/1600/1866MHz |
| Maksimal hukommelseskapacitet | 128 GB |
| Lyd | 1 x Audio interface (LINE OUT, LINE IN) |
| Ethernet | 1 x Gigabit Ethernet Realtek card |
| USB interface | 6 x USB 2.0 (4 rear, 2 via internal header) |
| PCIe Slots | 2 x PCIe x16, 1 x PCIe x1 |
| SATA porte | 4 x SATA 2.0 |
| M.2-port | 1 x M.2 Port (PCIE M.2 or SATA M.2 Compatible) |
| Strømstik | 1 x 24-bens ATX, 1 x 8-bens ATX 12V |
| Dimensioner | 217 x 187 mm |

Figure 7.1: ZSUS-X79 VG2 Motherboard dimensions.
8. Garanti og support
For garantioplysninger og teknisk support henvises til den dokumentation, der fulgte med dit køb, eller kontakt sælgeren direkte. Gem dit købsbevis i tilfælde af garantikrav.