
1. Introduktion
This manual provides essential information for the proper setup, operation, and maintenance of your NexiGo NG17QH 4K Portable Monitor. Please read this manual thoroughly before using the device to ensure optimal performance and to prevent damage. Keep this manual for future reference.

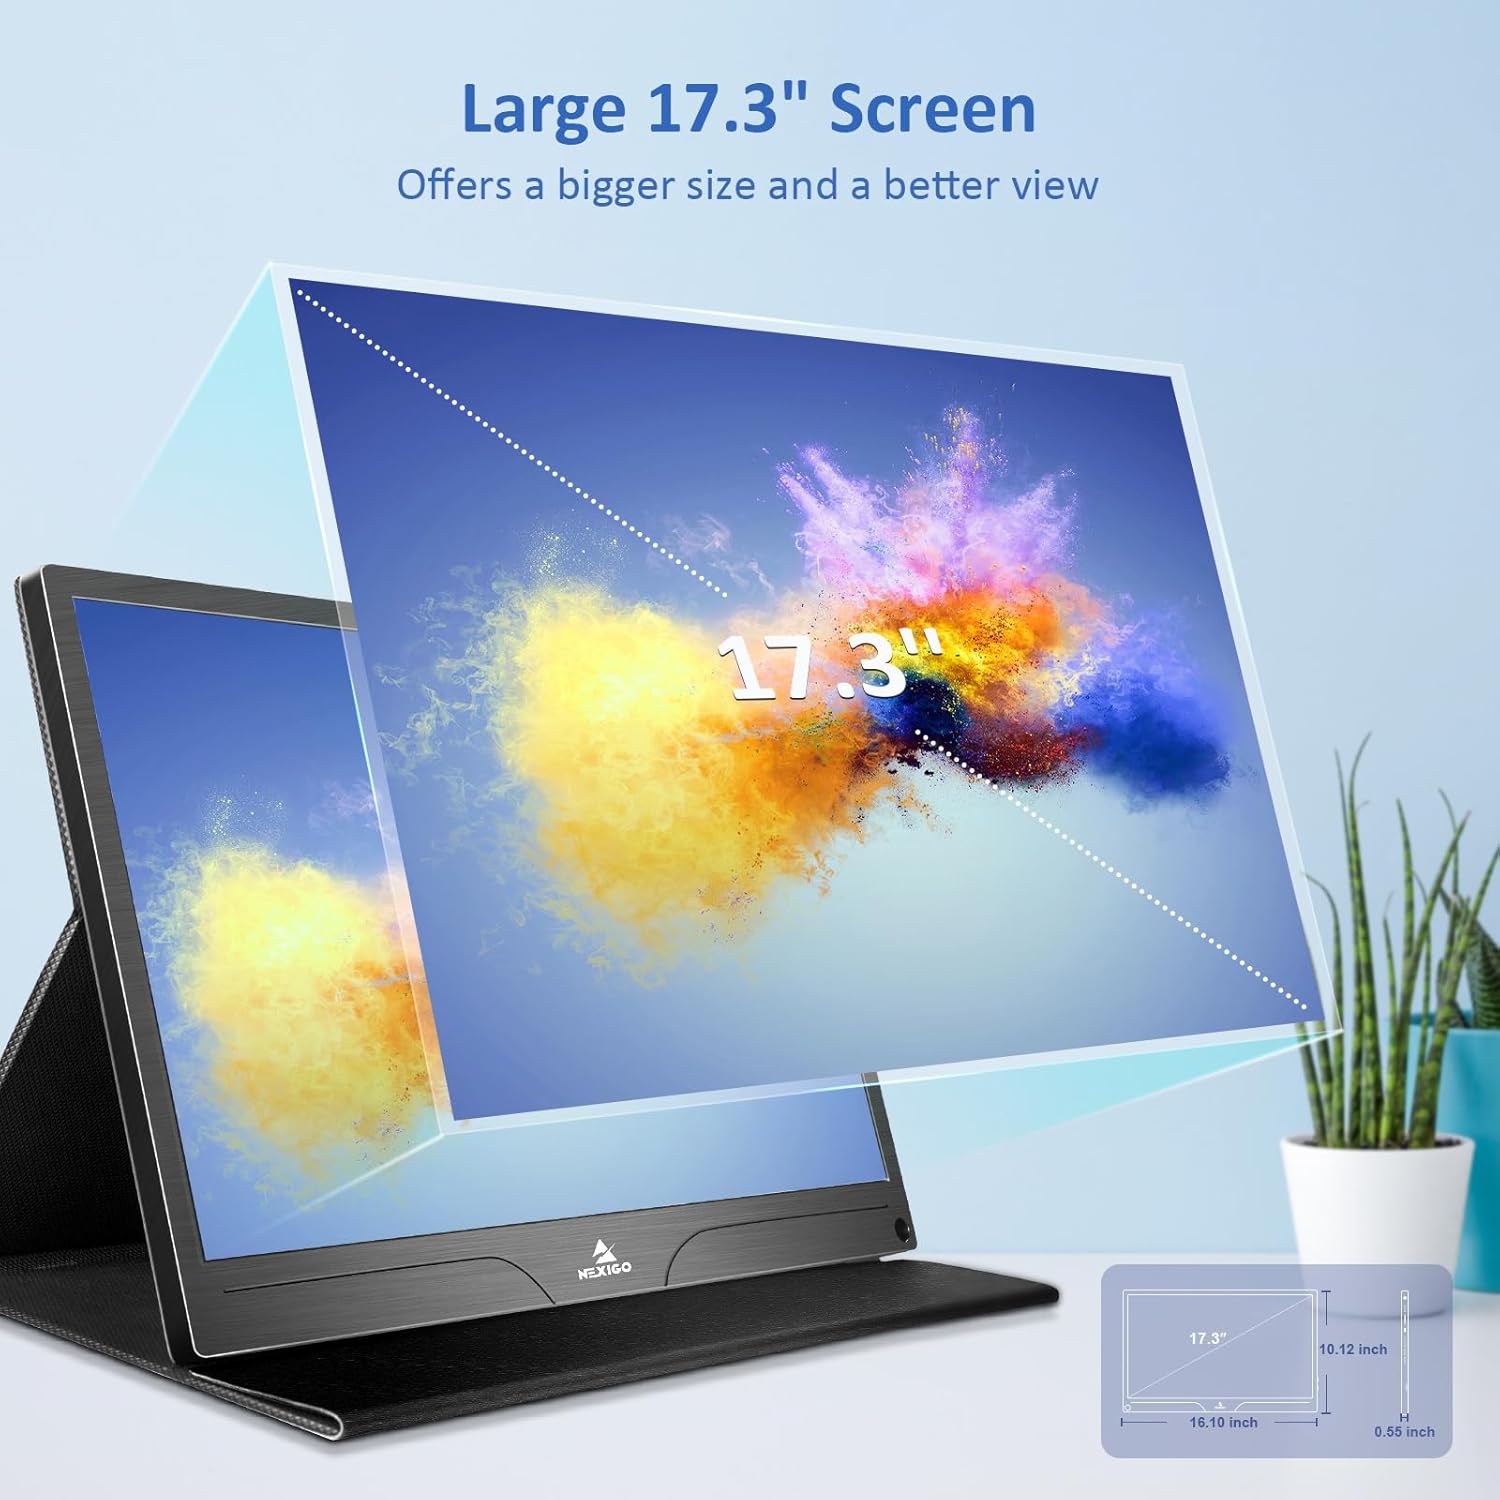
Image: The NexiGo NG17QH 4K Portable Monitor, showcasing its sleek design and smart cover.
2. Pakkens indhold
Verify that all items listed below are included in your package. If any items are missing or damaged, please contact NexiGo customer support.
- NexiGo NG17QH 4K Portable Monitor
- Smart Cover / Stand
- USB-C til USB-C kabel
- Mini HDMI til HDMI-kabel
- USB-A til USB-C strømkabel
- Strømadapter
3. Produktet er slutview
Familiarize yourself with the ports and controls on your NexiGo NG17QH portable monitor.
Billede: Detaljeret view of the monitor's ports and controls.
Porte og knapper:
- Fuldt udstyret USB-C-port: Used for power, video, and audio transmission with compatible devices.
- Mini HDMI-port: Used for video and audio transmission with HDMI-compatible devices.
- Power knap: Press and hold to power the monitor on or off. Short press to access the OSD menu.
- Strømindikatorlys: Indicates the monitor's power status.
- Multi-Function Key: Used to navigate the OSD menu and adjust settings.
- OTG Interface (USB-C): Allows connection of USB peripherals like keyboards or mice when the monitor is connected via the full-featured USB-C port.
- 3.5 mm hovedtelefonstik: Til tilslutning af eksterne lydenheder.
4. Opsætning
Follow these steps to set up your NexiGo NG17QH portable monitor.
4.1 Strømforsyning til skærmen
- Using a single USB-C cable (Full-Featured): If your device (laptop, smartphone) supports full-featured USB-C output, connect the monitor to your device using the provided USB-C to USB-C cable. This single cable can provide both power and display signal.
- Using an external power adapter: If your device does not provide sufficient power or if you are using the Mini HDMI port, connect the provided USB-A to USB-C power cable to the monitor's full-featured USB-C port and plug the USB-A end into the power adapter, then into a wall outlet.
4.2 Tilslutning til enheder
- Laptop/PC (USB-C): Connect the monitor to your laptop/PC using the USB-C to USB-C cable. Ensure your laptop's USB-C port supports DisplayPort Alternate Mode.
- Laptop/PC (HDMI): Connect the monitor to your laptop/PC using the Mini HDMI to HDMI cable. Ensure the monitor is powered externally via the USB-C power cable.
- Gaming Consoles (PS5, Xbox, Switch): Connect the monitor to your console using the Mini HDMI to HDMI cable. Ensure the monitor is powered externally via the USB-C power cable.
- Smartphone: Connect the monitor to your smartphone using the USB-C to USB-C cable. Ensure your smartphone's USB-C port supports video output.
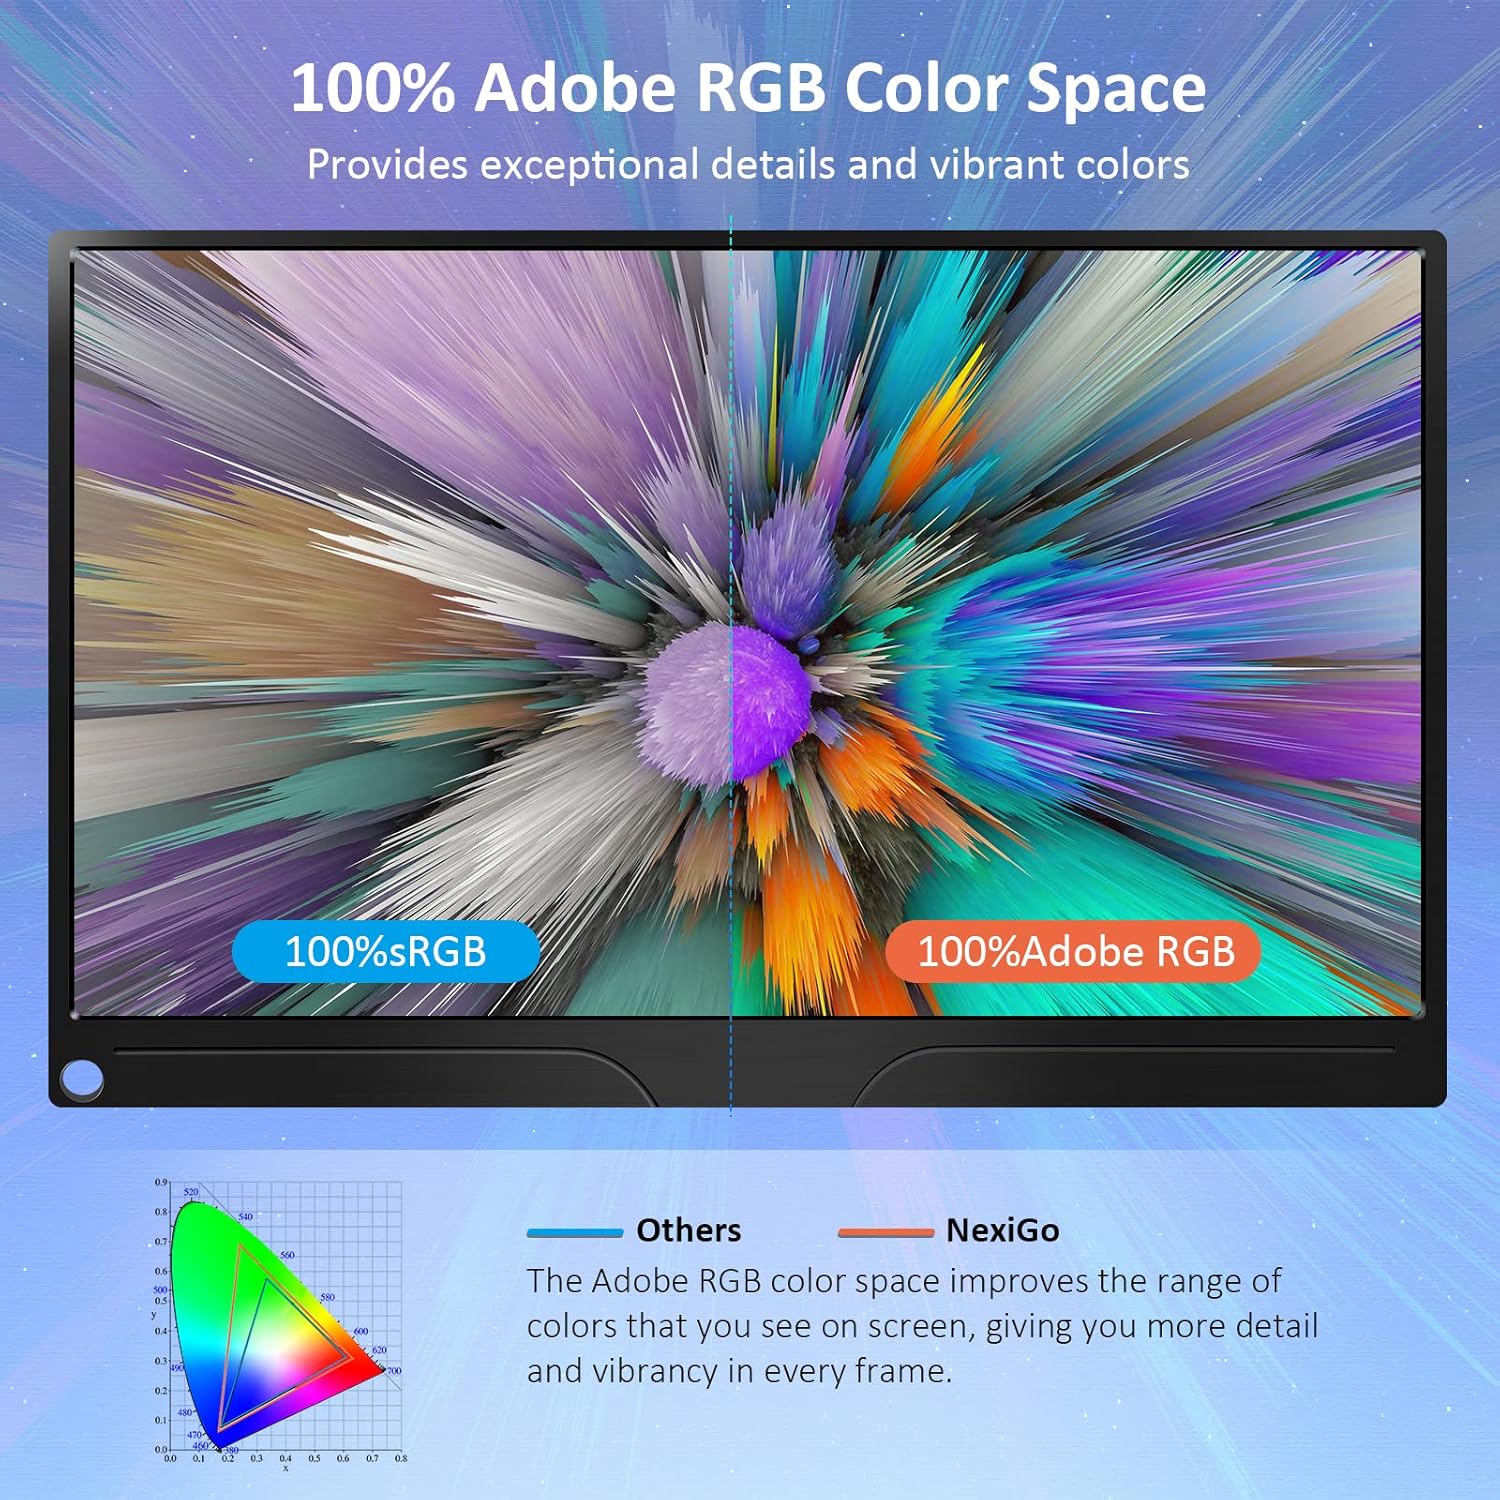
Image: The portable monitor connected to a laptop, demonstrating an extended display setup.
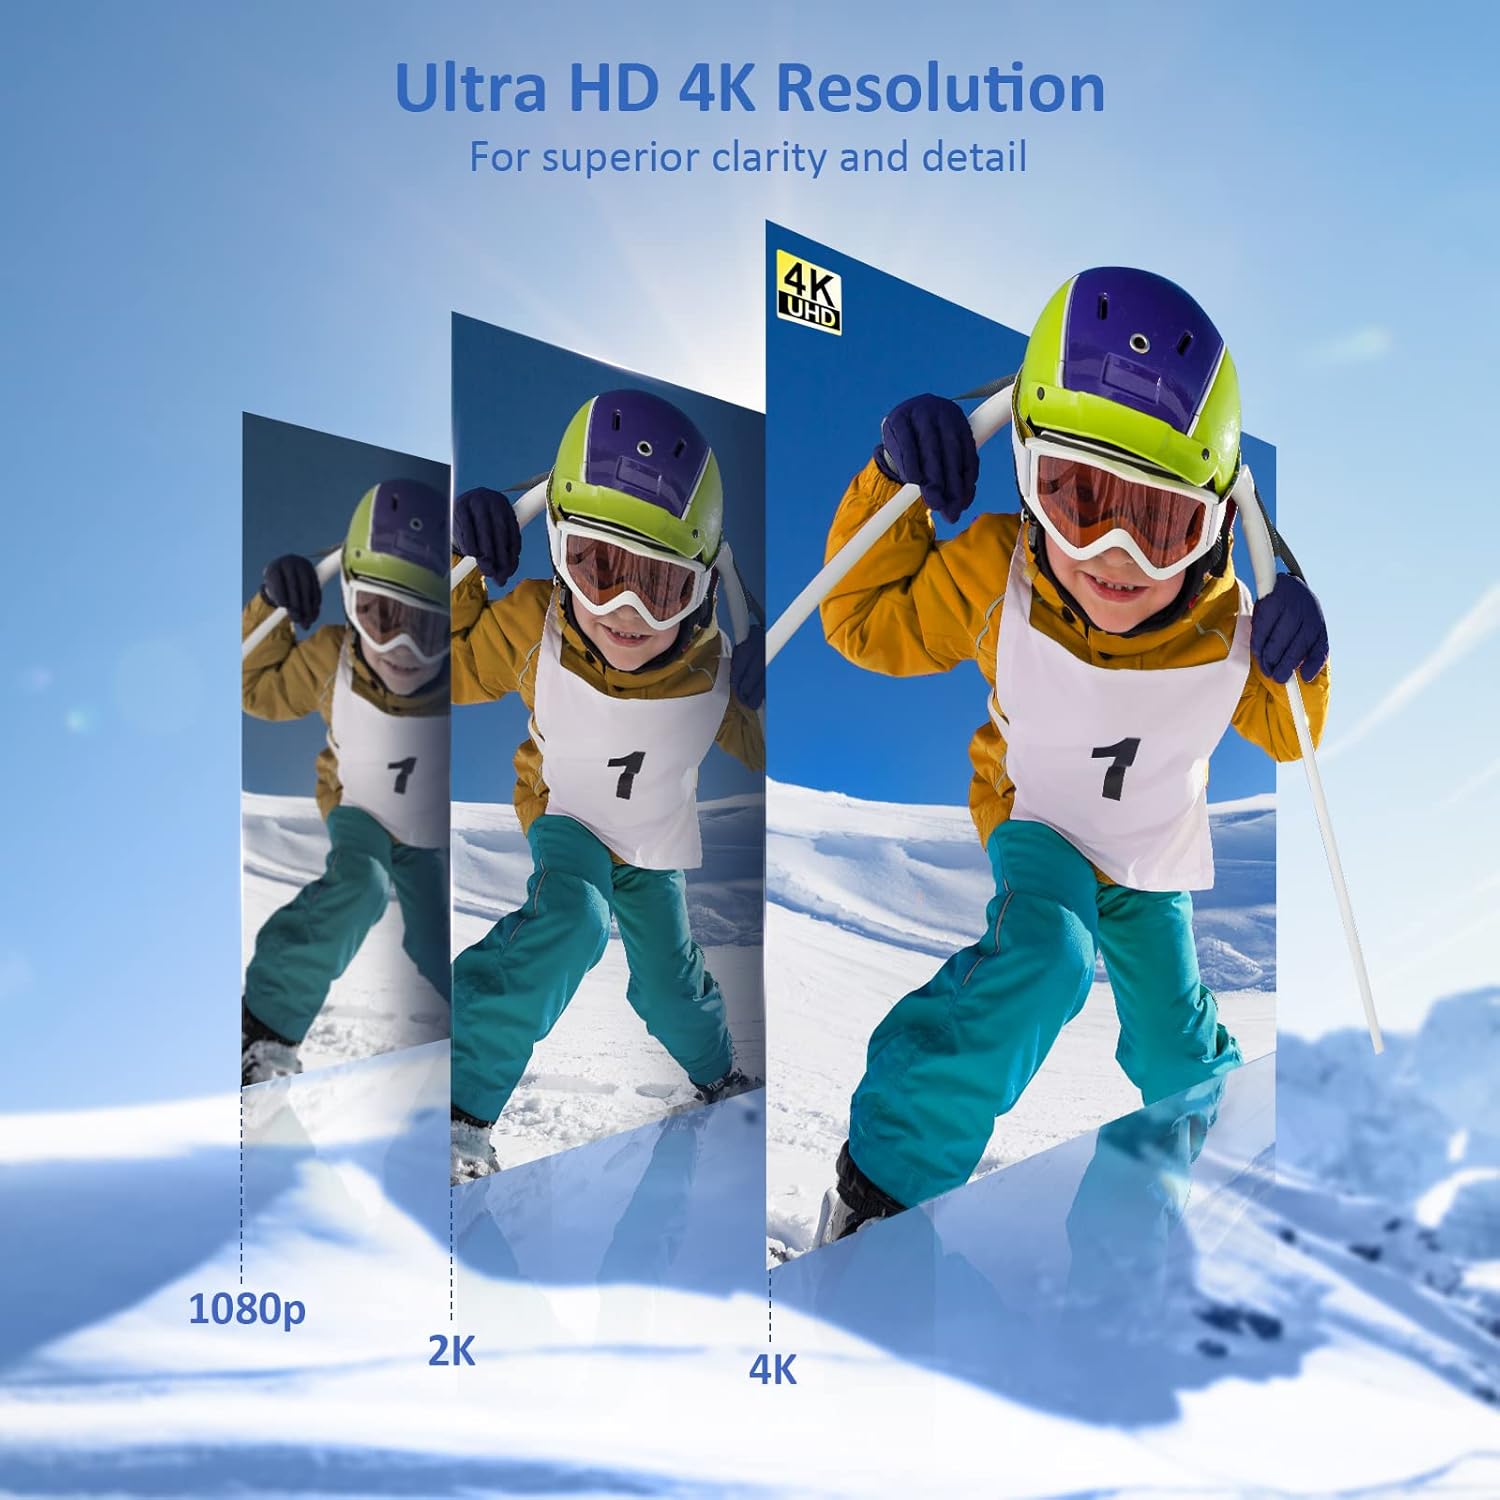
Image: The portable monitor connected to a smartphone, displaying content.
4.3 VESA-montering
The monitor is compatible with VESA mounts (75x75mm). To mount the monitor, remove the smart cover and attach it to a compatible VESA arm or wall mount using appropriate screws (not included).
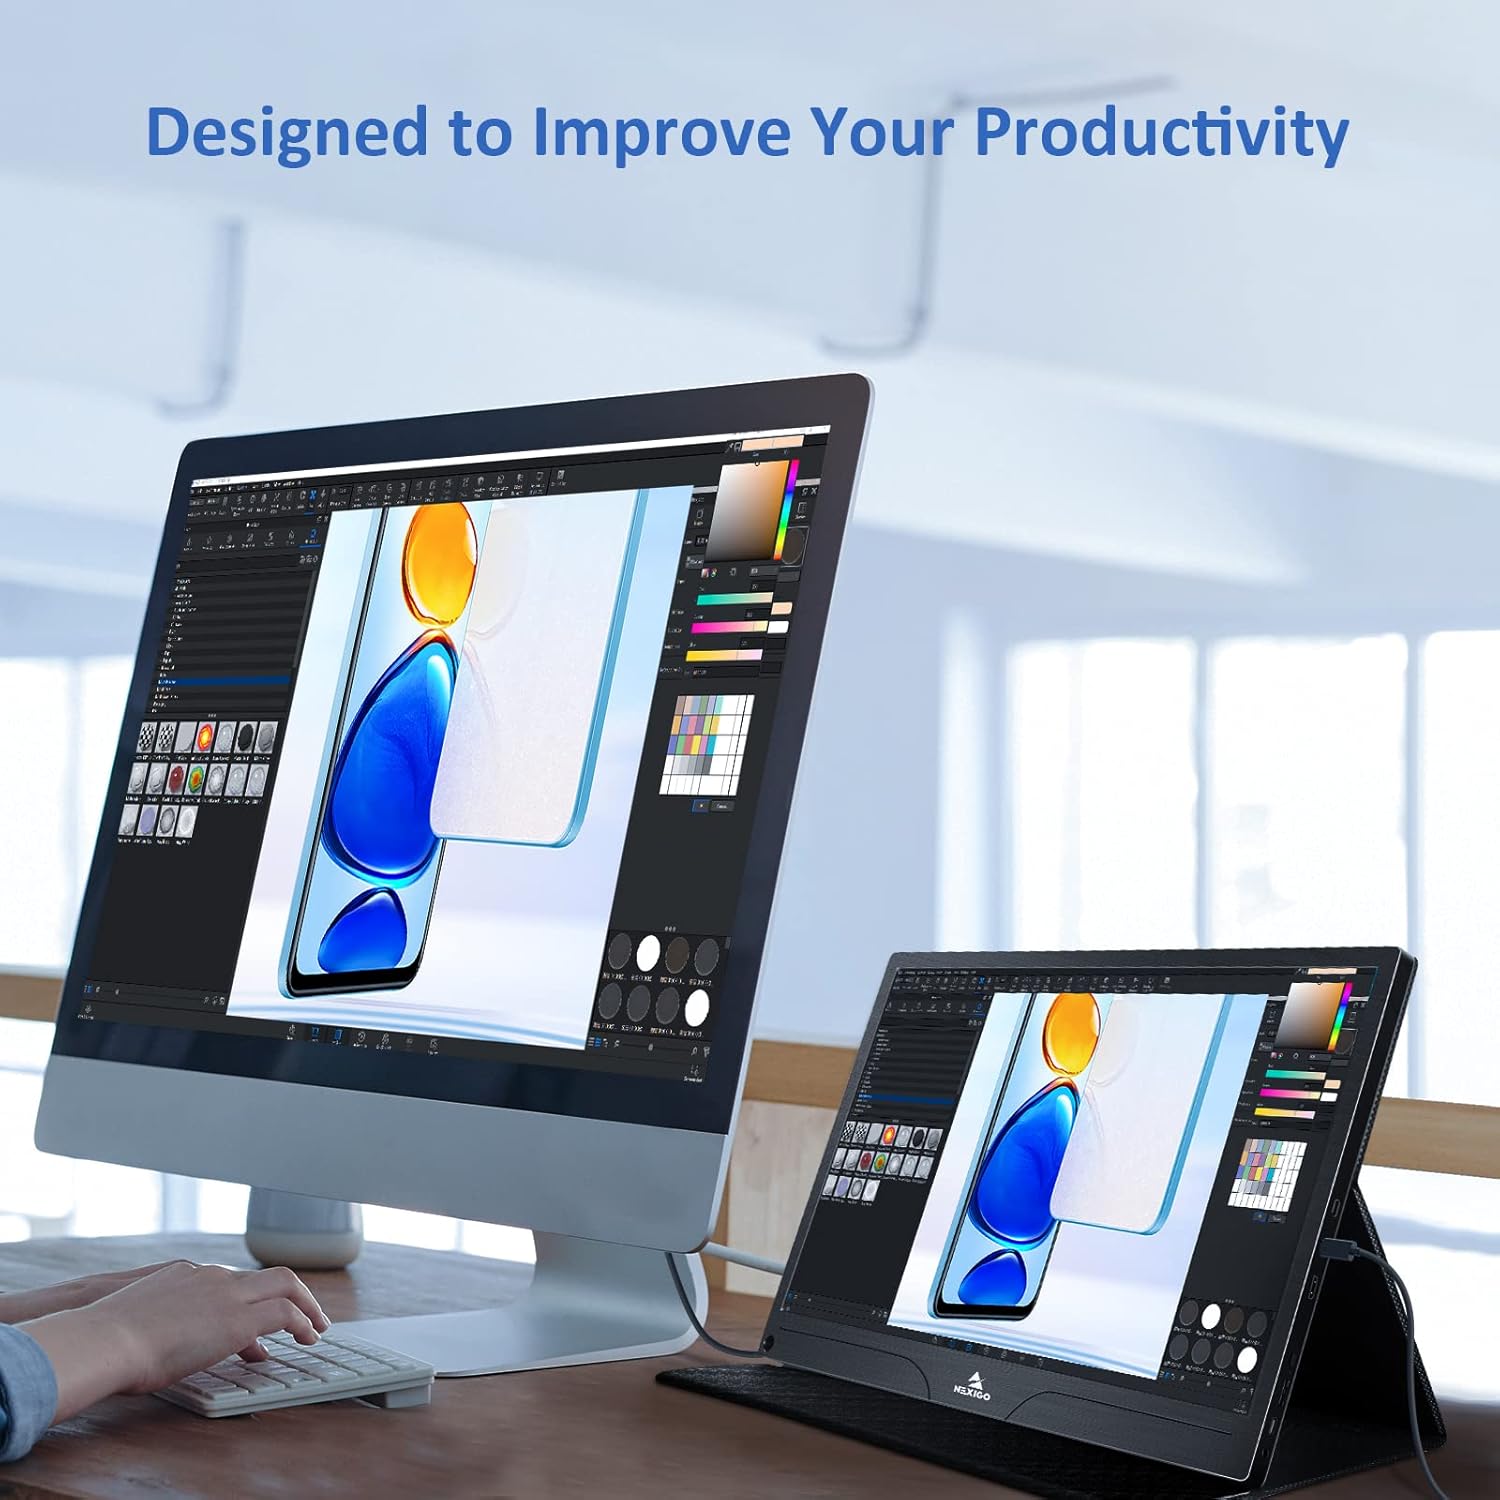
Image: The monitor mounted on a VESA-compatible desk arm.
5. Betjening af monitoren
5.1 Tænd/sluk
Tryk og hold på Power knap for approximately 3 seconds to turn the monitor on or off.
5.2 On-Screen Display (OSD) menu
The OSD menu allows you to adjust various display settings. Short press the Power knap to open the OSD menu. Use the Multifunktionstast for at navigere og vælge muligheder.
- Op ned: Move the Multi-Function Key up or down to navigate through menu options.
- Indtast: Press the Multi-Function Key inward to select an option or confirm a setting.
- Udgang: Press the Power Button to exit the current menu or the OSD.
5.3 Skærmindstillinger
- Lysstyrke/kontrast: Juster den samlede lysstyrke og kontrast på skærmen.
- Farveindstillinger: Rediger farvetemperatur, farvetone og mætning.
- HDR-tilstand: Enable or disable High Dynamic Range for enhanced visual quality with compatible content.
- FreeSync: Enable FreeSync for smoother gaming experiences by synchronizing the monitor's refresh rate with your GPU's frame rate.
- Aspektforhold: Adjust the display aspect ratio (e.g., 16:9, 4:3).
5.4 Lydindstillinger
Adjust the volume of the built-in dual speakers or connected headphones through the OSD menu.
6. Vedligeholdelse
- Rengøring af skærmen: Brug let en blød, fnugfri klud damprengøres med vand eller et ikke-slibende skærmrensemiddel. Sprøjt ikke væske direkte på skærmen.
- Rengøring af Casing: Tør skærmen c afasing with a soft, dry cloth. Avoid using harsh chemicals or solvents.
- Opbevaring: When not in use, store the monitor in a cool, dry place, preferably in its original packaging or smart cover to protect it from dust and scratches.
- Undgå ekstreme forhold: Udsæt ikke skærmen for ekstreme temperaturer, fugtighed eller direkte sollys.
7. Fejlfinding
Hvis du støder på problemer med din skærm, kan du se følgende tabel for almindelige problemer og løsninger.
| Problem | Mulig årsag | Løsning |
|---|---|---|
| Ingen visning / "Intet signal"-meddelelse | Forkert kabeltilslutning, utilstrækkelig strøm, forkert inputkilde. | Ensure cables are securely connected. Verify external power is supplied if needed. Check the input source setting in the OSD menu. |
| Skærmen tænder ikke | Ingen strømforsyning, defekt kabel. | Ensure the power adapter is connected and working. Try a different USB-C cable or power source. |
| Flimrende skærm | Faulty cable, unstable power, incompatible resolution/refresh rate. | Replace the cable. Ensure stable power. Adjust the display resolution or refresh rate on your connected device. |
| Ingen lyd | Volume too low, incorrect audio output setting, faulty cable. | Increase volume via OSD or connected device. Ensure the monitor is selected as the audio output device on your source. Check cable connections. |
| OTG port not working | Monitor not powered via full-featured USB-C, device incompatibility. | Ensure the monitor is connected to a device via the full-featured USB-C port that supports OTG functionality. |
8. Specifikationer
Detailed technical specifications for the NexiGo NG17QH 4K Portable Monitor.
| Feature | Specifikation |
|---|---|
| Modelnummer | NG17QH |
| Skærmstørrelse | 17.3 tommer |
| Opløsning | 3840 x 2160 (4K UHD) |
| Paneltype | IPS |
| Lysstyrke | 400 cd/m² |
| Farveskala | 100% Adobe RGB |
| Aspektforhold | 16:9 |
| Viewi vinkel | 178° |
| Funktioner | FreeSync, HDR, Eye Care Screen |
| Højttalere | Dual Built-in Speakers |
| Forbindelse | Full-Featured USB-C (x1), Mini HDMI (x1), OTG USB-C (x1), 3.5mm Audio Jack (x1) |
| VESA-kompatibilitet | 75 x 75 mm |
| Produktdimensioner | 16.1 x 10.12 x 0.55 tommer |
| Varens vægt | 6.39 pund |

Image: Visual comparison of 1080p, 2K, and 4K resolutions, demonstrating the clarity of the 4K display.
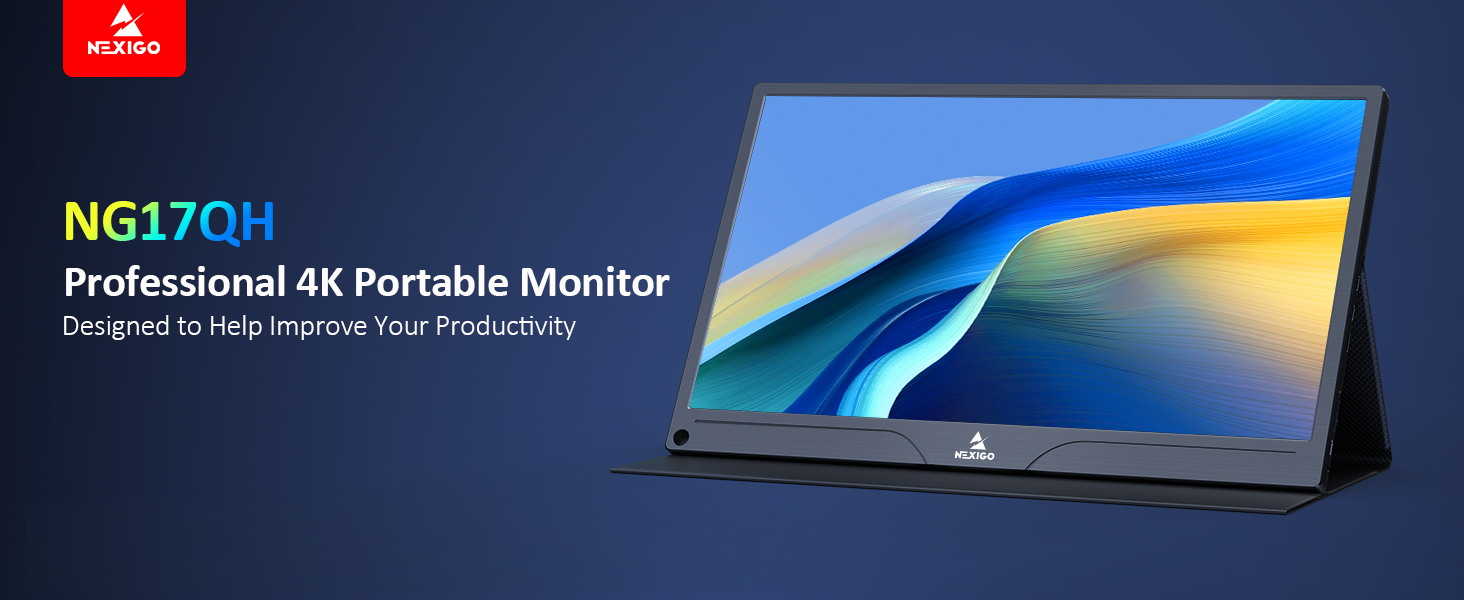
Image: A visual representation of 100% Adobe RGB color space coverage, indicating vibrant and detailed color reproduction.
9. Garanti og support
Your NexiGo NG17QH Portable Monitor comes with a manufacturer's warranty. For detailed warranty information, product registration, or technical support, please visit the official NexiGo webwebstedet eller kontakt deres kundeservice direkte. Gem din købskvittering som købsbevis i tilfælde af garantikrav.
NexiGo Official Webwebsted: www.nexigo.com