1. Introduktion
Thank you for choosing the Primo Touch Compact Tabletop Water Dispenser. This manual provides essential information for the safe and efficient operation of your new appliance. Please read these instructions thoroughly before installation and use, and retain them for future reference.
2. Sikkerhedsoplysninger
- Always connect the dispenser to a grounded electrical outlet.
- Do not immerse the dispenser, power cord, or plug in water or other liquids.
- Hold dispenseren væk fra direkte sollys og varmekilder.
- Sørg for korrekt ventilation omkring enheden.
- Tag stikket ud af dispenseren, før du rengør eller udfører vedligeholdelse.
- Dette apparat er ikke beregnet til brug af personer med nedsatte fysiske, sensoriske eller mentale evner, eller manglende erfaring og viden, medmindre de er under opsyn eller har fået instruktion i brugen af apparatet af en person, der er ansvarlig for deres sikkerhed.
- Børn skal være under opsyn for at sikre, at de ikke leger med apparatet.
- Hot water can cause severe burns. Exercise caution when dispensing hot water.
3. Produktet er slutview
The Primo Touch Compact Tabletop Water Dispenser provides convenient access to cold, hot, and ambient temperature water. It features an intuitive control panel and a compact design suitable for various environments.

Figur 1: Forside view of the Primo Touch Compact Tabletop Water Dispenser.
Kontrolpanel
The control panel allows you to select your desired water temperature. An LED display indicates the status of the water cooling and heating functions.

Figur 2: Detaljeret view of the control panel with temperature selection icons.
4. Opsætning
- Udpakning: Tag forsigtigt dispenseren ud af emballagen. Undersøg den for eventuelle skader.
- Placering: Place the dispenser on a flat, stable, and level surface. Ensure there is adequate space around the unit for ventilation (at least 10 cm from walls). Avoid placing it in direct sunlight or near heat sources.
- Strømtilslutning: Sørg for, at dispenseren er taget ud af stikkontakten.
- Installation af vandflaske: Remove the protective seal from a standard 3 or 5-gallon (11 or 19-liter) water bottle. Invert the bottle and carefully place it onto the support collar on top of the dispenser. Push down firmly until the bottle is seated and water begins to flow into the dispenser's reservoir. The anti-leak system ensures a secure fit.
- Indledende priming: Before plugging in, dispense water from both the cold and hot taps until water flows steadily. This removes air from the system.
- Tilslut: Sæt dispenseren i en jordet stikkontakt.
5. Betjeningsvejledning
The dispenser is designed for easy operation, providing cold, hot, and ambient water with a simple touch.
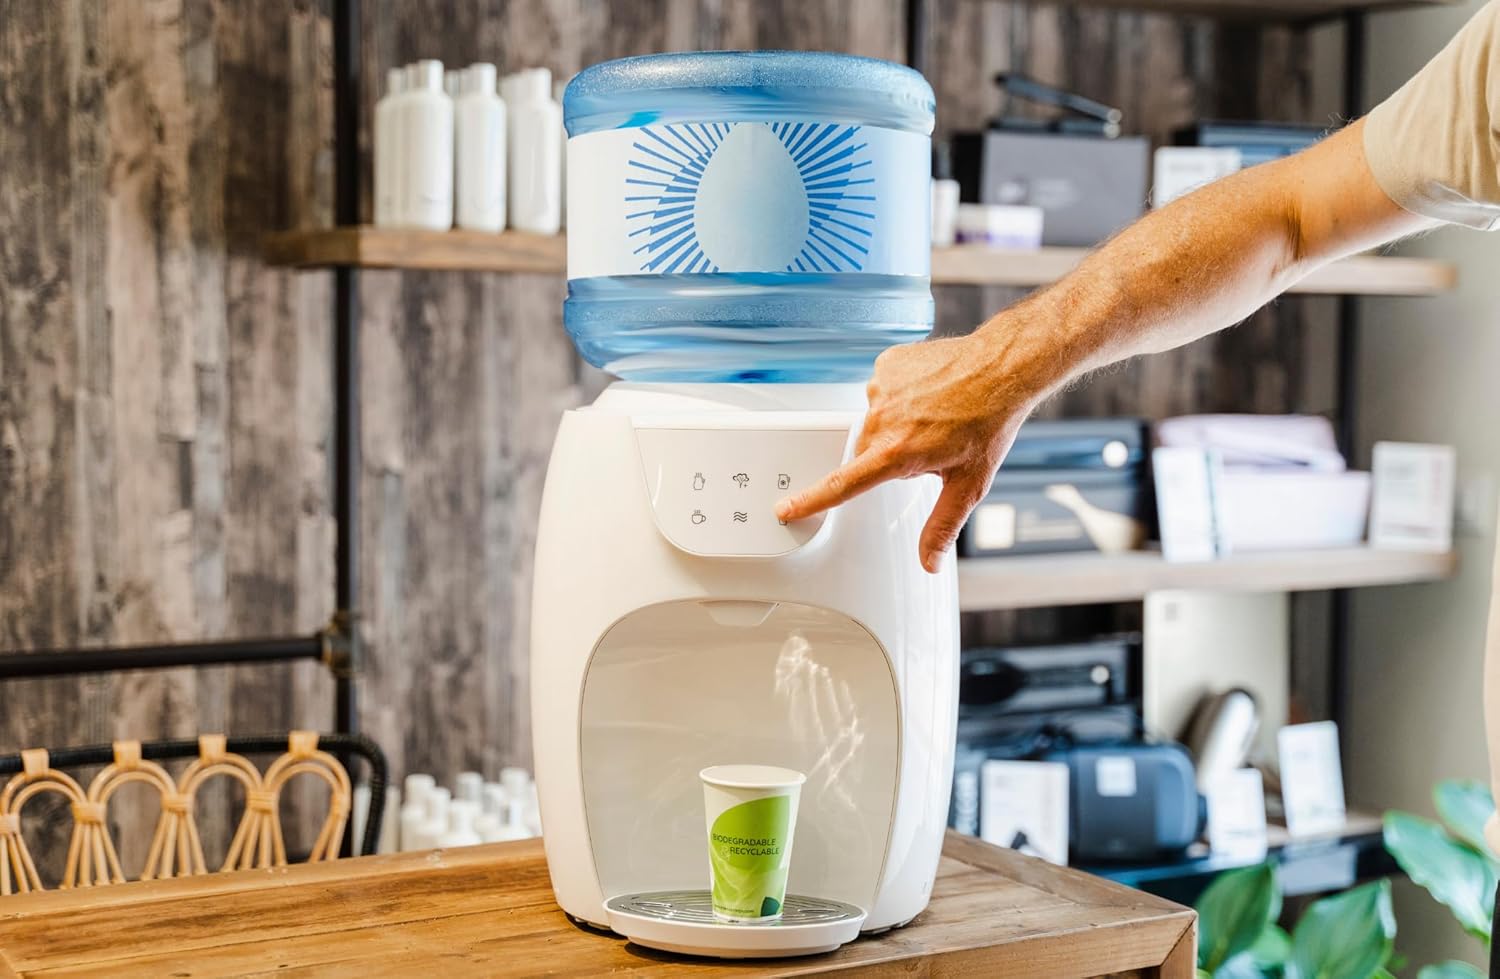
Figur 3: Vandudtapning fra enheden.
- Tænd: Once plugged in, the dispenser will begin cooling and heating water. The LED display will indicate when the cold water has reached its optimal cooling temperature (approximately 5°C) and when the hot water has reached its optimal heating temperature (approximately 95°C).
- Udlevering af koldt vand: Place your cup under the cold water tap. Press the cold water button (typically indicated by a snowflake icon). Release the button to stop dispensing.
- Udlevering af varmt vand: Place your cup under the hot water tap. Press the hot water button (typically indicated by a teacup or steam icon). Caution: Hot water can cause burns. Slip knappen for at stoppe dispenseringen.
- Dispensing Ambient Water: Place your cup under the ambient water tap. Press the ambient water button (typically indicated by a wave icon). Release the button to stop dispensing.
6. Vedligeholdelse og rengøring
Regelmæssig rengøring sikrer optimal ydeevne og hygiejne for din vanddispenser.
- Udvendig rengøring: Tør de udvendige overflader af med en blød, damp klæde. Brug ikke slibende rengøringsmidler eller opløsningsmidler.
- Drypbakke: The drip tray should be emptied and cleaned regularly to prevent overflow and bacterial growth. Remove the tray, wash it with mild soap and water, rinse thoroughly, and dry before replacing.
- Water Reservoir (Internal): For thorough cleaning, it is recommended to periodically sanitize the internal water reservoirs. Consult the manufacturer's website or customer support for detailed sanitization procedures, which may involve specific cleaning solutions. Always unplug the unit and drain all water before attempting internal cleaning.
- Udskiftning af vandflaske: When the water bottle is empty, lift it off the dispenser. Place a new, full water bottle onto the dispenser as described in the Setup section.
7. Fejlfinding
Hvis du støder på problemer med din dispenser, kan du se følgende almindelige problemer og løsninger:
| Problem | Mulig årsag | Løsning |
|---|---|---|
| Ingen vanddispensering | Empty water bottle; Airlock in system; Dispenser unplugged. | Replace water bottle; Prime the system by dispensing from all taps; Check power connection. |
| Vandet er ikke koldt/varmt nok | Dispenser recently plugged in; Ventilation blocked; Heating/cooling element malfunction. | Allow 1-2 hours for water to reach temperature; Ensure proper ventilation; Contact customer support if problem persists. |
| Vand lækker | Water bottle not seated correctly; Damaged water bottle; Internal leak. | Re-seat water bottle firmly; Check bottle for cracks; Unplug and contact customer support. |
| Usædvanlig støj | Normal operation (compressor); Unit not level. | Some noise is normal during cooling/heating cycles; Ensure dispenser is on a level surface. |
8. Specifikationer
| Feature | Detalje |
|---|---|
| Modelnummer | HC03-ARI |
| Produktdimensioner | 37.3 x 30.8 x 37.6 cm |
| Farve | Hvid |
| Materiale | Plast |
| Installationstype | Bordplade |
| Placering af vandadgang | Top-loading |
| Antal indstillinger | 5 (Hot, Cold, Ambient, Hot for cooking, Cold jug - based on image interpretation) |
| Varmtvandstemperatur | Op til 95°C |
| Koldt vandtemperatur | Down to 5°C |
| Strømkilde | Elektrisk med ledning |
9. Garanti og support
For warranty information or technical support, please refer to the documentation included with your purchase or visit the official Primo webwebsted. Gem din købsbevis til garantikrav.