
1. Introduktion
Welcome to the instruction manual for your new Xiaomi Curved Gaming Monitor G34WQi. This guide provides essential information for the safe and optimal setup, operation, and maintenance of your monitor. Please read this manual thoroughly before use to ensure you get the best experience from your device.
The Xiaomi G34WQi features a 34-inch UWQHD (3440x1440) ultrawide curved display with a 1500R curvature, designed to provide an immersive viewing experience. It boasts a high 180Hz refresh rate and a rapid 1ms response time (MPRT) for smooth, fluid gameplay. With FreeSync Premium technology, it minimizes screen tearing and stuttering. The monitor also offers a wide color gamut (95% DCI-P3, 100% sRGB) and a low blue light mode for eye comfort.
2. Opsætning
2.1 Pakkens indhold
Før montering skal du kontrollere, at alle komponenter er til stede:
- Xiaomi Curved Gaming Monitor G34WQi
- Skærmstativ (base og arm)
- Strømadapter og kabel
- DisplayPort-kabel
- HDMI kabel
- Brugermanual
2.2 Samling af stativet
- Placer forsigtigt skærmen med forsiden nedad på en blød, ren overflade for at undgå ridser.
- Attach the stand arm to the back of the monitor using the provided screws. Ensure it is securely fastened.
- Connect the stand base to the arm and tighten the thumb screw at the bottom of the base.
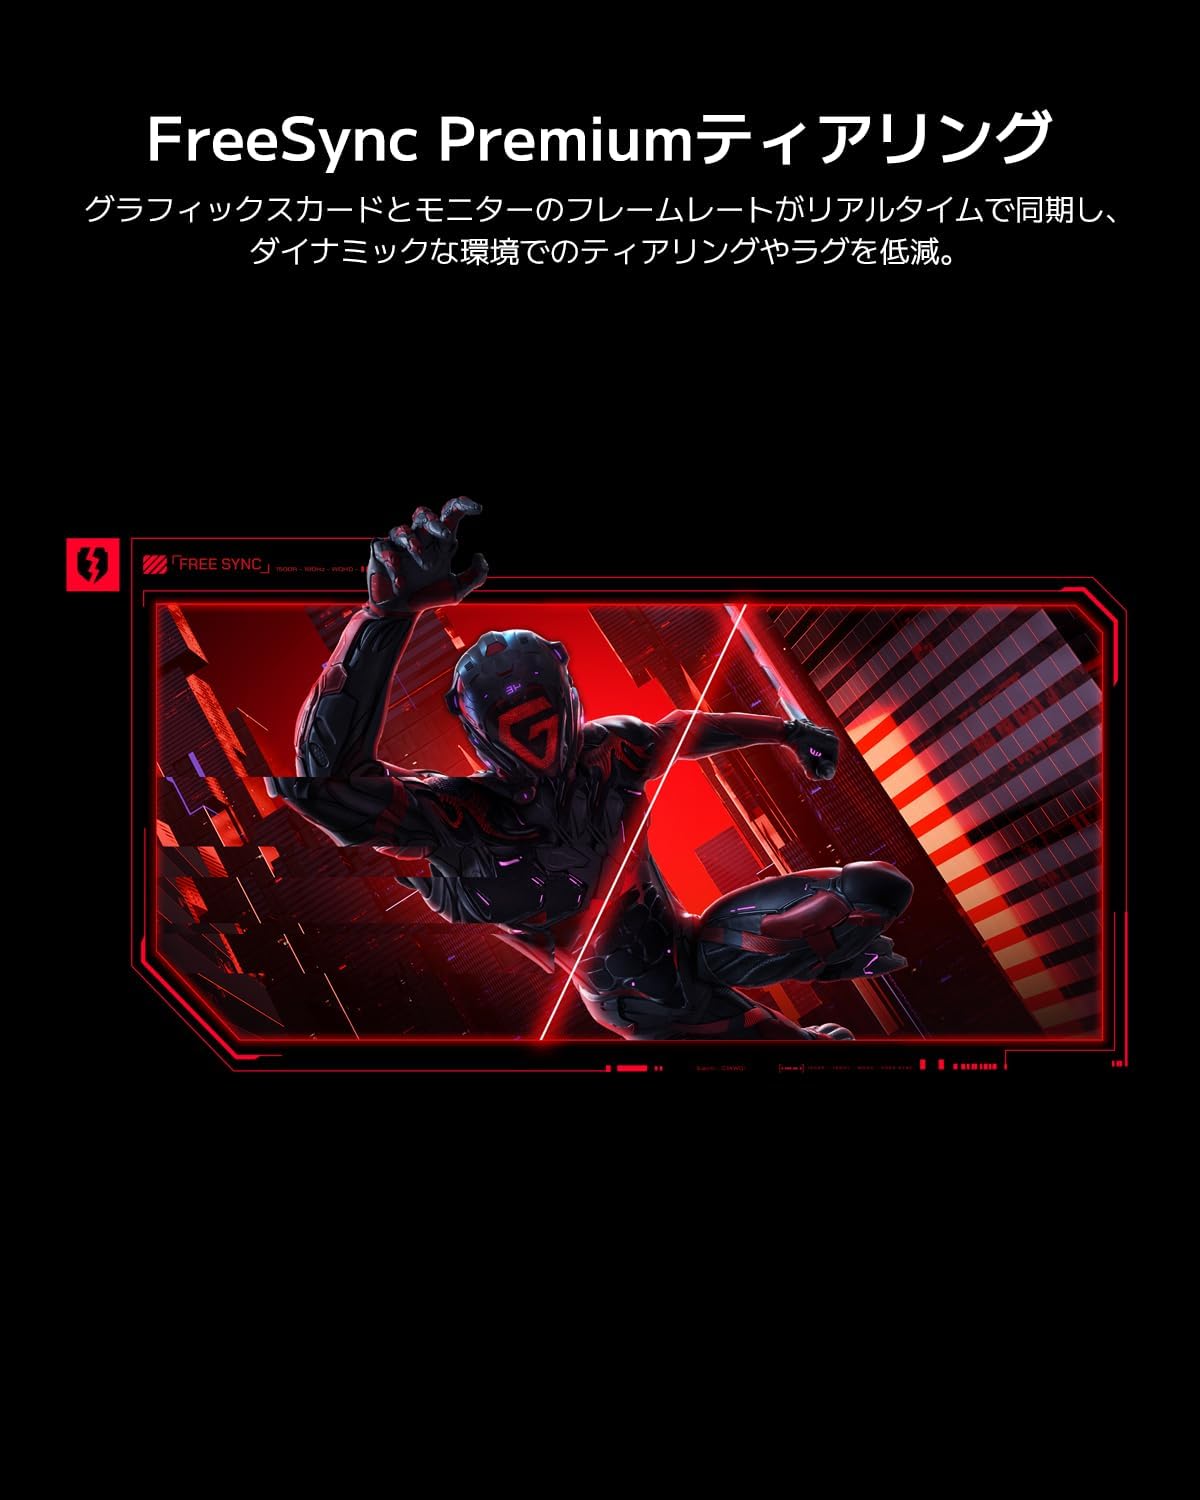
Image: The Xiaomi G34WQi monitor securely mounted on its adjustable stand.
2.3 Tilslutningskabler
Tilslut de nødvendige kabler til skærmens bagporte:
- Strømkabel: Tilslut strømadapteren til skærmens strømindgang, og sæt derefter strømkablet i en stikkontakt.
- DisplayPort (Recommended for Gaming): For optimal performance, including 180Hz refresh rate and FreeSync Premium, connect the DisplayPort cable from your computer's graphics card to the monitor's DisplayPort input.
- HDMI: Alternatively, connect an HDMI cable from your computer to one of the monitor's HDMI inputs. Note that HDMI may have limitations on refresh rate at UWQHD resolution compared to DisplayPort.
- Lydudgang: Hvis det ønskes, kan du tilslutte eksterne højttalere eller hovedtelefoner til 3.5 mm lydudgangsstikket.

Billede: Bagside view of the monitor highlighting the input ports for connectivity.
2.4 Indledende tænding
After connecting all cables, press the power button, usually located on the back or bottom of the monitor, to turn it on. The monitor should automatically detect the input signal. If not, you may need to manually select the input source using the OSD menu.
3. Betjeningsvejledning
3.1 Tænd/sluk
Press the power button to turn the monitor on or off. A status indicator light will show the monitor's power state.
3.2 On-Screen Display (OSD) menu
The OSD menu allows you to adjust various monitor settings. It is typically controlled by a joystick or a set of buttons located on the back or bottom of the monitor.
Navigation:
- Press the joystick/center button to open the OSD menu.
- Move the joystick (up/down/left/right) or use the directional buttons to navigate through menu options.
- Press the joystick/center button again to select an option or confirm a setting.
- Move the joystick left or press a dedicated 'Back' button to exit a sub-menu or the OSD.
3.3 Nøgleindstillinger
- Lysstyrke/kontrast: Juster disse indstillinger, så de passer til dine viewmiljø.
- Farveindstillinger: Fine-tune color temperature, gamma, and saturation. The monitor supports 95% DCI-P3 and 100% sRGB for accurate color reproduction.
- Opdateringshastighed: Ensure your refresh rate is set to 180Hz in both the monitor's OSD and your computer's display settings for the smoothest experience.
- Svartid: The monitor offers a 1ms MPRT (Moving Picture Response Time). This can often be adjusted in the OSD, sometimes referred to as 'Overdrive' or 'Response Speed'.
- FreeSync Premium: Enable FreeSync Premium in the OSD menu and in your AMD graphics card settings to synchronize the monitor's refresh rate with your GPU's frame rate, eliminating screen tearing and stuttering.

Image: Visual representation of FreeSync Premium preventing screen tearing.
- Lavt blåt lys tilstand: Activate this mode to reduce blue light emissions, which can help reduce eye strain during prolonged use.

Image: The monitor displaying content with low blue light mode enabled for eye protection.
4. Vedligeholdelse
4.1 Rengøring af skærmen
For at rengøre skærmen skal du forsigtigt tørre den af med en blød, fnugfri klud. Tør den forsigtigt af med en blød, fnugfri klud, hvis der er genstridige mærker.ampRengør kluden med vand eller en specialiseret skærmrens. Sprøjt aldrig væske direkte på skærmen.
4.2 Cleaning the Monitor Body
Use a soft, dry cloth to wipe the monitor's body. Avoid using abrasive cleaners or solvents, as they can damage the surface.
4.3 Generel pleje
- Undgå at placere tunge genstande på skærmen eller dens kabler.
- Hold skærmen væk fra direkte sollys, varmekilder og overdreven fugtighed.
- Sørg for korrekt ventilation omkring skærmen for at forhindre overophedning.
5. Fejlfinding
Hvis du støder på problemer med din skærm, kan du se følgende almindelige problemer og løsninger:
5.1 Ingen strøm / Intet display
- Kontroller, om strømkablet er tilsluttet korrekt til både skærmen og stikkontakten.
- Kontroller, at strømadapteren fungerer korrekt.
- Tryk på tænd/sluk-knappen på skærmen for at sikre, at den er tændt.
5.2 Intet signal
- Sørg for, at videokablet (DisplayPort eller HDMI) er korrekt tilsluttet til både skærmen og computerens grafikkort.
- Kontroller, om din computer er tændt og ikke i dvaletilstand.
- Use the OSD menu to manually select the correct input source (e.g., DisplayPort 1, HDMI 1).
- Try a different video cable or port on your graphics card/monitor to rule out a faulty connection.
5.3 Flickering or Tearing Screen
- Ensure FreeSync Premium is enabled in both the monitor's OSD and your graphics card settings.
- Kontroller, at dine grafikkortdrivere er opdaterede.
- Check the video cable. Some users have reported better stability with DisplayPort cables for high resolutions and refresh rates compared to HDMI.
- If using multiple monitors, ensure your system can handle the combined load, as some configurations might cause instability.
5.4 Incorrect Resolution or Refresh Rate
- Go to your computer's display settings (e.g., Windows Display Settings, NVIDIA Control Panel, AMD Radeon Software) and set the resolution to 3440x1440 and the refresh rate to 180Hz.
- Ensure you are using a DisplayPort cable, as some HDMI versions may not support UWQHD at 180Hz.
5.5 Image Reflection
- The monitor has a non-glare (VA) panel, but reflections can still occur in brightly lit environments. Adjust the monitor's position or room lighting to minimize reflections.
6. Specifikationer
| Feature | Specifikation |
|---|---|
| Mærke | Xiaomi |
| Modelnummer | G34WQi |
| Skærmstørrelse | 34 tommer |
| Opløsning | UWQHD (3440 x 1440 pixels) |
| Aspektforhold | 21:9 |
| Krumning | 1500R |
| Paneltype | VA (Non-glare) |
| Opdateringshastighed | 180 Hz |
| Svartid | 1 ms (MPRT) |
| Farveskala | 95% DCI-P3, 100% sRGB |
| Forbindelse | HDMI, DisplayPort, 3.5mm Audio Out |
| Power Voltage | 12 volt |
| Produktmål (D x B x H) | 99.1 x 18.8 x 46 cm (ca.) |
| Produktets vægt | 6.9 kg |
| Monteringstype | Vægmontering (VESA-kompatibel) |
7. Garantioplysninger
This Xiaomi Curved Gaming Monitor G34WQi comes with a 1 års producentgaranti. Please retain your proof of purchase for warranty claims. For detailed terms and conditions, refer to the warranty card included in your product packaging or visit the official Xiaomi support webwebsted.
8. Support
For further assistance, technical support, or service inquiries, please contact Xiaomi customer service:
- Telefonsupport: 0120-767-378 (Reception hours: 9:00-18:00, excluding year-end and New Year holidays)
- E-mail support: service.jp@support.mi.com
You can also visit a Xiaomi Service Center for in-person support:
Xiaomi Service Center Akihabara Store
Address: 4-6-7 Kanda Sakumacho, Chiyoda-ku, Tokyo
Business Hours: 10:00-19:00
Closed: Wednesdays
(Last reception is at 18:00)

Image: A collection of Xiaomi products, showcasing the brand's commitment to smart living.