Indledning
Thank you for choosing the Vanity Art 69 Inch Bathroom Vanity Base. This manual provides detailed instructions for the assembly, operation, and maintenance of your new vanity base. Please read all instructions carefully before beginning assembly and retain this manual for future reference.
This bathroom cabinet features three distinct sections, offering multiple separate spaces including drawers and a central cabinet, designed to help you organize various bathroom accessories efficiently. Crafted from engineered wood, this vanity base is built for durability and reliability. Its elegant shaker-style design enhances bathroom decor, adding a touch of sophistication. Enjoy seamless usage with smooth, soft-closing doors and drawers, ensuring convenience in your daily routines. The versatile size and shape make it suitable for various settings, including bathrooms, laundry rooms, and kitchens.
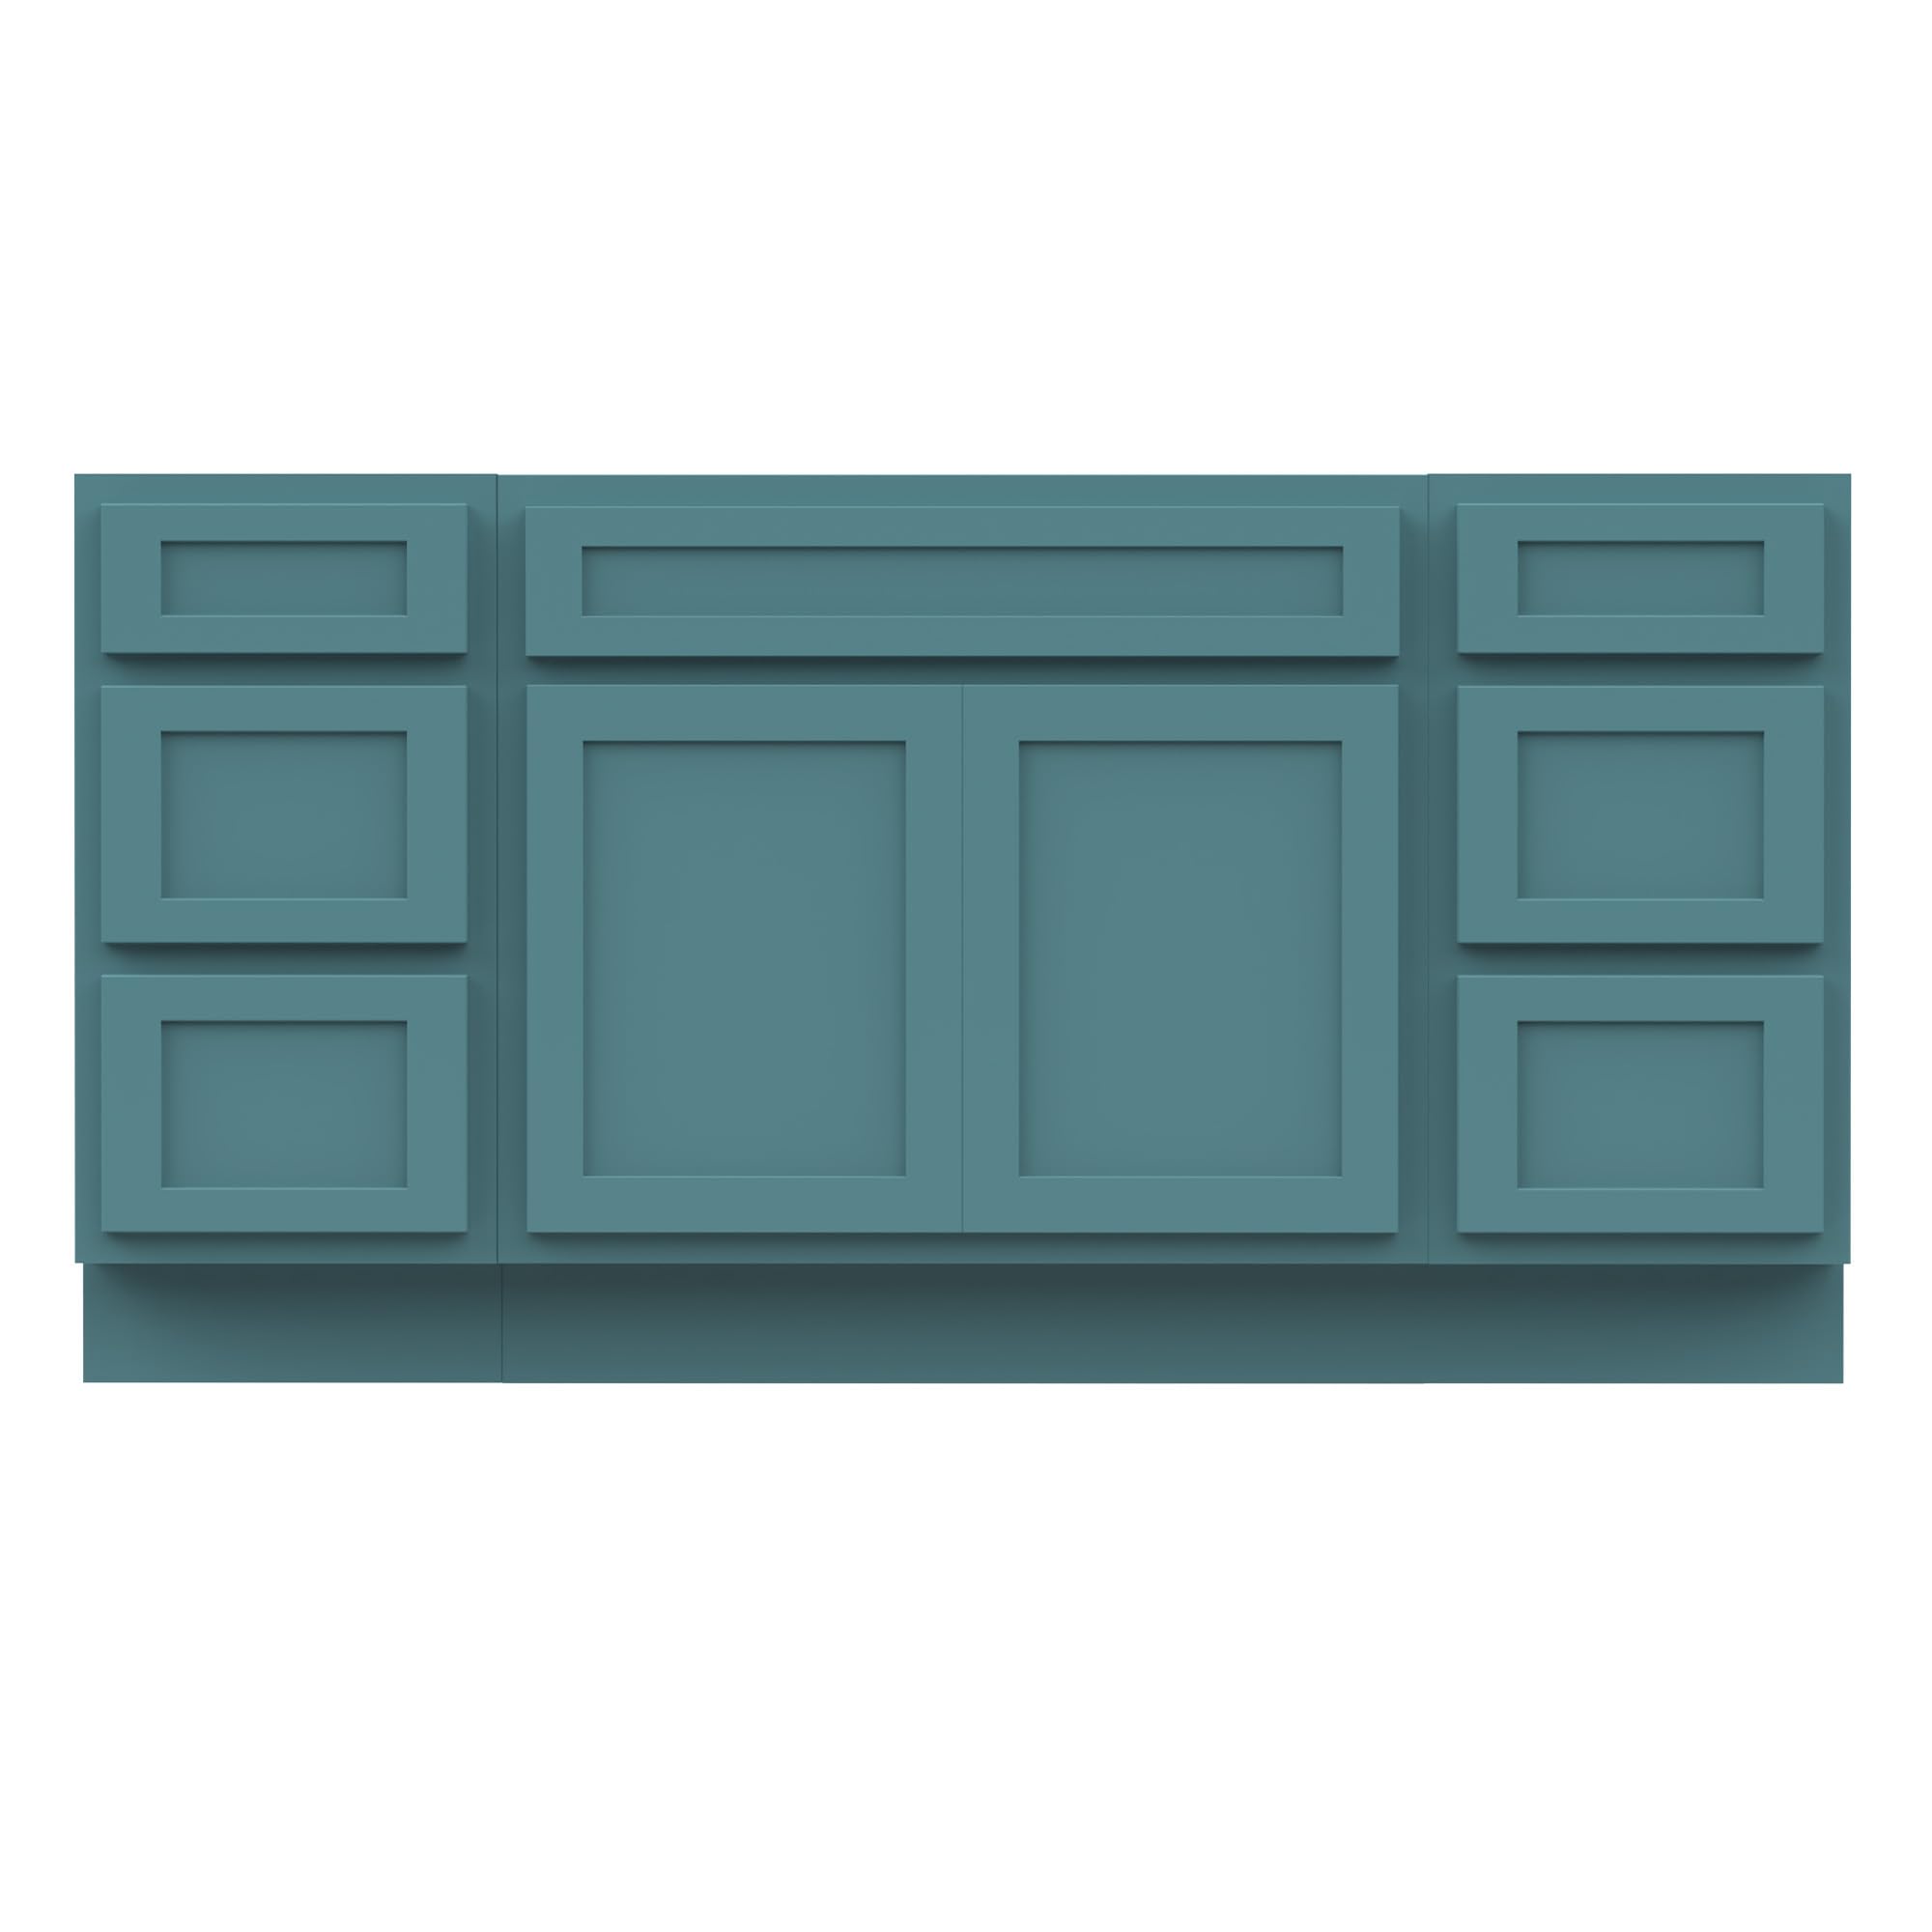
Image: The Vanity Art 69 Inch Bathroom Vanity Base in green, showcasing dens overordnede design.
Monteringsvejledning
This vanity base consists of three separate cabinet units: a central cabinet and two drawer cabinets. The following instructions detail the assembly of one drawer cabinet. The process for the second drawer cabinet is identical. The central cabinet typically requires less assembly, often involving attaching doors and shelves.
Vigtig bemærkning:
- Assembly is recommended on a soft, carpeted surface to prevent scratching the wood components.
- Carefully identify all parts before beginning. Some pre-drilled holes may be small; use appropriate lighting or magnification if needed.

Image: The Vanity Art 69 Inch Bathroom Vanity Base shown without its top, illustrating the three cabinet sections.
1. Udpakning og identifikation af dele
Unpack all components and verify against the parts list provided with your hardware. Note that some small plastic parts, referred to as "slide locks," may not perfectly match diagrams but serve the same function.
2. Assembling the Drawer Cabinet Frame
- Place the main side panel (refer to your diagram as Part A) face down. Position the horizontal support pieces (refer to your diagram as Part B) face down on either side of Part A, ensuring the indentations align correctly.
- Locate all pre-drilled holes on Parts A and B. These may be very small. Mark or circle them for easier visibility. Attach the metal corner brackets to Part B only, screwing them into the marked holes. Repeat for both Part B pieces.
- Align Part B with Part A. While holding Part B in place, screw the other side of the corner brackets into Part A. Repeat for the second Part B.
- Slide in the internal vertical supports (refer to your diagram as Parts O) and the back panel (refer to your diagram as Part C) into their designated grooves.
- Place the top panel (refer to your diagram as Part D) onto the assembled unit. Ensure it clicks into place over Parts C and O and is flush with the sides. Screw Part D into place, following the precise angle of the screw hole grooves.
- With the unit still on the floor, screw the kickplate (refer to your diagram as Part E) into place using the pre-installed corner brackets.
- Stand the unit upright. Ensure all four corner brackets are securely fastened. If the back panel (Part C) lacks pre-drilled holes for brackets, create small pilot holes with a screwdriver or drill before securing.
3. Installing Drawer Slides
- Identify the gray plastic part on the drawer slides. This part is often pre-attached to the slides in their packaging. Carefully remove this gray plastic part from the metal slide.
- Lay the cabinet unit on its back for easy access. Position the gray plastic part as shown in your diagram (Step 8) and press it into the two large pre-drilled holes in the back of the unit. Secure it with two screws, accessing the holes by sliding the middle piece of the gray plastic part.
- Install the metal drawer slide onto the existing gray plastic part. Ensure you use the correct slide for each side. Screw the front of the slide into the pre-drilled hole(s) on the cabinet frame as indicated in your diagram (Step 9). Repeat this process for all drawer slides.
4. Assembling Drawers
- Assemble each drawer according to your diagram. Ensure the grooves in each side panel and the drawer front are properly aligned to slide in the drawer bottom. The drawers are designed to interlock; a mallet or hammer may be used for gentle tapping to secure connections.
5. Installing Drawers
- Turn each assembled drawer over. Place the slide locks (the small black and green plastic parts) over the pre-drilled holes on the back of the drawer front.
- Carefully place the drawer onto the installed drawer slides in the cabinet. Slowly push the drawer back until you hear it click into place, indicating it is securely engaged with the soft-closing mechanism.
6. Assembling the Central Cabinet
The central cabinet typically involves attaching the doors to the main frame using hinges and installing any internal shelves. Refer to the specific diagram provided with your central cabinet for detailed instructions on hinge alignment and shelf placement.
7. Endelig placering
Once all three cabinet units are assembled, position them in your desired bathroom location. Ensure the vanity is level and stable before proceeding with any countertop or sink installation (if applicable, as this product is a base only).
Operation
Your Vanity Art bathroom vanity base is designed for ease of use with soft-closing mechanisms for both drawers and cabinet doors.
Using Drawers
To open a drawer, gently pull the handle. To close, push the drawer inward. The soft-closing slides will engage, allowing the drawer to close smoothly and quietly without slamming.
Using Cabinet Doors
To open a cabinet door, pull the handle. To close, gently push the door inward. The soft-closing hinges will ensure the door closes softly and silently.

Billede: Top-down view of the vanity with drawers and cabinet doors open, demonstrating storage capacity.
Opretholdelse
Proper care and maintenance will ensure the longevity and appearance of your Vanity Art bathroom vanity base.
Rengøringsvejledning
- Tør overfladerne af med adamp klæde.
- Undgå at bruge slibende rengøringsmidler, stærke kemikalier eller opløsningsmidler, da disse kan beskadige overfladen.
- Promptly wipe up any spills to prevent water damage, especially on the engineered wood surfaces.
Almen pleje
- Regularly check all screws and hardware to ensure they remain tight. Tighten as needed to maintain stability and proper function of doors and drawers.
- Avoid placing excessively heavy items in drawers or on shelves to prevent warping or damage.

Image: Detailed features highlighting soft-closing doors, waterproof properties, easy-to-clean surfaces, and engineered wood material.
Fejlfinding
This section addresses common issues you might encounter with your vanity base.
Drawers or Doors Not Closing Smoothly
- Tjek justering: Ensure the cabinet is level. Uneven surfaces can cause misalignment. Adjust the vanity's feet if applicable, or use shims.
- Inspect Slides/Hinges: Verify that drawer slides and door hinges are free from obstructions and are securely fastened. Tighten any loose screws.
- Overbelastning: Ensure drawers are not overloaded, which can impede smooth operation.
Loose Hardware
- Kontrollér og spænd regelmæssigt alle skruer og fastgørelseselementer. Undgå at overspænde dem.
Ridser eller mindre skader
- For minor scratches, touch-up pens or furniture repair kits matching the vanity's finish can be used.
Produktspecifikationer
| Feature | Detalje |
|---|---|
| Mærke | Forfængelighedskunst |
| Model | 69 inch Bathroom Vanity Base |
| Farve | Grøn |
| Materiale | Konstrueret træ |
| Produktmål (D x B x H) | 21" D x 70" B x 32.5" H |
| Anbefalede anvendelser | Badeværelse Cabinet |
| Yderligere funktioner | Easy to Install, Soft Close Doors, Water Resistant |
| Inkluderede komponenter | 3 Cabinet Units |
| Antal skuffer | 6 |
| Antal døre | 2 |
| Installationstype | Frit stående |
| Påkrævet samling | Ja |
| Monteringstype | Gulvmontering |

Image: Detailed dimensional diagram of the vanity base, showing width, depth, and height measurements.
Garantioplysninger
Vanity Art products are manufactured to high-quality standards. For specific warranty details regarding your 69 Inch Bathroom Vanity Base, please refer to the warranty card included with your product packaging or contact Vanity Art customer support directly. Generally, products are covered against manufacturing defects for a specified period from the date of purchase.
Kundesupport
Should you have any questions, require assistance with assembly, or need to report an issue with your Vanity Art 69 Inch Bathroom Vanity Base, please do not hesitate to contact our customer support team.
Kontaktmetoder:
- E-mail: Please refer to your product documentation for the specific customer service email address.
- Telefon: Please refer to your product documentation for the specific customer service phone number.
Our team is available to assist you with any product-related inquiries.