
1. Introduktion
The FOXEER Micro Cat 3 is a high-performance surveillance camera designed for exceptional clarity in various lighting conditions, particularly ultra-low light environments. Featuring a 1200TVL high-resolution sensor and 0.00001lux super low light sensitivity, it captures clear and detailed images even in near darkness. Its 100dB Wide Dynamic Range (WDR) technology ensures balanced exposure in scenes with high contrast. This compact and versatile camera is suitable for security, monitoring, and drone applications.
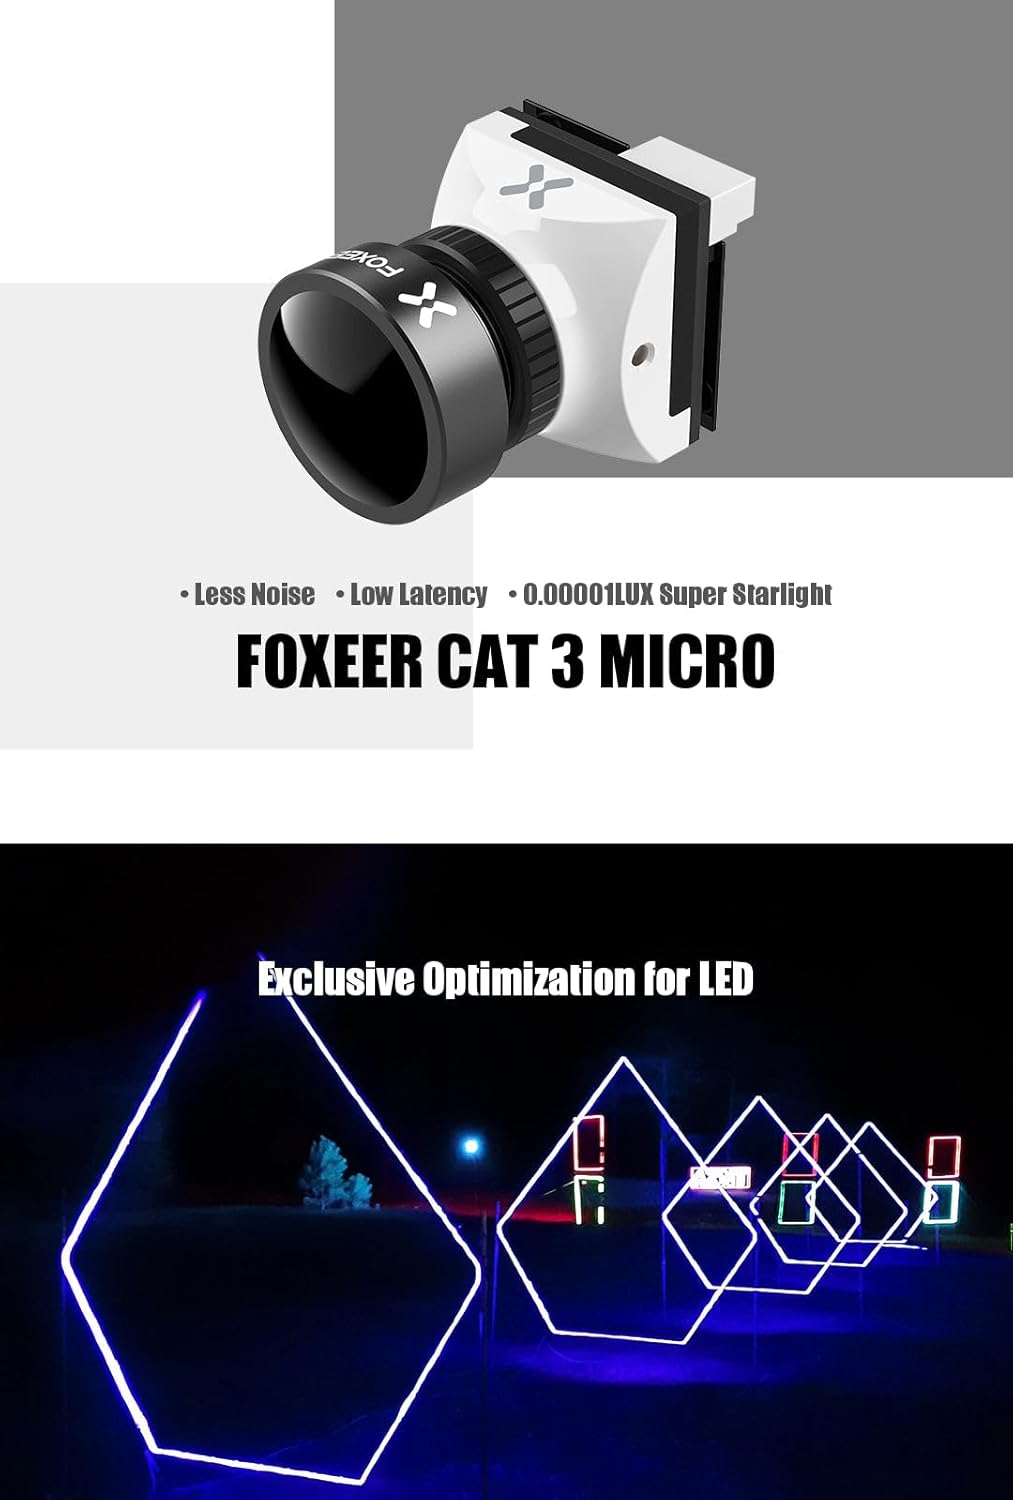
Figure 1.1: FOXEER Micro Cat 3 highlighting its key features.
2. Sikkerhedsoplysninger
- Ensure the camera is powered by a stable voltage source within the specified range (4.6V~20V). Incorrect voltage kan beskadige enheden.
- Undgå at udsætte kameraet for ekstreme temperaturer, direkte sollys i længere perioder eller høj luftfugtighed.
- Forsøg ikke at skille kameraet ad eller ændre det. Dette vil ugyldiggøre garantien og kan forårsage skade.
- Keep the lens clean using a soft, lint-free cloth. Avoid abrasive materials that could scratch the lens.
- Handle the camera with care to prevent physical damage from drops or impacts.
3. Pakkens indhold
Bekræft, at alle nedenstående varer er inkluderet i din pakke:

Figur 3.1: Diagram over pakkens indhold.
- 1x FOXEER Micro Cat 3 1200TVL Camera
- 1x OSD Board
- 1x 2pin OSD Cable
- 1x Servokabel
- 4x beslagsskruer
- 4x Gasket Ring
4. Produktet er slutview og Dimensioner
Familiarize yourself with the camera's physical appearance and dimensions for proper installation.
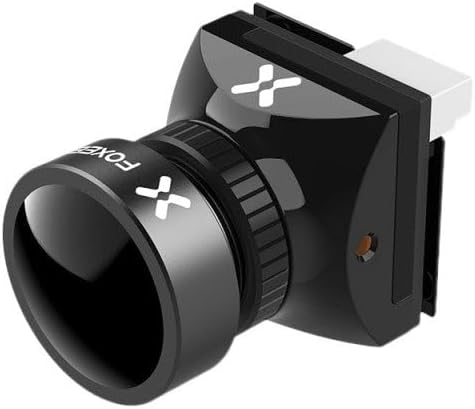

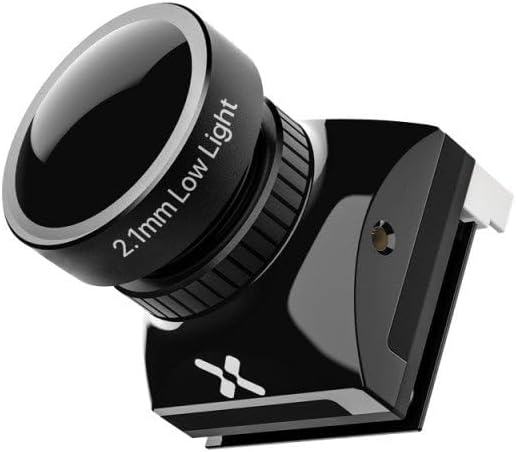
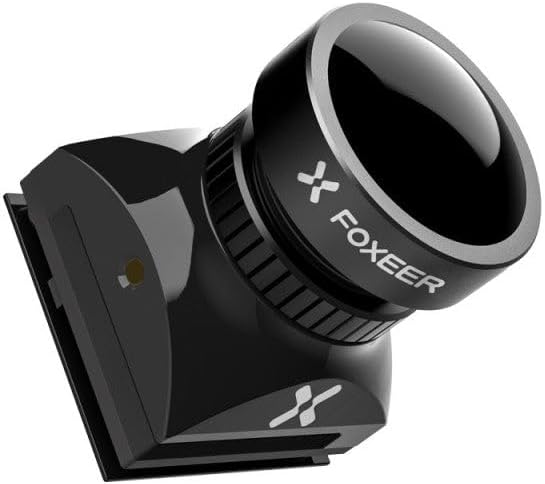
Figur 4.1: Diverse views of the FOXEER Micro Cat 3 camera.
Figure 4.2: Detailed dimensions of the FOXEER Micro Cat 3 camera.
5. Opsætning og ledningsføring
5.1 Ledningsdiagram
Connect the camera according to the following pinout. Ensure correct polarity to prevent damage.
- VCC: Power input (4.6V~20V)
- GND: Jord
- VID: Video output
- OSD: OSD Control (for connecting to OSD board)
- VSEN: Voltage Sense (if applicable for OSD voltage display)
Figure 5.1: Camera connector pinout.
5.2 Montering
The compact design allows for versatile mounting. Use the provided screws and gasket rings for secure installation. Ensure the lens is unobstructed and pointed towards the desired surveillance area.
6. Betjeningsvejledning
6.1 OSD-menu navigation
The camera features an On-Screen Display (OSD) menu for configuration. Use the included OSD board to navigate and adjust settings.

Figure 6.1: OSD Menu Navigation.
- Connect the OSD board to the camera's OSD port.
- Tænd for kameraet.
- Use the joystick on the OSD board to navigate the menu:
- Op ned: Naviger gennem menuindstillinger.
- Venstre/højre: Change values or enter sub-menus.
- Centertryk: Vælg en mulighed eller bekræft en indstilling.
- To exit the menu, navigate to "SAVE & EXIT" and confirm.
6.2 Aspect Ratio Switching (4:3 / 16:9)
The camera supports switching between 4:3 and 16:9 aspect ratios. This can be configured via the OSD menu.
Figure 6.2: Aspect Ratio Settings.
- 16:9: FOV-H 100°, FOV-D 115°
- 4:3: FOV-H 100°, FOV-D 125°
6.3 Dag/nat-tilstand
The camera can automatically switch between day and night modes or be set manually. Options include EXT (External Trigger), Auto, Color, and B&W (Black & White).
7. Specifikationer
| Feature | Specifikation |
|---|---|
| Sensortype | 1/3" CMOS-sensor |
| Skala | 4:3 (Default) / 16:9 Switchable |
| TV System | PAL (Default) / NTSC Switchable |
| Opløsning | 1200TVL |
| Linse | M12 2.1mm Low Light Lens |
| Lukkerhastighed | PAL 1/25~1/10000 sec; NTSC 1/30~1/10000 sec |
| Video output | CVBS Analog Signal |
| Minimum belysning | 0.00001 Lux |
| Hvidbalance | Auto |
| DNR | 3DNR |
| WDR | 100dB |
| DAG/NAT | EXT/Auto/Color/B&W |
| Flight OSD | Voltage/Cam Title/Time |
| Input bindtage | 4.6V~20V |
| Forbrug | 95mA+/-15% @ DC12V |
| Dimension | 19*19 mm |
| Vægt | 10.7 g |
| Varens vægt | 1.6 ounce |
| Pakkedimensioner | 3 x 2 x 2 tommer |
| International Protection Rating | IP65 |
8. Vedligeholdelse
- Rengøring af linser: Gently wipe the lens with a microfiber cloth to remove dust or smudges. For stubborn dirt, use a lens cleaning solution specifically designed for optical surfaces.
- Generel rengøring: Use a soft, dry cloth to clean the camera body. Do not use harsh chemicals or abrasive cleaners.
- Opbevaring: Når kameraet ikke er i brug i længere perioder, skal det opbevares køligt og tørt, væk fra direkte sollys og ekstreme temperaturer.
- Firmwareopdateringer: Check the FOXEER official webbesøg webstedet regelmæssigt for at se om der er tilgængelige firmwareopdateringer for at sikre optimal ydeevne og nye funktioner.
9. Fejlfinding
| Problem | Mulig årsag | Løsning |
|---|---|---|
| Ingen videoudgang | Forkert ledningsføring; Ingen strøm; Beskadiget kabel; Forkert indstilling af tv-systemet. | Check VCC, GND, and VID connections. Ensure power supply is within 4.6V-20V. Replace cable if damaged. Verify TV system (PAL/NTSC) matches your display. |
| Flimrende eller forvrænget billede | Power supply issues; Interference; Incorrect shutter speed. | Ensure stable power. Check for electromagnetic interference. Adjust shutter speed in OSD menu. |
| Dårligt billede i svagt lys | Lens is dirty; Day/Night mode setting. | Clean the lens. Ensure Day/Night mode is set to Auto or EXT for optimal low light performance. |
| OSD-menuen vises ikke | OSD board not connected or faulty; Incorrect OSD pin connection. | Verify OSD board is correctly connected to the camera's OSD pin. Test with another OSD board if available. |
10. Garanti og support
FOXEER products are manufactured to high quality standards. For warranty information and technical support, please refer to the official FOXEER webwebsted eller kontakt din forhandler.
- Officiel Webwebsted: www.foxeer.com (Please check for the most current contact and support information)
- Kundeservice: Refer to the contact information provided on the FOXEER website for support inquiries, troubleshooting assistance, and warranty claims.
Gem venligst din købsbevis af garantihensyn.