Indledning
This manual provides instructions for the setup, operation, maintenance, and troubleshooting of your Pisichen 17.3 inch Portable Monitor. This monitor features a 1600x900 HD resolution, 800:1 contrast ratio, 250 cd/m² brightness, 16:9 aspect ratio, and a 60Hz refresh rate, designed to provide an extended display for various devices.
The monitor includes multiple interfaces for broad compatibility and a built-in kickstand for convenience. It supports various display modes for enhanced productivity and entertainment.
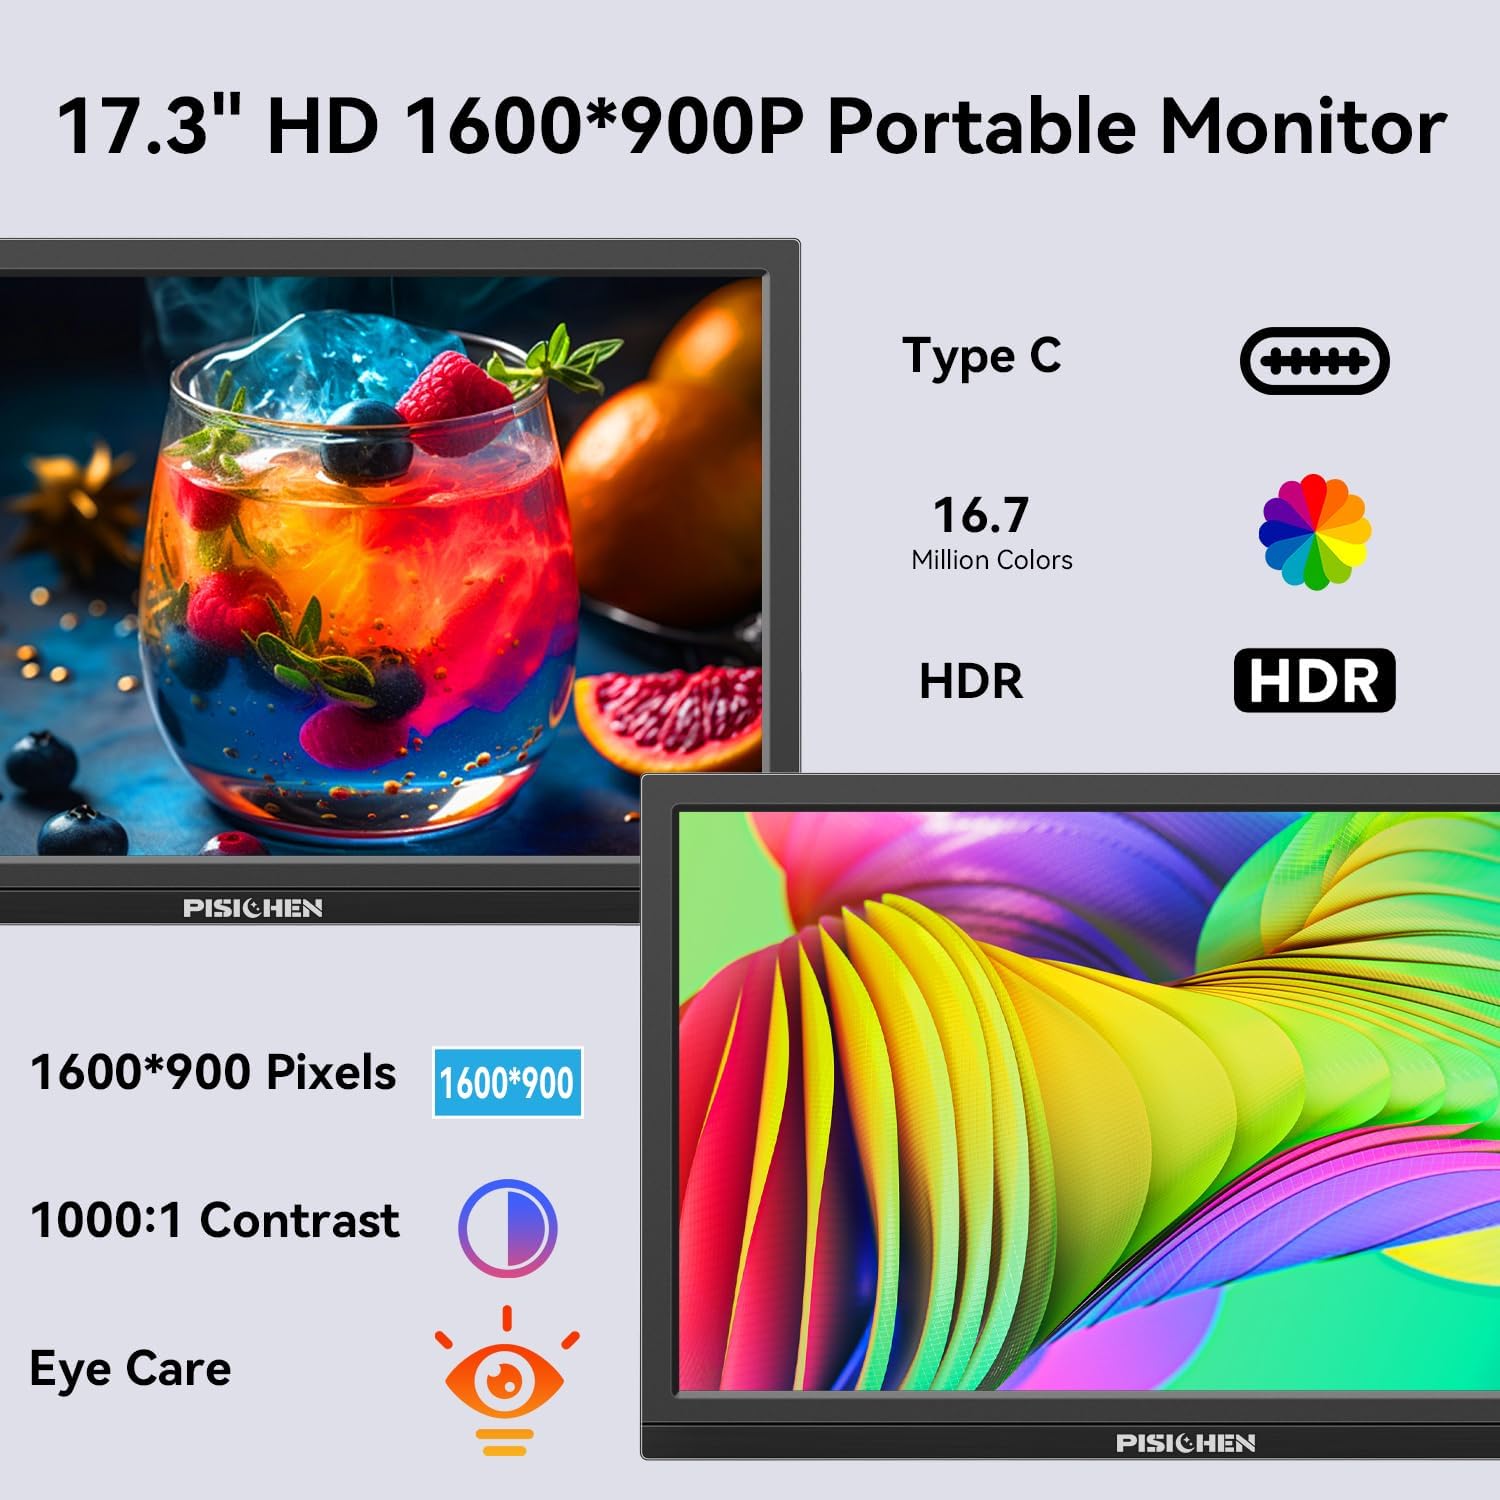
Image: The Pisichen 17.3 inch Portable Monitor highlighting its HD 1600x900 resolution, 1000:1 contrast, and eye care features.
Pakkens indhold
Bekræft at alle varer er til stede i pakken:
- 17.3 tommer bærbar skærm
- DC strømadapter
- HDMI til HDMI kabel
- USB-C til USB-C kabel
- Brugervejledning (dette dokument)

Image: The portable monitor and its accompanying accessories, including cables and power adapter.
Opsætningsinstruktioner
1. Tilslutning af strøm
Connect the provided DC Power Adapter to the DC Power Port on the monitor and then to a power outlet. Ensure the monitor receives sufficient power for stable operation.
2. Tilslutning til en enhed
The monitor supports two primary connection methods:
- USB-C-forbindelse: Use the provided USB-C to USB-C cable. Connect one end to the monitor's USB-C 3.1 port (for signal input) and the other end to a compatible USB-C 3.1 (or higher) port on your laptop, PC, or smartphone. This connection can transmit both video and power.
- HDMI-forbindelse: Use the provided HDMI to HDMI cable. Connect one end to the monitor's HDMI port and the other end to the HDMI output of your device (laptop, PC, game console). When using HDMI, ensure the monitor is also connected to power via the DC power adapter.

Image: Visual guide for USB-C and HDMI connection methods, showing cable connections and power requirements.
3. Fysisk opsætning
- Indbygget støtteben: The monitor features an integrated, foldable kickstand. Gently unfold it from the back of the monitor to position the screen at a desired viewing angle on a flat surface.
- VESA montering: For alternative mounting options, the monitor is equipped with standard 75x75mm VESA holes on the back. This allows for mounting to compatible desktop stands or wall mounts (mounting hardware not included).
Betjeningsvejledning
1. Monitor Interfaces and Controls
Familiarize yourself with the ports and control buttons located on the side of the monitor:
- DC strømport: Til tilslutning af strømadapteren.
- 3.5 mm lydport: Til tilslutning af eksterne hovedtelefoner eller højttalere.
- USB C 3.1-port: For video signal input and power delivery from compatible devices.
- USB C 2.0-port: Primarily for charging phones or connecting OTG devices.
- HDMI-port: For video signal input from HDMI-enabled devices.
- Brightness/Up Button: Adjusts screen brightness or navigates up in the OSD menu.
- Menu/OK-knap: Opens the On-Screen Display (OSD) menu or confirms selections.
- Volume/Down Button: Adjusts audio volume or navigates down in the OSD menu.
- OTG Port: Til tilslutning af tastatur eller mus.

Billede: Detaljeret view af skærmens porte og kontrolknapper.
2. Visningstilstande
Skærmen understøtter forskellige visningstilstande, når den er tilsluttet en kompatibel enhed:
- Duplikattilstand: Mirrors the content of your primary screen.
- Udvid tilstand: Extends your desktop, providing additional screen space.
- Anden skærmtilstand: Bruger kun den bærbare skærm som display.
These modes can typically be configured through your device's display settings (e.g., Windows Display Settings, macOS System Preferences).

Billede: Eksample of extending a smartphone's display to the portable monitor via USB-C.
3. On-Screen Display (OSD) menu
Tryk på Menu / OK button to access the OSD menu. Use the Lysstyrke/Op og Skrue ned buttons to navigate through options and adjust settings such as brightness, contrast, color temperature, and input source. Press Menu / OK again to confirm selections or exit sub-menus.
4. HDR Mode
The monitor supports HDR (High Dynamic Range) technology for improved color and contrast. This mode can be enabled or disabled through the OSD menu, if supported by your connected device and content.

Image: Visual comparison of SDR and HDR display quality.
5. Low Blue Light Feature
The monitor includes a Low Blue Light feature designed to filter harmful blue light, reducing eye strain during prolonged use. This setting can be adjusted via the OSD menu.

Image: Illustration of the Low Blue Light feature for eye protection.
Opretholdelse
1. Rengøring af skærmen
- Sluk altid skærmen og tag stikket ud, inden du rengør den.
- Brug let en blød, fnugfri klud damprengøres med vand eller et ikke-slibende skærmrensemiddel.
- Sprøjt ikke rengøringsmiddel direkte på skærmen. Påfør det først på kluden.
- Undgå at bruge skrappe kemikalier, alkohol eller ammoniakbaserede rengøringsmidler, da disse kan beskadige skærmens overflade.
2. Opbevaring
When not in use, store the monitor in a cool, dry place, away from direct sunlight and extreme temperatures. If transporting, use a protective sleeve or case to prevent scratches and damage.
Fejlfinding
Hvis du støder på problemer med din skærm, kan du se følgende almindelige problemer og løsninger:
- Intet signal / Sort skærm:
- Ensure all cables (power and video) are securely connected to both the monitor and the source device.
- Kontroller, at kildeenheden er tændt og udsender et signal.
- Check the input source setting on the monitor via the OSD menu to ensure it matches your connection (e.g., HDMI, USB-C).
- If using USB-C, confirm your device's USB-C port supports video output (DisplayPort Alternate Mode).
- Screen is Too Dim / Cannot Adjust Brightness:
- Access the OSD menu and navigate to the brightness settings. Ensure the brightness level is increased.
- Some devices may have their own display settings that override or limit monitor brightness. Check your connected device's display settings.
- Ensure the monitor is receiving adequate power. A weak power source can sometimes affect brightness.
- No Audio / Headphone Jack Not Working:
- Kontrollér lydstyrkeindstillingerne på både skærmen (via OSD-menuen) og din tilsluttede enhed.
- Ensure headphones or speakers are fully plugged into the 3.5mm audio port.
- Verify that the audio output on your source device is set to the portable monitor.
- Test with different headphones or speakers to rule out a faulty audio device.
- Image Distortion / Poor Picture Quality:
- Ensure the display resolution on your source device is set to the monitor's native resolution (1600x900).
- Check for damaged or loose video cables. Try a different cable if available.
- Adjust contrast and color settings in the OSD menu.
Specifikationer
| Modelnummer | SLZJ173 |
| Skærmstørrelse | 17.3 tommer |
| Opløsning | 1600x900 HD |
| Aspektforhold | 16:9 |
| Kontrastforhold | 800:1 |
| Lysstyrke | 250 cd/m² |
| Opdateringshastighed | 60 Hz |
| Paneltype | TN |
| Viewi vinkel | 170° |
| Farveskala | 99% sRGB, 16.7 million colors (8-bit) |
| Forbindelse | 1x HDMI, 1x USB-C 3.1 (signal input), 1x USB-C 2.0 (phone charging/OTG), 1x 3.5mm Audio Jack, 1x DC Power Port |
| Indbyggede højtalere | Ja |
| VESA Mount | 75x75 mm |
| Produktdimensioner | 0.3 x 12 x 8 tommer (ca.) |
| Varens vægt | 3.54 pund |
Garanti og support
For warranty information or technical support, please contact the manufacturer, Pisichen, or the retailer from whom you purchased the product. Please have your model number (SLZJ173) and purchase details ready when contacting support.