
1. Produktet er slutview
This manual provides instructions for the NANPU Ceramic Nozzle Replacement Kit, designed for use with the NP-ASBX1 sandblaster gun. These ceramic nozzles are essential accessories for effective paint and rust removal, ensuring precise and consistent abrasive material flow.
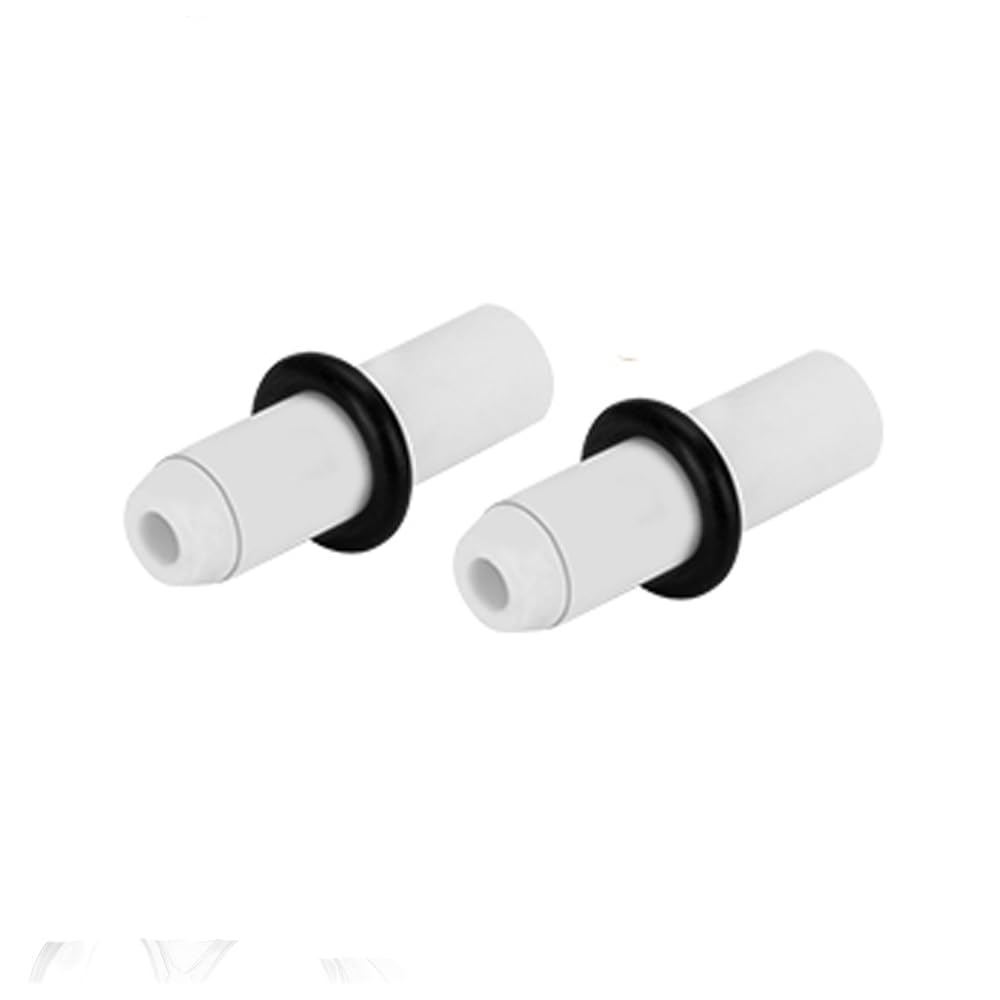
Image 1.1: NANPU Ceramic Nozzles for NP-ASBX1 Sandblaster Gun.
Nøglefunktioner:
- Langvarig holdbarhed: Crafted from high-quality ceramic materials for extended usage without compromising on performance.
- Præcis anvendelse: Designed to provide a consistent flow of abrasive material for thorough surface cleaning and preparation.
- Nem udskiftning: Engineered for quick and hassle-free installation onto your NP-ASBX1 sandblaster gun.
Hvad er der i æsken:
- 2 x Ceramic Nozzle
2. Opsætning og installation
These ceramic nozzles are designed as replacement parts for the NANPU NP-ASBX1 sandblaster gun. Ensure the sandblaster gun is disconnected from any air supply before proceeding with installation.

Billede 2.1: Eks.ample of a NANPU Sandblaster Gun (NP-ASBX1 compatible).
- Sikkerhed først: Always wear appropriate personal protective equipment (PPE), including eye protection, gloves, and a respirator, when handling sandblasting equipment and abrasive materials.
- Afbryd lufttilførslen: Before attempting any installation or maintenance, ensure the sandblaster gun is completely disconnected from the compressed air supply.
- Fjern den gamle dyse: Carefully unscrew or detach the worn or damaged nozzle from the sandblaster gun. Refer to your specific NP-ASBX1 sandblaster gun manual for detailed instructions on nozzle removal.
- Inspect Nozzle Seat: Clean the nozzle seat area on the sandblaster gun to ensure no abrasive residue or debris will interfere with the new nozzle's fit.
- Installer ny dyse: Insert the new ceramic nozzle into the nozzle seat. Secure it firmly by screwing it into place. Do not overtighten, as this may damage the nozzle or the gun.
- Bekræft sikker pasform: Double-check that the nozzle is securely seated and tightened before reconnecting the air supply.
3. Betjeningsvejledning
Once the ceramic nozzle is installed, the sandblaster gun is ready for operation. Always follow the safety guidelines provided with your NP-ASBX1 sandblaster gun and abrasive material.
- Slibemiddelvalg: Choose an abrasive material suitable for your application and the ceramic nozzle. Ceramic nozzles are compatible with various abrasive media.
- Lufttryksjustering: Connect the sandblaster gun to a regulated compressed air supply. Adjust the air pressure according to the abrasive material and the desired surface finish. Start with lower pressure and increase gradually.
- Testapplikation: Before blasting your main workpiece, perform a test on a scrap piece of material to ensure proper abrasive flow and desired results.
- Blasting Technique: Maintain a consistent distance and angle between the nozzle and the workpiece. Move the gun steadily to ensure even coverage and prevent uneven material removal.
- Monitor Nozzle Performance: Observe the abrasive stream. A consistent, focused stream indicates proper nozzle function.
4. Vedligeholdelse
Regular maintenance of your ceramic nozzles will ensure optimal performance and extend their lifespan.
- Rengøring efter brug: After each use, disconnect the air supply and clear any remaining abrasive material from the sandblaster gun and nozzle. This prevents clogging and wear.
- Inspektion af dyse: Periodically inspect the ceramic nozzle for signs of wear, such as enlargement of the orifice or uneven wear patterns. A worn nozzle will result in reduced blasting efficiency and increased abrasive consumption.
- Udskiftning: Replace nozzles as soon as significant wear is observed to maintain optimal performance and prevent damage to the sandblaster gun.
- Opbevaring: Store ceramic nozzles in a clean, dry place to prevent contamination or damage.
5. Fejlfinding
This section addresses common issues you might encounter with your ceramic nozzles.
| Problem | Mulig årsag | Løsning |
|---|---|---|
| Reduced abrasive flow or inconsistent stream. |
|
|
| Poor surface finish or slow material removal. |
|
|
6. Specifikationer
Detailed specifications for the NANPU NP-ASBX1 Ceramic Nozzle Replacement Kit.
| Attribut | Værdi |
|---|---|
| Produktdimensioner | 3.15 x 2.36 x 0.6 tommer |
| Varens vægt | 1.13 ounce |
| Fabrikant | NANPU |
| Varemodelnummer | NP-ASBX1-CNR |
| ASIN | B0CTJV41NC |
| Materiale | Keramisk |
| Kompatibilitet | NANPU NP-ASBX1 Sandblaster Gun |
7. Garanti og support
For warranty information or technical support regarding your NANPU ceramic nozzles or NP-ASBX1 sandblaster gun, please contact NANPU customer service directly. Refer to the original product packaging or the NANPU official webwebsted for kontaktoplysninger.
Du kan også besøge NANPU Store on Amazon for yderligere produktinformation og supportressourcer.