Indledning
This manual provides comprehensive instructions for the installation, operation, and maintenance of the MMUNNA STC-3029, STC-3030, and STC-3031 series digital humidity controllers. These devices are designed for precise humidity control in various applications, including incubators, greenhouses, and soil moisture detection systems. Please read this manual thoroughly before using the product to ensure correct operation and to prevent damage.
Produkt overview og funktioner
The MMUNNA STC-3029, STC-3030, and STC-3031 are advanced digital humidity controllers offering reliable performance and high working efficiency. They feature accurate sensing capabilities and a wide range of applications.
Modelvariationer:
- STC-3029 Soil Humidity Controller: Operates on AC110-220V, includes one soil sensor cable, and provides single-channel control.
- STC-3030 Soil Humidity Controller: Operates on AC110-220V, includes two soil sensor cables, and provides dual-channel control for independent output settings.
- STC-3031 Soil Humidity Controller: Operates on AC110-220V, includes two soil sensor cables, and provides single-channel control.
Fælles funktioner:
- Reliable performance and high working efficiency.
- Accurate sensing with priority materials.
- Wide range of applications.
- Fast response speed and good interchangeability.
- Precise moisture control with automatic start and stop functions.
- Low power consumption, high sensitivity, and stable signal transmission from the sensor chip.

Figur 1: Forside view of the MMUNNA STC-3029 Digital Humidity Controller, showing the dual digital displays, control buttons, and connected soil sensor.
Product Layout and Components
Familiarize yourself with the various parts of the humidity controller and its sensors.

Figure 2: Diagram illustrating the front panel and rear connections of the STC-3031 controller. Labels indicate Output light, Set key, Up key, Real-time display, Shutdown key, Down key, Exportation terminals, and Sensor connection.
- Output lys: Indicates when the output relay is active.
- Realtidsvisning: Shows current humidity readings and set parameters.
- Set Key (S): Used to enter parameter setting mode.
- Op-tast (▲): Bruges til at øge værdier eller navigere i menuer.
- Ned-tast (▼): Bruges til at mindske værdier eller navigere i menuer.
- Shutdown Key (Power Symbol): Used to power on/off the device or exit setting mode.
- Exportation Terminals: Connection points for external devices controlled by the unit.
- Sensortilslutning: Port(s) for connecting the soil moisture sensor(s).
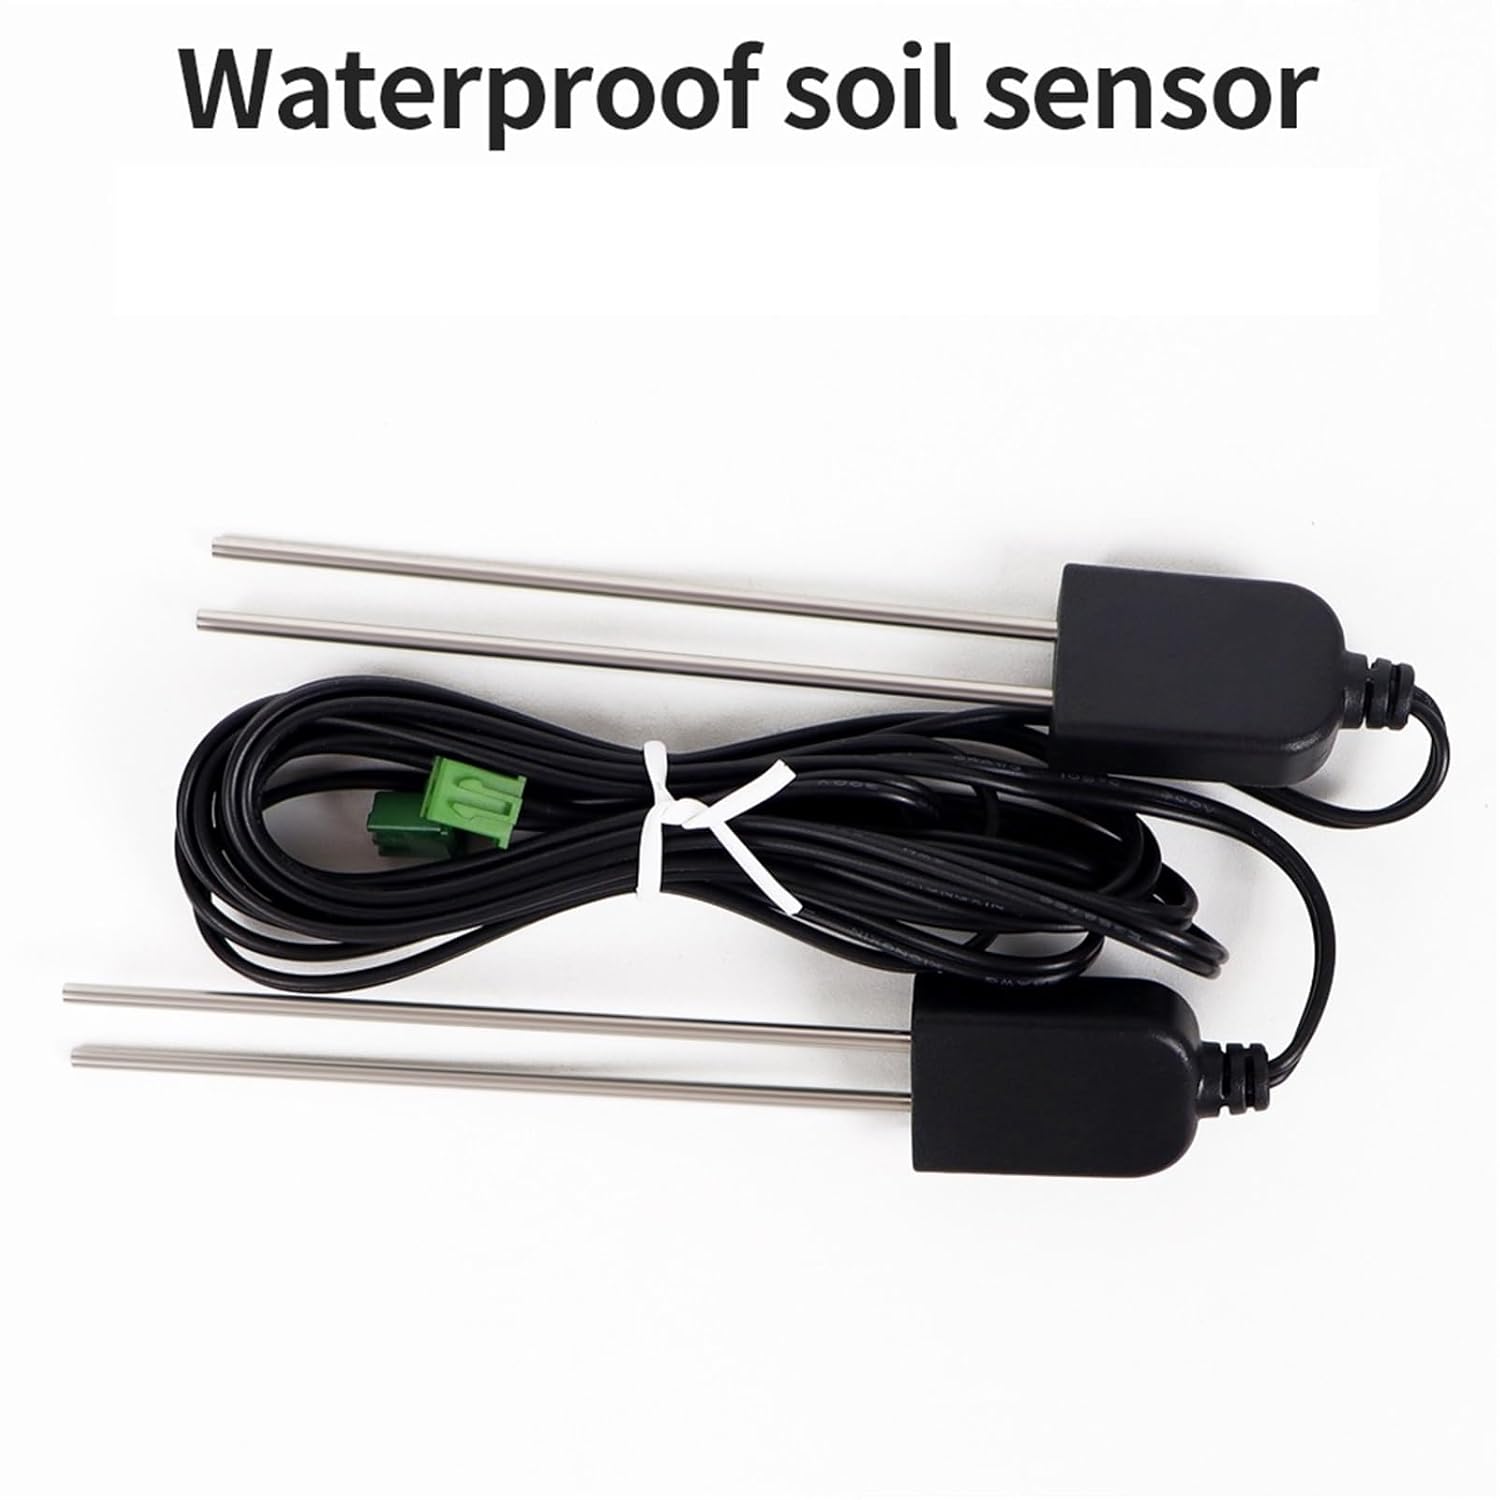
Figure 3: Image of the waterproof soil sensor with its cable, designed for durable and accurate moisture detection in soil.

Figure 4: Visual representation highlighting key features: a large HD screen for accurate testing, a simple back line connection for ease of use, and two detection probes for multi-directional and accurate numerical detection.
Opsætningsinstruktioner
Before connecting the device, ensure that the power supply is disconnected. Incorrect wiring can cause damage to the unit or connected equipment.
Ledningsføring:
- Strømforsyning: Connect the AC110-220V power supply to the designated input terminals on the back of the controller. Refer to the wiring diagram on the device casing for precise connections.
- Sensortilslutning: Plug the soil moisture sensor cable(s) into the sensor port(s). Ensure a secure connection.
- Tilslutning af outputenhed: Connect the device(s) you wish to control (e.g., water pump, humidifier) to the "Exportation" output terminals. The relay supports up to 10A and an output power of 1500W. Ensure the connected device's power requirements do not exceed these limits.
Sensorplacering:
Insert the soil moisture sensor(s) into the soil at the desired depth and location for monitoring. Ensure the sensor probes are fully embedded for accurate readings.
Once all connections are made, you may connect the controller to the main power supply.
Betjeningsvejledning
Tænd/sluk:
Tryk på Sluk nøgle (power symbol) to turn the device on or off.
Viewing Current Humidity:
Upon powering on, the large screen display will show the current humidity percentage detected by the sensor(s).
Setting Humidity Parameters:
- Tryk og hold på Set Key (S) for a few seconds to enter the parameter setting mode. The display will typically flash or show a parameter code.
- Brug Up Key (▲) og Down Key (▼) to navigate through different parameters (e.g., start humidity, stop humidity, calibration).
- Når den ønskede parameter er valgt, skal du trykke på Set Key (S) again to modify its value.
- Brug Up Key (▲) og Down Key (▼) for at justere værdien.
- Tryk på Set Key (S) for at bekræfte den nye værdi.
- To exit the setting mode, press the Sluk nøgle or wait for the device to automatically exit after a period of inactivity.
Note: For the STC-3030 model with dual-channel control, you can set independent humidity values for each output channel. Refer to the specific wiring diagram and display indicators for channel selection during parameter setting.
Automatisk kontrol:
Once the humidity parameters are set, the controller will automatically activate or deactivate the connected output device(s) to maintain the desired humidity range. The "Output light" will illuminate when the output is active.
Ansøgninger
The MMUNNA Digital Humidity Controller series is versatile and suitable for a wide range of applications requiring precise soil moisture or ambient humidity management.

Figur 5: Visuelt eksempelamples of the humidity controller's applications, including water-saving irrigation, greenhouse environments, cultivation of flowers and vegetables, general plant culture, and scientific training setups.
- Water-saving Irrigation: Automate irrigation systems based on actual soil moisture levels, optimizing water usage.
- Drivhuse: Maintain optimal humidity for plant growth and prevent excessive moisture or dryness.
- Flowers and Vegetables Cultivation: Ensure specific humidity requirements are met for delicate plants.
- Plant Culture: Ideal for hydroponics, aeroponics, and other controlled environment agriculture.
- Inkubatorer: Regulate humidity for hatching eggs or other sensitive biological processes.
- Scientific Research and Training: Provide precise environmental control for experiments and educational purposes.
Specifikationer

Figure 6: Detailed product information including dimensions (75mm x 34.5mm x 85mm for the controller, 78mm for sensor length) and key specifications.
| Produkt model | STC-3029 / STC-3030 / STC-3031 |
| Forsyning Voltage | AC110-220V |
| Relæstrøm | 10A |
| Udgangseffekt | 1500W (maks.) |
| Fugtighedsområde | 0-100% RH |
| Kontrolnøjagtighed | 0.1% RH |
| Sensortype | Soil Moisture Sensor (Waterproof) |
| Sensorkabellængde | 1 meter (default) |
| Produktdimensioner | 75mm x 34.5mm x 85mm (Controller) |
| Installationsstørrelse | 71 mm x 29 mm |
| Varens vægt | Approx. 50 Grams (Controller only) |
Opretholdelse
- Rensning: Tør regelmæssigt controllerens overflade af med en blød, tør klud. Brug ikke slibende rengøringsmidler eller opløsningsmidler.
- Sensorpleje: Periodically inspect the soil moisture sensor probes for any buildup or damage. Clean them gently if necessary to ensure accurate readings. Avoid bending or damaging the probes.
- Miljøforhold: Ensure the controller is operated within its specified temperature and humidity ranges. Avoid exposure to direct sunlight, extreme temperatures, or excessive moisture.
- Ledningsinspektion: Occasionally check all wiring connections for looseness or signs of wear. Ensure they remain secure.
Fejlfinding
| Problem | Mulig årsag | Løsning |
|---|---|---|
| Controlleren tænder ikke. | No power supply; incorrect wiring; faulty power button. | Check power connections and ensure AC110-220V is supplied. Verify wiring according to the diagram. Try pressing the power button firmly. |
| Inaccurate humidity readings. | Sensor dirty or damaged; sensor not fully inserted; calibration needed. | Clean the sensor probes. Ensure the sensor is fully embedded in the soil. Refer to the operating instructions for sensor calibration if available. |
| Output device not activating/deactivating. | Incorrect humidity set points; faulty output wiring; output device malfunction. | Verify the set humidity parameters. Check the wiring to the output device. Test the output device independently. Ensure the output power (1500W) and current (10A) limits are not exceeded. |
| Displayet viser fejlkode. | Sensor fault; internal error. | Disconnect and reconnect the sensor. Power cycle the device. If the error persists, contact customer support. |
Garanti og support
Specific warranty information for this product is not provided in the available documentation. For warranty claims, technical support, or service inquiries, please contact your retailer or the manufacturer directly. Keep your purchase receipt as proof of purchase.
Manufacturer: MMUNNA