
1. Introduktion
Welcome to the TRU Hydration Blender user manual. This portable, USB-rechargeable personal blender is designed for convenience, allowing you to create smoothies, shakes, and protein drinks anywhere. This manual provides essential information for safe and effective use, including setup, operation, maintenance, and troubleshooting.
2. Vigtige sikkerhedsinstruktioner
Please read all instructions carefully before using the TRU Hydration Blender. Failure to follow these instructions may result in electric shock, fire, or serious injury.
- Always ensure the lid is securely fastened before operating the blender.
- Motorbasen må ikke nedsænkes i vand eller andre væsker. Rengør medamp kun klud.
- Hold hænder og redskaber væk fra blenderkoppen under blendning for at undgå skader.
- Do not blend hot liquids, as pressure buildup may cause the lid to eject and result in burns.
- Dette apparat er ikke beregnet til brug af personer med nedsatte fysiske, sensoriske eller mentale evner, eller manglende erfaring og viden, medmindre de er under opsyn eller har fået instruktion i brugen af apparatet af en person, der er ansvarlig for deres sikkerhed.
- Unplug the blender from the charging source when not in use and before cleaning.
- Do not operate the blender with a damaged cord or plug, or after the appliance malfunctions or has been damaged in any manner.
- Brug kun tilbehør og tilbehør anbefalet af producenten.
- Opbevar blenderen utilgængeligt for børn.
3. komponenter
The TRU Hydration Blender consists of the following main parts:
- Blender Cup (10 oz capacity)
- Lid with Integrated Blade Assembly
- USB-opladningskabel

Figure 3.1: The TRU Hydration Blender assembled, showing the main cup, lid, and base filled with orange segments.
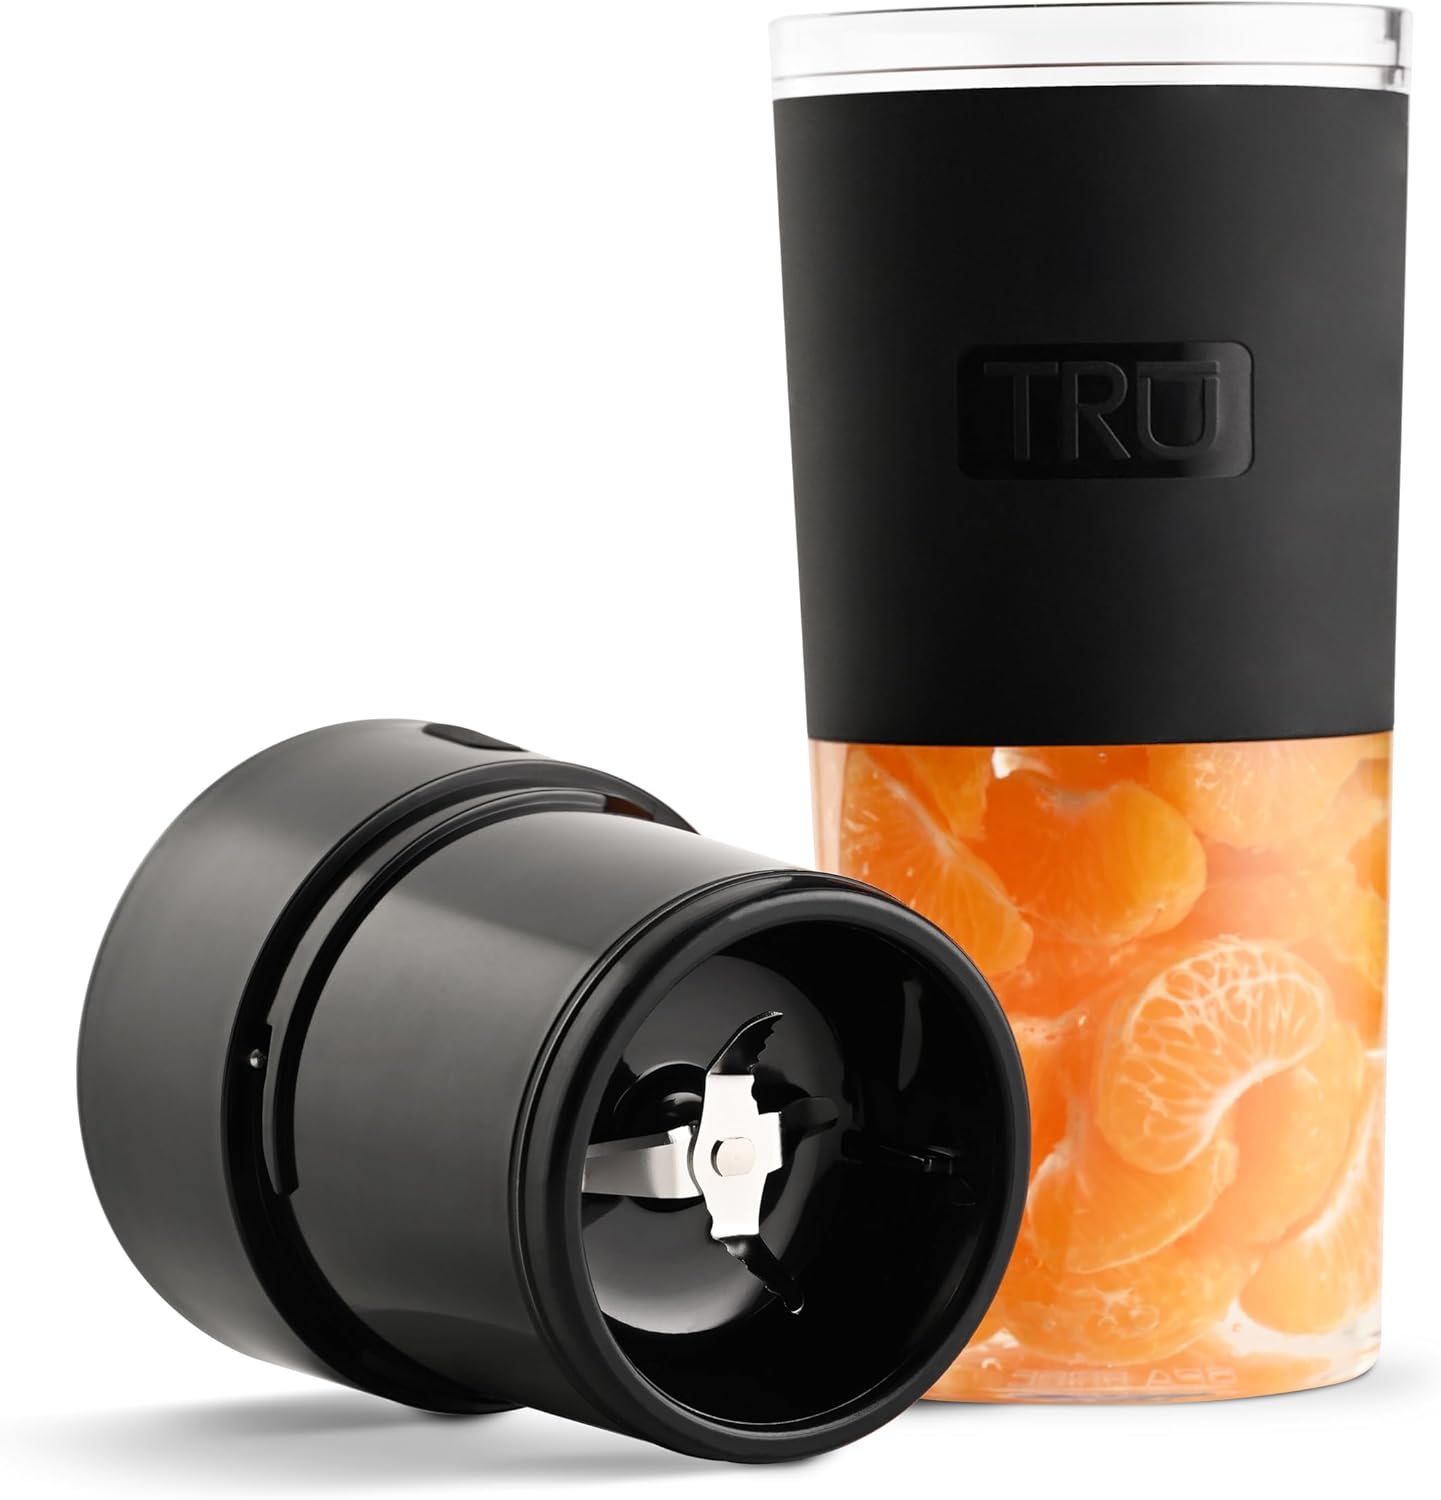
Figure 3.2: The TRU Hydration Blender with the lid detached, revealing the integrated blade assembly.
4. Opsætning og første brug
4.1 Charging the Blender
The blender is powered by a built-in rechargeable lithium-ion battery. Before first use, fully charge the blender for optimal performance.
- Locate the USB charging port on the side of the blender base.
- Connect the provided USB charging cord to the blender's port.
- Plug the other end of the USB cord into a compatible USB power source (e.g., wall adapter, computer, power bank).
- The indicator light on the lid will illuminate to show charging status. It will turn solid when fully charged.
Figur 4.1: Nærbillede view of the USB charging port located on the blender base, with the charging cable connected.
4.2 Montering
Before blending, ensure the components are correctly assembled.
- Ensure the blender cup is clean and dry.
- Add your desired ingredients to the blender cup. Do not overfill past the maximum fill line.
- Align the lid with the integrated blade assembly onto the blender cup.
- Twist the lid clockwise until it is securely tightened. The blender will not operate if the lid is not properly secured.
5. Betjening
5.1 Blending Instructions
The TRU Hydration Blender features simple one-button operation.
- After assembling the blender with ingredients, ensure the lid is securely tightened.
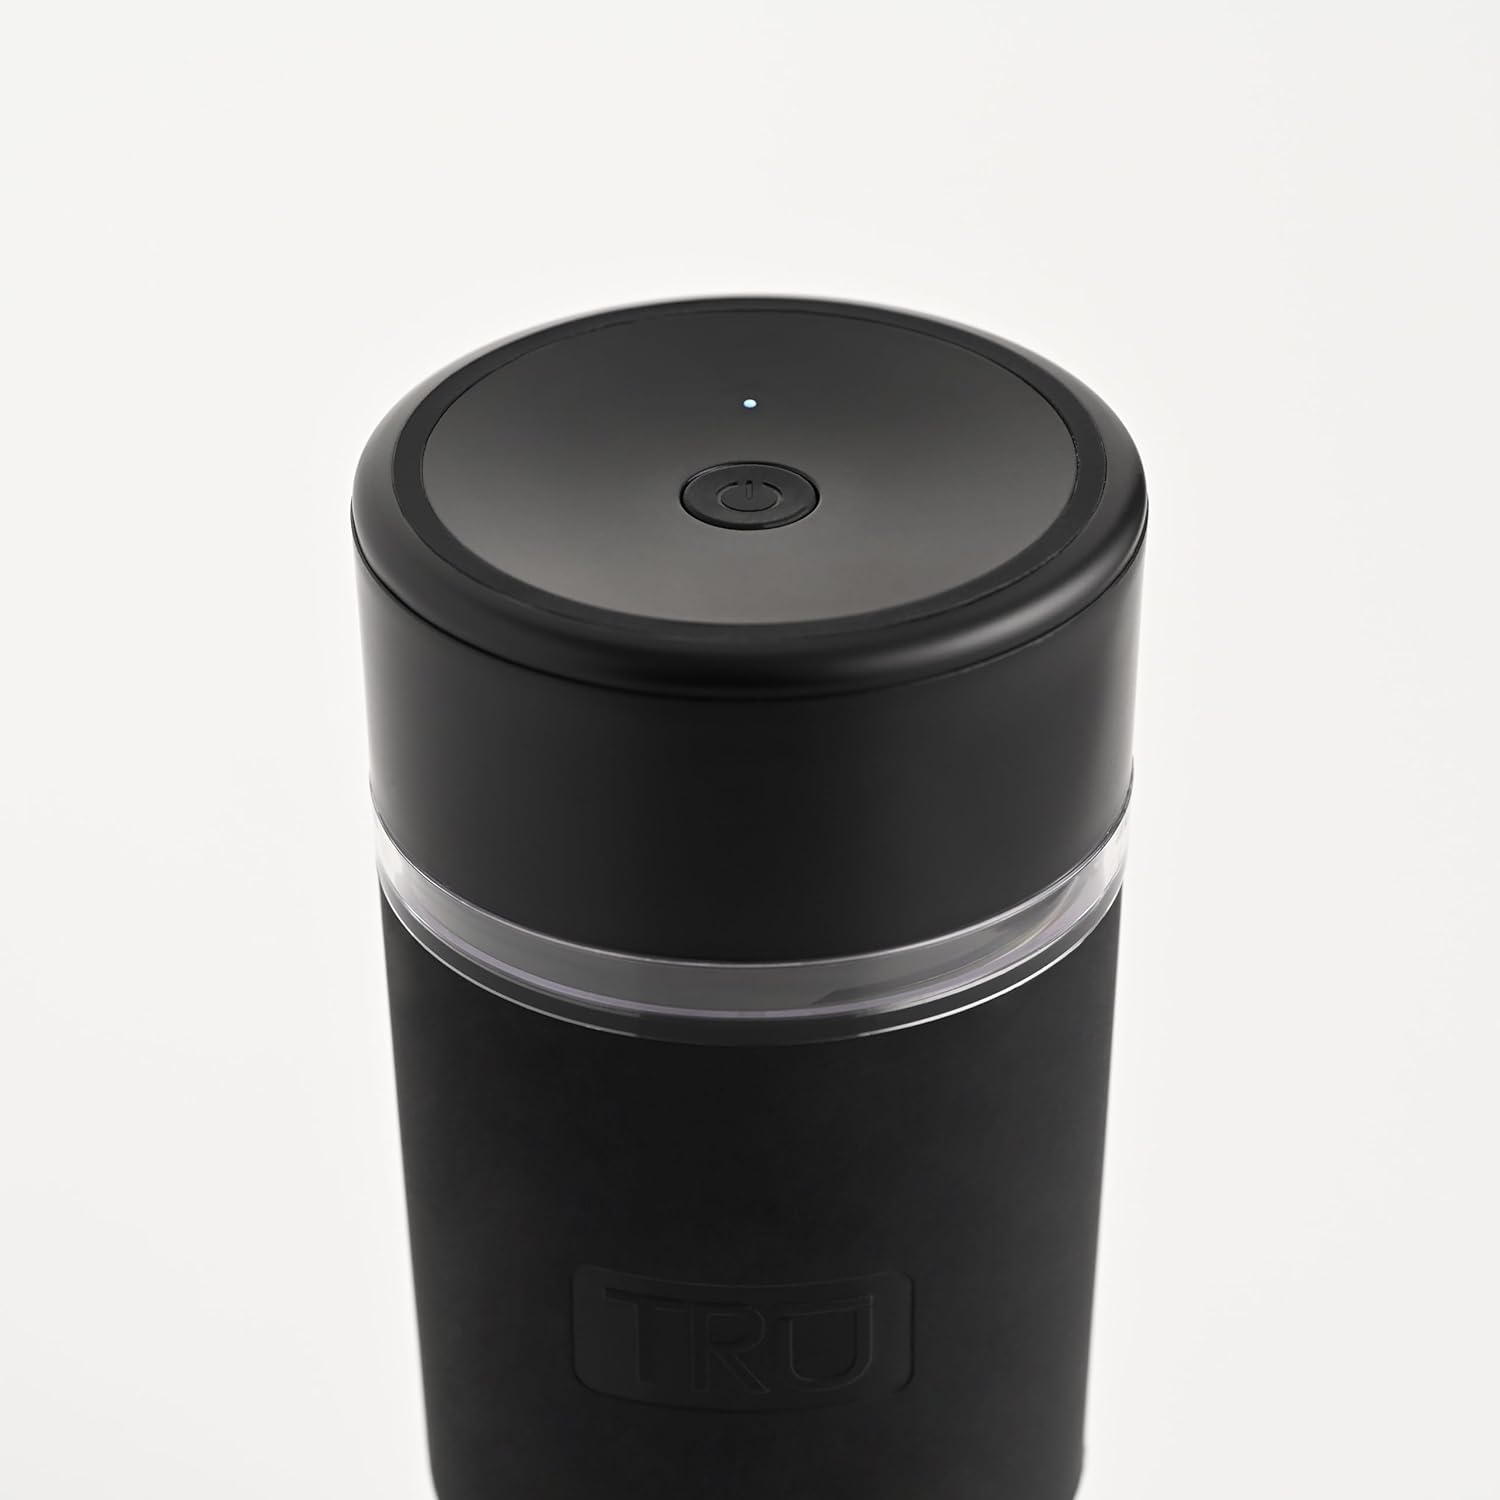
- Press the power button located on the top of the lid once to start blending. The indicator light will illuminate.
- Blend until desired consistency is achieved. For best results, shake the blender gently during operation to ensure all ingredients are processed.
- Press the power button again to stop blending.
- Carefully unscrew the lid and enjoy your freshly blended drink.

Figur 5.1: Øverst view of the blender lid, highlighting the single power button for operation.
5.2 Brugstips
- For optimal blending, cut fruits and vegetables into small pieces (approximately 1 inch or smaller).
- Tilsæt altid væske først, derefter bløde ingredienser og til sidst hårdere ingredienser eller is.
- Do not overload the blender. The 10-ounce capacity is designed for single servings.
- If the blender stops during operation, check for blockages or if the battery needs recharging.
- The blender is designed for portability and fits most standard car cup holders.

Figure 5.2: A person holding the TRU Hydration Blender filled with strawberries, demonstrating its portability.

Figure 5.3: The TRU Hydration Blender placed securely in a car's cup holder, illustrating its travel-friendly design.
6. Rengøring og pleje
Proper cleaning and maintenance will extend the life of your TRU Hydration Blender.
6.1 Cleaning the Cup and Lid
- After each use, rinse the blender cup and lid immediately to prevent food from drying on the surfaces.
- Skru låget af koppen.
- Wash the cup and lid with warm, soapy water. A bottle brush may be helpful for thorough cleaning.
- Skyl grundigt med rent vand.
- Do not put the motor base (the part with the charging port and power button) in water. Wipe it clean with a damp klæde.
- Sørg for, at alle dele er helt tørre, før de monteres igen eller opbevares.

Figur 6.1: Nærbillede view of the integrated blade assembly within the blender lid, showing the blades.
6.2 Storing the Blender
Store the blender in a clean, dry place when not in use. Ensure the lid is not tightly sealed if storing for extended periods to allow for air circulation.
7. Fejlfinding
If you encounter issues with your TRU Hydration Blender, refer to the table below for common problems and solutions.
| Problem | Mulig årsag | Løsning |
|---|---|---|
| Blenderen tænder ikke. | Batteriet er lavt eller afladet. Lid is not securely fastened. | Oplad blenderen helt. Ensure the lid is twisted on tightly and correctly aligned. |
| Ingredienserne blendes ikke jævnt. | Too little liquid. Ingredienserne er for store eller for hårde. Overloaded cup. | Tilsæt mere væske. Cut ingredients into smaller pieces (1 inch or less). Reduce the amount of ingredients in the cup. |
| Blenderen stopper under drift. | Overophedningsbeskyttelse aktiveret. Batteriet er lavt. Ingredients are jammed. | Turn off the blender, let it cool down for 15-20 minutes, then restart. Genoplad batteriet. Turn off, clear any obstructions, and restart. |
| Lækage fra låget. | Låget er ikke ordentligt forseglet. Overfyldt kop. | Ensure the lid is twisted on tightly and the silicone seal is correctly seated. Fyld ikke op over den maksimale påfyldningslinje. |
8. Specifikationer
| Feature | Detalje |
|---|---|
| Mærke | Tru |
| Modelnummer | RC-150DMBK |
| Farve | Sort |
| Kapacitet | 10 Væske ounces |
| Produktmål (D x B x H) | 3.31" D x 3.31" B x 8.23" H |
| Strømkilde | Batteridrevet (genopladeligt lithium-ion) |
| Voltage | 7.4 volt |
| Antal hastigheder | 1 |
| Varens vægt | 14.6 ounce |
| Inkluderede komponenter | Charging cord, Cup, Lid with integrated blade |
9. Garanti og support
Specific warranty details for the TRU Hydration Blender are not provided in this manual. For information regarding warranty coverage, product registration, or customer support, please visit the official Tru webhjemmeside eller kontakt deres kundeserviceafdeling direkte.
Gem venligst din købsbevis i tilfælde af garantikrav.