1. Vigtige sikkerhedsoplysninger
Læs og forstå alle sikkerhedsadvarsler og instruktioner, før du bruger dette produkt. Manglende overholdelse af disse instruktioner kan resultere i elektrisk stød, brand og/eller alvorlig personskade.
- Hold børn væk: This device is not a toy. Keep it out of reach of children and pets.
- Korrekt brug: Use the inflator only for its intended purpose: inflating tires and other compatible items. Do not use it for purposes not specified in this manual.
- Undgå overinflation: Always check the recommended pressure for the item being inflated. Over-inflation can cause items to burst, leading to injury. The auto shut-off feature helps prevent this.
- Driftsmiljø: Do not operate the inflator in wet conditions or near flammable liquids or gases. Ensure adequate ventilation.
- Batterisikkerhed: Do not disassemble, crush, or expose the battery to extreme temperatures or fire. Use only the provided charging cables.
- Varme overflader: The air hose and nozzle may become hot during prolonged use. Handle with care.
- Opbevaring: Opbevar pumpen et køligt og tørt sted, når den ikke er i brug.
2. Produktet er slutview og pakkeindhold
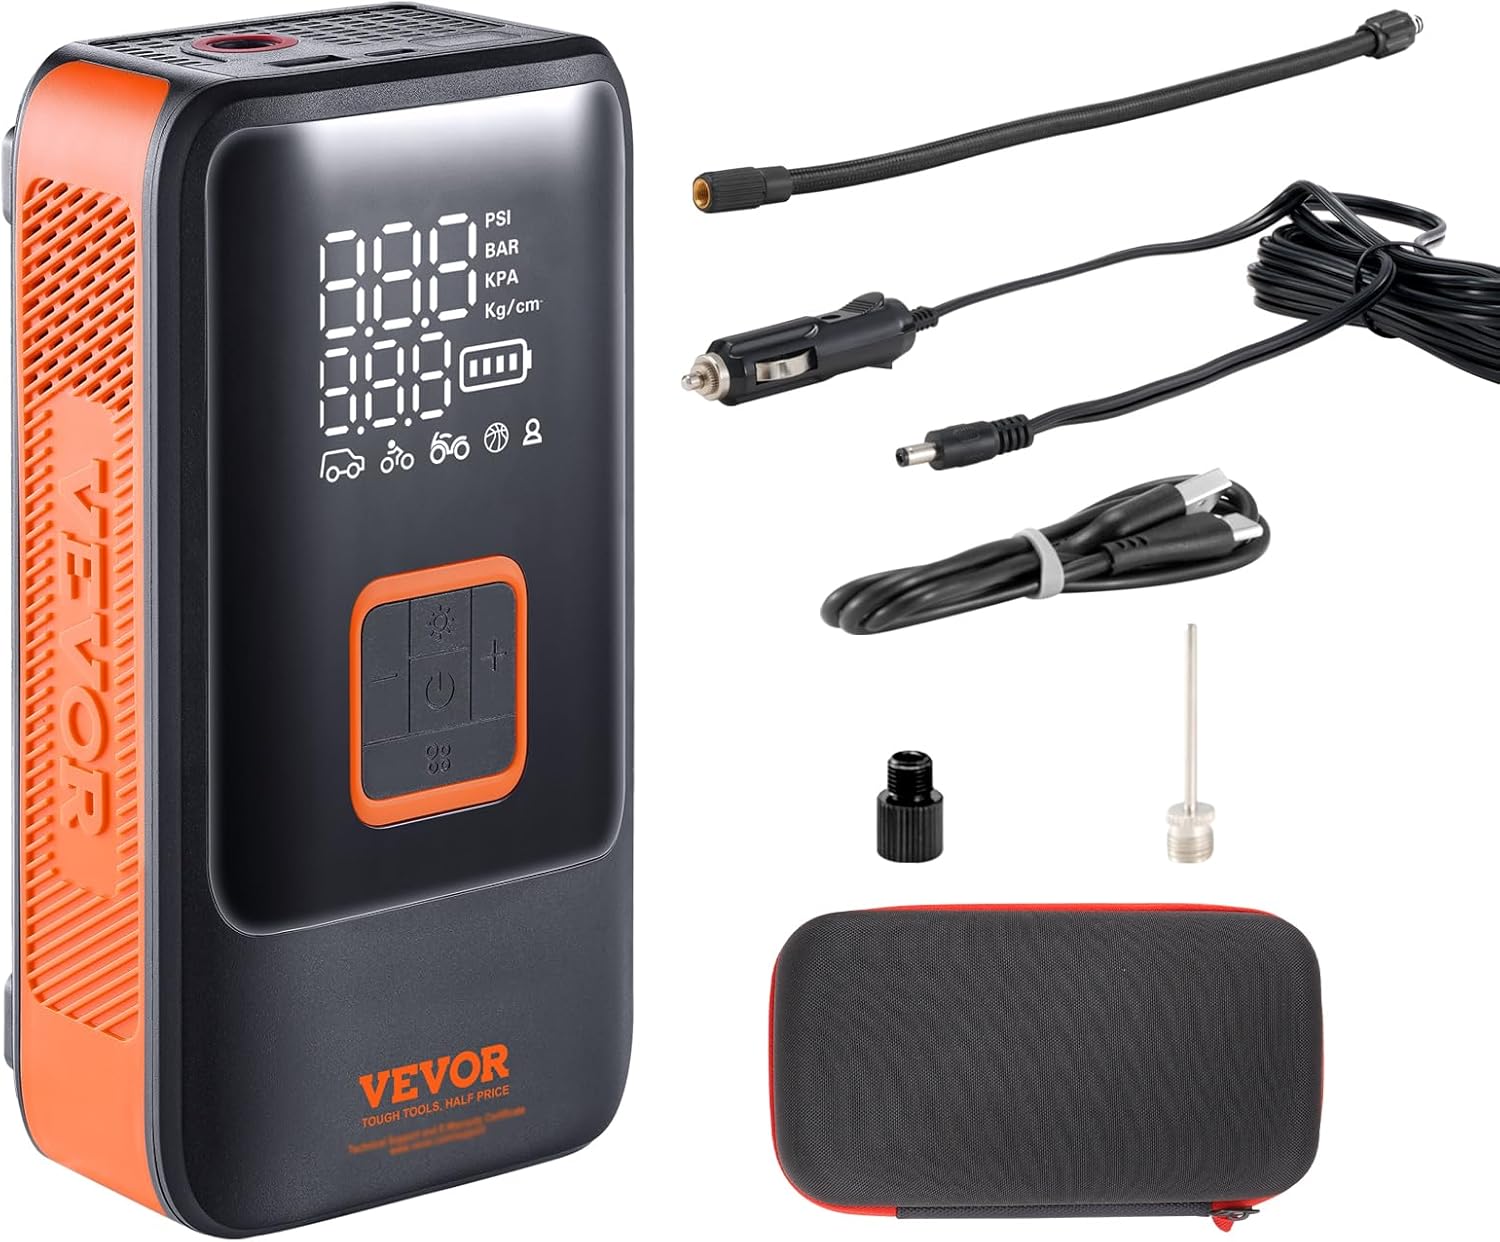
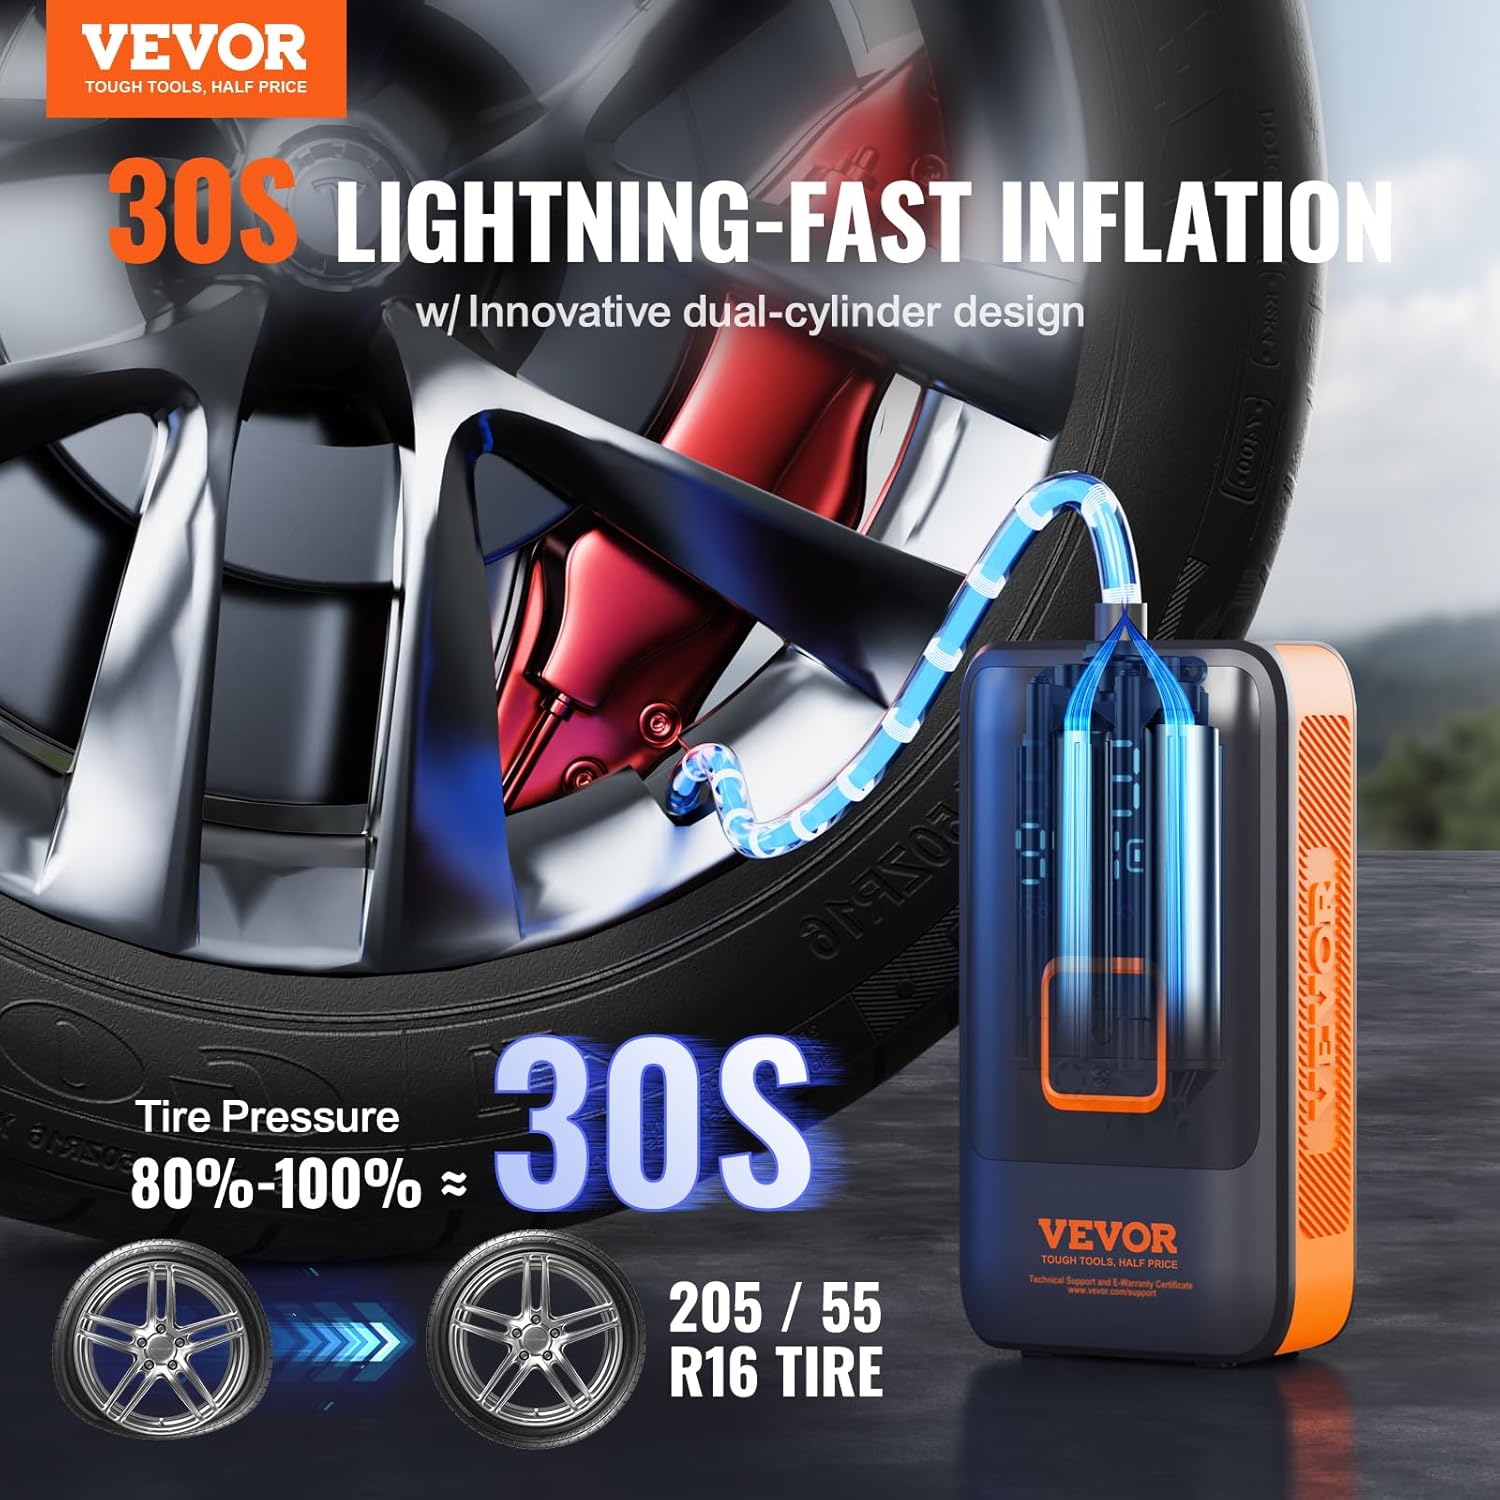
The VEVOR Portable Tire Inflator SH03 is a cordless, dual-cylinder air pump designed for fast and efficient inflation of various items. It features a 12000 mAh battery, LCD screen, and auto shut-off function.
Pakkeindhold:
- 1 x VEVOR Portable Tire Inflator SH03
- 1 x USB Charging Cable (28*60mm)
- 1 x Presta ventiladapter
- 1 x nåleventiladapter
- 1 x 12V Car Charging Cable (3m)
- 1 x beskyttende opbevaringstaske
- 1 x 500 mm isoleret luftslange med hurtigkobling

3. Specifikationer
| Feature | Specifikation |
|---|---|
| Modelnummer | SH03 |
| Cylinder størrelse | Dual Cylinder (24 cylinders) |
| Inflationstrykområde | 2-150 psi / 0.1-10.3 bar |
| Inflationshastighed | 38-42 l/min |
| Batterikapacitet | 3*4000 mAh (11.1V / 44.4Wh) |
| Produktets vægt | 1.19 kg (2.62 lbs) |
| Produktdimensioner | 9.7 x 6.3 x 18.8 cm |
| Voltage | 12 volt |
| Maksimal effekt | 44.4 watt |
| Særlige funktioner | Automatic Shut-Off, LED Light, Portable, Power Bank Function |
4. Opsætning
4.1 Opladning af pumpen
Before first use, fully charge the inflator. The device can be charged using the included USB charging cable or the 12V car charging cable.
- USB-opladning: Connect the USB charging cable to the inflator's charging port and a compatible USB power adapter (not included) or a computer USB port.
- Bilopladning: Connect the 12V car charging cable to the inflator's charging port and your vehicle's 12V cigarette lighter socket.
The LCD screen will display the battery level during charging. A full charge is indicated when the battery icon shows full segments.
4.2 Montering af luftslange og adaptere
- Screw the quick-connect insulated air hose securely onto the inflator's air outlet port.
- Depending on the item to be inflated, attach the appropriate adapter (Presta valve adapter for bicycles, needle valve adapter for balls) to the end of the air hose. For standard car/motorcycle tires, the direct quick-connect nozzle is typically used.

5. Betjeningsvejledning
5.1 Tænd/sluk
- Tænd: Tryk og hold tænd/sluk-knappen (U) for 2-3 seconds. The LCD screen will illuminate.
- Sluk: Tryk og hold tænd/sluk-knappen (U) for 2-3 seconds. The device will also automatically power off after a period of inactivity.
5.2 Forståelse af display og betjeningselementer

The LCD screen displays real-time tire pressure, battery level, and selected inflation mode. The control panel includes:
- Tænd/sluk-knap (U): Long press to power on/off. Short press to start/stop inflation.
- Tilstandsknap (::): Short press to cycle through inflation modes (Car, Motorcycle, Bicycle, Ball) and pressure units (PSI, BAR, KPA, Kg/cm²).
- Plus (+) / Minus (-) knapper: Adjust the target pressure value.
- Lysknap (☀): Short press to turn the LED light on/off.
5.3 Indstilling af måltryk og oppustning
- Power on the inflator.
- Tryk på tilstandsknappen (::) to select the desired inflation mode (e.g., Car, Motorcycle). The icon for the selected mode will be highlighted.
- Press the Mode button again to cycle through pressure units (PSI, BAR, KPA, Kg/cm²) until your preferred unit is displayed.
- Use the Plus (+) and Minus (-) buttons to set your desired target pressure. Refer to your vehicle's manual or tire sidewall for recommended pressure.
- Connect the air hose nozzle securely to the valve stem of the item to be inflated. The screen will display the current pressure.
- Tryk på tænd / sluk-knappen (U) to start inflation. The inflator will automatically stop once the target pressure is reached.
- Disconnect the air hose from the valve stem.
5.4 Brug som powerbank
The inflator can also serve as a power bank to charge other devices. Connect your device's USB charging cable to the inflator's USB output port.
5.5 Brug af LED-lyset
Tryk på lysknappen (☀) to turn the integrated LED light on or off. This is useful for nighttime inflation or as an emergency light.
6. Vedligeholdelse
6.1 Rengøring
Tør ydersiden af pumpen af med en blød, tør klud.amp klud. Brug ikke skrappe kemikalier eller slibende rengøringsmidler. Sørg for, at enheden er slukket og frakoblet enhver strømkilde, før du rengør den.
6.2 Opbevaring
Store the inflator and its accessories in the provided protective storage case in a cool, dry place, away from direct sunlight and extreme temperatures. Ensure the battery is partially charged (around 50-70%) if storing for extended periods to prolong battery life.

7. Fejlfinding
- Inflatoren tænder ikke: Ensure the battery is charged. Connect to a power source using the USB or 12V car charging cable.
- Inflator does not start inflation: Check if the air hose is securely connected to both the inflator and the valve stem. Ensure a target pressure has been set.
- Langsom inflation: Verify the air hose connection is tight to prevent air leaks. Ensure the battery has sufficient charge.
- Upræcis trykaflæsning: Ensure the air hose is fully connected to the valve stem. Calibrate the device if possible (refer to manufacturer support if issues persist).
- Apparatet bliver varmt under brug: This is normal during prolonged operation. Allow the device to cool down before continued use. If overheating is excessive or accompanied by smoke/unusual smells, discontinue use immediately.
8. Garanti og support
VEVOR products are designed for reliability and performance. For warranty information, technical support, or service inquiries, please refer to the official VEVOR webwebstedet eller kontakt deres kundeservice direkte. Gem din købskvittering til garantikrav.