Indledning
Thank you for choosing the Lexip Tsume Kakashi Kamui Naruto Shippuden Controller. This high-performance gaming controller is designed to enhance your gaming experience with its unique design and advanced features. This manual provides essential information for setting up, operating, and maintaining your controller.
Pakkens indhold
Tjek venligst pakken for følgende varer:
- Lexip Tsume Kakashi Kamui Naruto Shippuden Controller
- USB-opladnings-/datakabel
- Brugervejledning (dette dokument)
Controller layout
Familiarize yourself with the various components of your controller.

Figur 1: Front view of the controller, showcasing the limited edition design inspired by Naruto Shippuden.
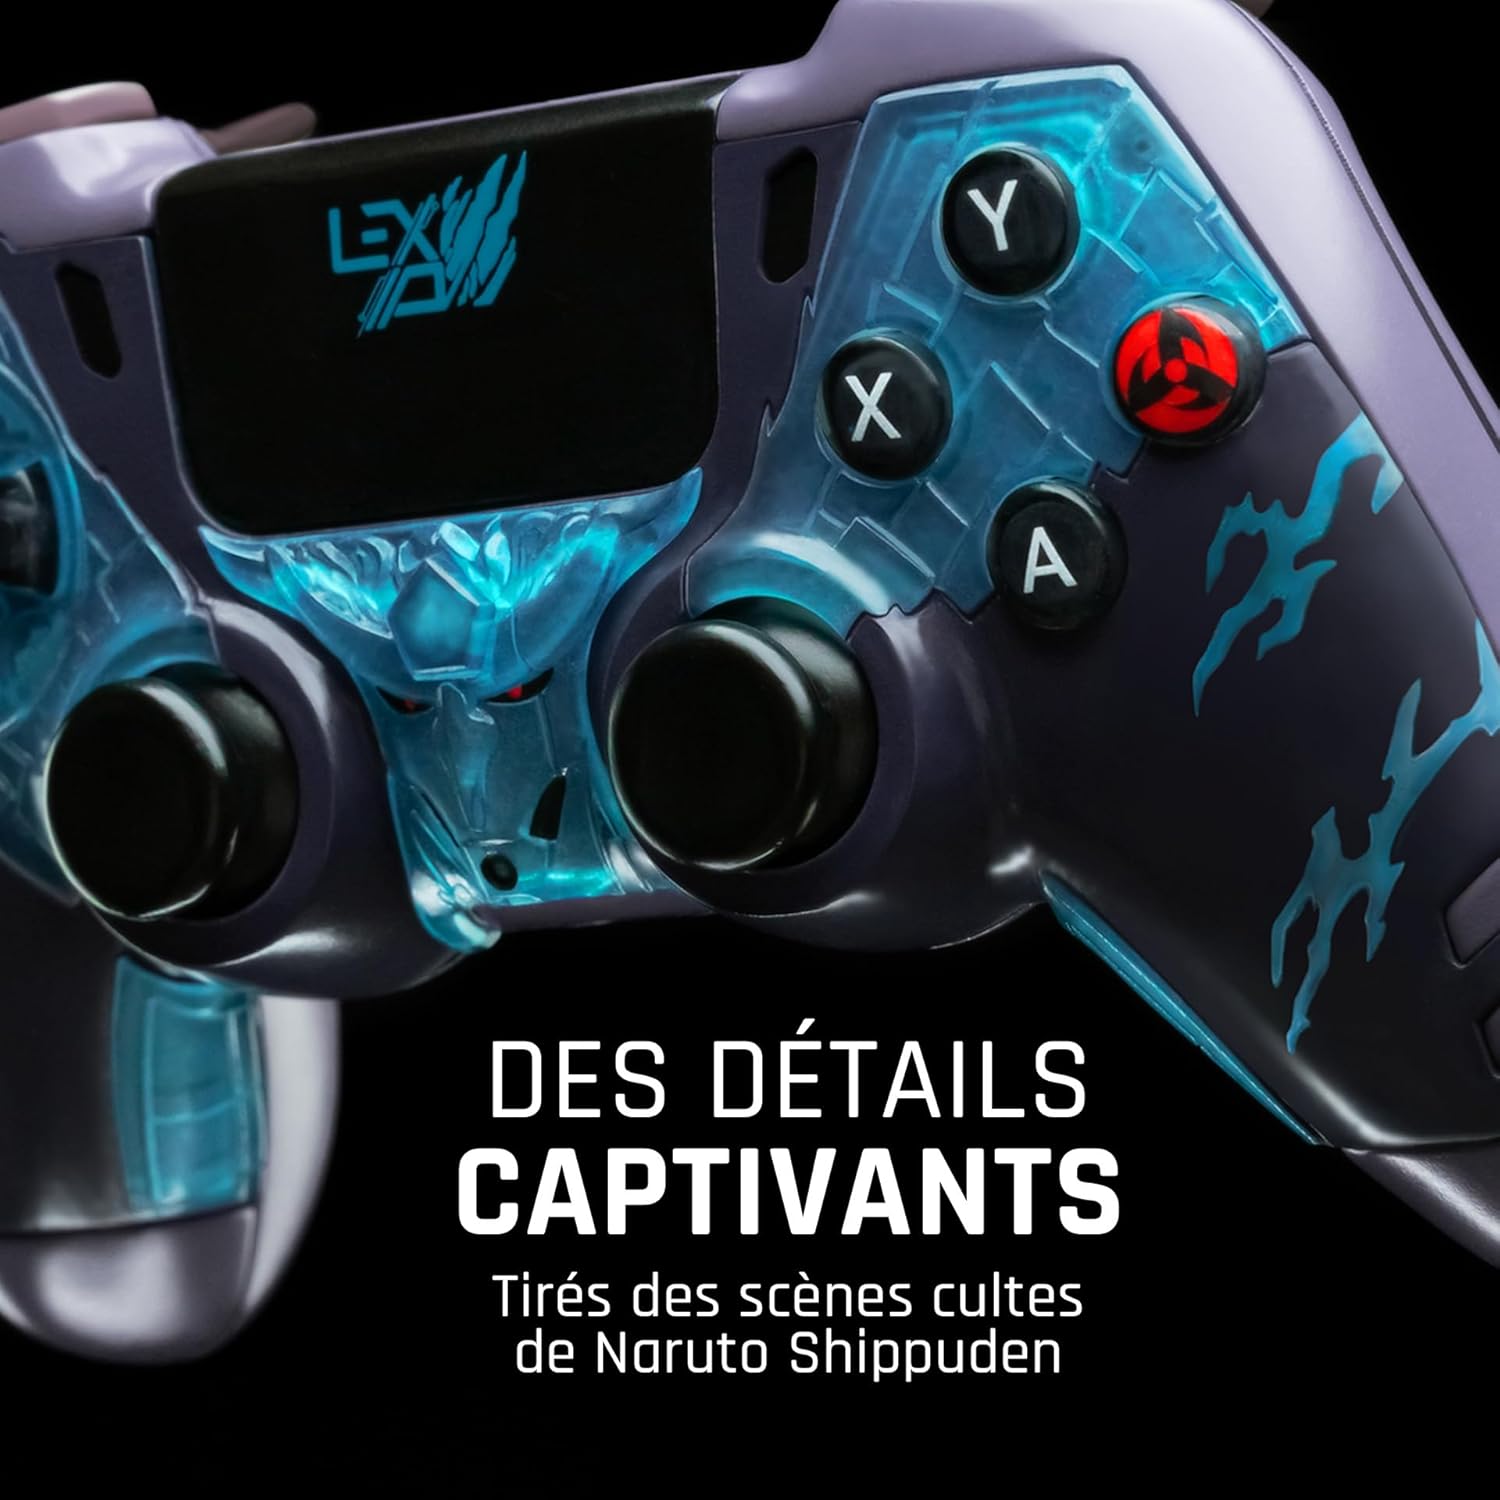
Figur 2: Detaljeret view of the controller's face buttons and analog sticks, highlighting the intricate Naruto Shippuden design elements.

Figur 3: Bag view of the controller, illustrating the placement of the programmable paddles (M1, M2, M3) for enhanced gameplay.
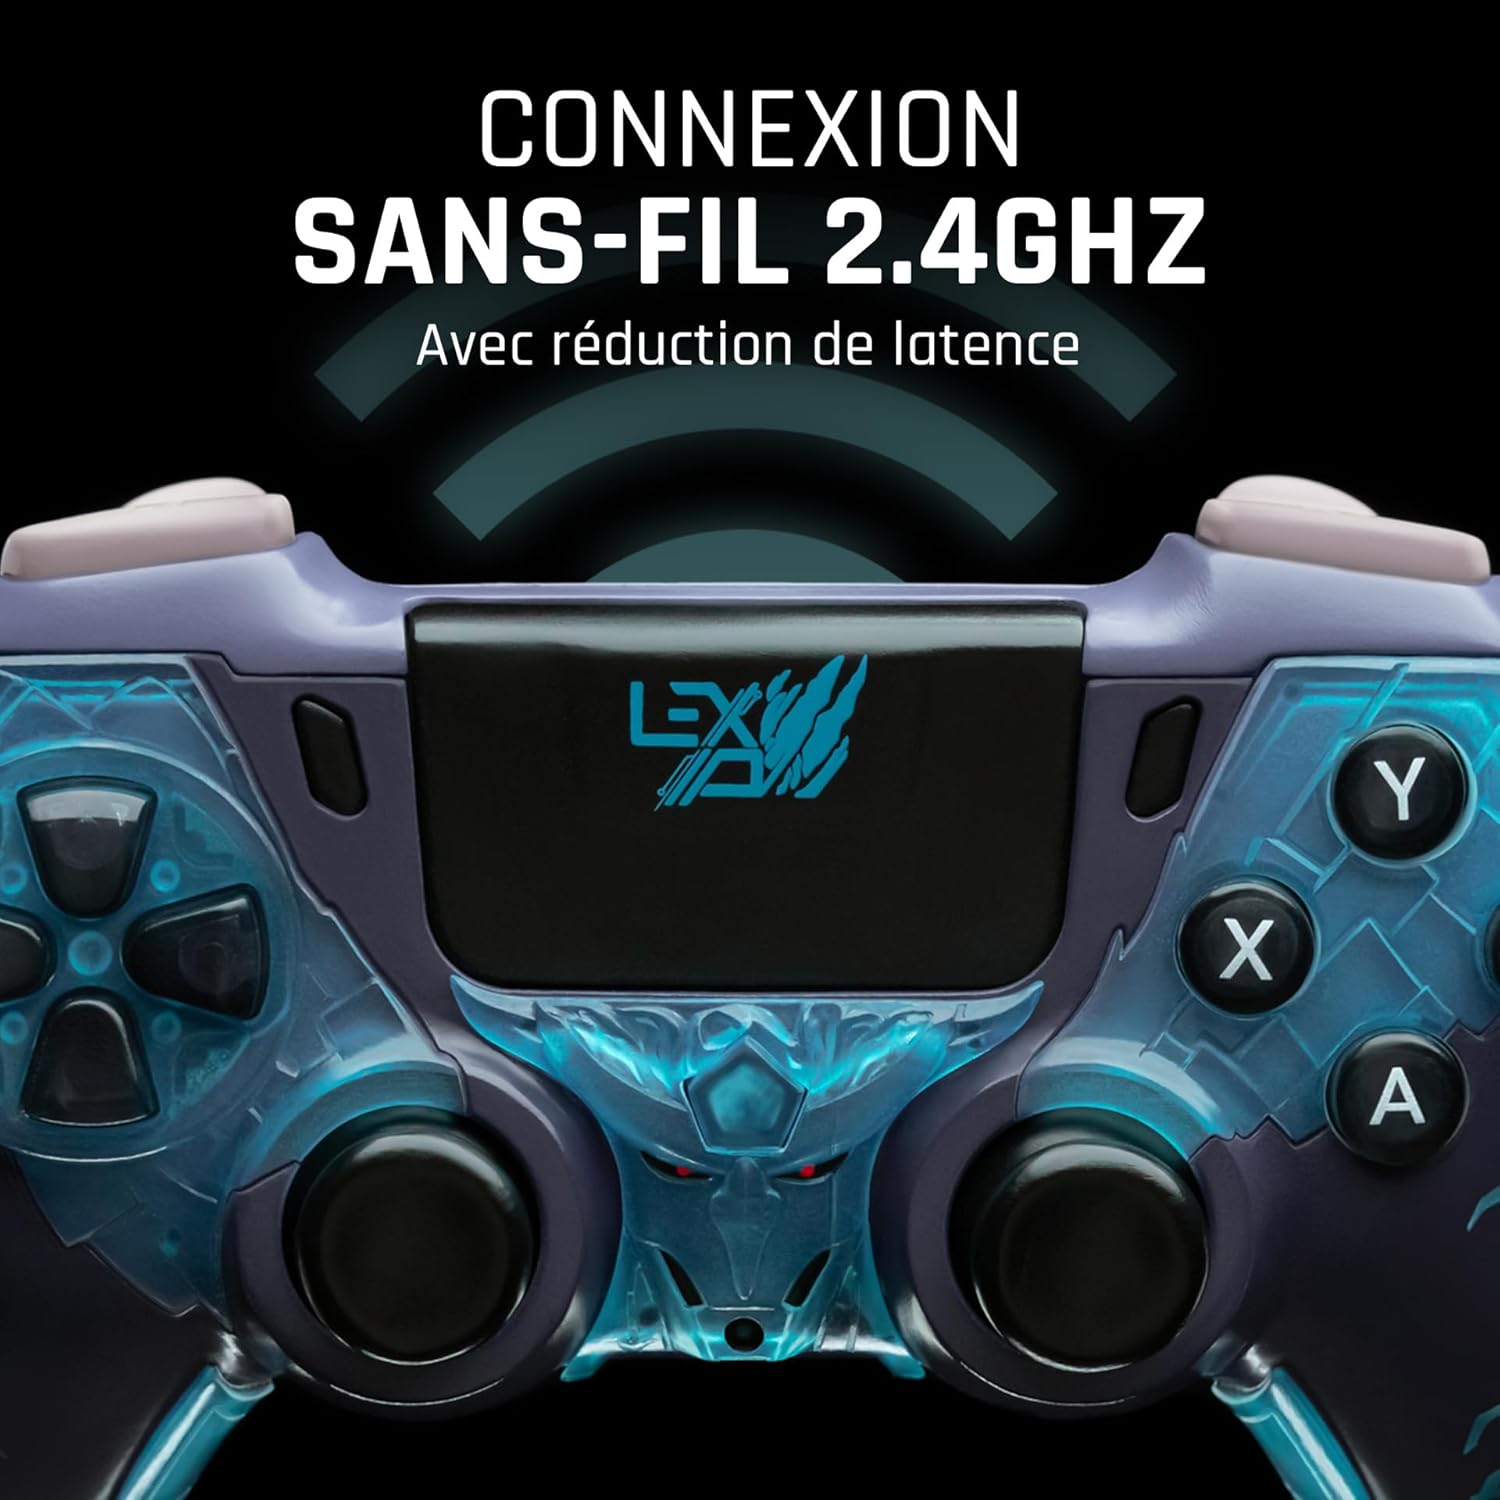
Figur 4: Front view of the controller, indicating its 2.4GHz wireless connection capability for reduced latency.
Nøglekomponenter:
- Analoge pinde: To højpræcisions analoge pinde til bevægelse og kamerastyring.
- D-Pad: Retningspad til præcis input.
- Ansigtsknapper (A, B, X, Y): Standard handlingsknapper.
- Skulderknapper (L1, R1) og aftrækkere (L2, R2): Til forskellige handlinger i spillet.
- Programmable Paddles (M1, M2, M3): Located on the rear for custom button assignments.
- Hjemknappen: For adgang til systemmenuen.
- Share/Options Buttons: For in-game menu and sharing functions.
- USB-C-port: Til opladning og kabelforbindelse.
Opsætning
1. Første opladning
Before first use, fully charge the controller. Connect the supplied USB cable to the controller's USB-C port and the other end to a powered USB port (e.g., console, PC, or USB wall adapter). The charging indicator will show the charging status and turn off when fully charged.
2. Trådløs forbindelse (2.4 GHz)
- Insert the 2.4GHz wireless dongle (if included, typically found in the controller's packaging or a dedicated slot) into an available USB port on your gaming console or PC.
- Tænd controlleren ved at trykke på Home-knappen.
- The controller will automatically attempt to pair with the dongle. The indicator light on the controller will stop flashing and remain solid once connected.
3. Connecting via USB Cable
To use the controller in wired mode or if wireless connection is not desired:
- Connect the USB cable to the controller's USB-C port.
- Connect the other end of the USB cable to an available USB port on your gaming console or PC.
- The controller will be recognized as a wired device and is ready for use.
Betjeningsvejledning
Tænd/sluk
- For at tænde: Press the Home button. The controller will attempt to connect to the last paired device.
- For at slukke: Press and hold the Home button for approximately 5-10 seconds until the indicator lights turn off. The controller will also power off automatically after a period of inactivity to conserve battery.
Using Programmable Paddles
The controller features three programmable paddles (M1, M2, M3) on the rear. These paddles can be assigned to replicate other button inputs for quick access during gameplay. Refer to your console or PC's controller settings for specific button remapping options, as dedicated software for programming these paddles may not be available.

Figur 5: A user holding the controller, demonstrating its ergonomic design during use.
Opretholdelse
- Rensning: Brug en blød, tør klud til at rengøre controlleren. Ved genstridigt snavs, tør letampRengør kluden med vand. Brug ikke skrappe kemikalier eller slibende rengøringsmidler.
- Opbevaring: Opbevar controlleren et køligt, tørt sted væk fra direkte sollys og ekstreme temperaturer.
- Batteripleje: For at forlænge batteriets levetid bør du undgå at aflade controlleren helt ofte. Oplad den regelmæssigt, selvom den ikke er i brug i længere perioder.
Fejlfinding
Controlleren opretter ikke forbindelse
- Sørg for, at controlleren er opladet.
- For wireless connection, ensure the 2.4GHz dongle is securely plugged into the console/PC and the controller is powered on.
- Try connecting the controller via the USB cable to verify functionality.
- Restart your console/PC and try connecting again.
Buttons/Sticks Unresponsive
- Ensure the controller is properly connected and powered on.
- Kontrollér for eventuelle fysiske forhindringer eller snavs omkring knapperne eller pindene.
- Test controlleren med et andet spil eller program for at afgøre, om problemet er specifikt for ét program.
Kort batterilevetid
- Sørg for, at controlleren er fuldt opladet før brug.
- Reduce rumble intensity if possible through system settings, as vibration motors consume significant power.
- Avoid extreme temperatures during use and storage.
Specifikationer
| Feature | Detalje |
|---|---|
| Modelnummer | TSXLXGC0002 |
| Forbindelse | 2.4 GHz trådløs, USB-kablet |
| Dimensioner (L x B x H) | 3.94 x 1.97 x 0.5 tommer |
| Vægt | 1.01 pund |
| Input bindtage | 3V - 500mA |
| Programmable Paddles | Yes (M1, M2, M3) |
Garanti og support
For warranty information and technical support, please refer to the official Lexip website or contact Lexip customer service. Keep your proof of purchase for warranty claims.
Lexip Official Webwebsted: www.lexip.com (Note: This is a placeholder link, please refer to actual Lexip support channels.)